Here’s How I Painted A Toilet
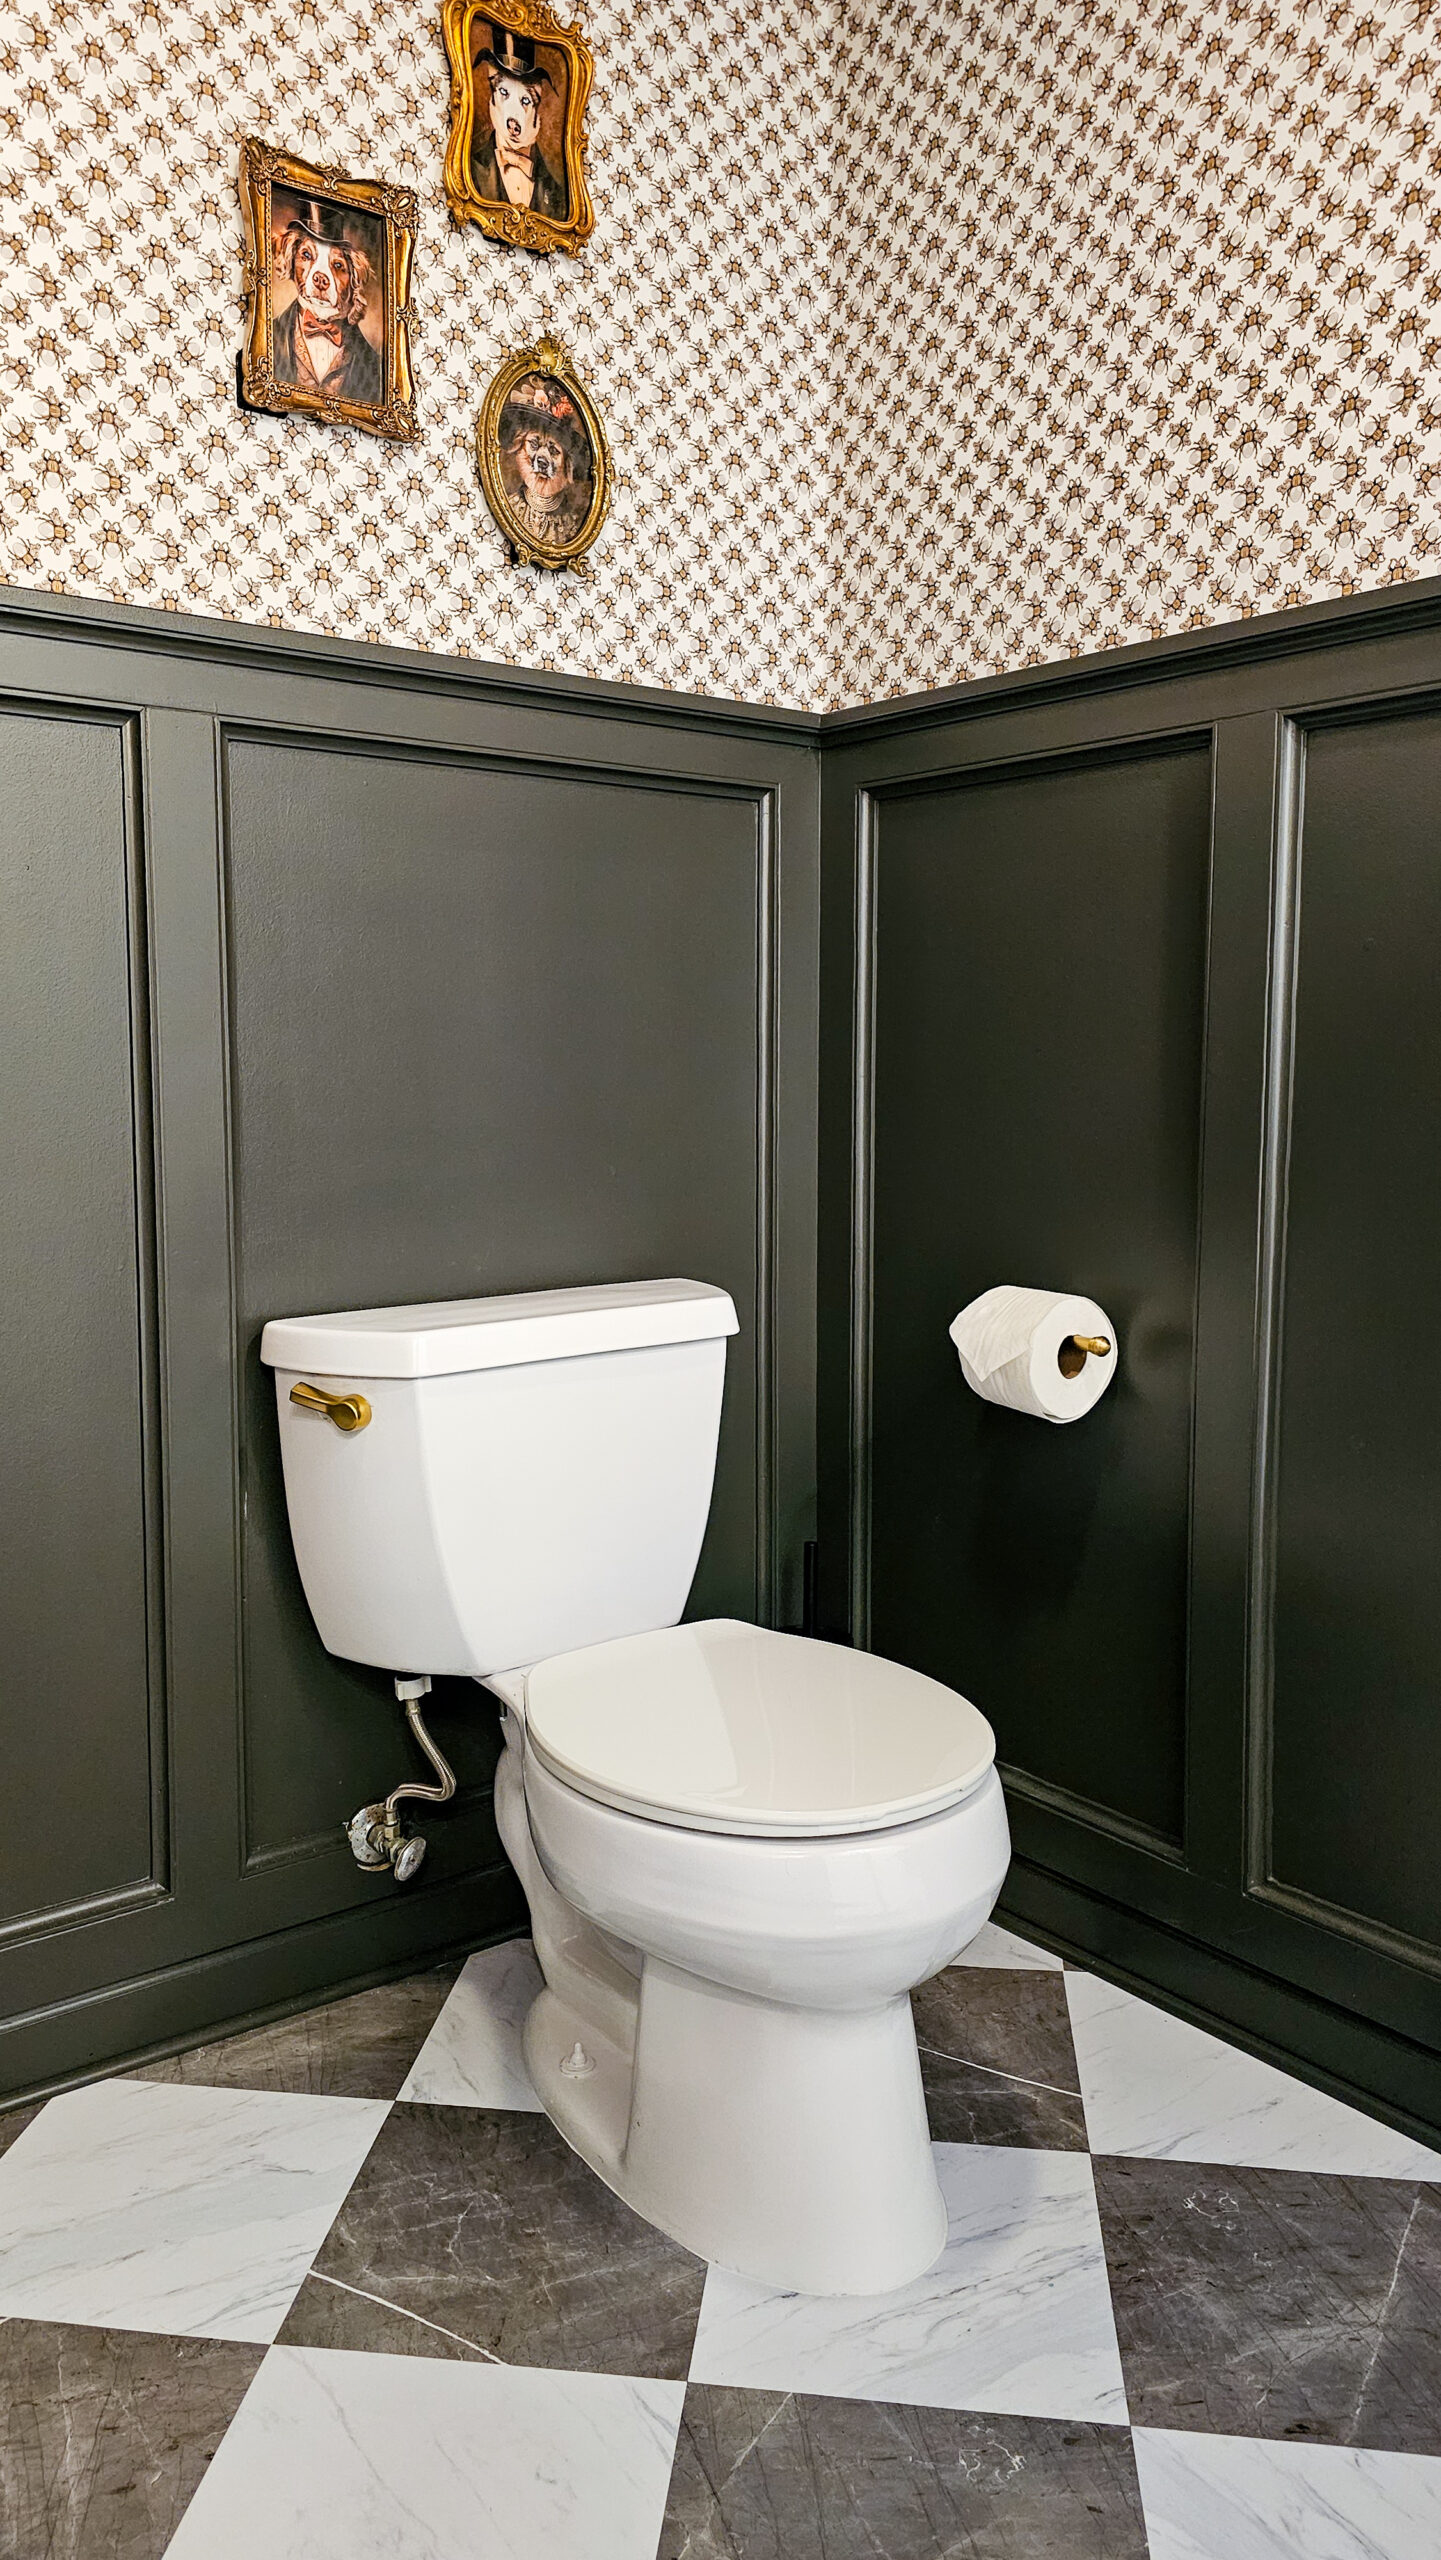
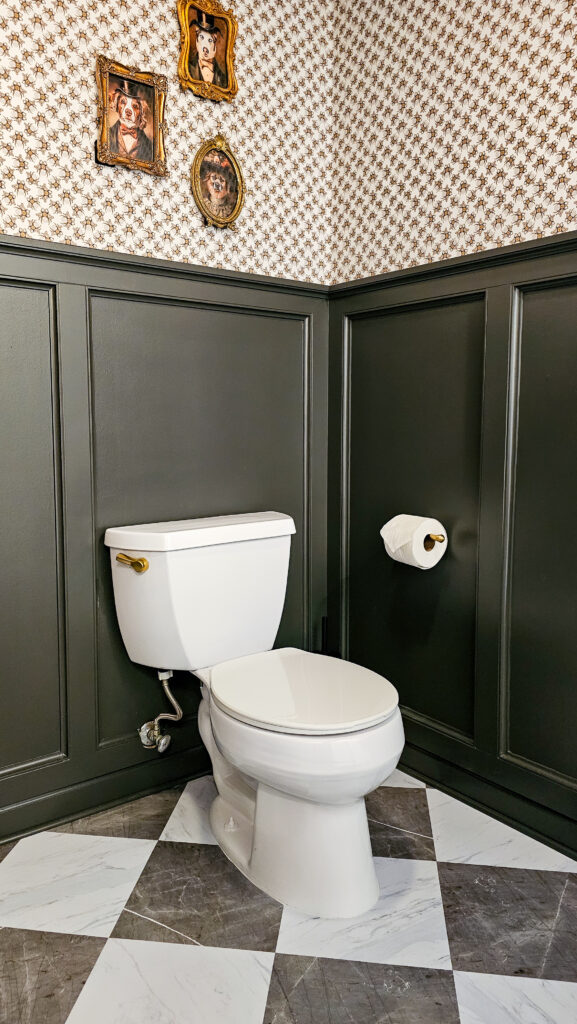
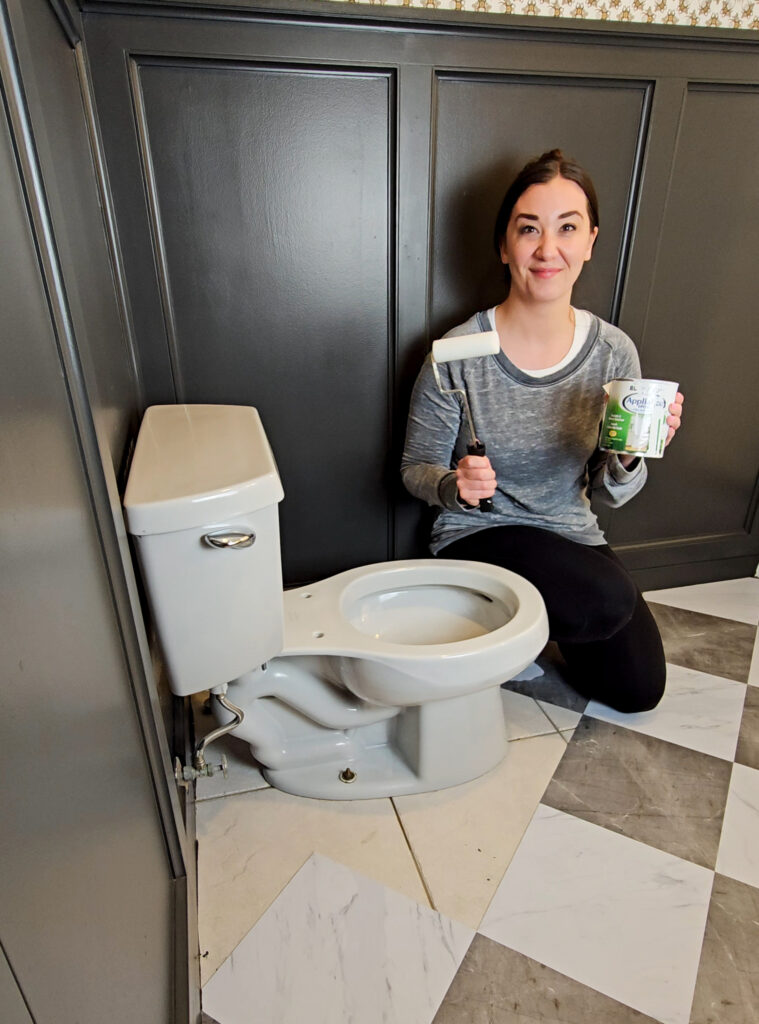
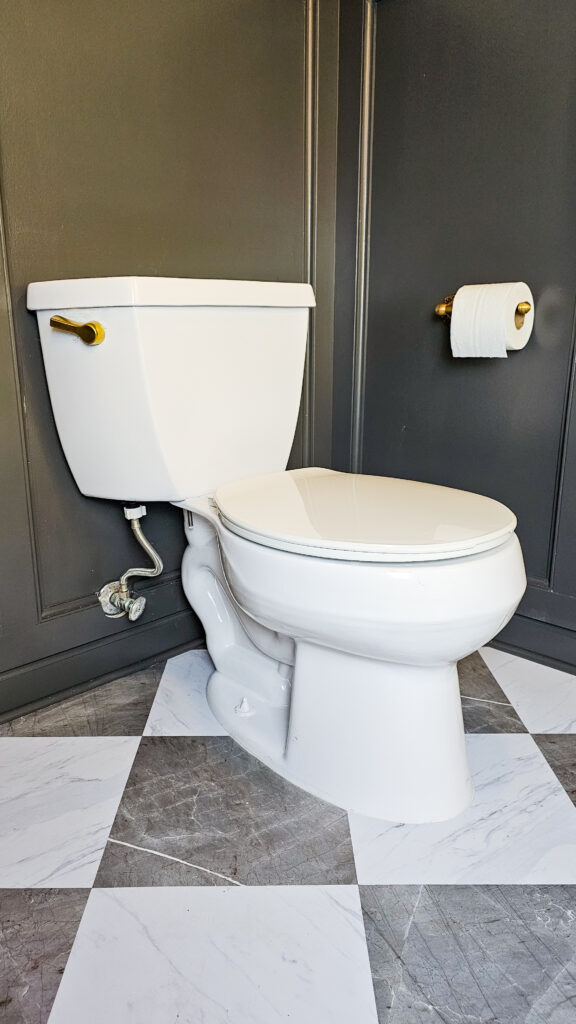
This toilet is spaceship gray and just didn’t fit my space… But it’s expensive to buy a new toilet and get it installed. So, I decided that I had some leftover paint on hand and why not try to paint this one! Let me show you what steps I took to paint my toilet!
*I may earn a small commission on any linked items in this article*
Supply List
- Paint – I used this leftover Appliance Epoxy
- Paint Roller & Tray
- Paint Brush
- Sanding Pad
- Deglosser
- Lever (optional)
Step Summary
- Remove your toilet lid
- Clean your toilet
- Sand down toilet surface
- Degloss toilet
- Paint your toilet
- Reapply coats of paint
- Change toilet lever (optional)
Detailed Steps
Remove your toilet lid
To take off your toilet lid, you just flip up those little flaps on the back of the seat. There are plastic screws below this that you unscrew. Your lid will pull right off.
Clean Your Toilet
This should be obvious… but your toilet is gross. Paint will not stick to dirt or grime, so you need to clean your toilet really well. I scrubbed all the nooks and crannies with bleach first to disinfect everything.
Sand down your toilet
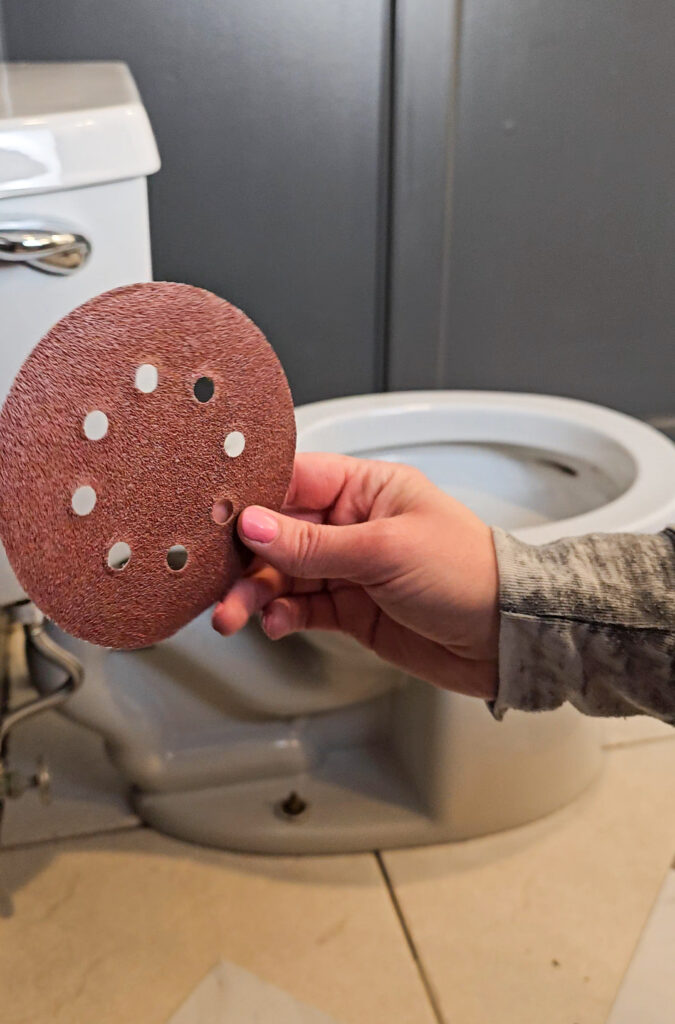
I first sanded down my toilet. I only had an orbital sanding disc on hand, but I’d recommend a sanding block. Wear a mask for this, you don’t want to inhale the gloss you are sanding off.
Degloss your toilet
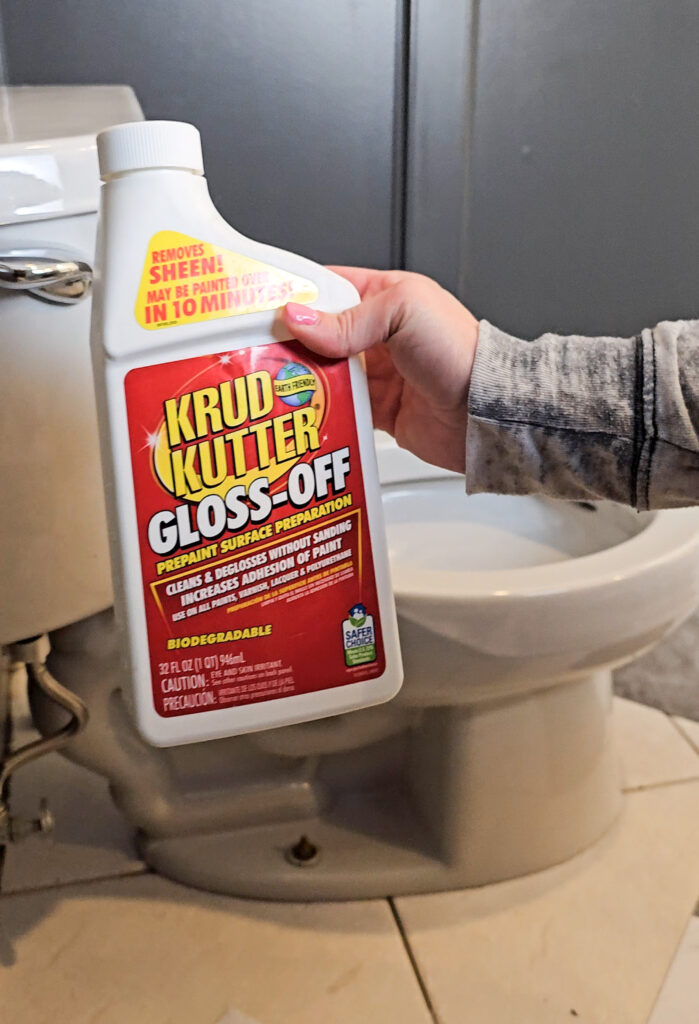
After I sanded my toilet down, I used deglosser as well. This will help prep your surface for paint and help for it to better adhere. You just apply the deglosser and then wipe it down. Let everything dry completely before applying any paint.
Paint Your Toilet
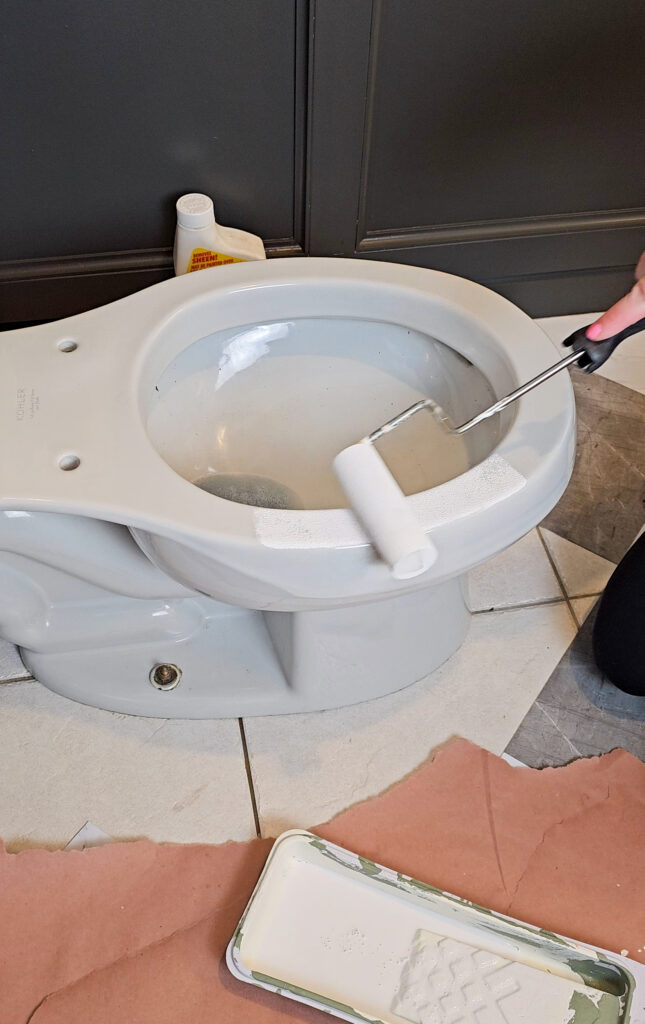
There are a couple options you could use for paint. For me, I had previously used this paint on a bathroom countertop, Rust-Oleums Appliance Epoxy. It has held up on my countertops for over 3 years now, so I decided instead of buying something else to try this. Another option would be to use Tub & Tile paint like I used when I painted my shower. I didn’t have any of this on hand, but I would have probably used this instead because the Appliance Epoxy is very strong in fumes.
Reapply coats of paint
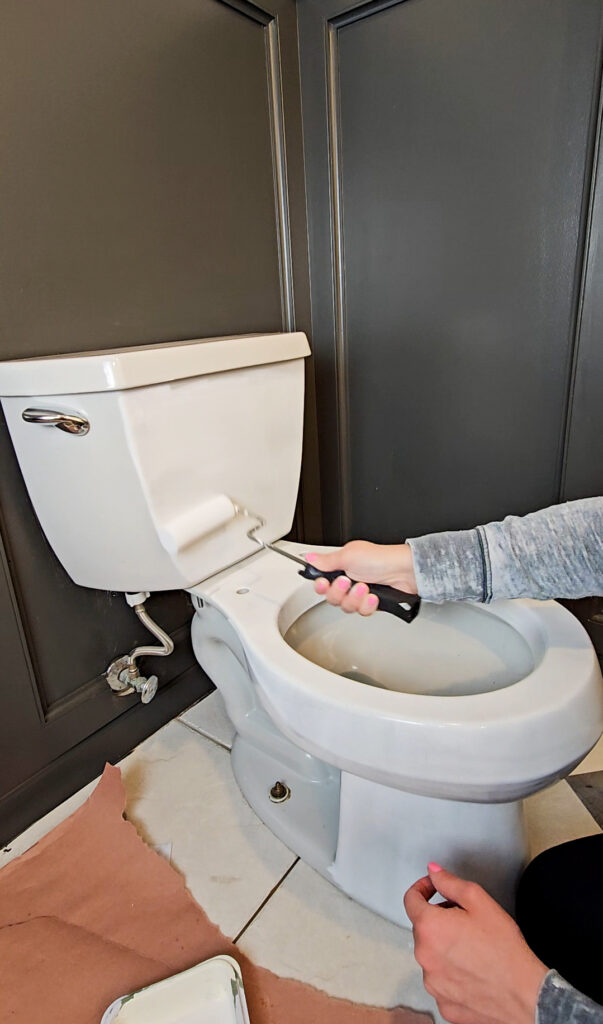
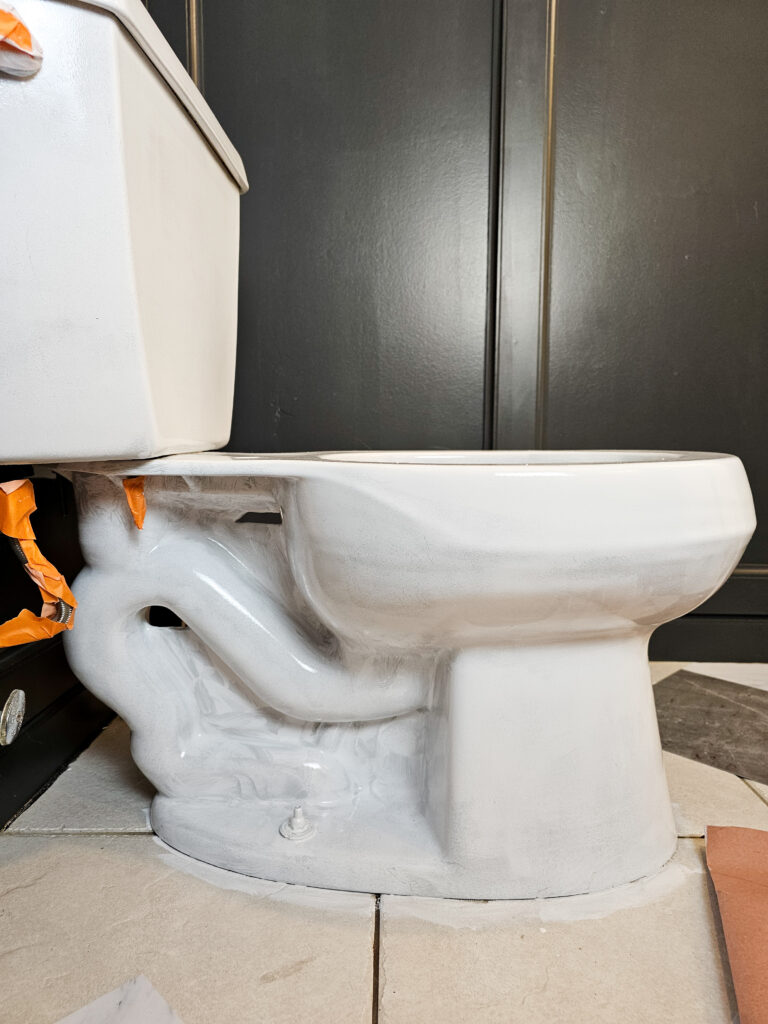
I ended up having to paint about 4 coats of paint to completely cover up the gray on this toilet.
Change your toilet lever
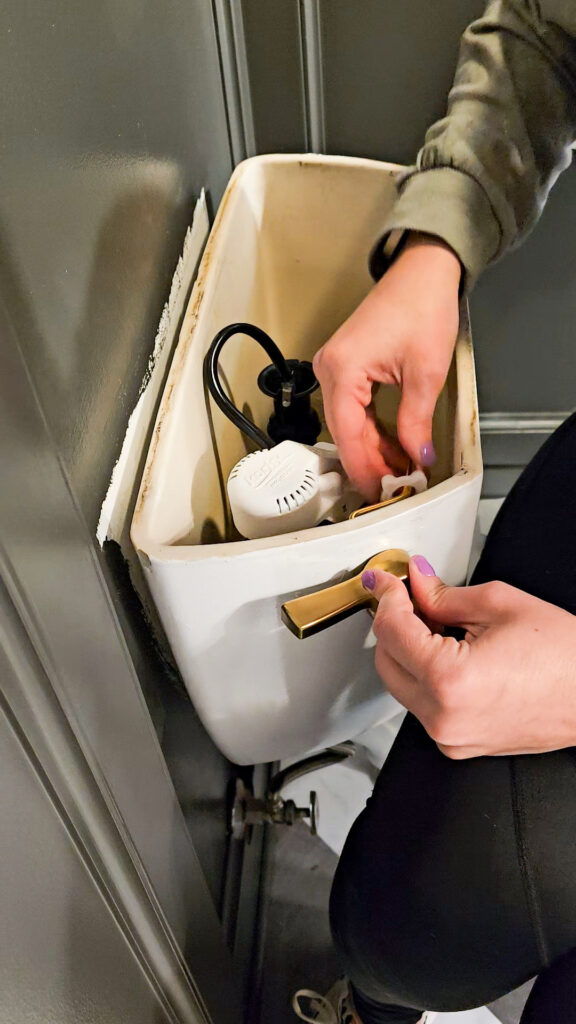
You can leave your existing lever and just paint around it. But I decided for the first time to replace my lever with a pretty gold one to match everything else in my bathroom. This was super simple! I can’t believe I let this intimidate for 3 years. This quick swap only took 15 minutes and I love this new lever!
Total Cost Breakdown
- Appliance Epoxy Paint – $0
- Paint Roller & Tray – $0
- Paint Brush – $0
- Lever – $10
- Total Cost: $10
- If you had to buy these supplies instead, you’d be around $30-$40, which is still a bargain!
If you’d like to catch up on other projects in my bathroom, check them out below!
How I Painted My Shower with Paint!
Apr 22, 2024
