

Diamond Paver Shed Base
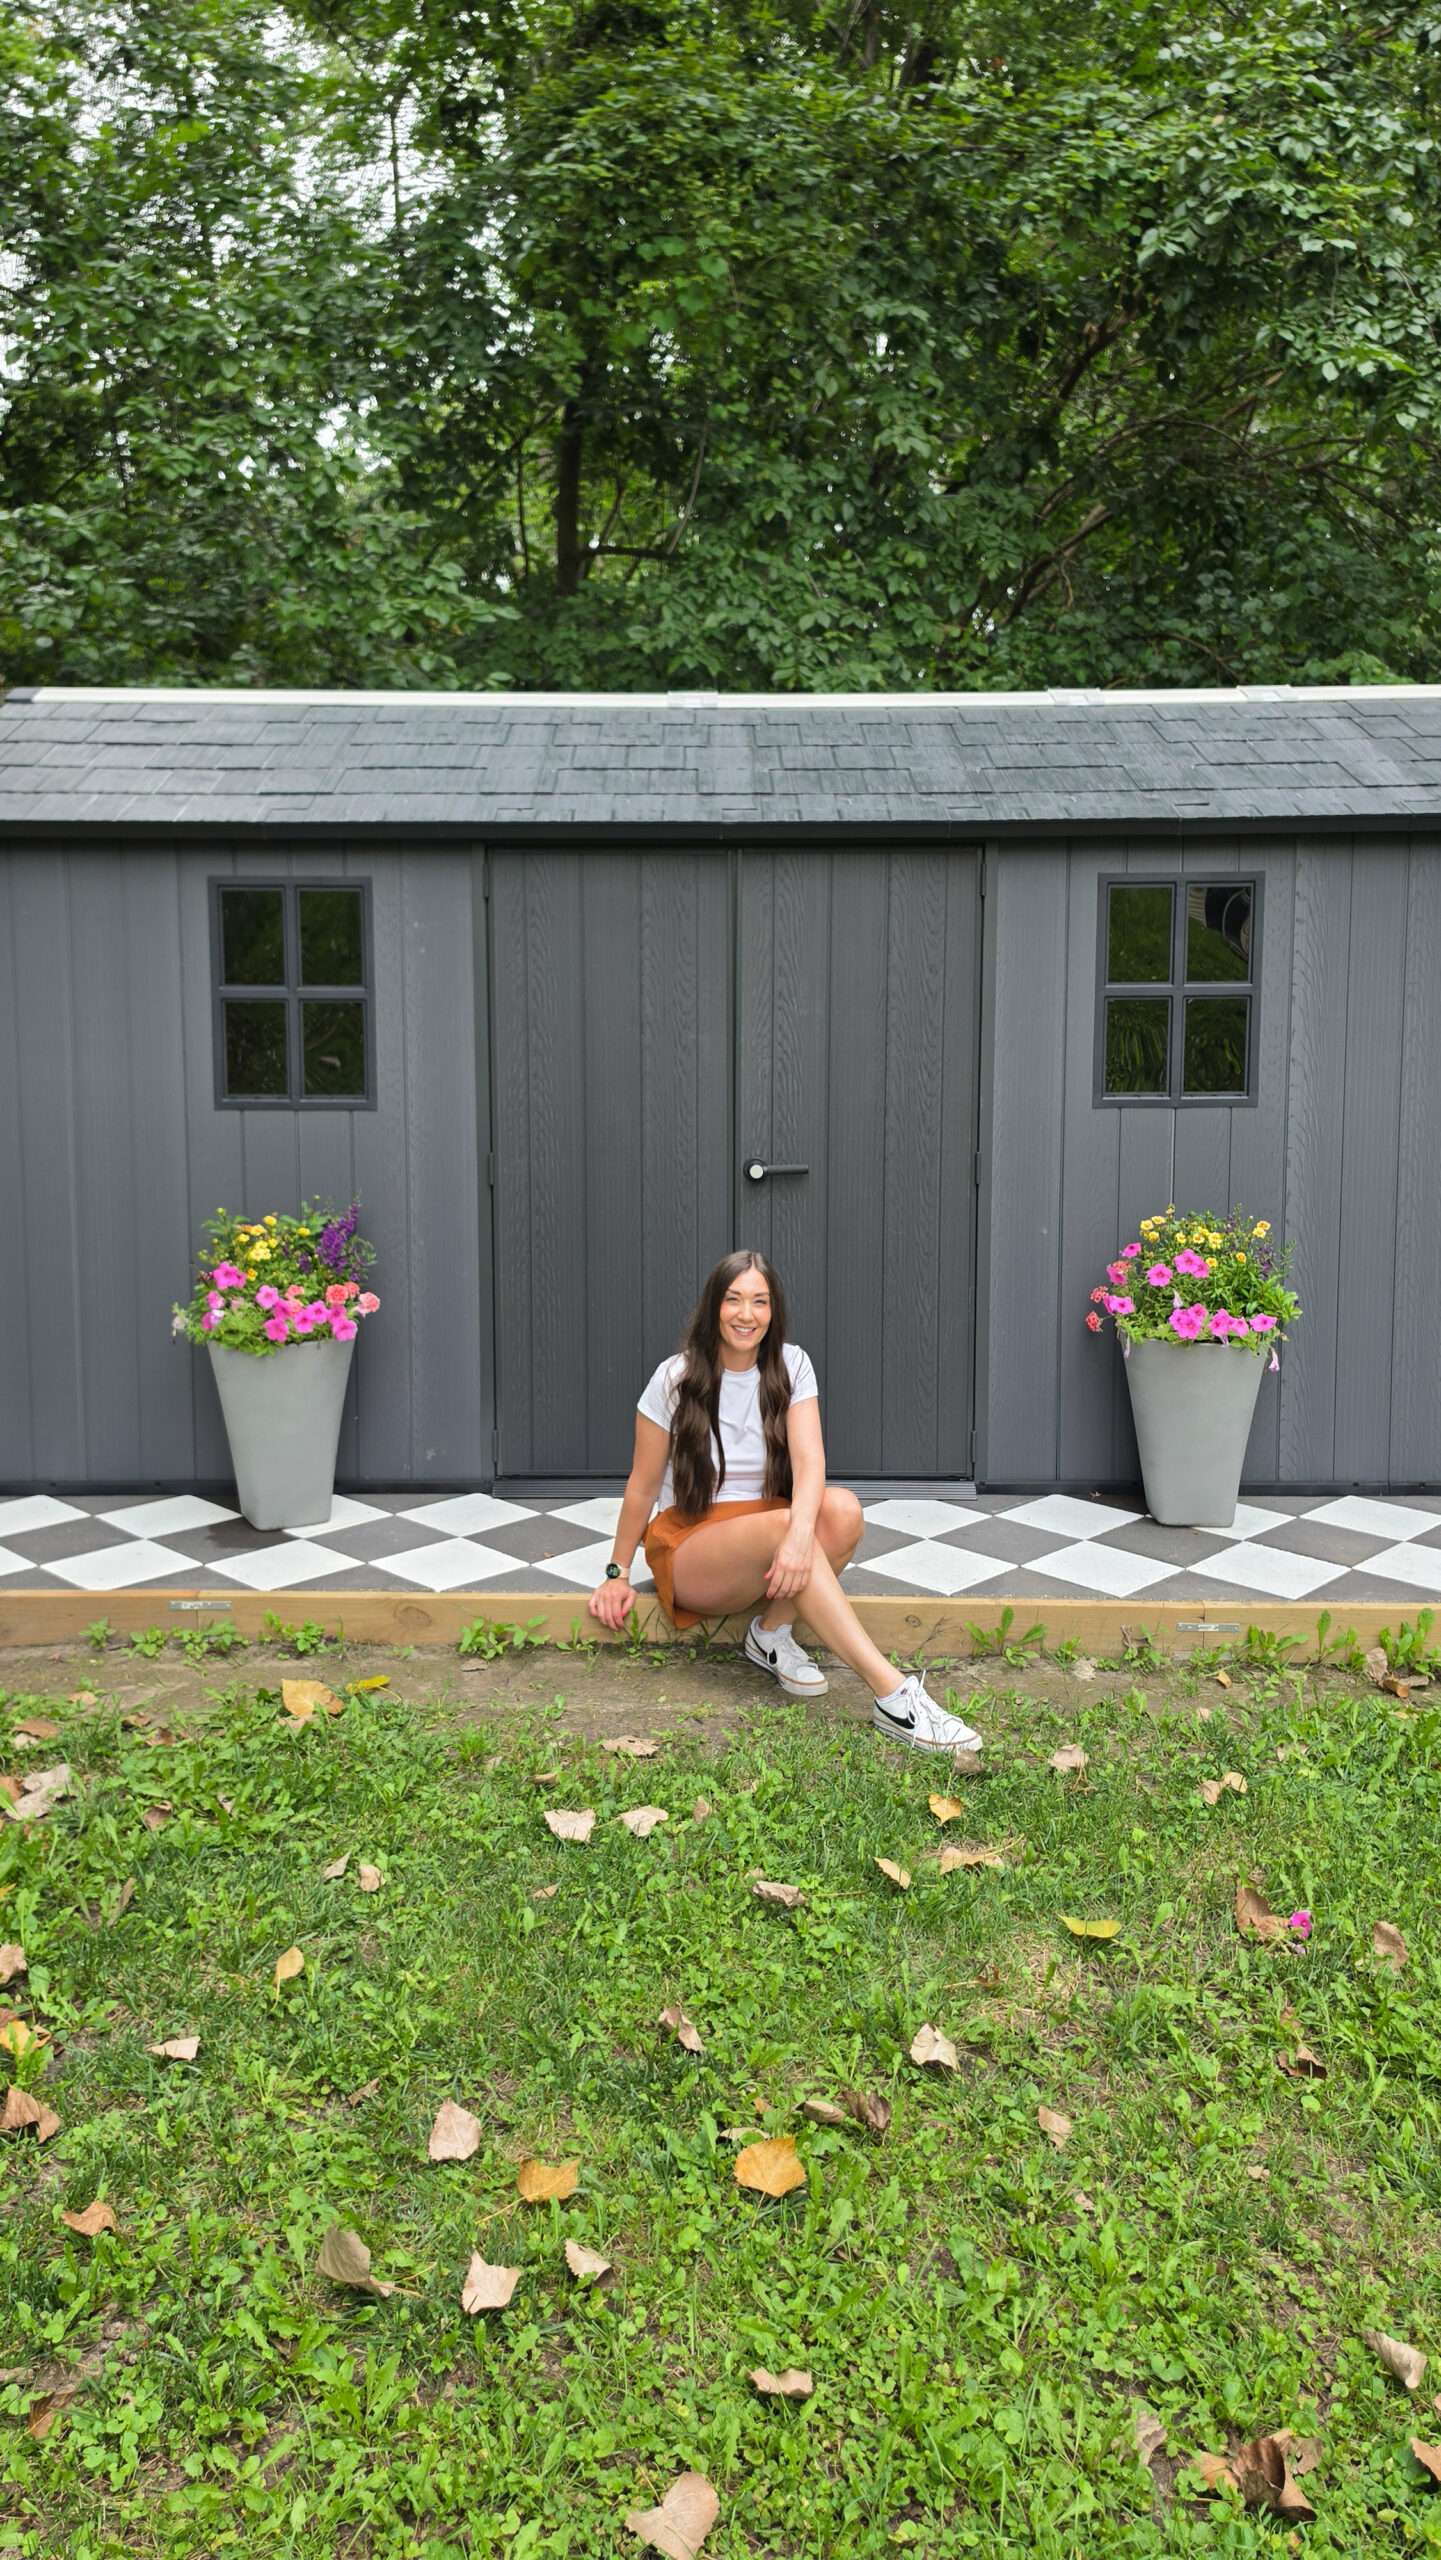
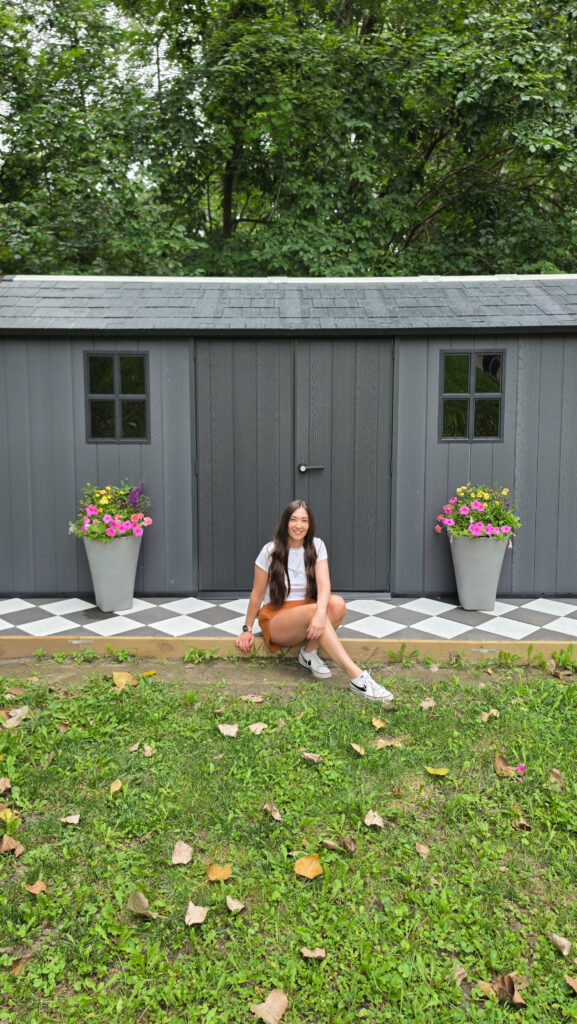
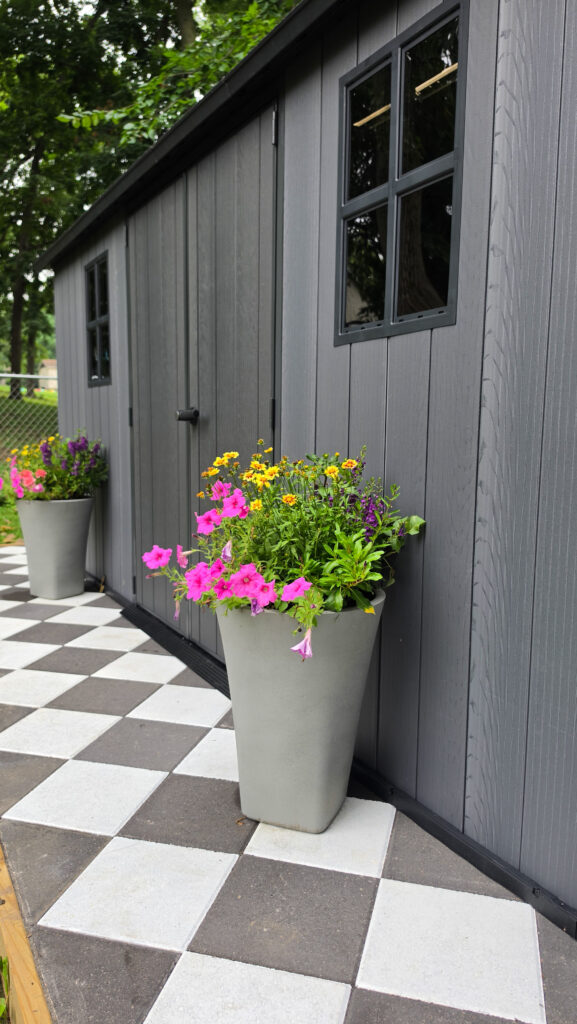
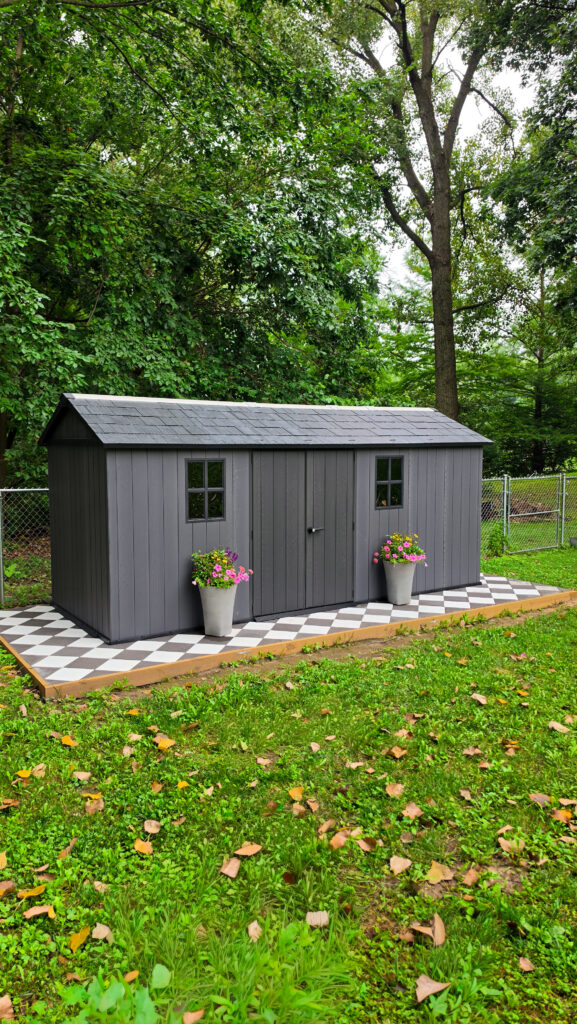
We needed to add some storage to our backyard, so I decided to build a base and shed myself. But I didn’t want just a plain concrete slab, so instead I built this charcoal and white diamond shed base!
*I may earn a small commission on any linked items in this article*
Supplies
- Charcoal Paver
- Gray Paver
- 2x6x8 Boards
- Weed Tarp
- Paver Base Sand
- Leveling Sand
- Level
- Mallet
- Paver Locking Sand
- Angle Grindger
- Concrete Blade
- Shed
Step Summary
- Build frame (if needed)
- Fill in the Frame
- Add Leveling Sand
- Paint Pavers with Concrete Stain (Optional)
- Lay Pavers in Diamond Pattern
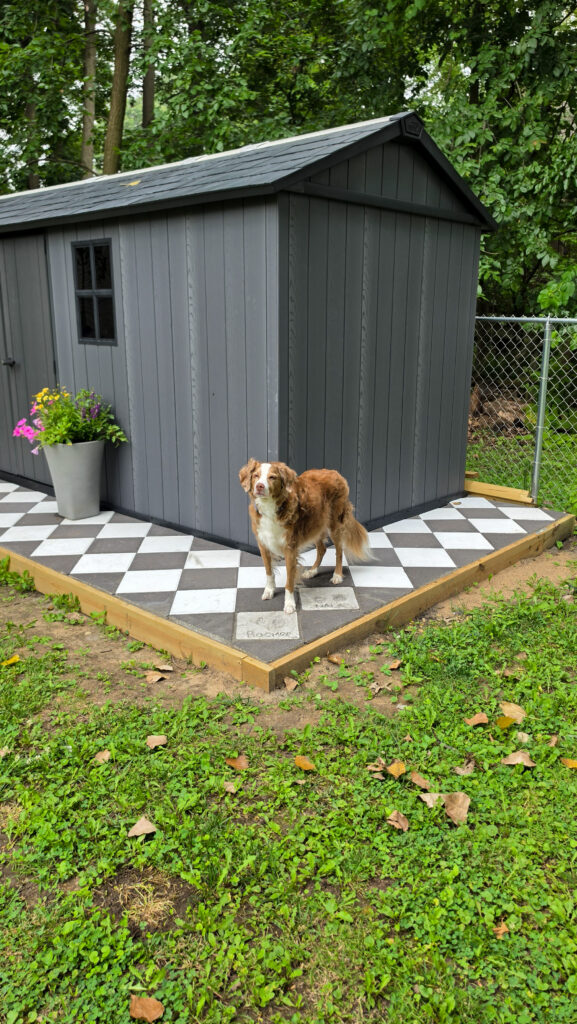
- Add in “Special” Pavers – Dog Paw Print Pavers
- Cut Edge Pavers
- Fill in with Paver Locking Sand
Detailed Steps
Build Frame (if needed)
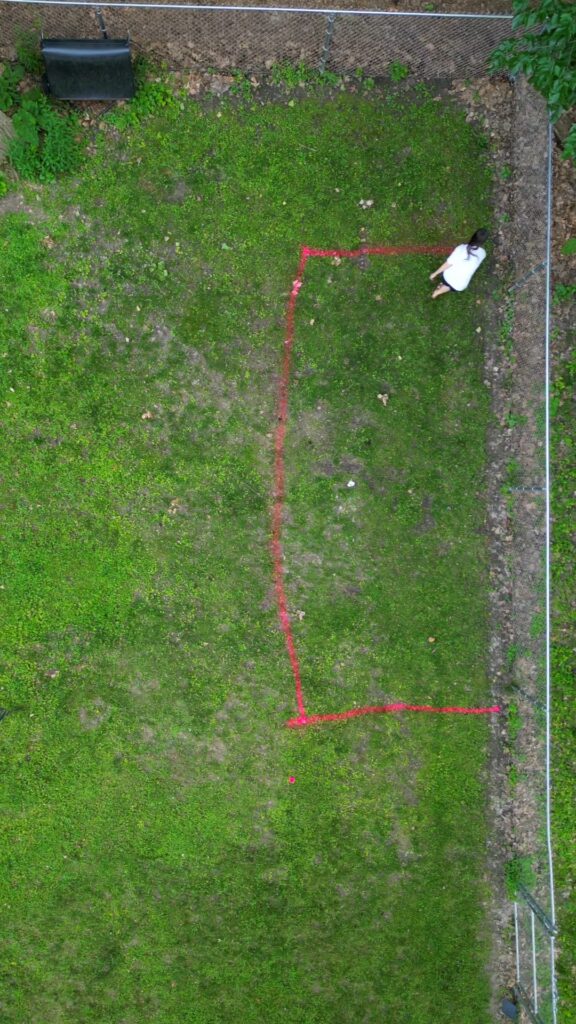
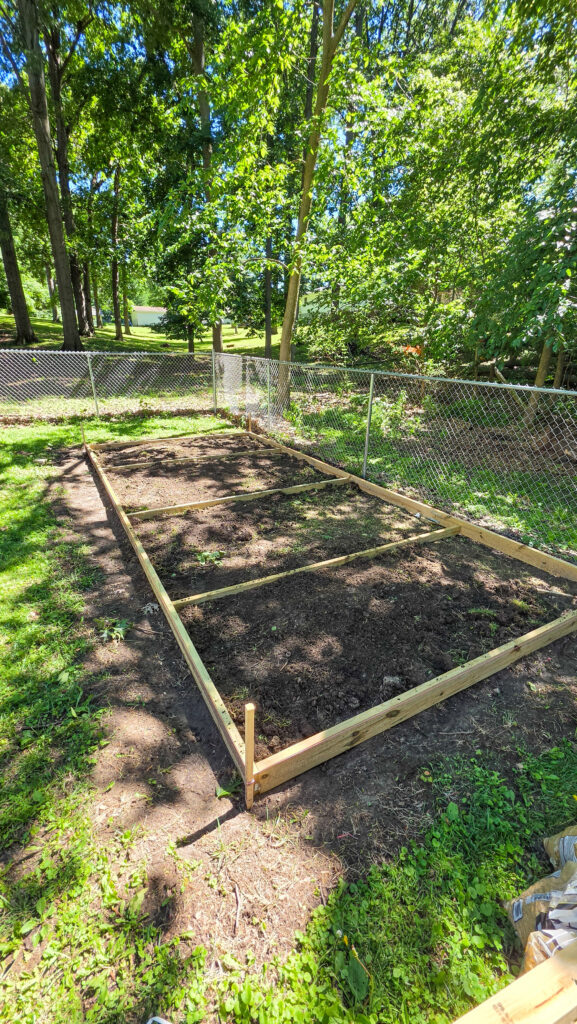
Our shed and base were going in a corner of our yard that does get some water. So I decided to build my base up a couple of inches to make sure nothing got wet or washed away. This isn’t needed depending on how your yard is! I used 2x6x8 boards to build out a simple rectangle base. I attached the 8-foot boards using metal brackets.
Fill in the Frame
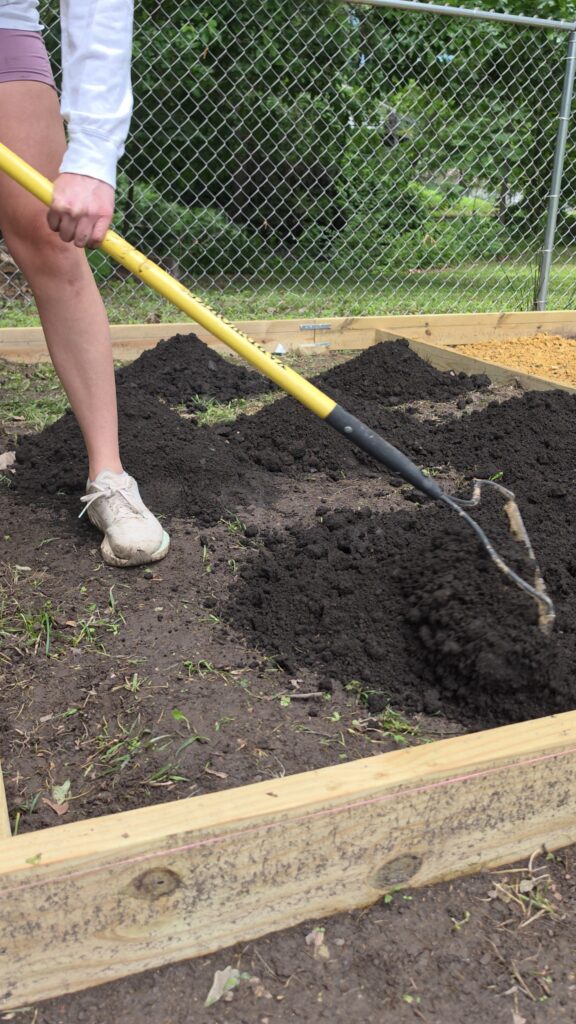
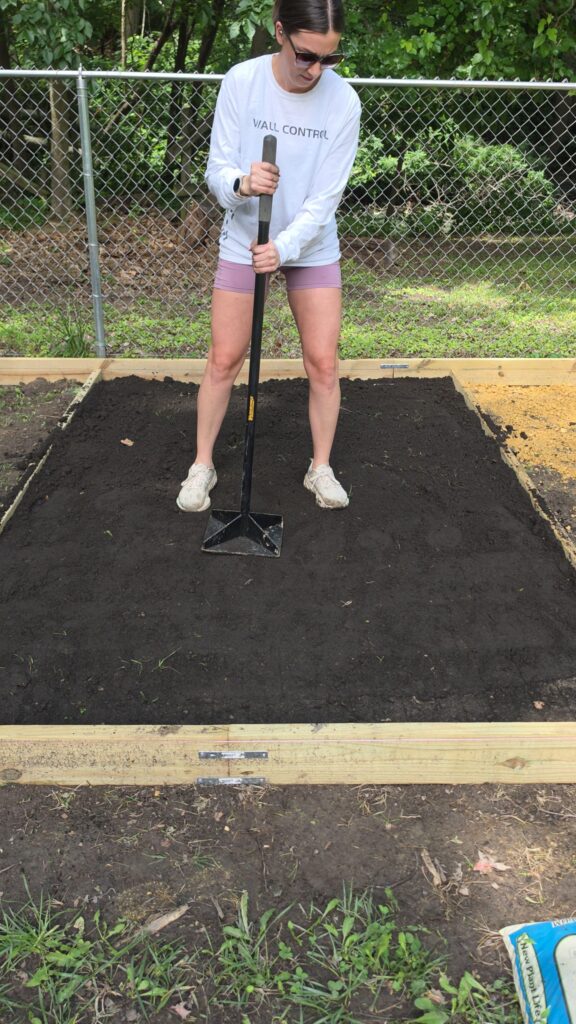
Because my frame was a few inches deep, I started by filling the bottom with dirt to reduce the amount of base material I would need. Once the dirt was leveled and compacted, I covered it with landscape fabric to help prevent weeds from growing up through the pavers over time.
Next, I added a layer of paver base sand and spread it evenly across the entire area. While many installation guides recommend this step to create a stable, level foundation, I personally didn’t find it absolutely necessary for my project. However, if you’re building a larger patio or a space that will receive heavy foot traffic, it’s a good extra layer of support to help keep your pavers level and minimize shifting over time.
Add Leveling Sand
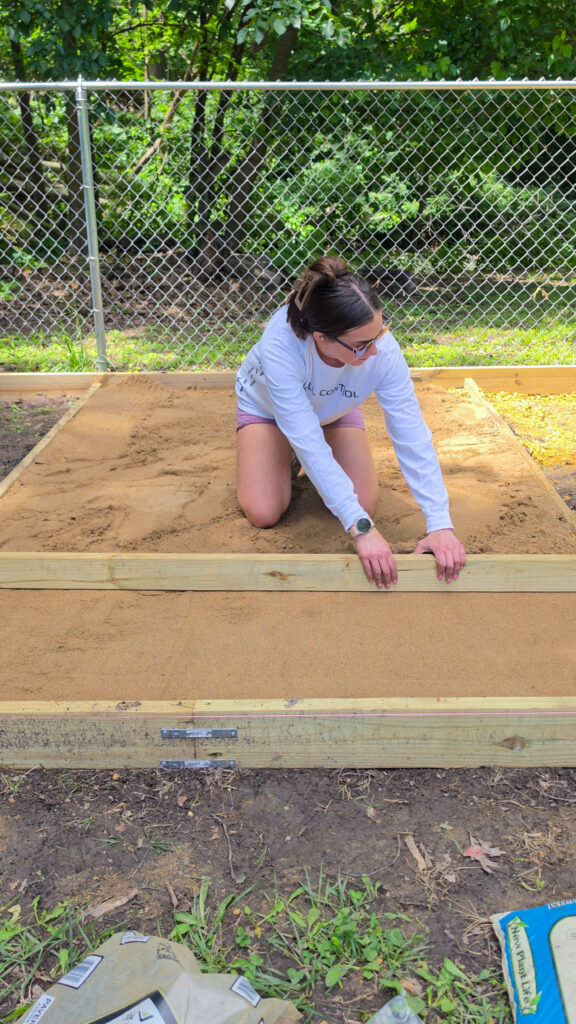
Before you lay down your pavers, you want to fill in with leveling sand.
Paint Pavers with Concrete Stain (optional)
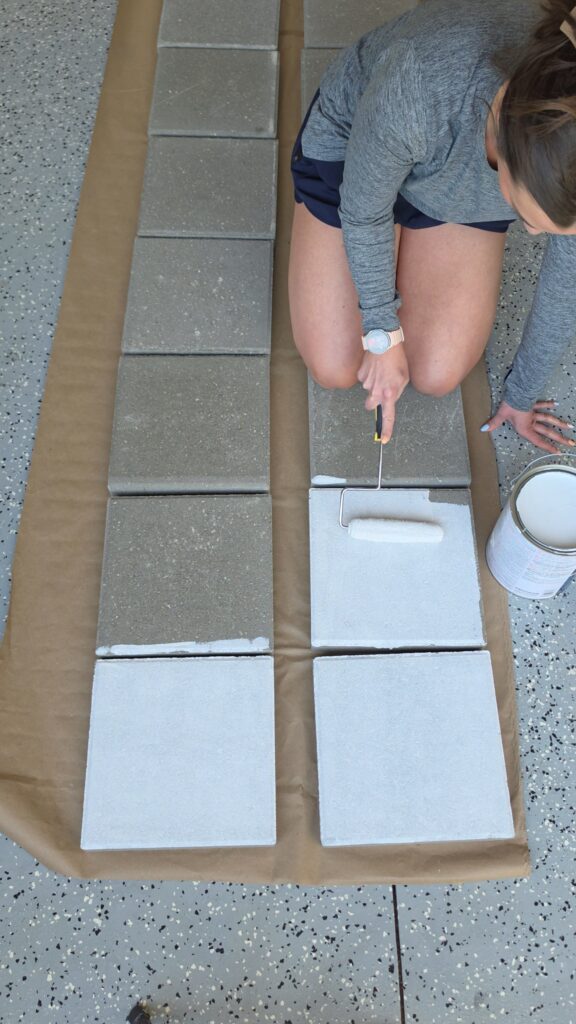
My pavers weren’t the exact color I wanted, so I grabbed concrete stain and painted half my pavers white/linen to give me the contrast I wanted! I love how they turned out.
Lay Pavers in Diamond Pattern
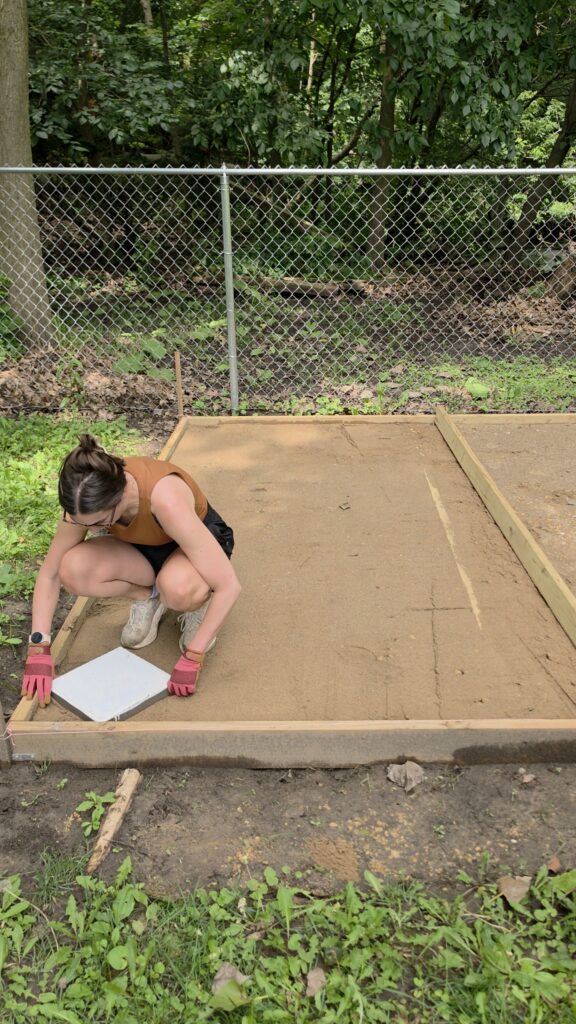
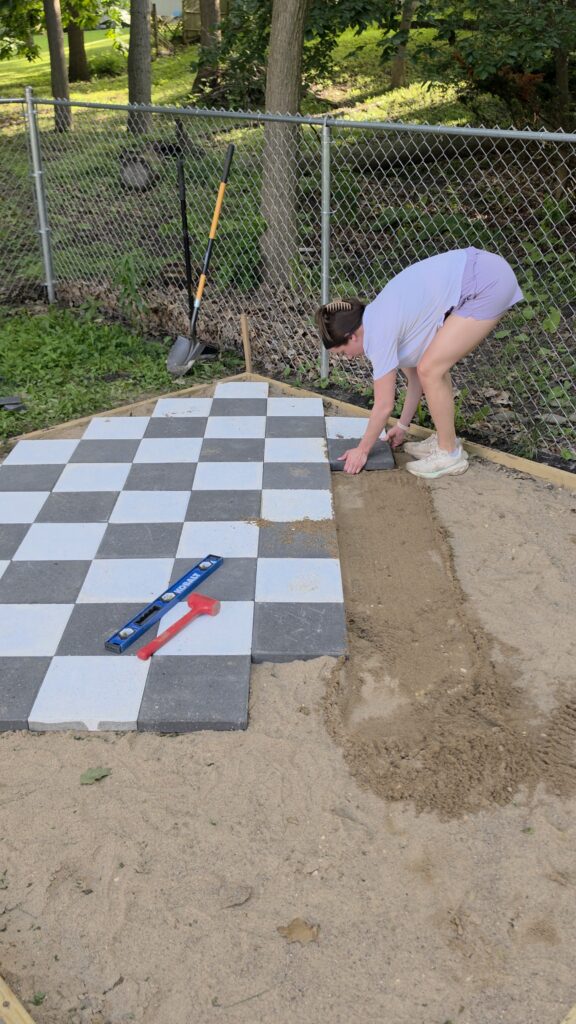
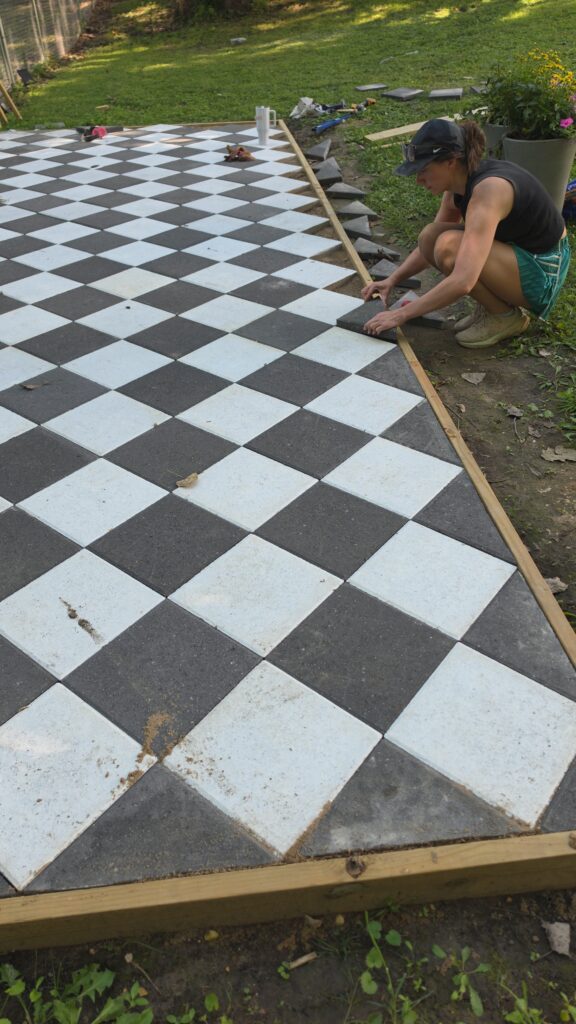
I started in one corner of the frame and made sure my first paver was perfectly square with the edge boards using a carpenter’s square. Taking the time to get the first paver aligned correctly is important because every paver after it will follow that same pattern.Once it was in place, I used a level and rubber mallet to make sure it was level from front to back and side to side. Then I repeated the process, checking each paver as I went to keep everything even and aligned.
I left the edge spaces open where half pavers would be needed and came back to fill those in after all of the full-size pavers were installed. It made the installation quicker and the cuts much easier to measure accurately.
Add in Dog Paw Print Pavers
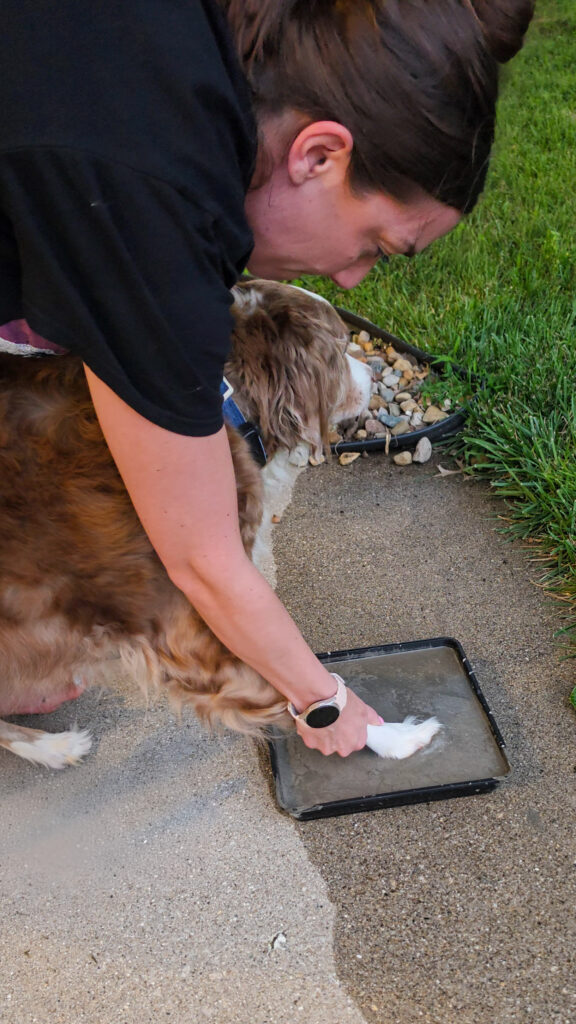
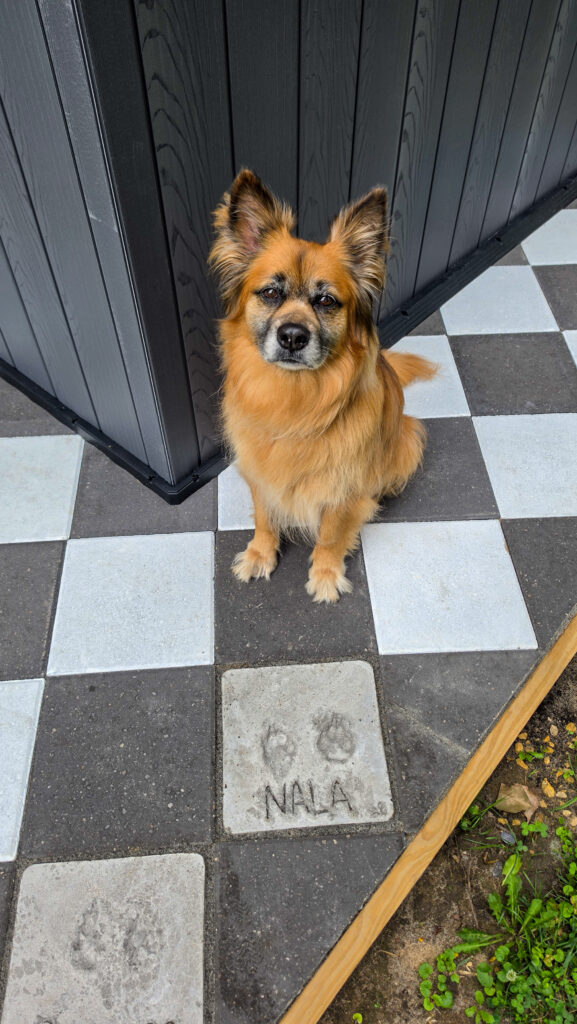
My dogs kept walking through my sand as I was working on this base, so instead of getting upset, I decided to add them permanently to the design! I grabbed my own molds, made my own pavers, and added my dogs paw prints into their own pavers. You can check out my full blog post on them here!
Cut Edge Pavers
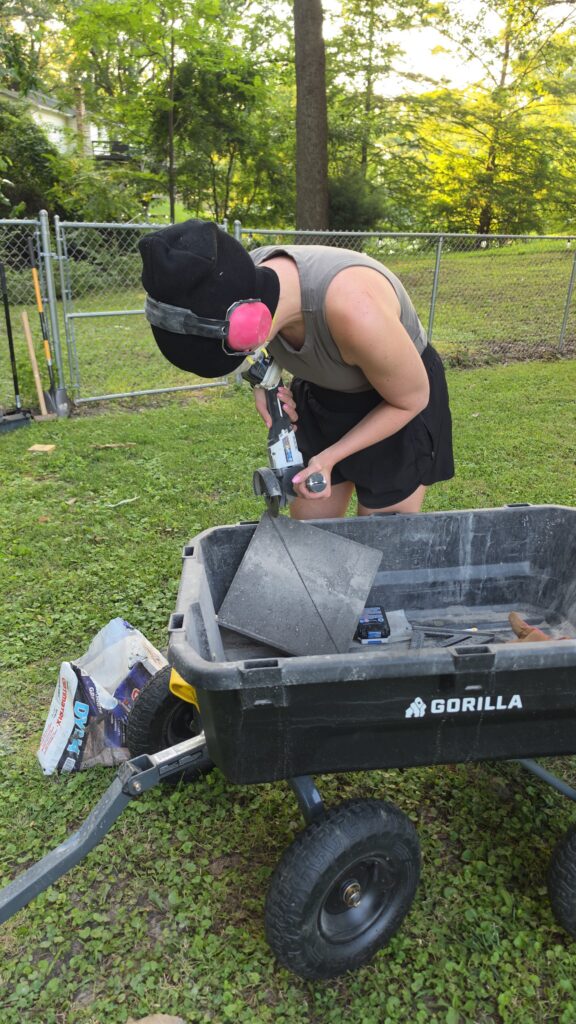
Since I designed my frame to fit full-size pavers evenly, the border only required 12×12 concrete pavers cut in half. I used an angle grinder with a diamond concrete blade to make each cut, then installed the half pavers around the entire edge to finish the border. When cutting concrete pavers, be sure to wear safety glasses, hearing protection, and a dust mask or respirator. Concrete dust isn’t something you want to breathe in, so taking a few extra safety precautions is well worth it.
Don’t worry about the winter cap on my head in the middle of summer… I had just washed my hair, and the women will understand why this had to be done!
Fill in with Paver Locking Sand
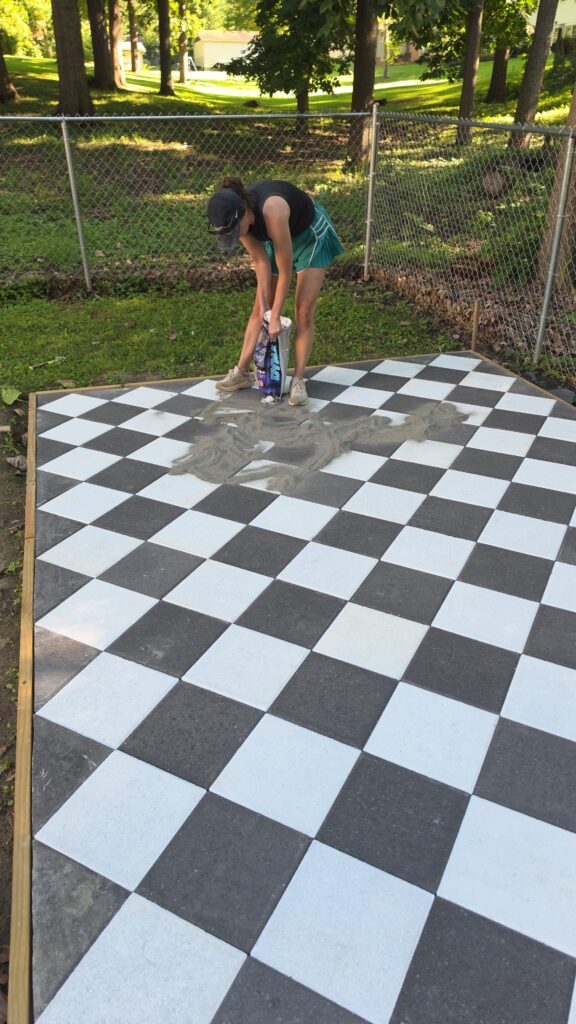
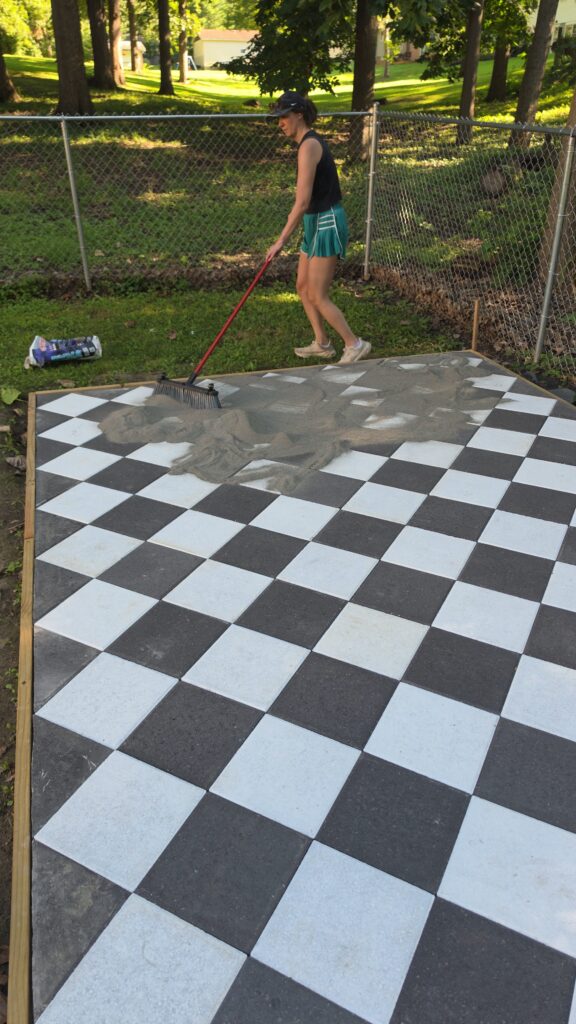
Once all of your pavers are installed and level, it’s time to lock them in place with polymeric paver sand (also called paver locking sand). Think of this step as grouting tile, it fills the joints between the pavers and helps prevent shifting, weeds, and insects.
Pour the sand over the pavers and use a broom to sweep it into every joint until they’re completely filled. Then, gently sweep or blow away any excess sand from the surface. Once the pavers are clean, lightly wet the entire area according to the manufacturer’s instructions. As the sand dries, it hardens to lock the pavers together, giving your project a clean, finished look.
This was maybe a lot of extra work for a shed base, but I knew it would look amazing with the shed! The colors make it pop even more!
Aug 5, 2026