How to Remove a Popcorn Ceilings
Popcorn ceilings were once a popular design choice in homes, especially from the 1950s through the 1980s because they helped hide imperfections and reduce sound. But many homeowners today find them outdated, dusty, and difficult to clean…including myself! If you’re ready to update your space and say goodbye to the popcorn texture, you’re not alone. Removing a popcorn ceiling can seem like a daunting task, but with the right tools, preparation, and safety precautions, it can be a manageable DIY project. In this blog post, I’ll walk you through the steps to successfully remove a popcorn ceiling, transforming your room into a sleek, modern space. Let’s dive in!
If you’d like to see a video instead, check out my video here!

Supply List
- Asbestos Test Kit
- Plastic Sheets
- Spray Bottle
- Plastic Scraper
- Sanding Block
- Rag & Bucket of Water
- Drywall Patch (only if needed for repairs)
- Ceiling Paint
Step Summary
- Test your popcorn ceiling for asbestos
- Prepare your area
- Test a small area to see if popcorn ceiling is painted
- Spray warm water onto popcorn ceiling
- Gentle scrap with plastic scraper
- Wipe down ceiling with damp rag
- Patch any holes or gouges
- Paint ceiling
Detailed Steps
Test your popcorn ceiling for asbestos
Many popcorn ceilings contain asbestos, especially those built before the 1990’s. They stopped using it in the late 1980’s but you want to be sure your home is good to go. Grab this cheap kit off Amazon and test a small section. If it does contain asbestos, you do not want to continue scrapping your ceiling. This will release asbestos into your home. Your options would be to call a remediation company or to cover up your existing ceilings with another layer of drywall or some other type of covering like shiplap
Prepare your area
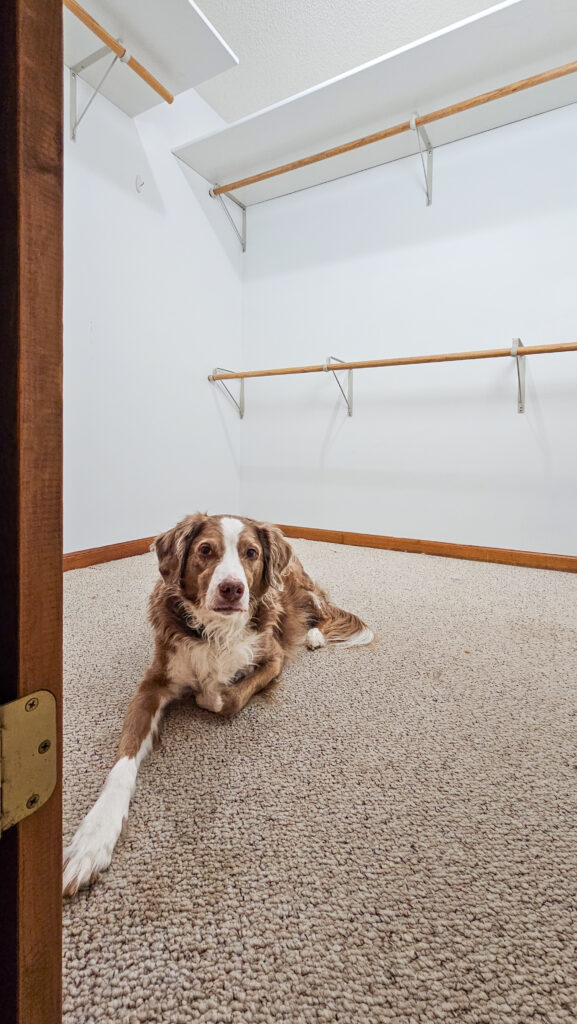
This can be a messy project, so if you are wanting to keep your walls and floors intact, you will want to go ahead and cover everything in plastic. The popcorn will drip down your walls and leave water streaks. It can be cleaned up, but its alot easier to go ahead and prepare your area. I am redoing our primary closet, so I went ahead and took out all the shelves and racks beforehand. Here is my dog Boomer hanging out before the destruction starts.
Test a small area to see if the popcorn is painted
Fortunately for me, 95% of the popcorn ceilings in my home have been unpainted, which makes them a lot easier to remove. Painting popcorn is actually quite impossible with a roller because it usually just comes right off. But our kitchen ceilings were painted, and it made them exponentially more difficult to remove. If the popcorn has been painted, the warm water will not be able to penetrate that paint to dampen the popcorn texture and making it easy to scrap off. You can still remove the popcorn, but you will need to take extra steps.
Test a small area of your popcorn by spraying it with water, letting it sit for a minute, and then gentle try scraping the texture off. If this doesn’t remove the popcorn, chances are its painted. If they are painted, you need to get a sander to remove the top laying of paint. Roughing up the popcorn will allow the water to penetrate and make it able to be scraped off.
Spray ceiling with warm water
I just use this small water bottle to get my ceilings damp. You don’t need a ton of water that it is dripping down from your ceiling, just enough to dampen the material. Warm water works better than cold water. I work in small 2×2 foot sections by spraying the area with water and then letting that sit for a minute or 2.
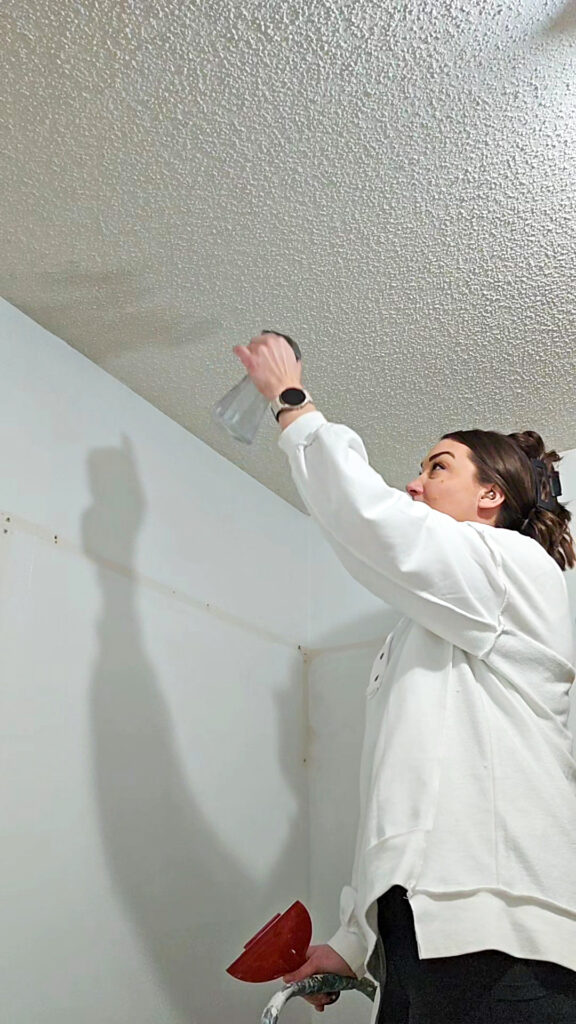
Gently scrap with plastic scraper
Once the water has sat on the popcorn, grab your plastic scraper and work at a slight angle to remove the popcorn. It should just scrap right off the ceiling without alot of effort. I don’t recommend using a metal scraper because you are more likely to gouge your ceiling that will require drywall patch. Once the popcorn is wet, the plastic is able to easily get it all off.
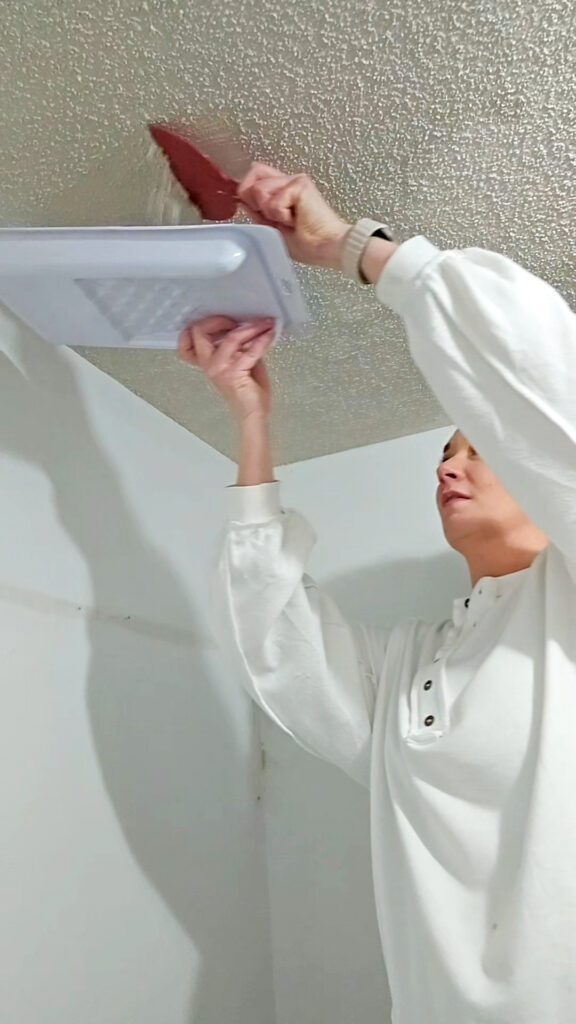
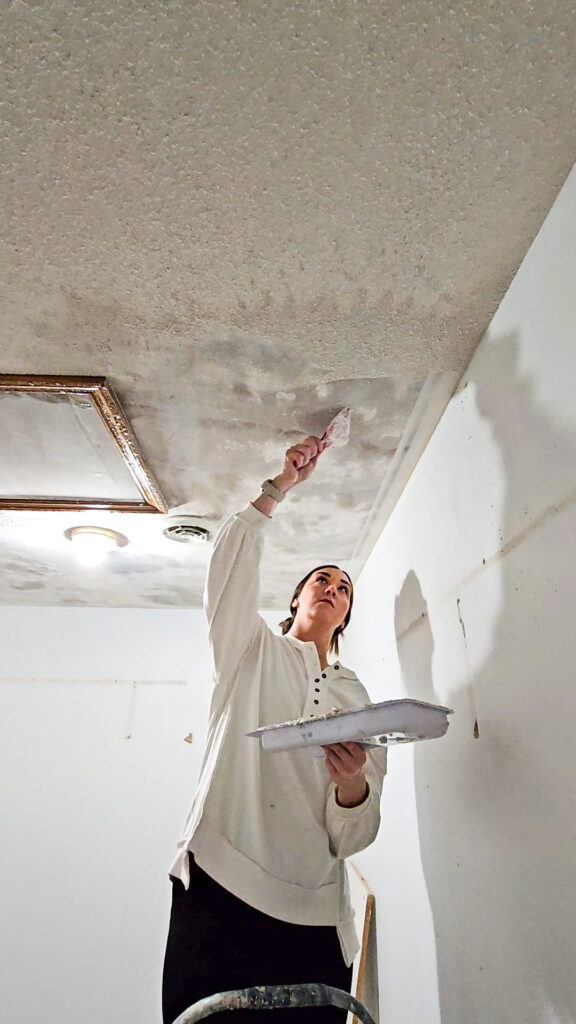
Wipe down your ceilings with rag
Once all the popcorn has been removed, you will want to go back over your ceiling to wipe off any residue still left over. If you do not do this, your paint will not stick. It will just peel off as you are rolling it on. Trust me…. I know. I would grab either an old rag or a grouting sponge to clean off the area. I keep a bucket of water nearby to clean off the rag/sponge every time. This is an extra step that is a pain, but it is necessary. I let my ceilings dry for a day before doing anything else.
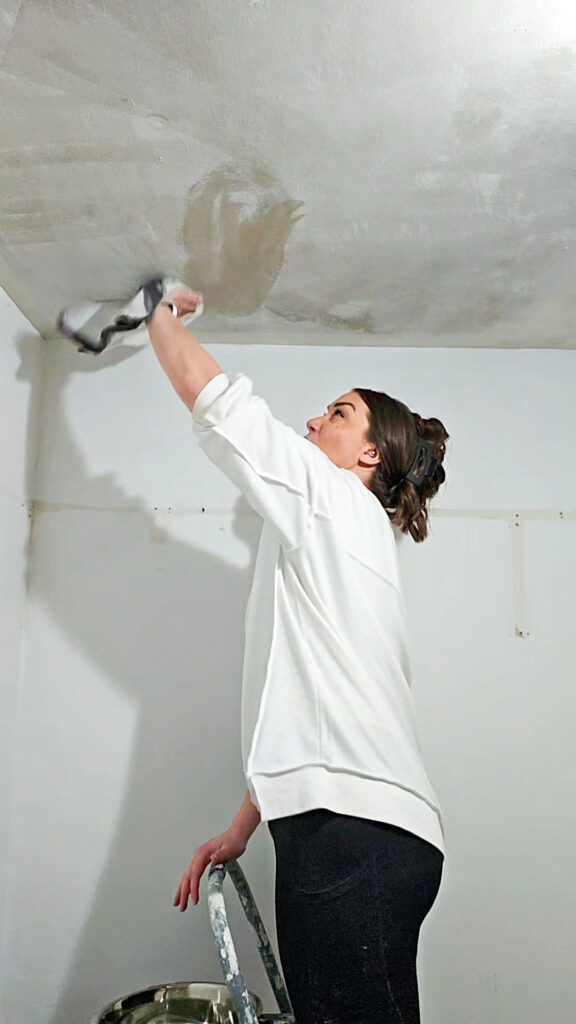
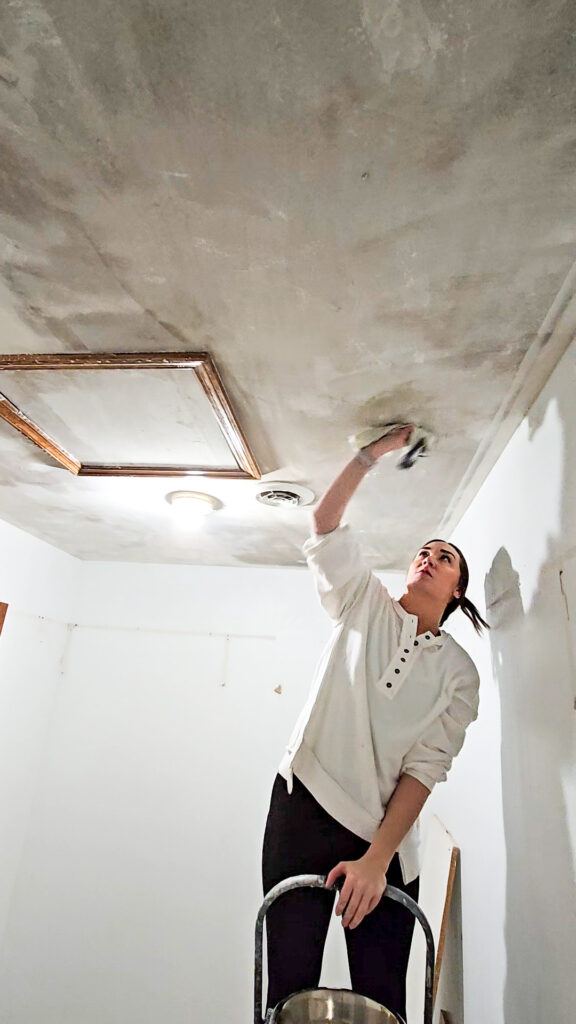
Patch any spots that need repair
If you gouged your ceiling at all, or had any other areas that need smoothed out, now is the time to do it. I just use this drywall patch to fill in holes, let it dry, then sand smooth.
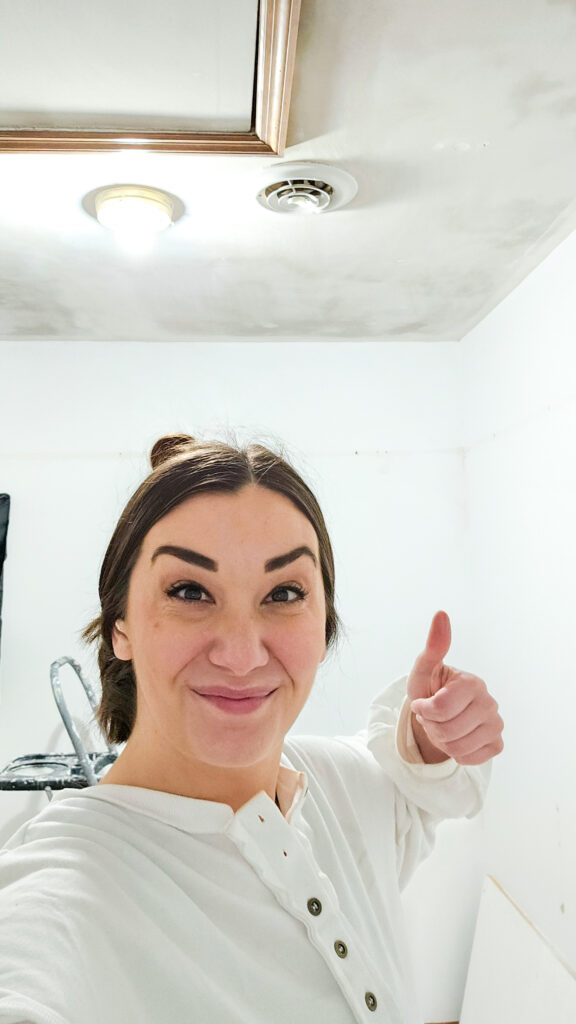
Paint your ceiling
Once all your prep work is done, be sure to let your ceiling dry for at least a day. You don’t want to paint a wet ceiling. I use ceiling specific paint to then paint my ceilings bright white. Ceiling paint is flat so it helps hide any imperfections that may be left in the ceiling. This will require 2 coats of paint. You can use an extension pole to paint the ceiling, or I prefer getting out my step stool and just using my roller.
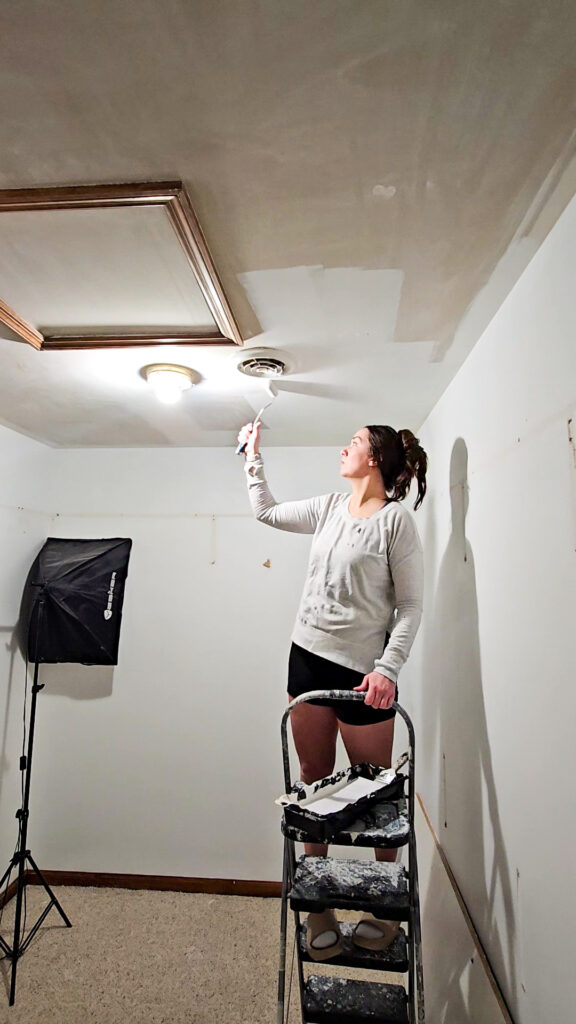
Now your ceilings are all done! Over the last 4 years of living in our home, I have slowly removed the popcorn from our ceilings. I didn’t want to overwhelm myself when we moved in and do it all at once. This process has worked so well for me, and I have gotten better with each room. The first room I did this in… well let’s just say someday I will have to go back and fix it. So, give yourself grace, time, and patience. You will get it done and have beautiful ceilings too!
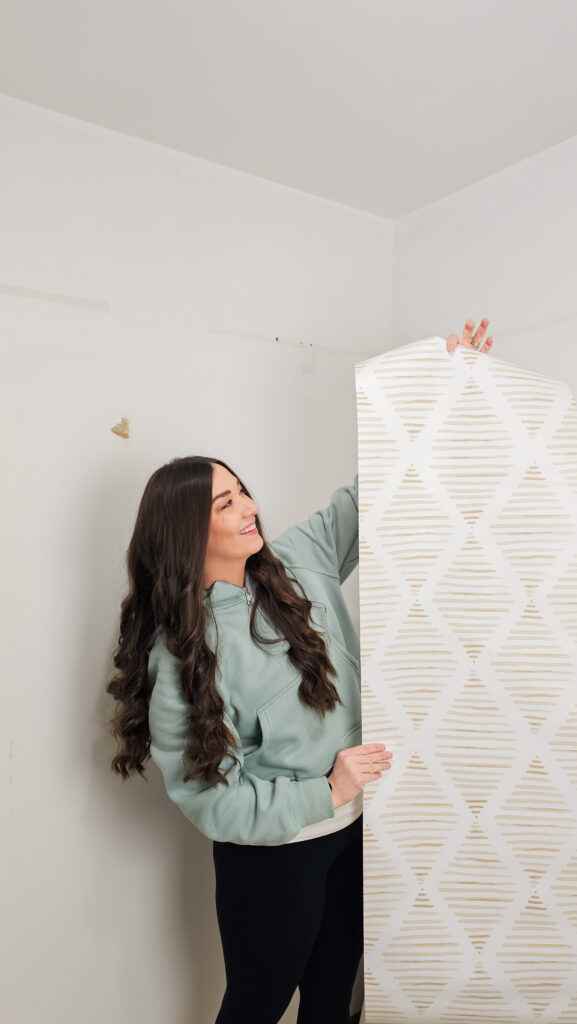
Next in this closet, I am adding in some fun peel & stick wallpaper!
Jan 10, 2025
