

Stacked Trim – (Faux Tray Ceiling)
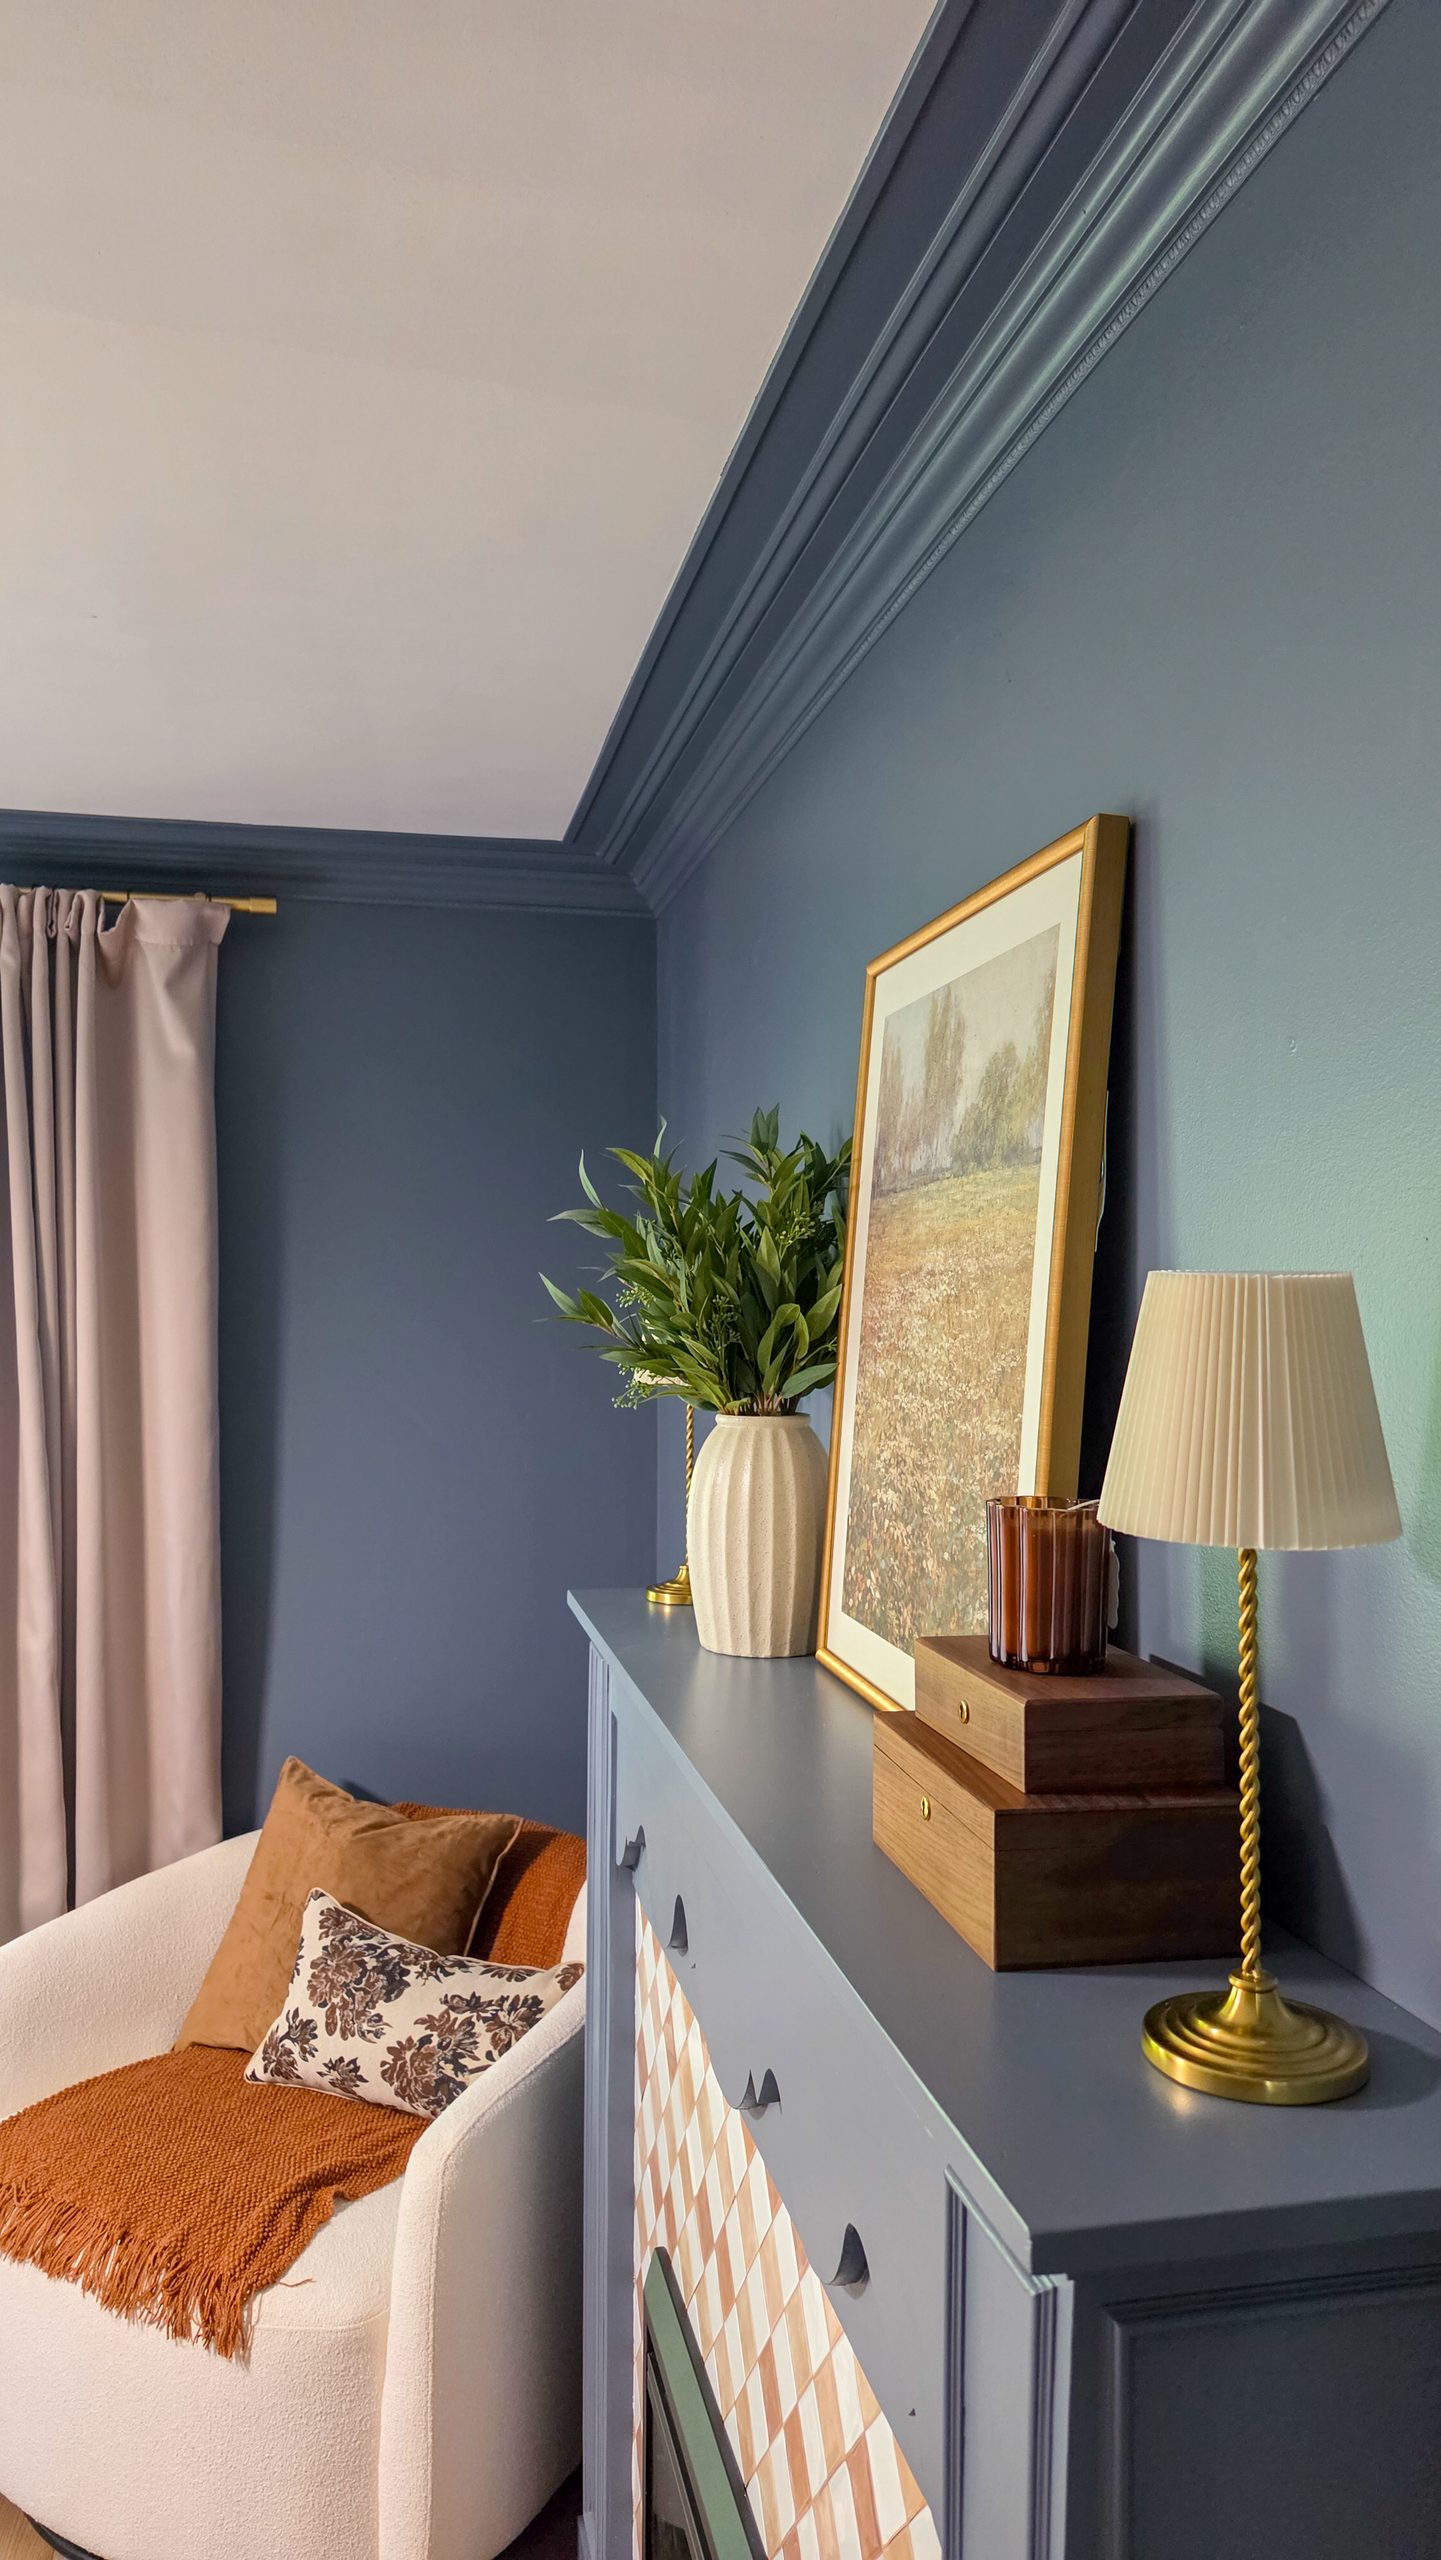
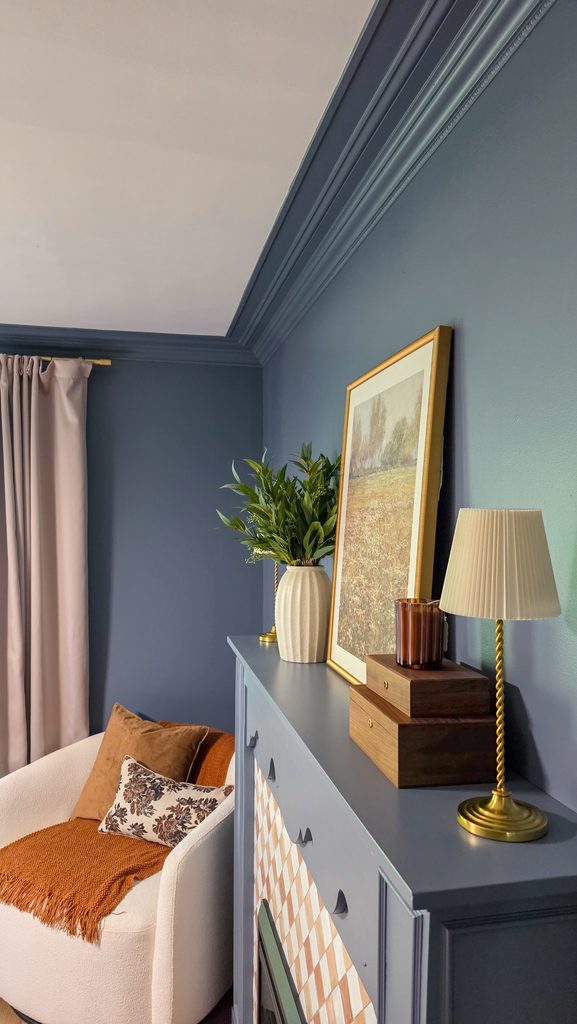
Our bedroom was begging for a makeover, and I wanted to find a way to make our standard 8 foot ceilings feel taller! I’ve always loved the look of tray ceilings in bedrooms, but with our ceilings already being on the shorter side, I was nervous about doing anything that would take away from the height.
Instead, I decided to create a DIY faux tray ceiling by stacking layers of decorative trim and crown molding. This gave me that beautiful, custom tray ceiling look without actually lowering the ceiling height!
*I may earn a small commission on any linked items in this article*
Supplies
- Baseboard
- Crown Molding
- Screen Molding
- Ornamental Trim
- Caulk
- Wood Filler
- Paint – Behr Charcoal Blue
- Tools:
Step Summary
- Hang baseboard on ceiling
- Use spacer block
- Install crown molding
- Install screen molding
- Install ornamental trim
- Caulk & wood fill all trim
- Paint trim
Detailed Steps
Hang baseboard on ceiling
The first step in creating this stacked ceiling trim look was installing a baseboard! Using baseboard molding as the first layer immediately added depth and dimension to my ceiling.
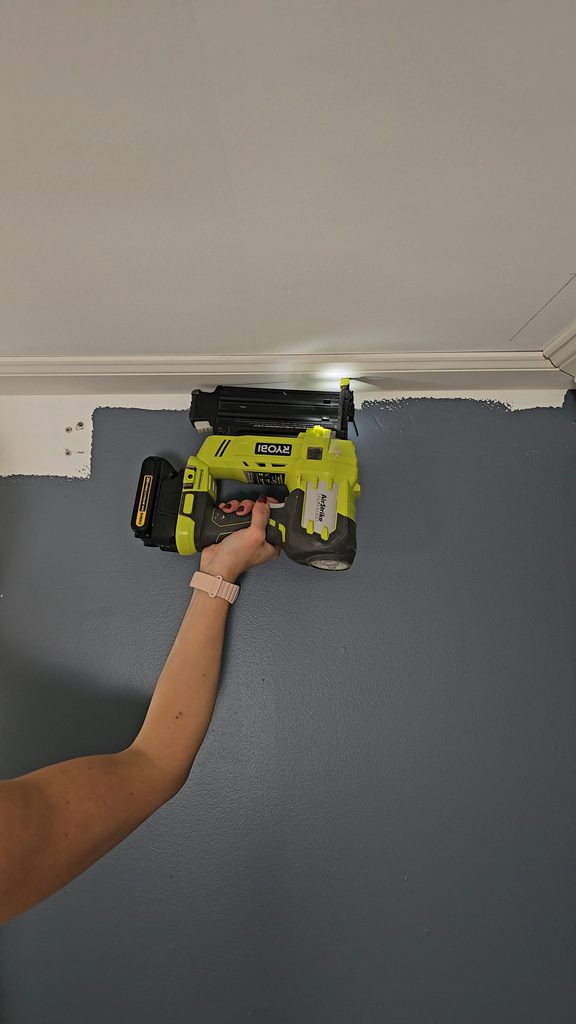
I just used my nail gun to attach the baseboard directly to the ceiling. Just like when you’re installing trim on a wall, you can use a stud finder to locate the ceiling joists and nail your boards into them for a secure hold.
Another trick I like to use when installing decorative trim is to angle my nails in opposite directions, almost like a V. This helps grip the molding and hold it in place while I’m working. However, for ceiling installations, I recommend securing the boards into the ceiling joists or using an appropriate construction adhesive along with nails for extra support.
Use spacer block
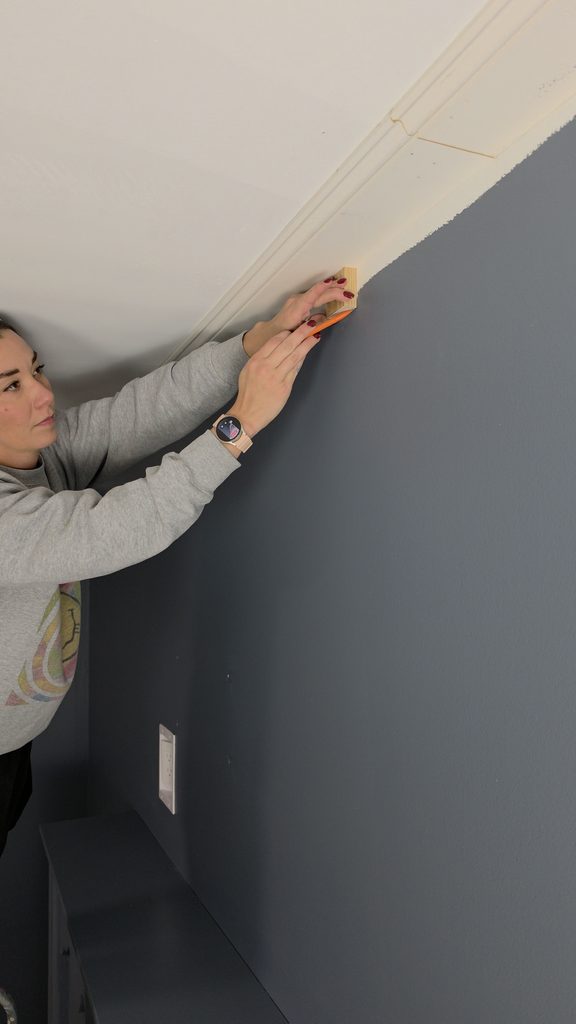
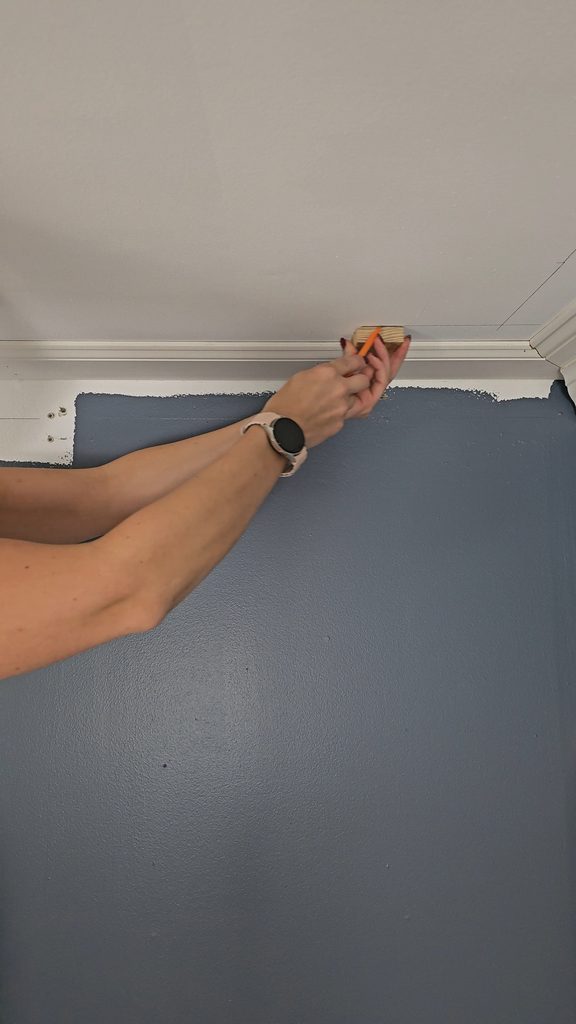
Once your baseboard is installed, the next step in creating your stacked ceiling trim is to mark two guidelines on your wall and ceiling. These lines will help you keep everything straight and evenly spaced as you install the remaining molding.
The first line will go on the wall, just below your baseboard. This marks where the bottom edge of your crown molding will sit. I like to do this ahead of time so I’m not trying to hold a level while also juggling a nail gun and a piece of crown molding! I used a spacer block to keep my measurements consistent. The size of your spacer block will depend on the size and style of crown molding you choose.
For the second line, I used that same spacer block to create a balanced, evenly spaced look on the ceiling. Simply hold the block against your baseboard and mark a line along the ceiling. This guideline will show you exactly where to install your screen molding, which will add another decorative layer to your ceiling trim design.
Install crown molding
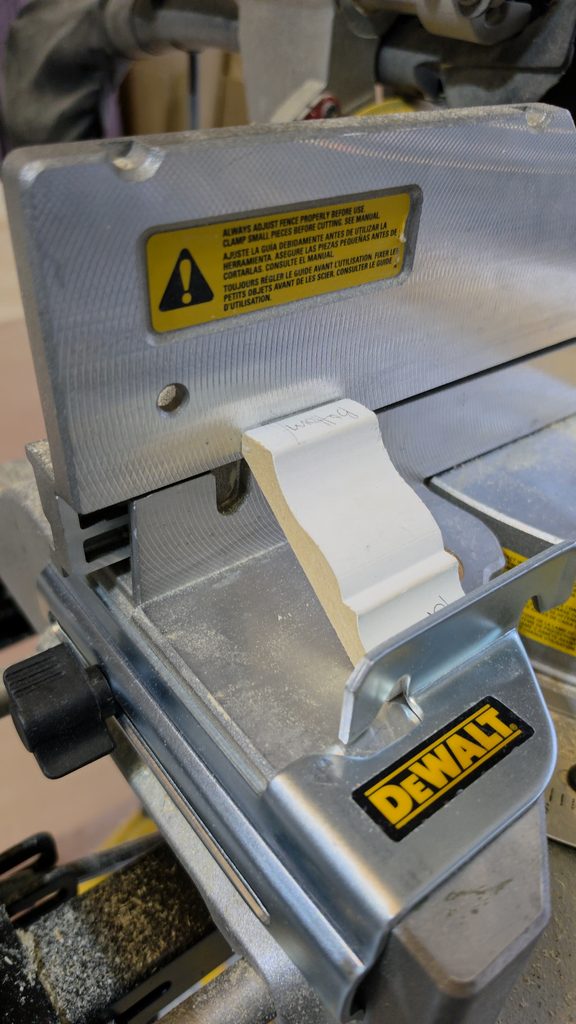
Now it’s time to install your crown molding! I’ll be the first to admit that I’m definitely not a pro when it comes to cutting crown molding. I’ve only installed it three times! But my biggest piece of advice is to make yourself a cutting guide for your corners. Once you figure out how your inside and outside corners need to be cut, the process goes so much faster!
One tool that made this DIY crown molding installation a lot easier was a crown molding jig that I attached to my miter saw (or chop saw). This jig helps hold the crown molding at the correct angle while you’re cutting, which takes a lot of the guesswork out of getting those tricky corner cuts just right!
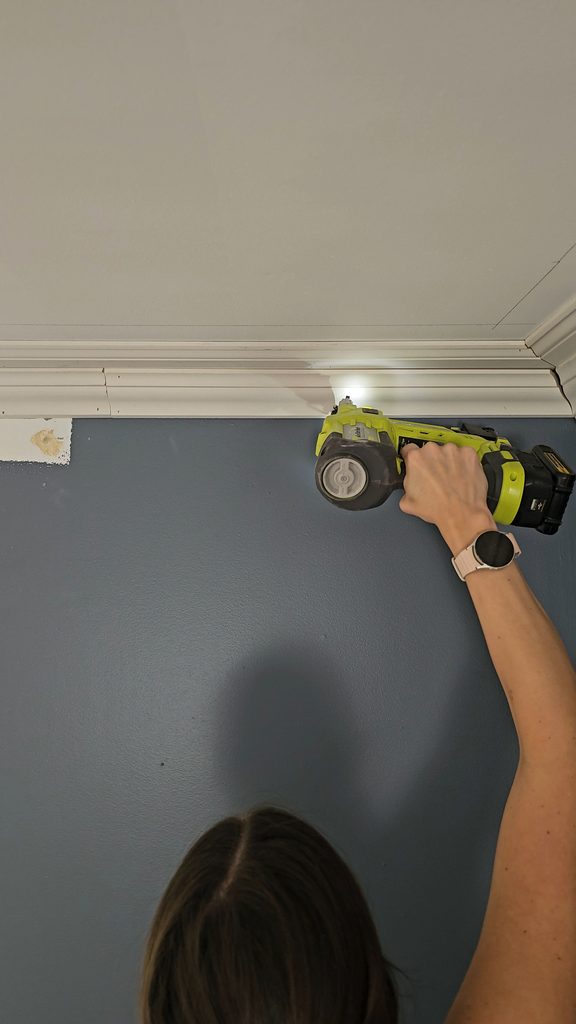
Once all my crown molding pieces were cut and ready to go, I used my nail gun to attach them to the wall and the baseboard I installed earlier. Make sure the bottom edge of your crown molding lines up with that first guideline you marked on the wall. This will keep your molding straight and give your layered ceiling trim a clean, professional looking finish.
Install screen molding
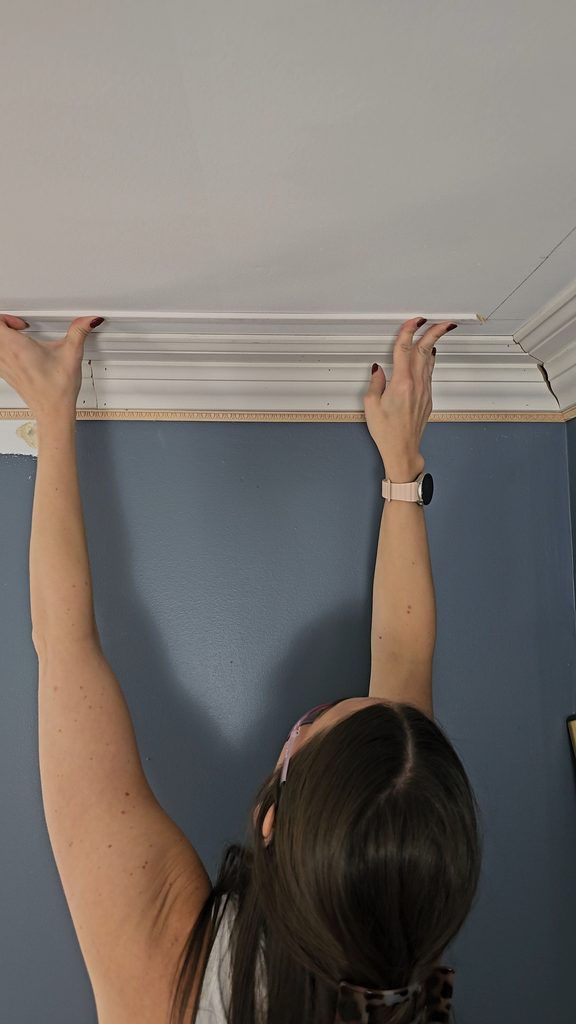
The next step in creating this layered ceiling trim look is installing the screen molding! Screen molding is a thin, flat piece of decorative trim that gets installed directly onto your ceiling. It’s such a simple addition, but it makes a huge difference in the overall design!
Adding this extra layer of molding helps extend the look of your baseboard across the ceiling, creating more depth and dimension. This is really where that DIY tray ceiling look starts to come to life!
Simply cut your screen molding to size and use your nail gun to attach it to the ceiling, following the guideline you marked earlier. This will help keep your trim evenly spaced for a clean, finished look.
Install ornamental trim
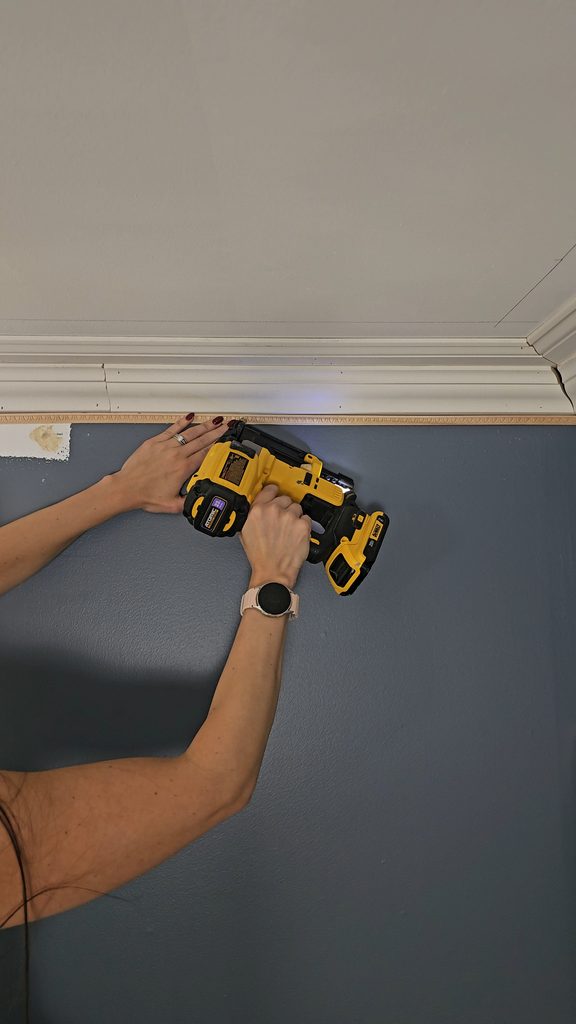
The final step in creating this layered ceiling trim look is adding a small piece of decorative ornamental molding. There are so many different styles available at home improvement stores, so pick your favorite!
Simply cut your trim to size and nail it directly underneath your crown molding. Since this trim is pretty small, a pin nailer works best. But if you only have a regular nail gun, that works too. You’ll just have slightly larger nail holes to fill before painting.
Caulk and wood fill all trim
Now that all your ceiling trim is installed, it’s time to fill in all those gaps and nail holes.
For any nail holes or seams where two pieces of molding meet, use wood filler. Once it’s dry, sand everything smooth for a seamless finish.
For all the edges where your trim meets the wall or ceiling, use paintable caulk. This will hide any small gaps and give your DIY layered ceiling trim a clean, professional look before painting!
Paint your trim
Once all your filling and caulking is done, it’s finally time to paint! I used Behr paint in Charcoal Blue on my walls and carried that same color onto my layered ceiling trim for a seamless look.
I typically use an eggshell sheen on my walls, and you can absolutely use that on your ceiling trim too! Otherwise, I like to use a satin finish for trim work to give it a slightly smoother, more polished look.
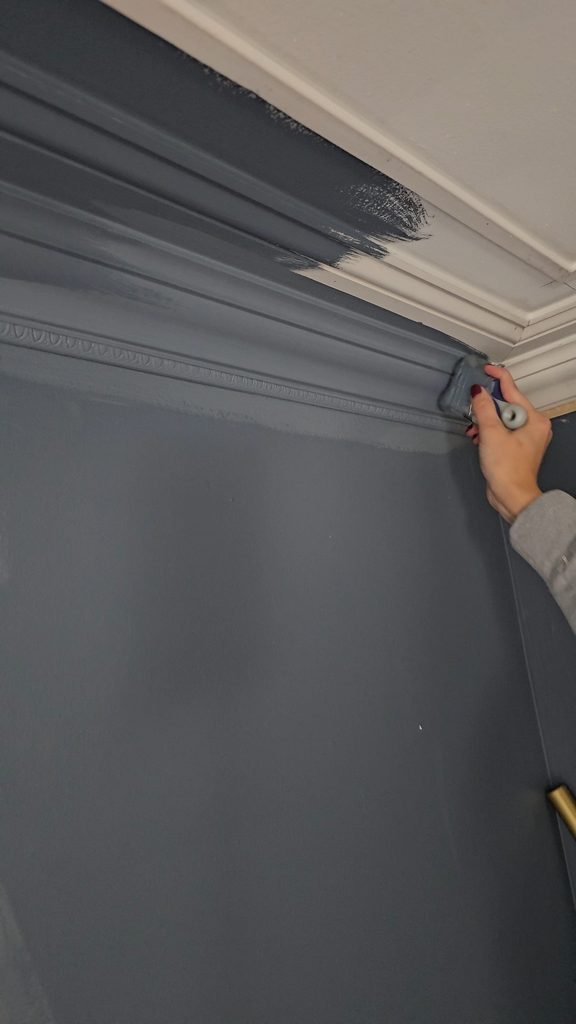
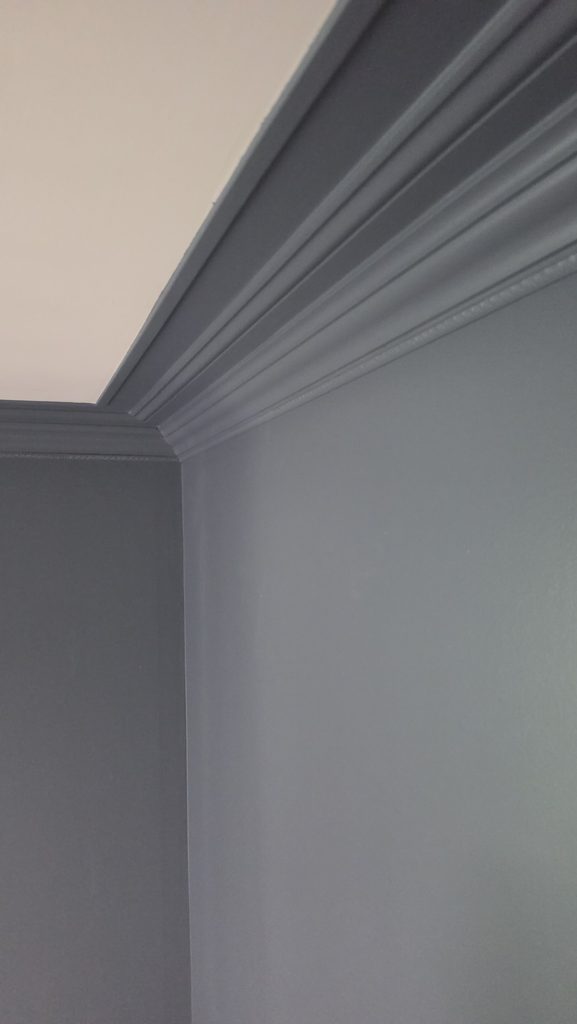
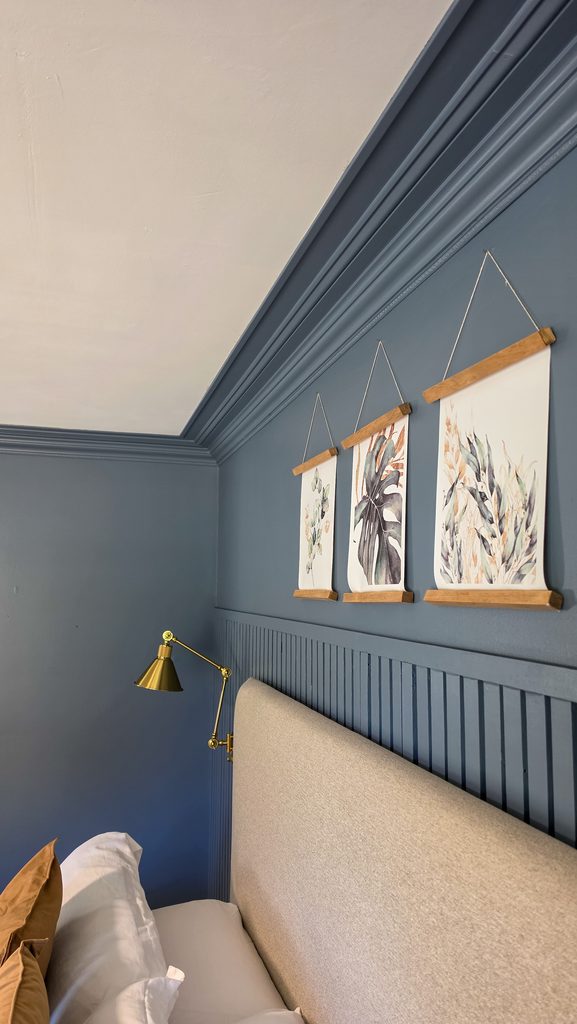
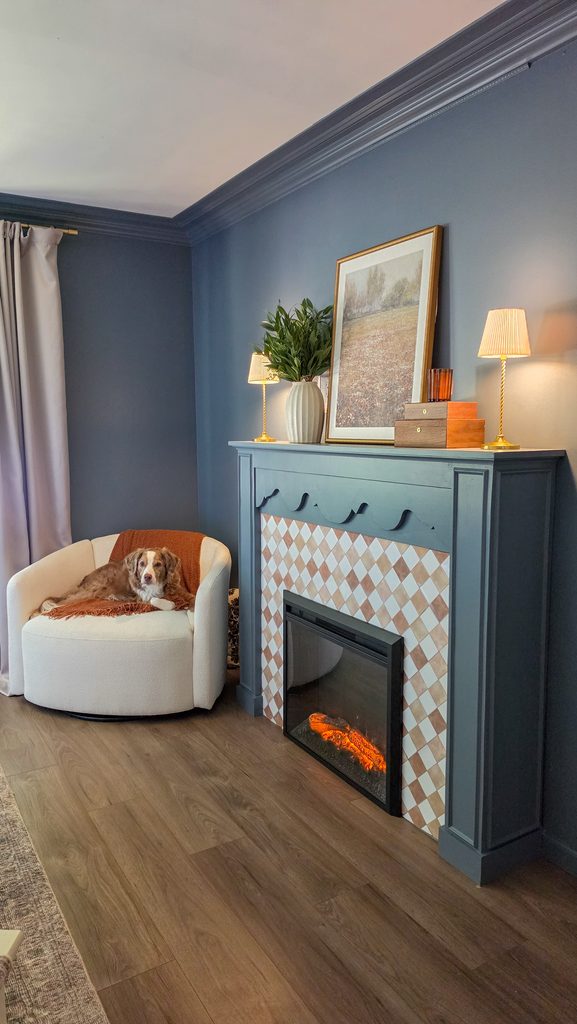
Finally, you have a finished faux trayed ceiling look!

Nov 11, 2026