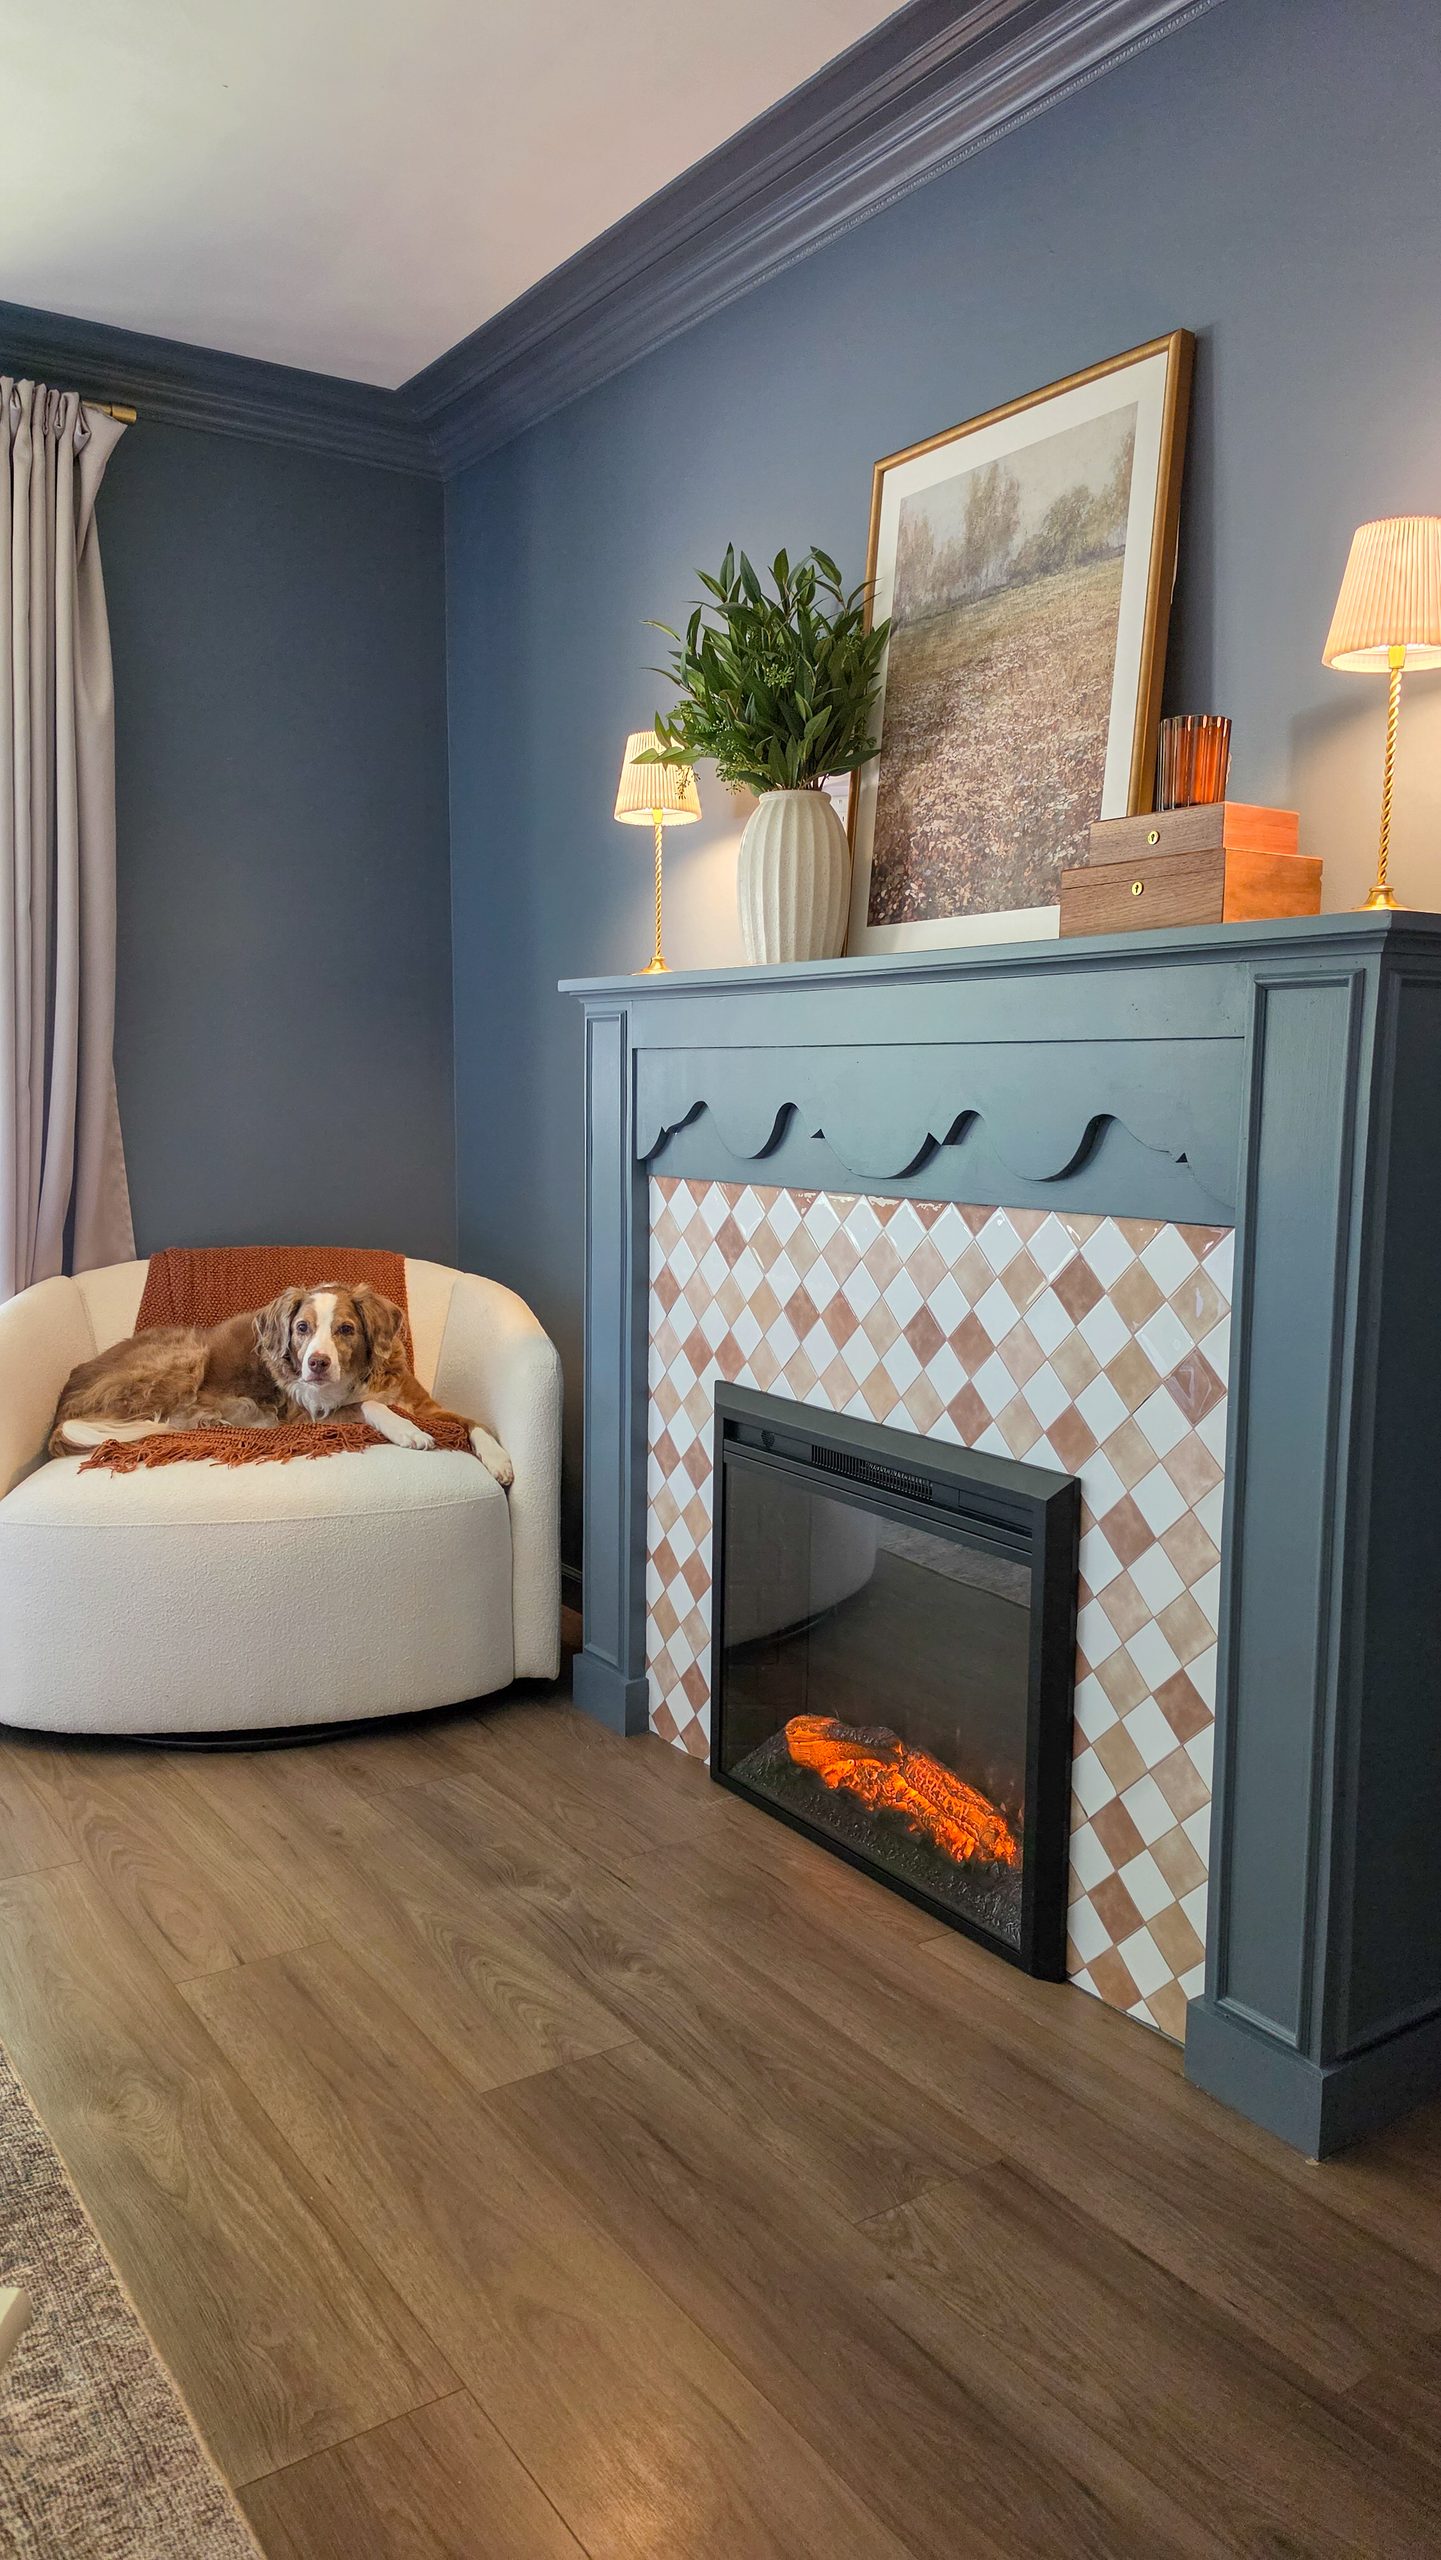


DIY Fireplace Build
What started as a simple bedroom refresh quickly turned into a full-blown DIY makeover! I knew I wanted to add some character and warmth to our bedroom, and building a custom fireplace was the perfect way to do it. Instead of spending a fortune on a store-bought fireplace, I decided to build my own to get exactly the look I wanted without the hefty price tag.
In this post, I’m walking you through how I built our DIY fireplace from start to finish, including the materials I used, the building process, and all the little details that brought it together. Whether you’re looking to add a cozy focal point to your bedroom or transform a blank wall, this project might just inspire you to build your own!
*I may earn a small commission on any linked items in this article*
Supplies
- Kilz Primer
- Behr Paint + Primer
- Charcoal Blue (N490-5)
- 2×4’s
- Drywall
- 1/4″ Plywood
- Cove Molding
- Box Trim
- 1×10
- Peel & Stick Tile
- Electric Fireplace Insert
- Tools:
Step Summary
- Build out Frame
- Attach drywall and 1/4″ plywood
- Add in mantle
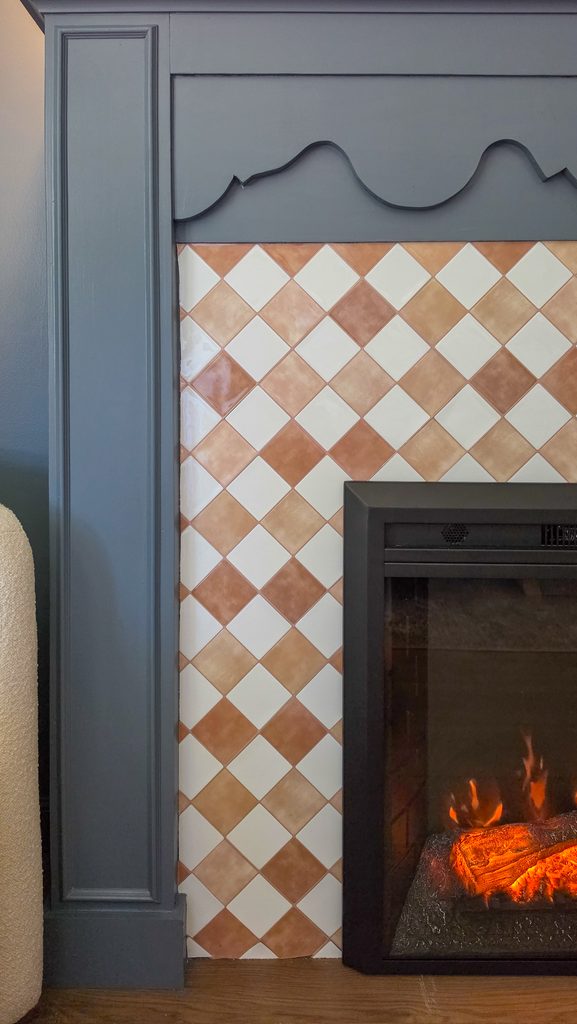
- Curvy trim detail
- Box Trim Detail
- Prime
- Paint
- Peel & Stick Tile
Build Out Frame
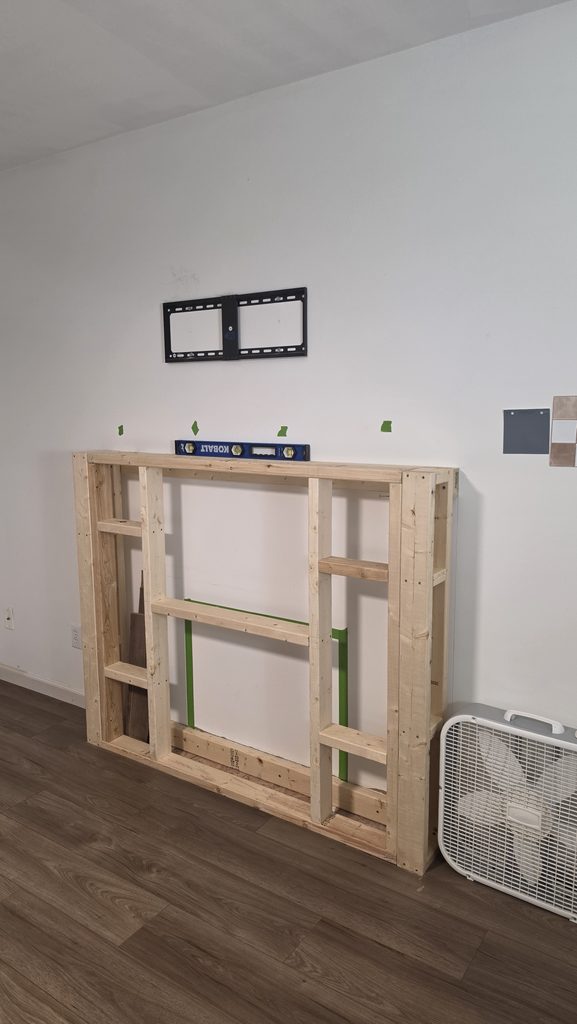
To get started on my DIY fireplace frame, I used basic 2×4 lumber to build the structure. I first attached two horizontal 2×4 boards directly to the wall, one at the top and one at the bottom of where my fireplace would be. I made sure to secure these boards into the wall studs to create a sturdy foundation for my electric fireplace surround.
Next, I built and attached the side framing based on the depth I wanted for my fireplace. Since this was a bedroom fireplace makeover, I didn’t want the finished fireplace to stick out too far into the room or take up unnecessary floor space. My goal was to create a slim, built-in electric fireplace that looked custom without being too bulky.
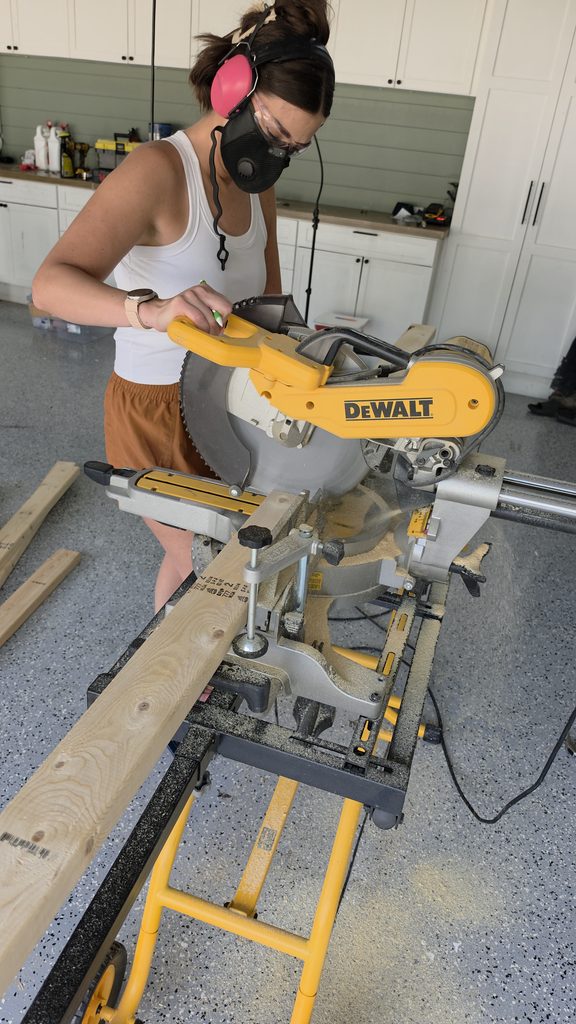
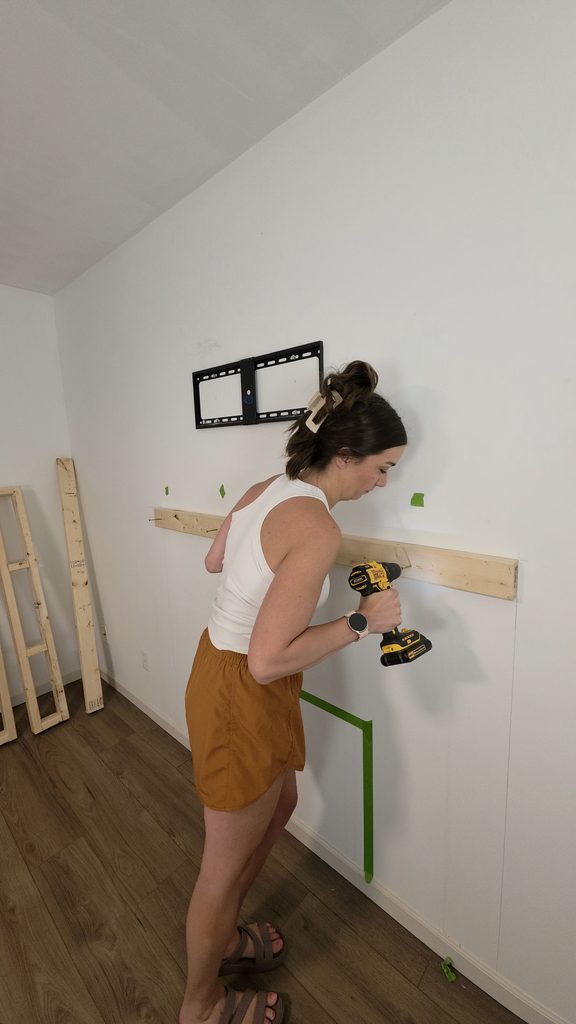
The electric fireplace insert I chose was just under 8″ deep, so I designed my 2×4 framing to be as narrow as possible while still leaving enough room to accommodate the insert. If you’re building your own DIY fireplace, I definitely recommend choosing your electric fireplace insert first so you can plan your framing dimensions around it and follow the manufacturer’s required clearances!
Attach drywall and plywood
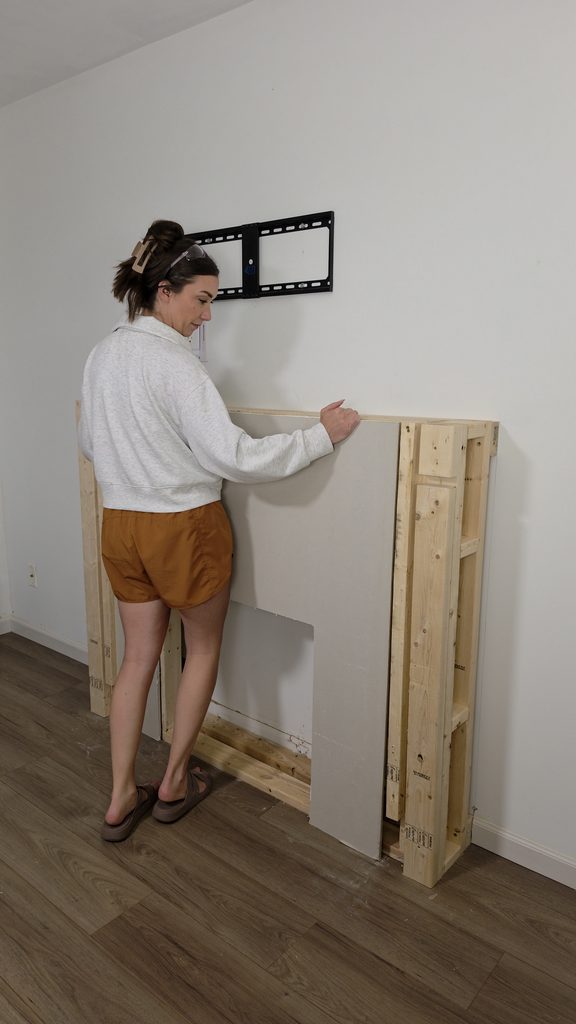
Once the DIY fireplace framing was complete, it was time to start covering everything up! I like to call this step “wrapping up” my projects. You’ve already built the skeleton of your fireplace, so now it’s time to wrap it up and make it look pretty!
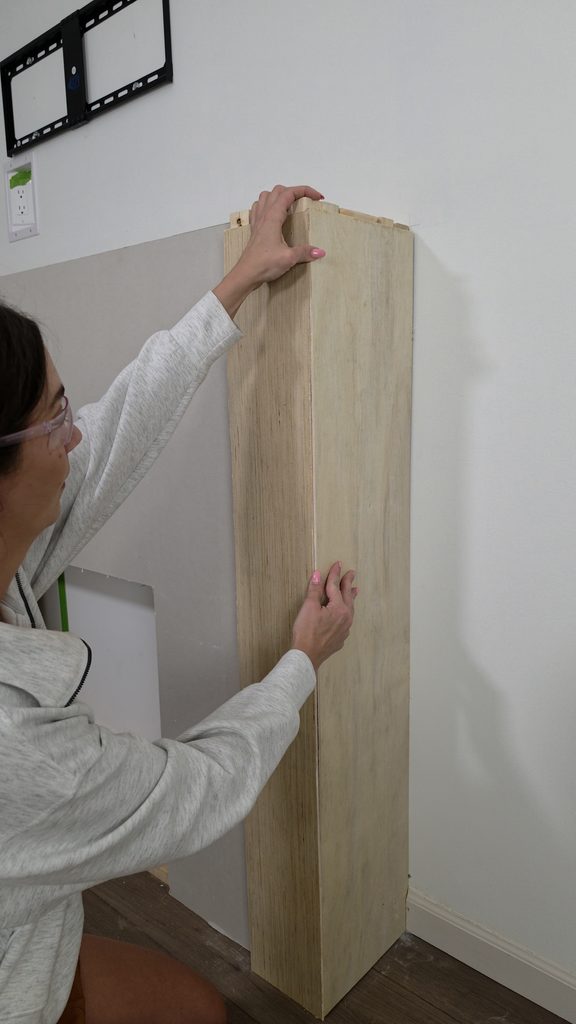
For my DIY fireplace surround, I used a combination of drywall and 1/4″ plywood to cover the wood framing and create a smooth, finished surface. This is one of my favorite stages of any DIY build because it’s when the project really starts coming together and looking like a custom built-in fireplace instead of just a wooden frame!
Add in Mantle
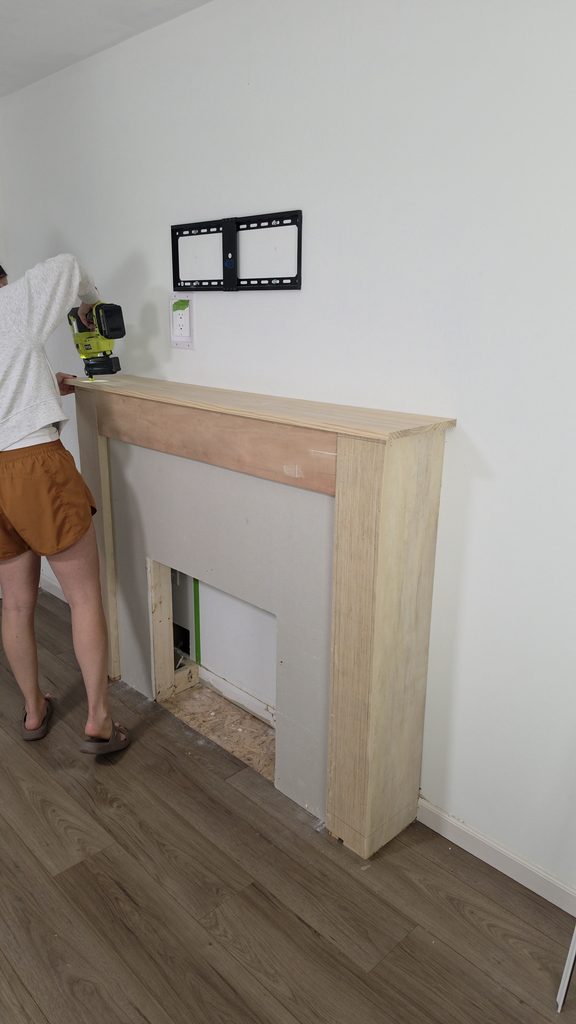
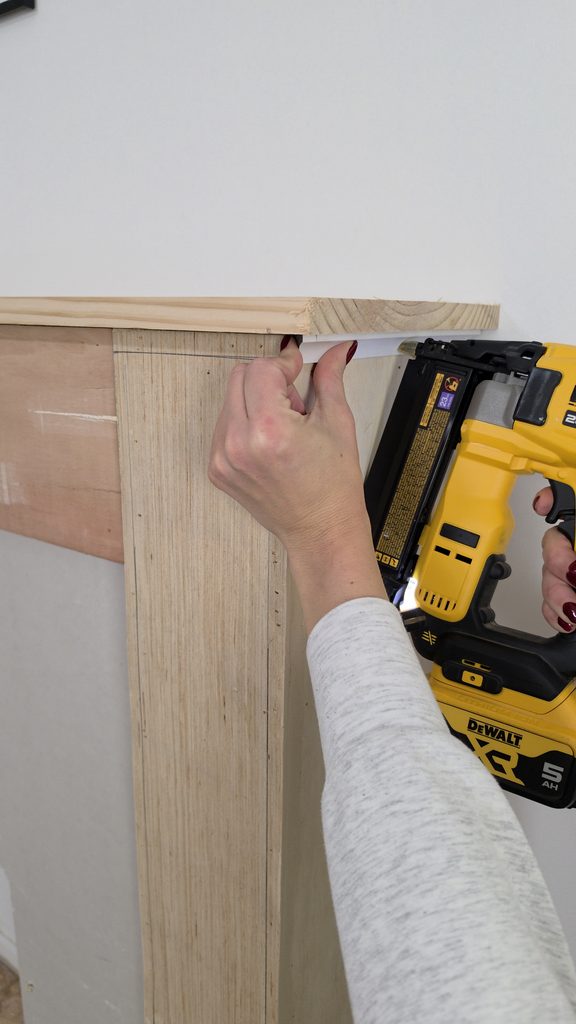
For my DIY fireplace mantel, I decided to keep the design simple and classic! I used a 10″ wide pine board and cut it to size, leaving a 1″ overhang on the front and both sides of the fireplace surround. To give the mantel a little extra dimension and a more custom, finished look, I added decorative cove molding underneath the pine board. This simple DIY wood mantel was an affordable way to complete the fireplace build while adding just the right amount of detail without making it overly complicated!
Curvy Trim
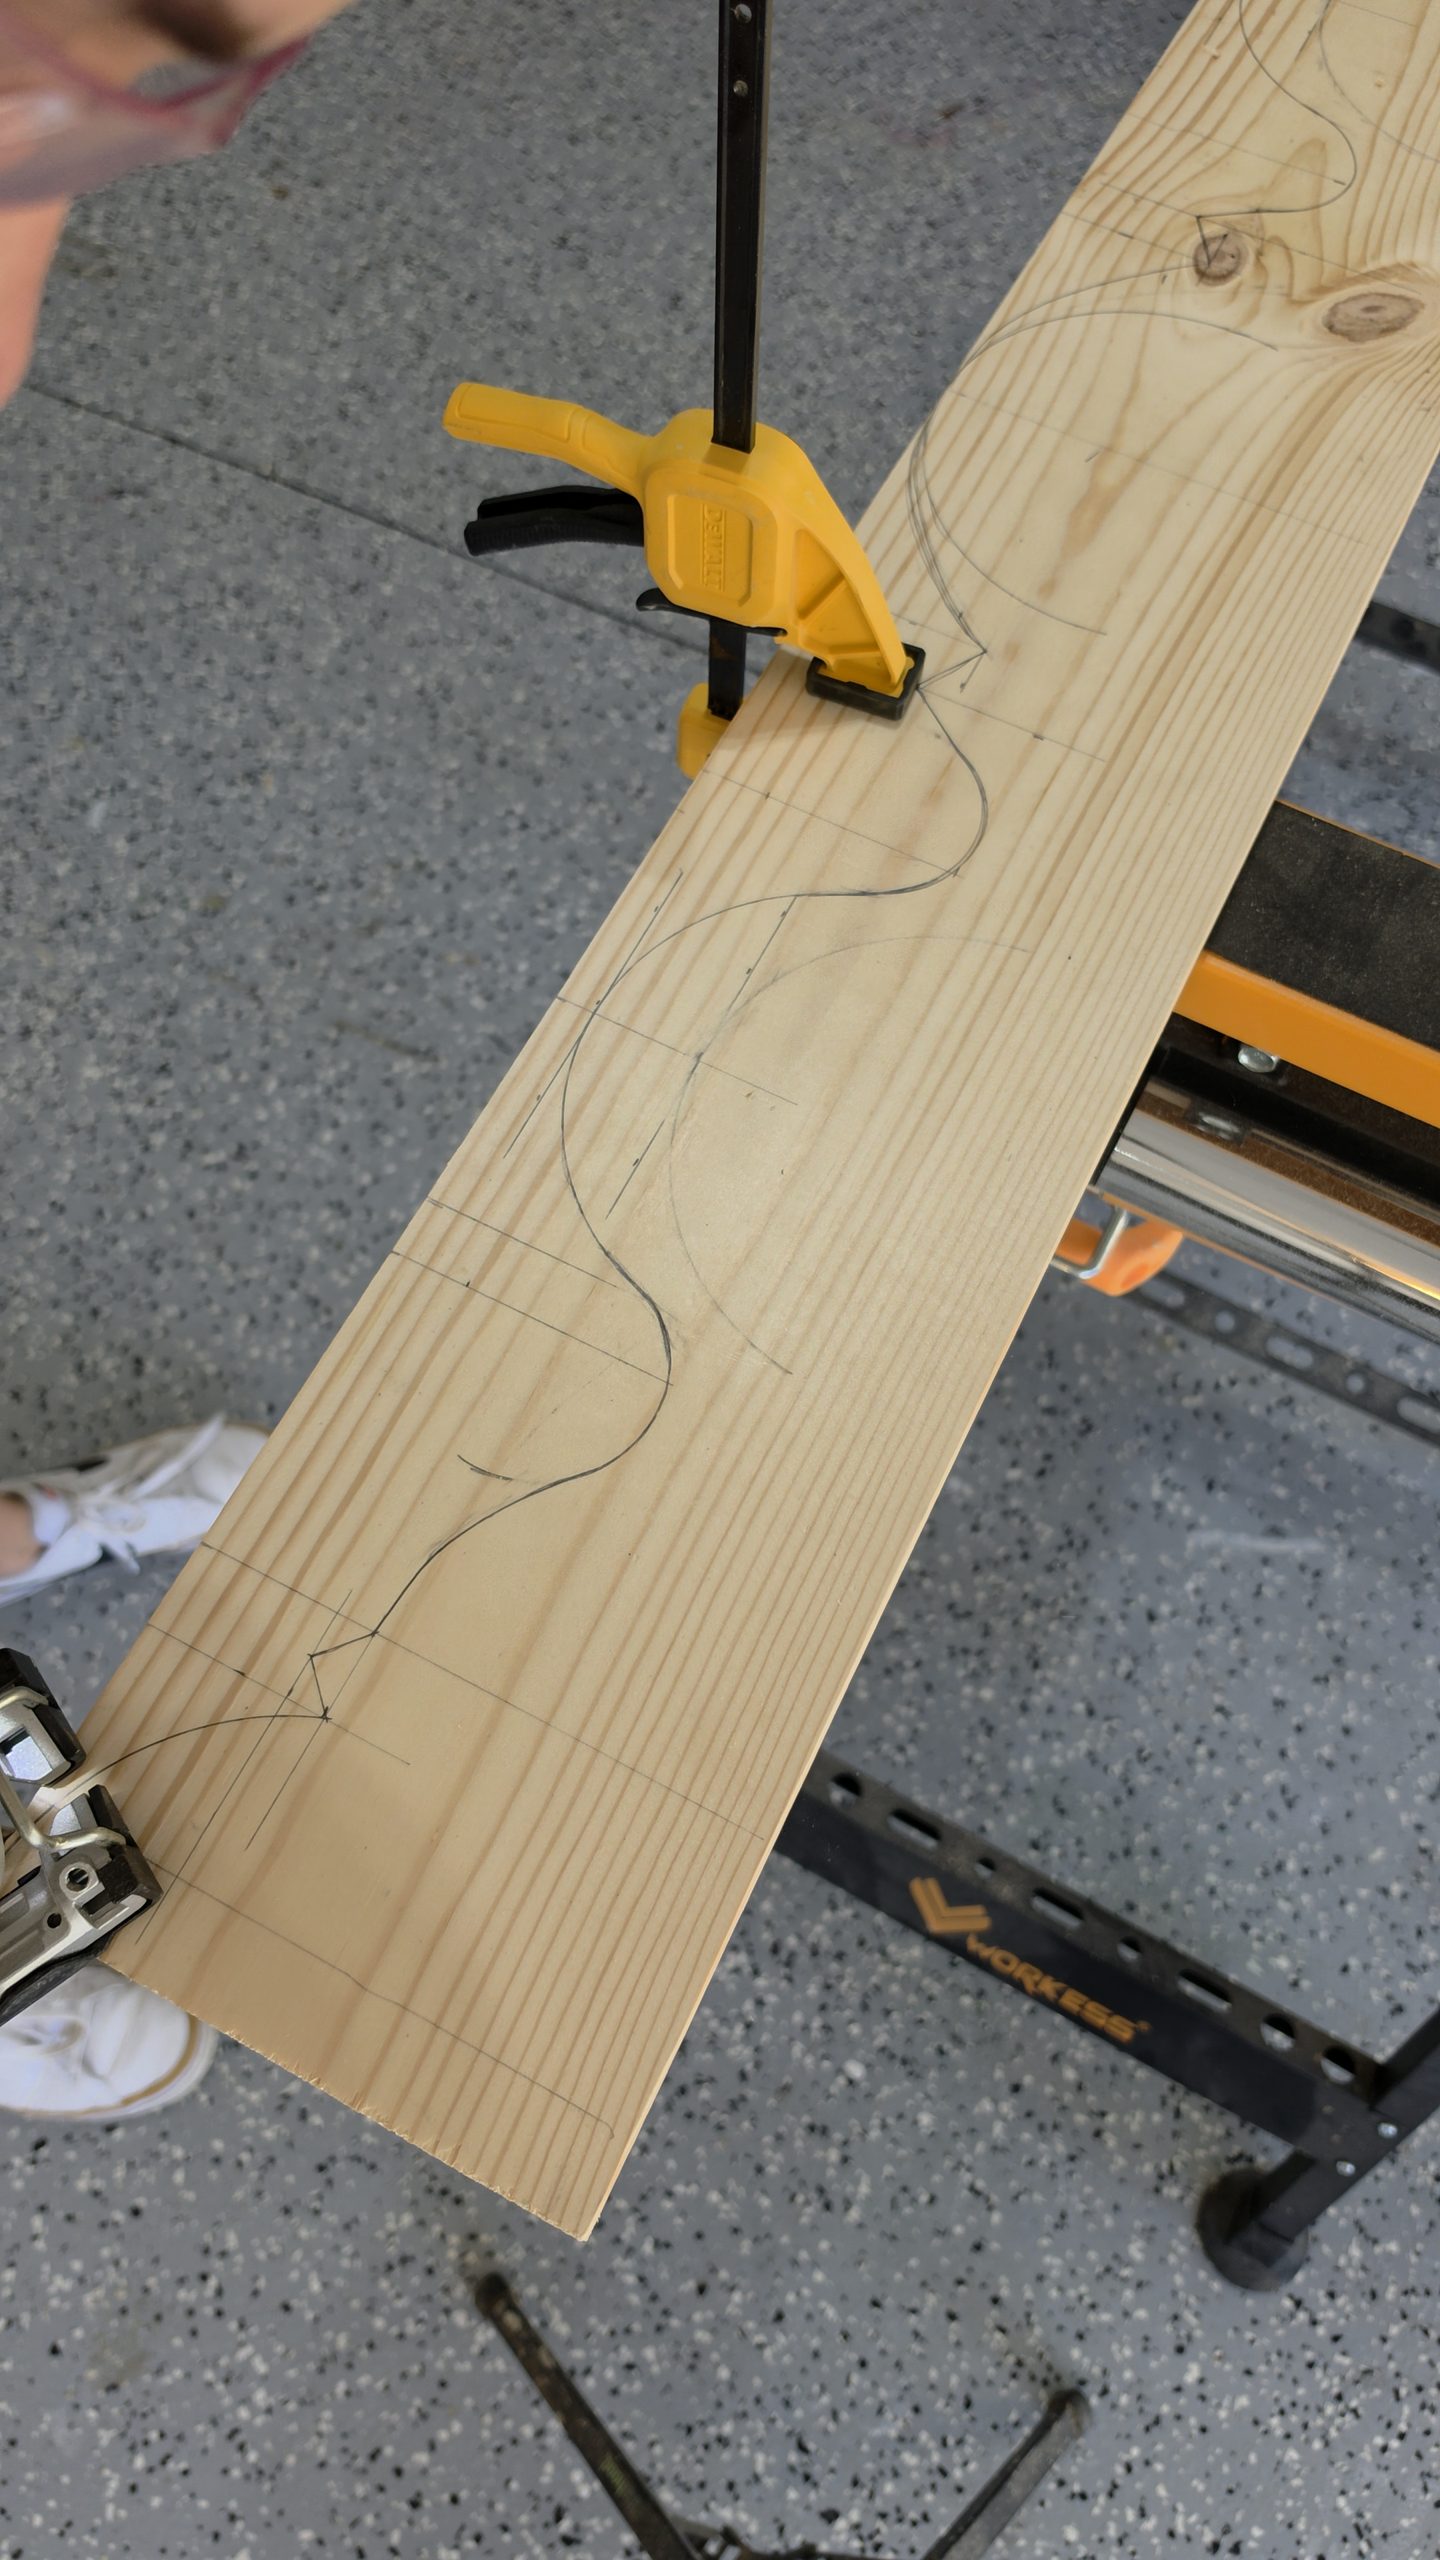
One of my favorite details of this DIY fireplace build was creating the custom curved wood trim for the front of the fireplace! I started with a simple pine board and cut it to the width and length I needed. Once I had the board dry fitted in place, I started sketching out my decorative curved design.
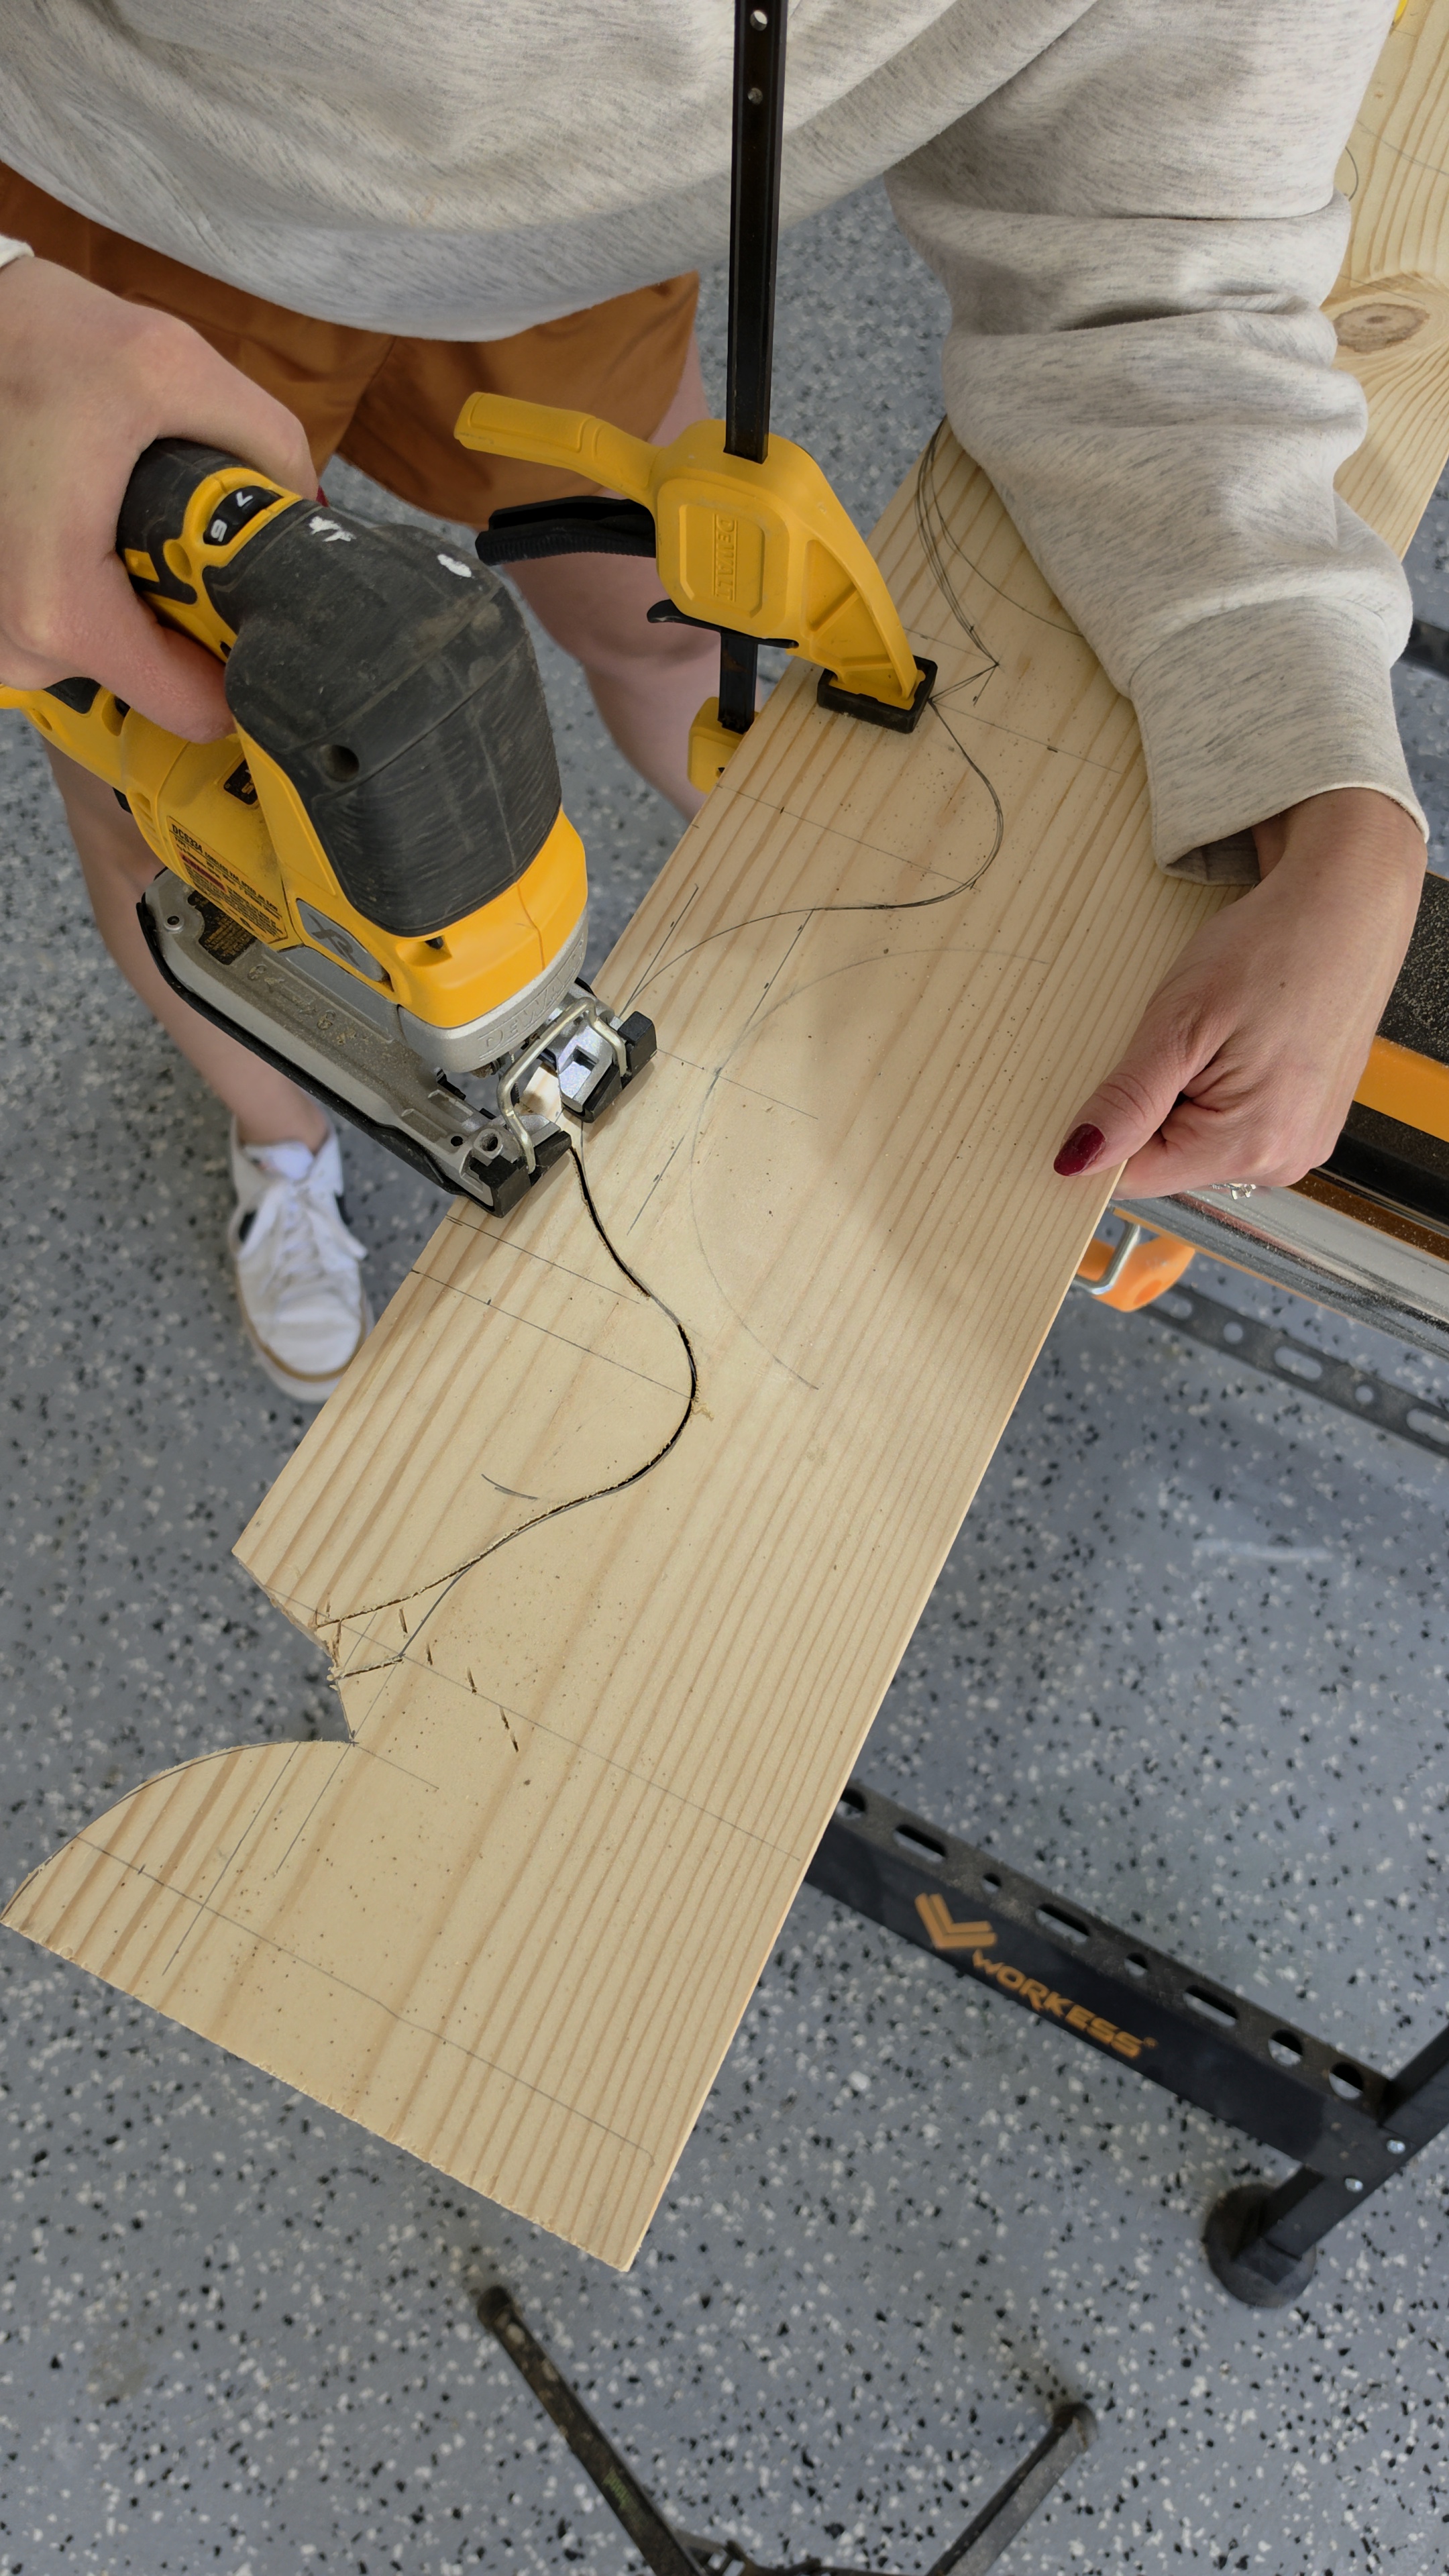
To create the curves, I used different sized paint cans as templates to trace circles along the wood. It took a few rounds of drawing, erasing, and adjusting before I finally landed on a design I loved! Once I was happy with the shape, I used my jigsaw to carefully cut along the lines.
This simple DIY woodworking project was an easy and budget friendly way to add a unique, custom detail to my fireplace surround. I love how the curved wood accent adds character and gives the entire fireplace a more finished, built-in look!
Box Trim
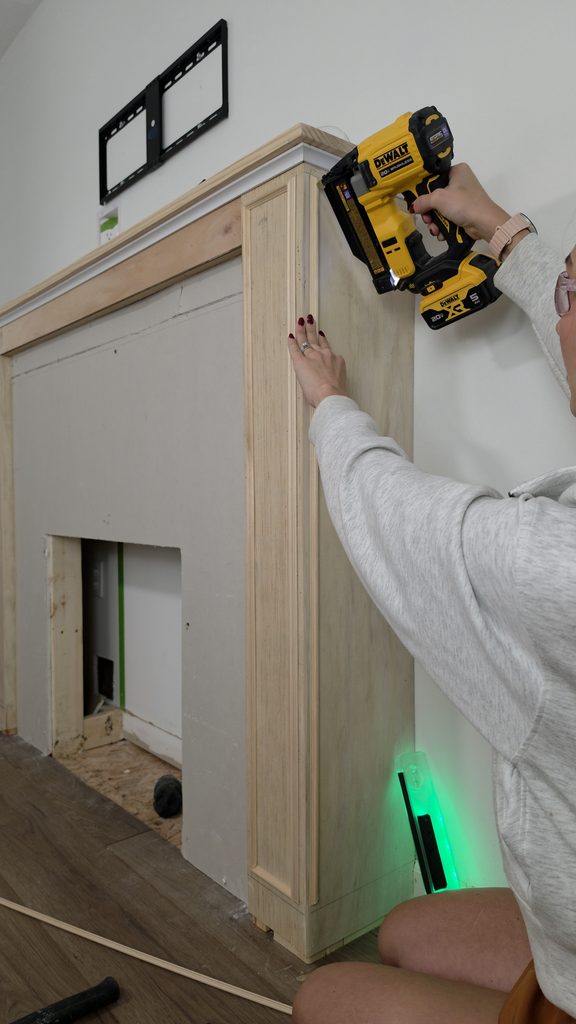
To add some extra character and detail to my DIY fireplace surround, I installed simple decorative box trim molding on the front and sides. I chose a small, delicate trim molding to create a classic picture frame molding design without overwhelming the fireplace. After measuring and cutting each piece to size, I secured the trim in place with my nail gun. This easy DIY trim detail gave the fireplace a custom, built-in look and added just the right amount of architectural interest!
Prime Fireplace
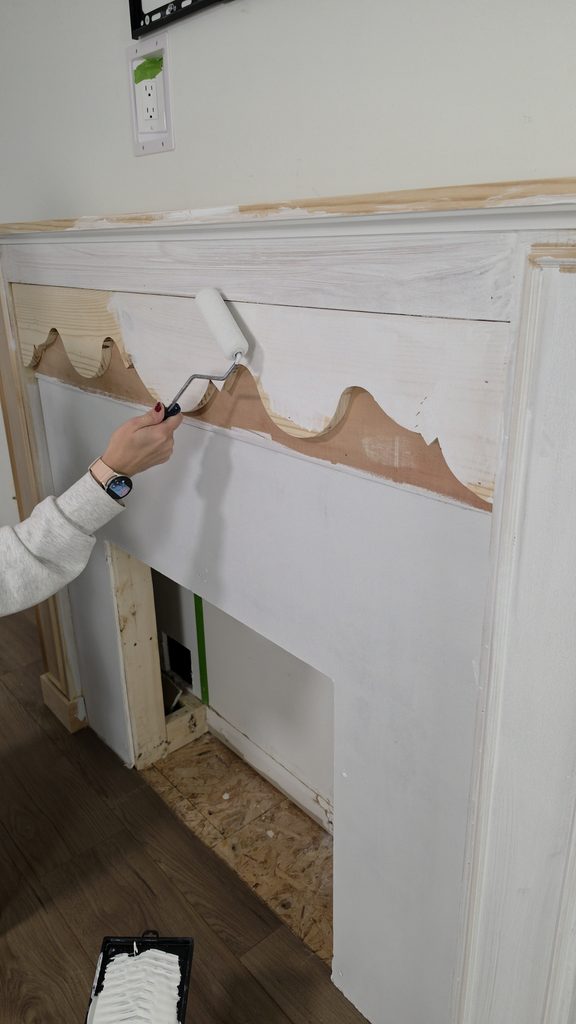
Before painting my fireplace, I used KILZ primer to prep the entire surface. This versatile primer works on both drywall and wood, making it the perfect choice for this DIY fireplace build! Using one primer for multiple surfaces made the prep work quick and easy while creating a smooth, even base for the final paint color.
Paint
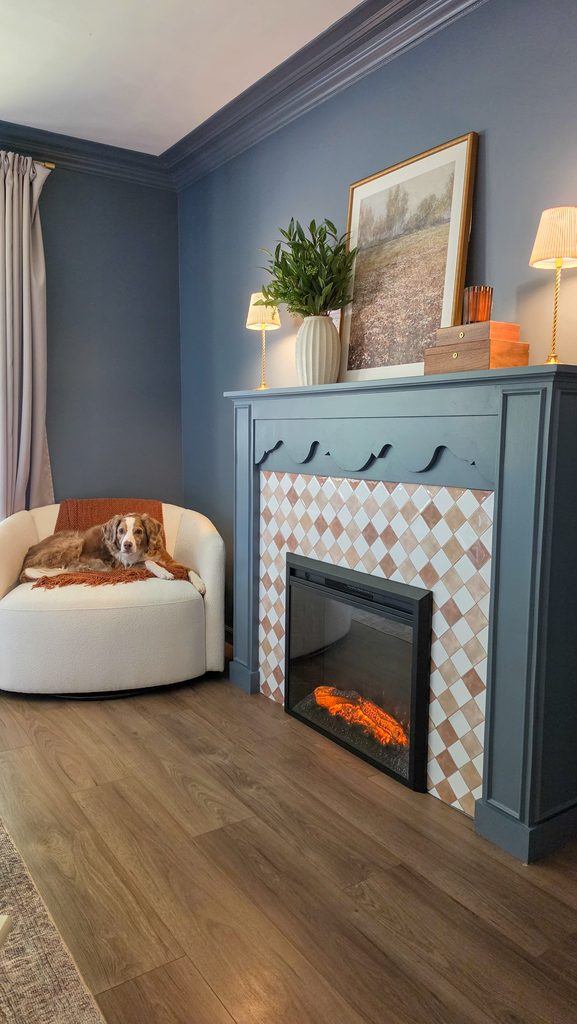
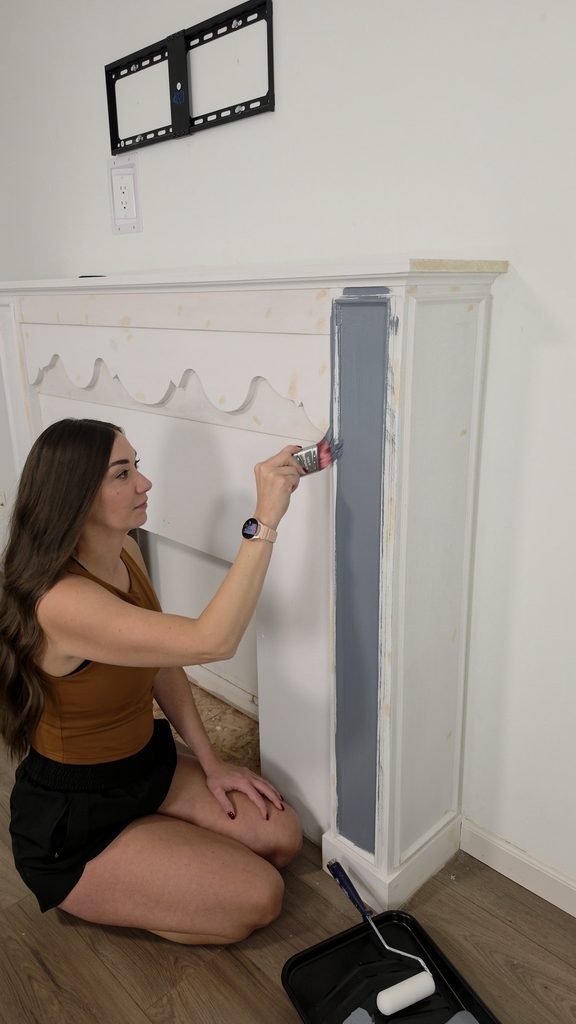
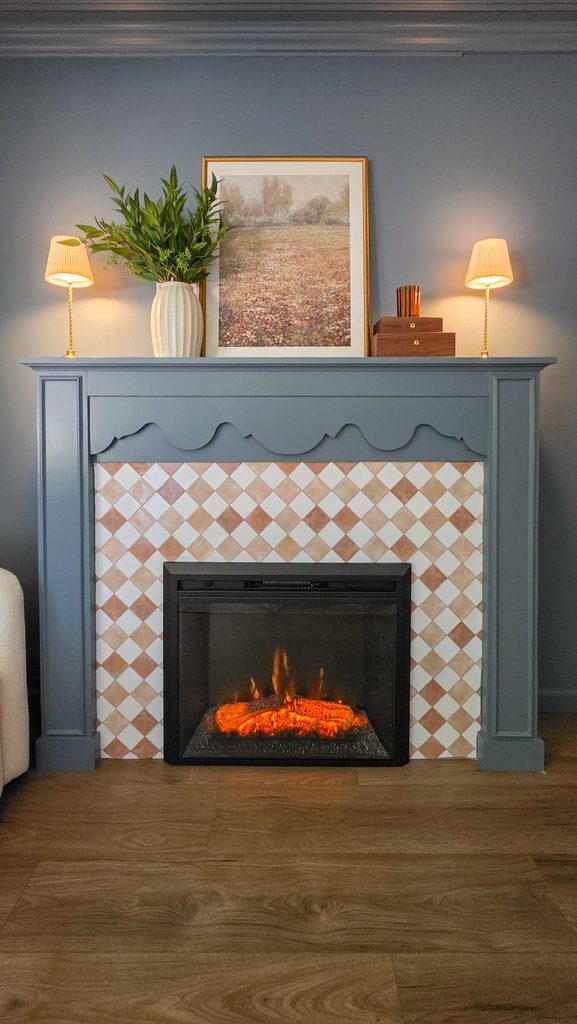
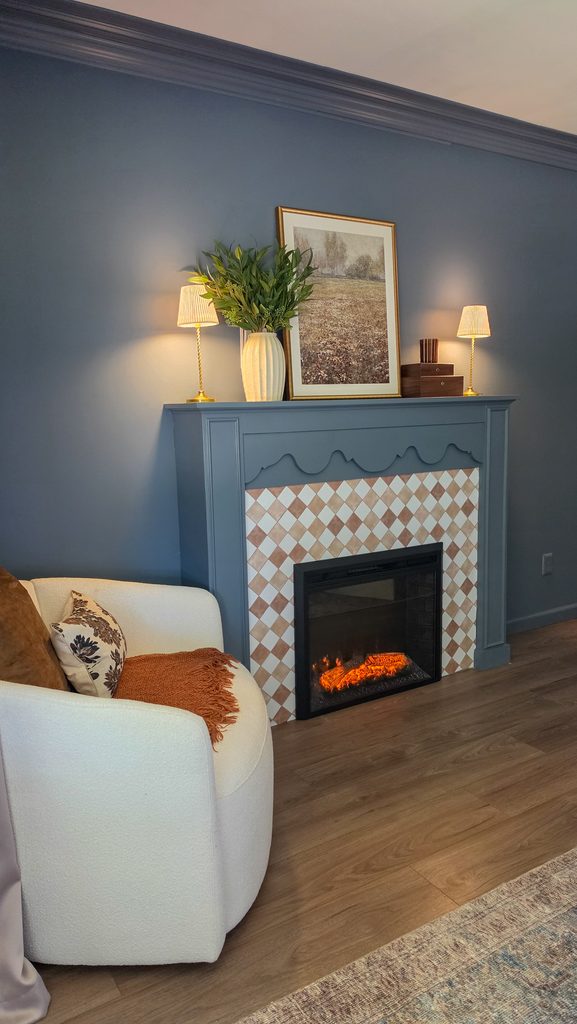
For the finishing touch on my DIY fireplace makeover, I used BEHR paint in the color “Charcoal Blue”, a gorgeous, rich blue that adds so much depth and character to the space! I loved this moody blue paint color so much that I decided to carry it throughout the entire bedroom, painting both the walls and crown molding for a seamless, color drenched look. This deep blue shade completely transformed our bedroom into a cozy, inviting space, and I couldn’t be happier with how it turned out!
Peel & Stick Tile
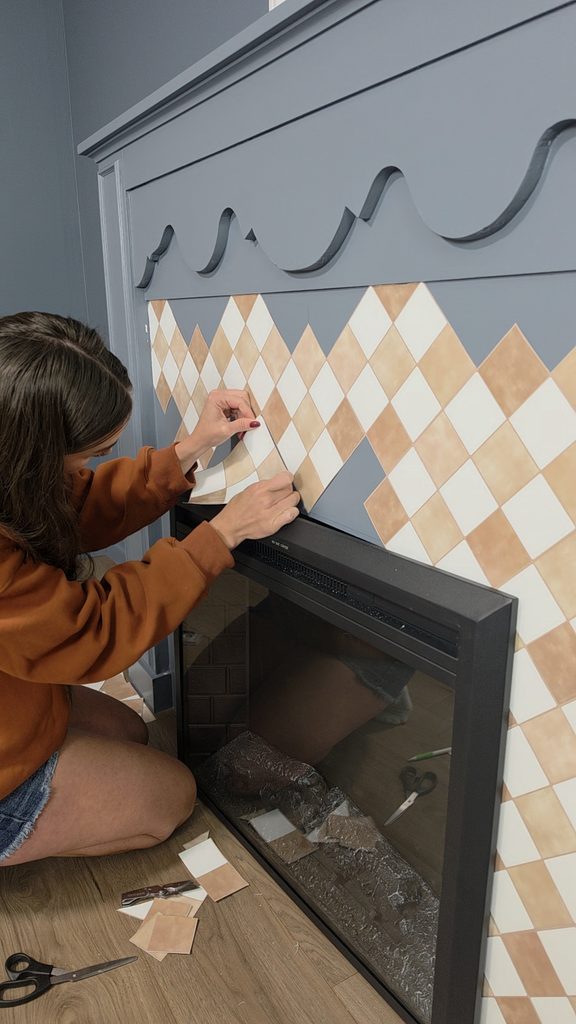
Finally, I finished things off with some simple peel & stick tile! I honestly didn’t have the time or energy to tackle real tile, and knowing me, there’s always a chance I’ll change my mind down the road! Peel & stick tile was the perfect solution to get the look I wanted without the permanent commitment.
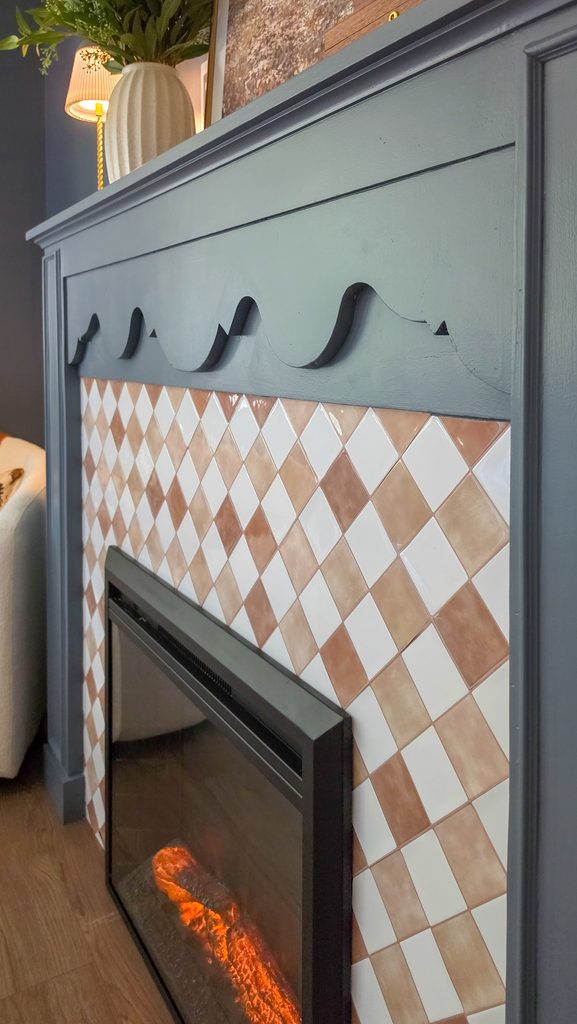
This may be my favorite project yet!
Nov 5, 2026