

How to Install Your Own Runner
When we first moved into our house, one of the first projects I tackled was installing a stair runner. While I loved how it looked at the time, I never completely loved the colors and as the style of our home has changed, the old runner just didn’t fit anymore.
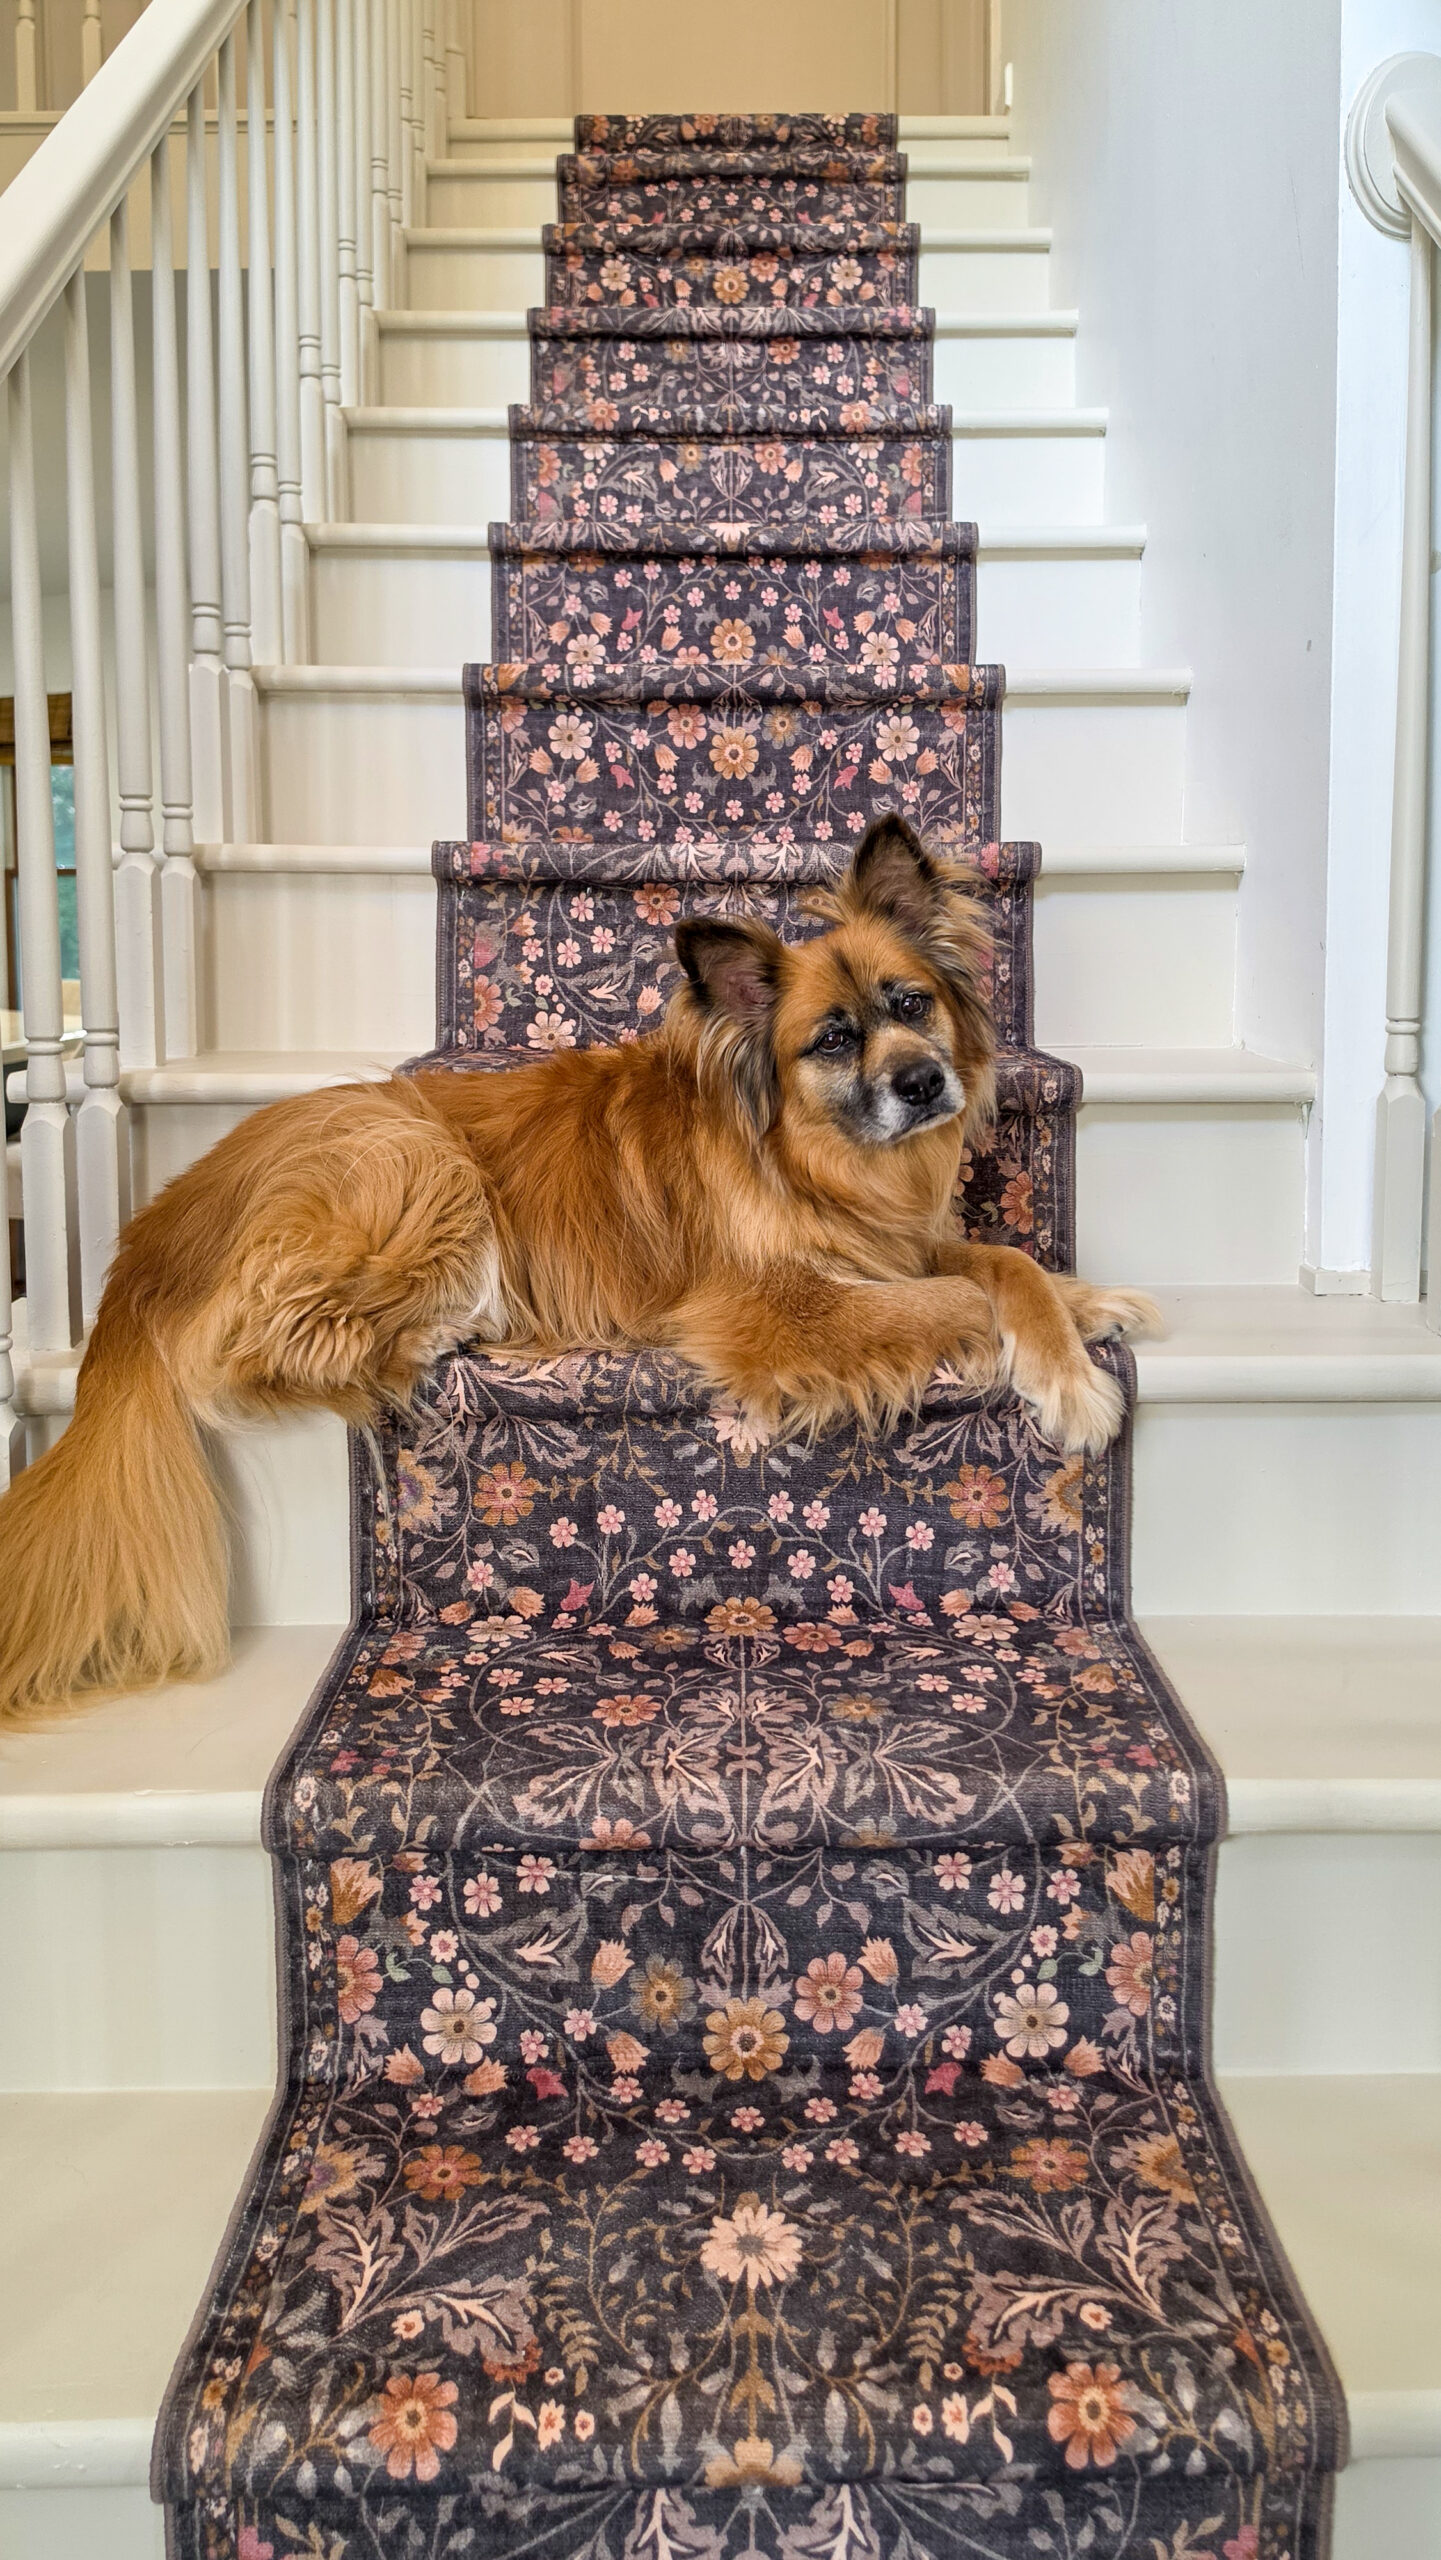
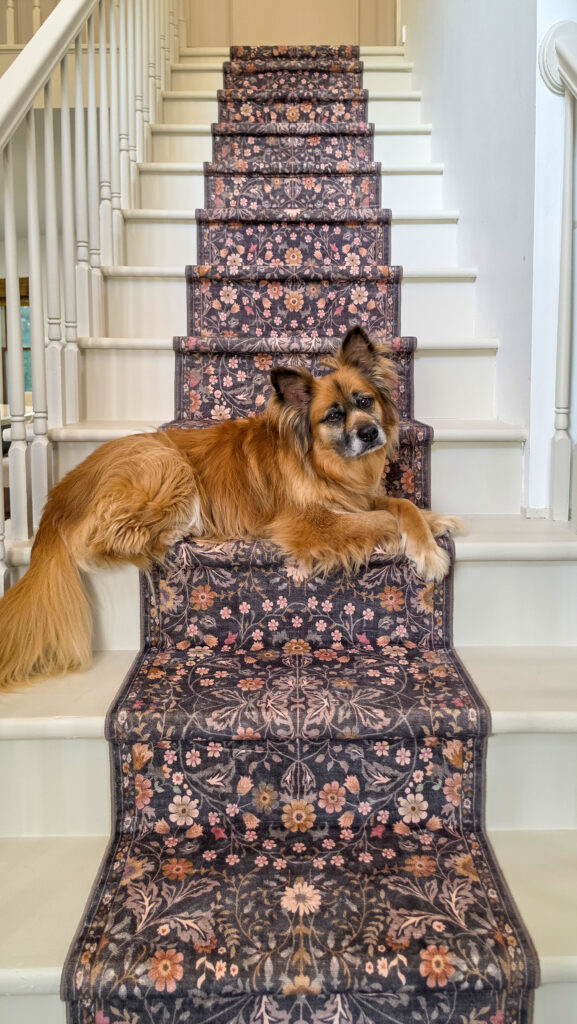
So, it was finally time for a DIY stair makeover! I removed the old runner, gave the stairs and railing a fresh coat of paint, and installed a new stair runner that fits our home so much better.
If you’ve been wanting to update your own staircase, I’m going to show you how to install a stair runner yourself, including how I prepped and painted the stairs, the mistakes I learned from the first time, and a few tricks that made this installation even easier!
*I may earn a small commission on any linked items in this article*
Supplies
Step Summary
- Remove old carpet or runner
- Fill in any damage to treads
- Sand everything down
- Use Kilz primer to prep steps for paint
- Paint using Behr’s Paint + Primer
- Install Carpet Tape
- Install Runner Rug using staple gun
Detailed Steps
Remove old carpet or runner
Since I had previously installed a runner on these stairs, the first step in this DIY stair makeover was removing the old stair runner. The runner itself came up pretty easily, but the old carpet tape underneath was another story!
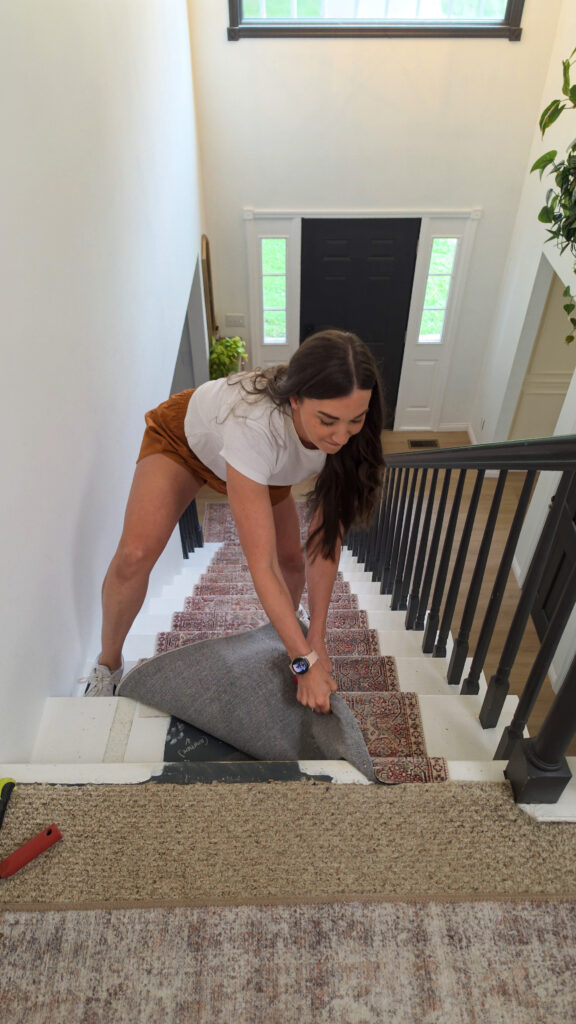
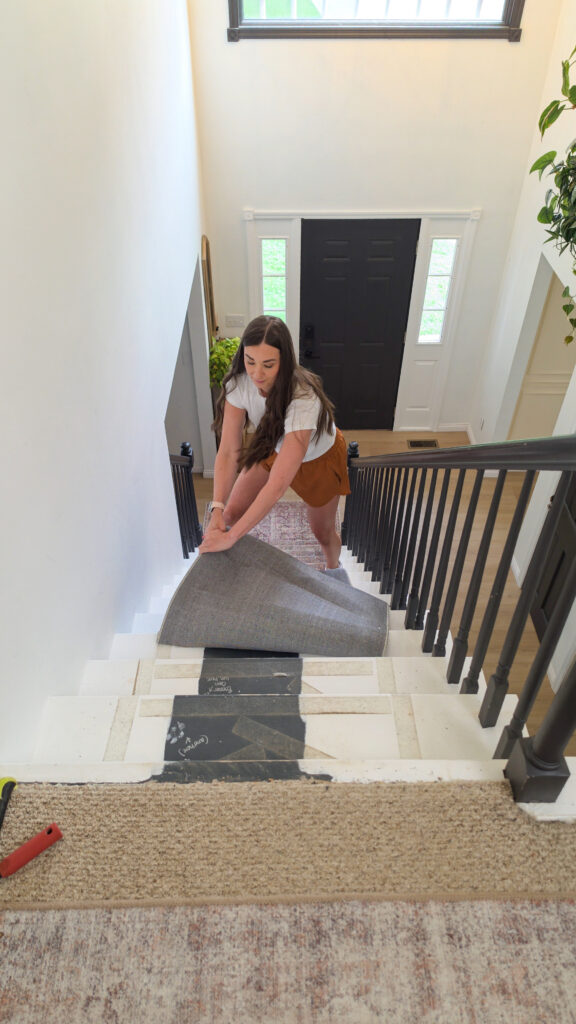
The first time I installed the runner, I applied the carpet tape directly to the stair treads. Unfortunately, that made the adhesive incredibly difficult to remove and caused some damage in the process. Later, I’ll show you what I did differently when installing the new runner so it will be much easier to remove if I ever decide to change it again.
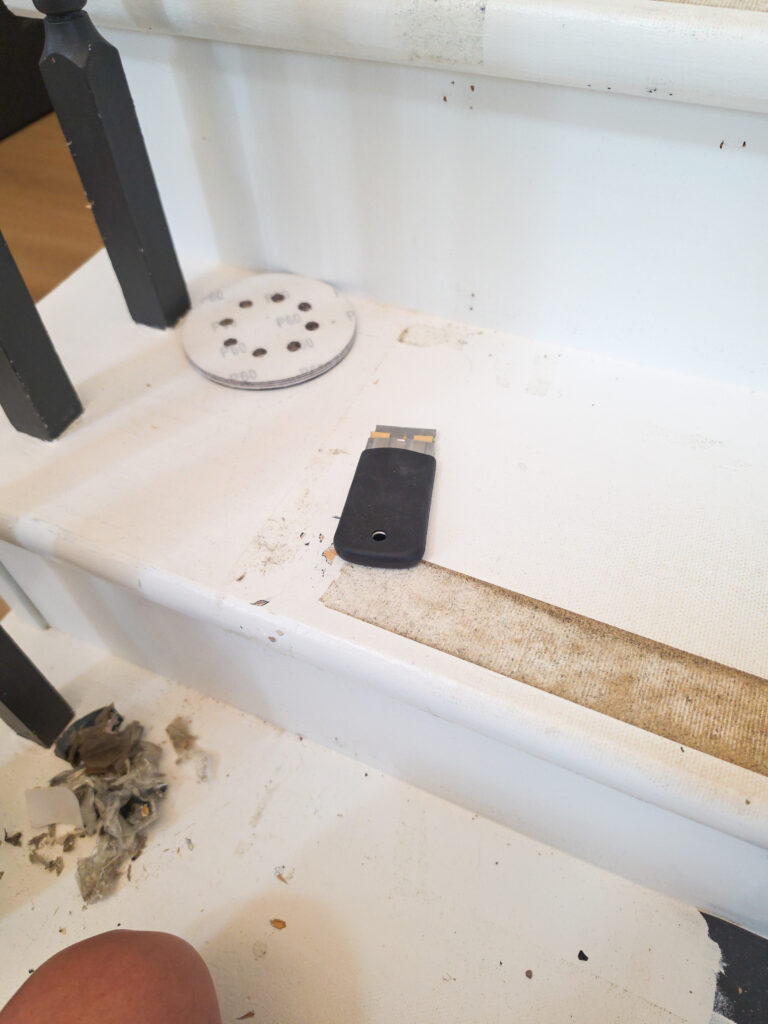
To remove the old carpet tape and adhesive from the stairs, I used a heat gun to carefully soften the adhesive and a box cutter blade to scrape away the leftover residue.
If you’re starting with fully carpeted stairs, you’ll also need to remove any carpet tack strips and staples before refinishing your staircase. I didn’t have to do this on our main staircase, but I did when I remodeled our basement stairs last year. For that job, I found that a trim puller and pliers made removing the tack strips and stubborn staples much easier.
Fill in any damage on treads
Like I mentioned earlier, removing the old carpet tape was a pain and unfortunately left behind quite a bit of damage on my stairs. Before moving on with the new stair runner installation, I took some time to repair the damaged stair treads and create a smoother surface.
I used wood filler to repair any holes, dents, or damaged areas left behind after removing the old runner and adhesive. Most of these spots would eventually be covered by the new stair runner, but since I already had all of my supplies out, I decided to repair the entire step while I was at it.
Once the wood filler was completely dry, I sanded everything smooth so the stairs were ready for the next step in the makeover.
Sand everything down
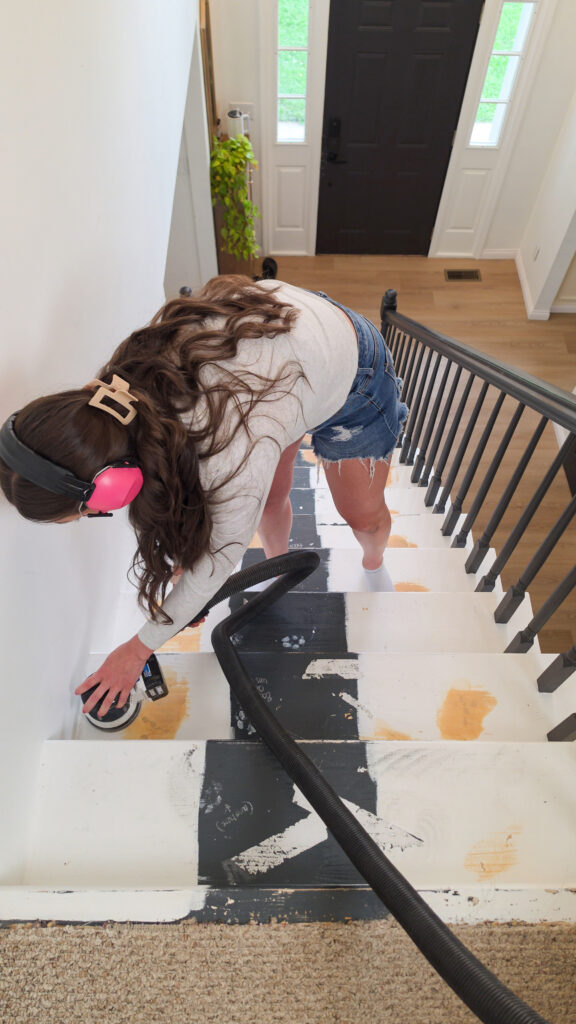
When I installed my stair runner the first time, I’ll admit that I skipped sanding the stairs and railing before painting. Instead, I used a liquid deglosser to prep the surface. While it worked to some degree, over time I noticed the paint on our stair railing beginning to chip and peel, especially along our railing.
This time around, I decided to do things properly and sand everything before painting. Sanding removes the existing glossy finish and gives the primer and paint a better surface to adhere to. Since stair railings get touched constantly, taking the extra time to properly prep the surface can make a big difference in the long-term durability of the painted finish.
It definitely added some extra time to this DIY stair makeover, but after seeing what happened when I skipped sanding the first time, I knew it was a step worth doing!
Use Kilz Primer to prep for paint
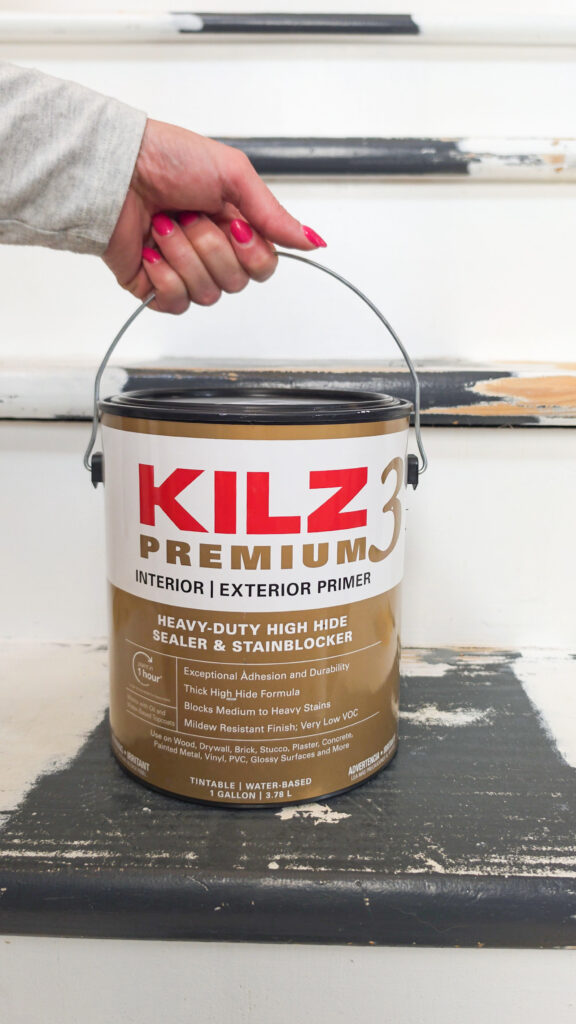
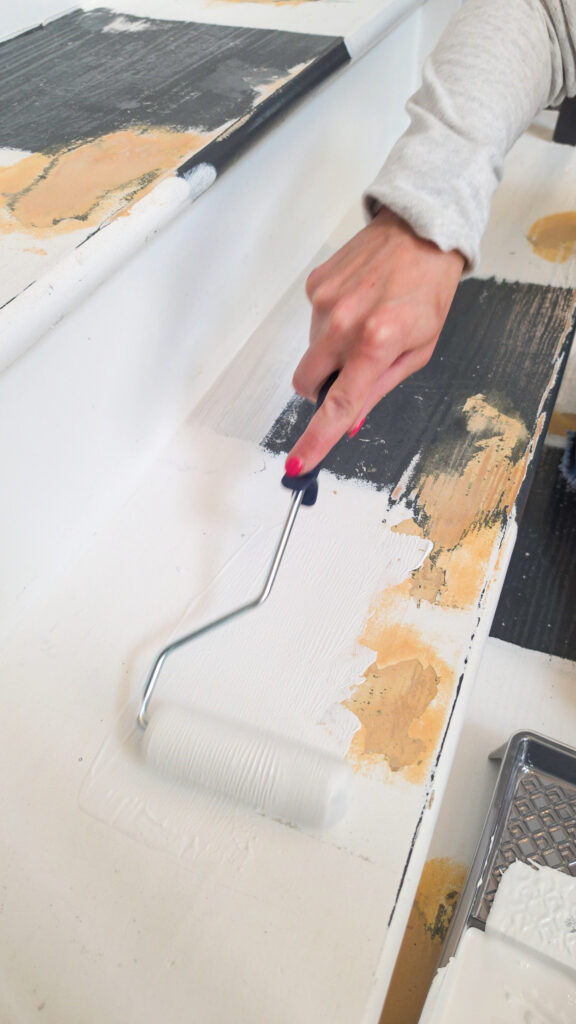
One step I skipped during my last stair makeover was priming the stairs before painting. This time, I wanted to make sure I properly prepped everything, so I applied KILZ Primer to the stair treads and risers before adding any paint.
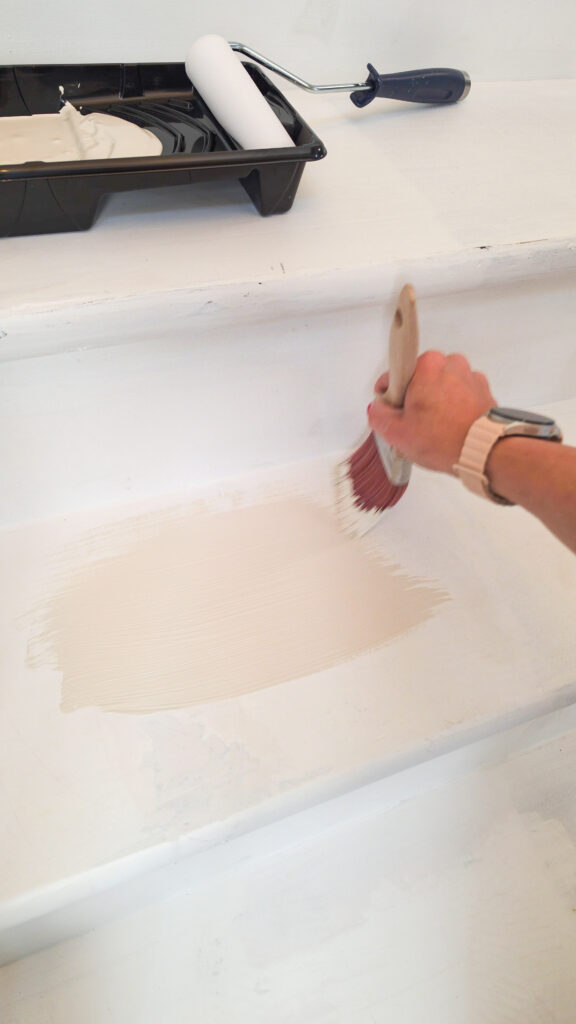
I used a paintbrush to apply the primer around the edges, corners, and other hard-to-reach areas, then used a foam roller across the larger surfaces for smooth, even coverage.
Once the primer was completely dry, I did one final round of light sanding with 220-grit sandpaper. This helps smooth out any imperfections left behind by the primer and creates a nice, even surface for the paint. After sanding, make sure to remove all of the dust before moving on to paint!
Paint using Behr Paint + Primer
For the stairs and railing, I used BEHR Paint + Primer in the color Even Better Beige. This warm neutral fits the colors throughout my home so much better, and I love how it looks paired with my new stair runner!
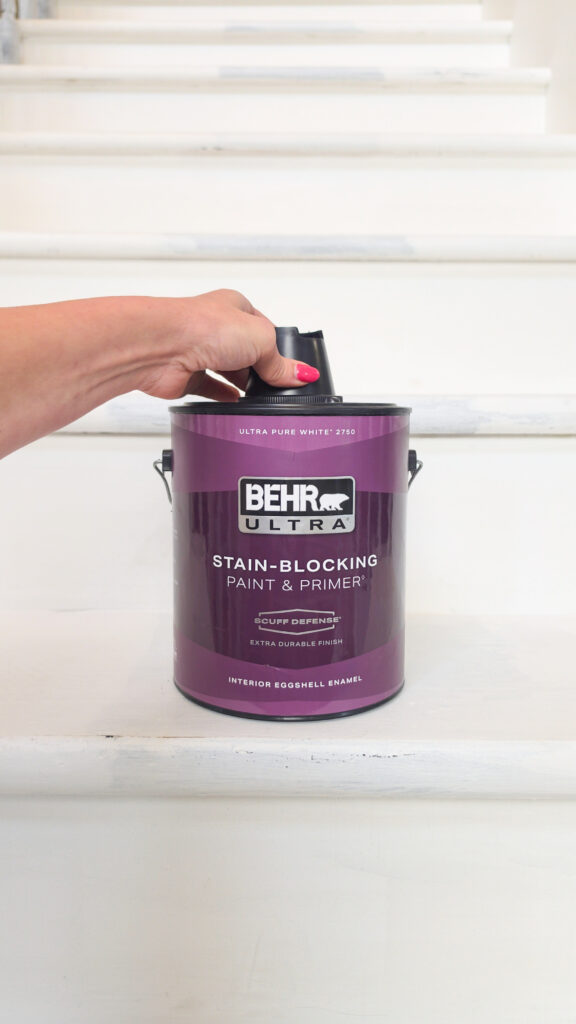
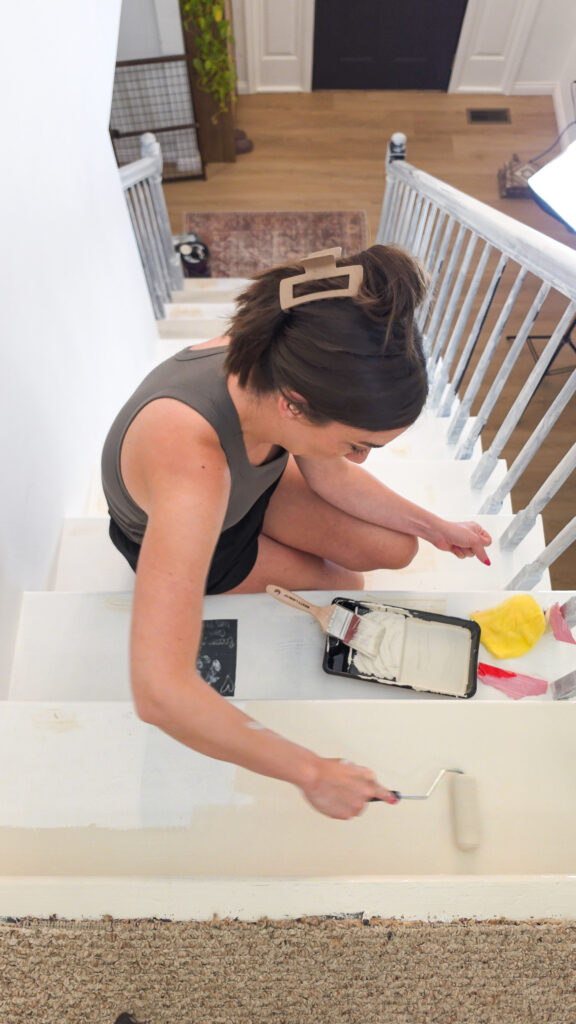
To paint the stairs, I used a combination of a paintbrush and a small foam roller. The brush made it easy to get into the corners and along the edges of the stair treads and risers, while the foam roller helped create a smooth, even finish across the larger areas.
Painting the stair railing and spindles was definitely the most time-consuming part of this DIY stair makeover. I found that the easiest method was to use a brush for all the detailed areas and then go back over everything with a foam roller to smooth out the finish.
If your space allows, using a paint sprayer for the stair railing and spindles could save a ton of time! Since I painted mine by hand, this step took some patience, but the finished result was absolutely worth the extra work.
Install carpet tape
Once the paint had plenty of time to dry, I was ready to start installing the stair runner. Before adding the rugs, I put down carpet tape to help keep everything securely in place.
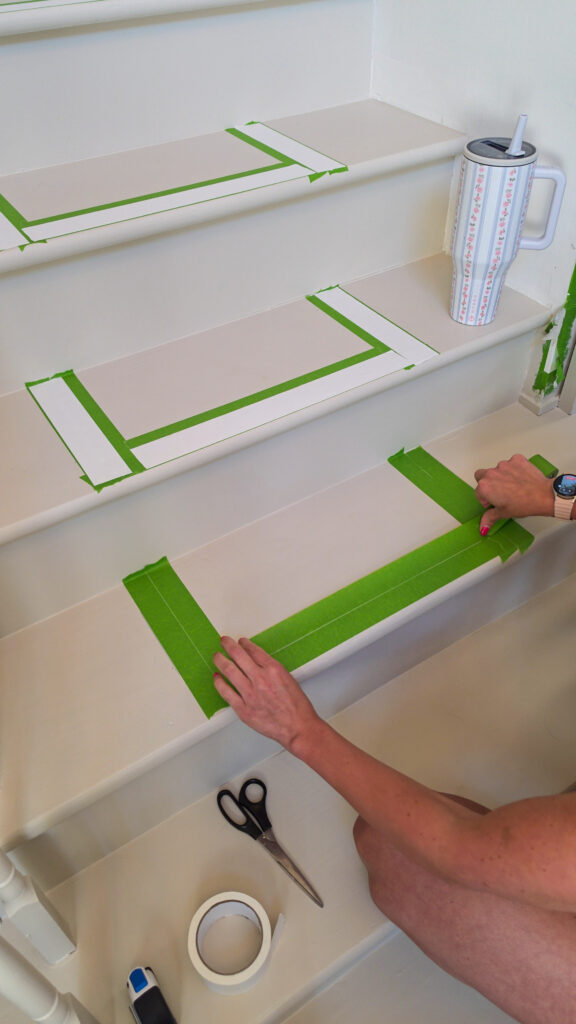
I learned a lesson from my last stair makeover, though—I didn’t want to stick the carpet tape directly to my freshly painted stairs! Instead, I put down a layer of painter’s tape first, then applied the carpet tape on top of it. If I ever decide to redo my stairs again (and let’s be honest, with how often I change my mind, it’ll probably happen!), I can simply peel up the painter’s tape without worrying about the carpet tape damaging the painted finish underneath.
I placed the tape along both edges where my stair runner would sit, as well as across the front edge of each stair tread. This gave the runner plenty of grip while still making the entire installation much easier to remove in the future.

Install runner using staple gun
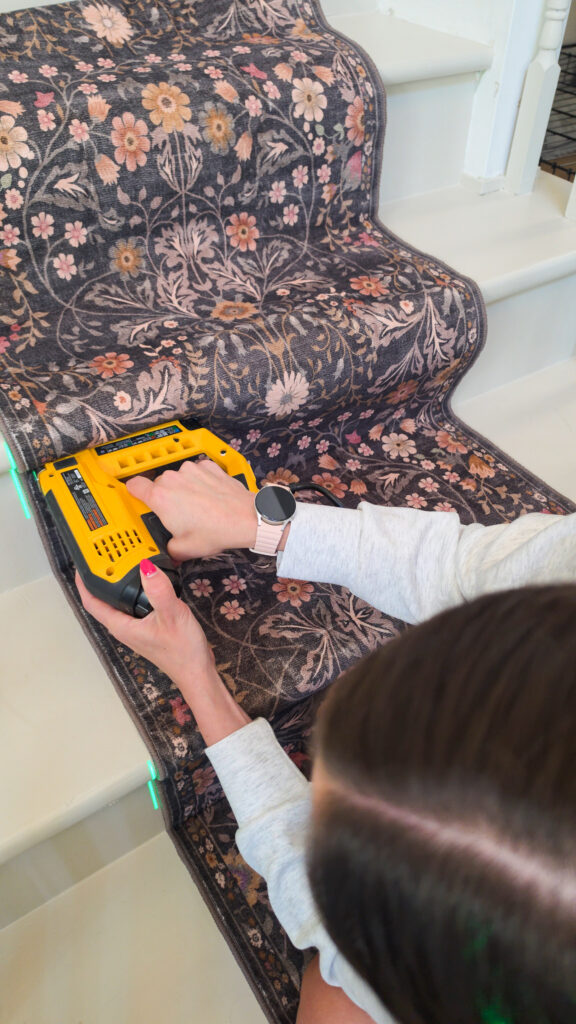
For this project, I highly recommend using a powered stapler instead of a hand stapler. It makes installing a stair runner much easier and helps drive the staples securely into the stairs with less effort.
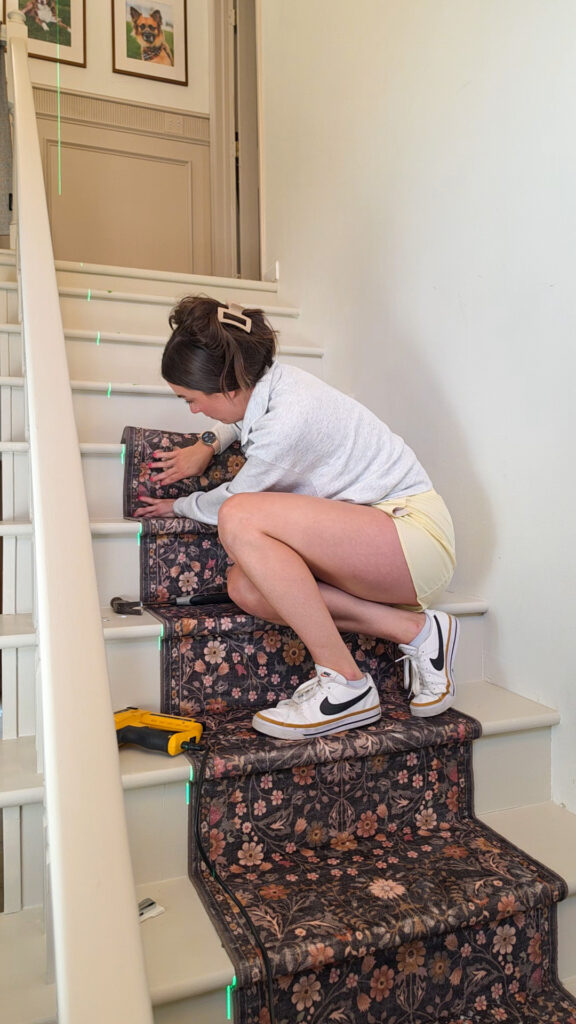
I started by laying out my stair runner and smoothing the rug into place. When stapling, try to place your staples in areas where they won’t be visible. I added staples along the back of each stair riser, focusing on the corners, and then secured the runner underneath the lip of the stair tread above it. With most rugs, it will hide the staples once they’re in place, making them practically invisible!
Since I needed more than one rug to cover the entire staircase, I also had to figure out the best way to join two stair runners together. I positioned the ends, so they met underneath the lip of a stair tread. This completely hides the cut edges and creates a much more seamless transition; you can’t even tell where one rug ends and the next begins!
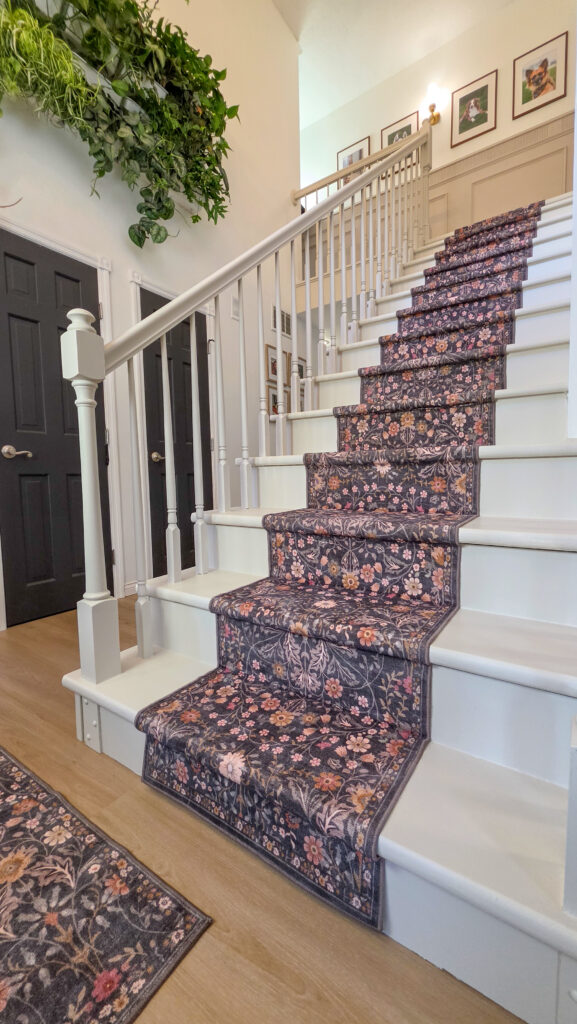
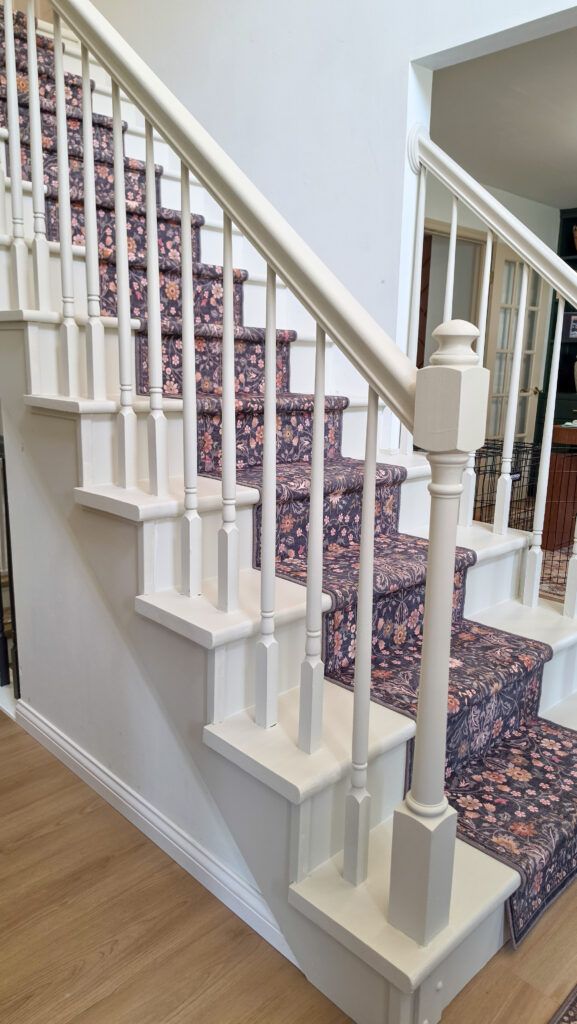
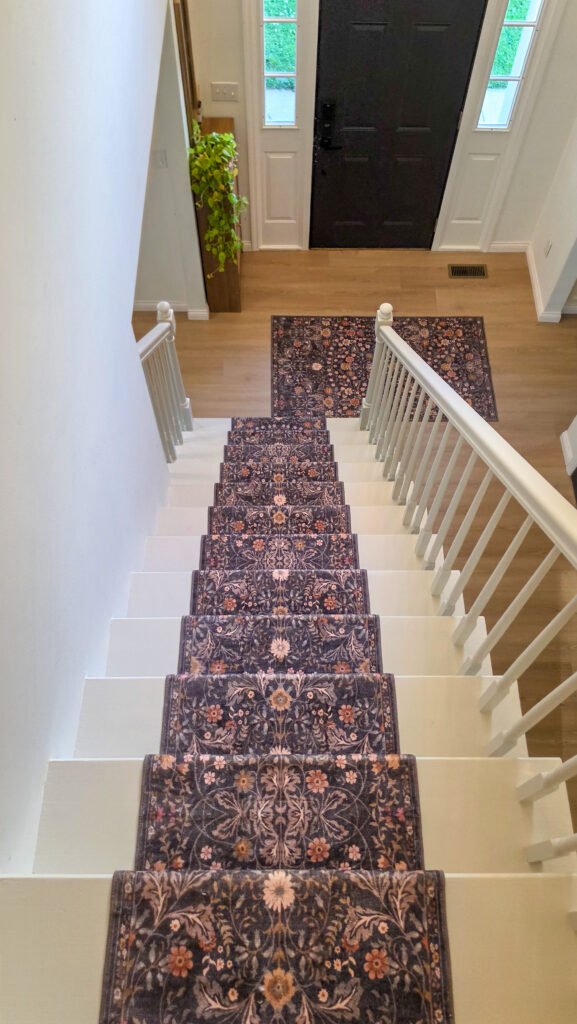
The combination of this rug and the paint make this entryway look so much better! I love it so much!

Sep 8, 2026