")
Faux Wood Furniture Makeover
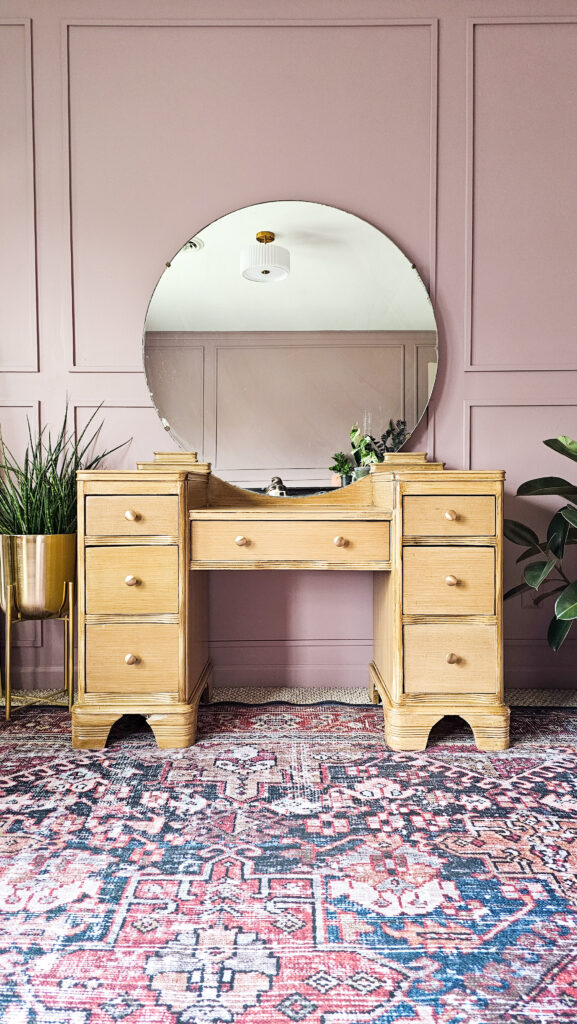
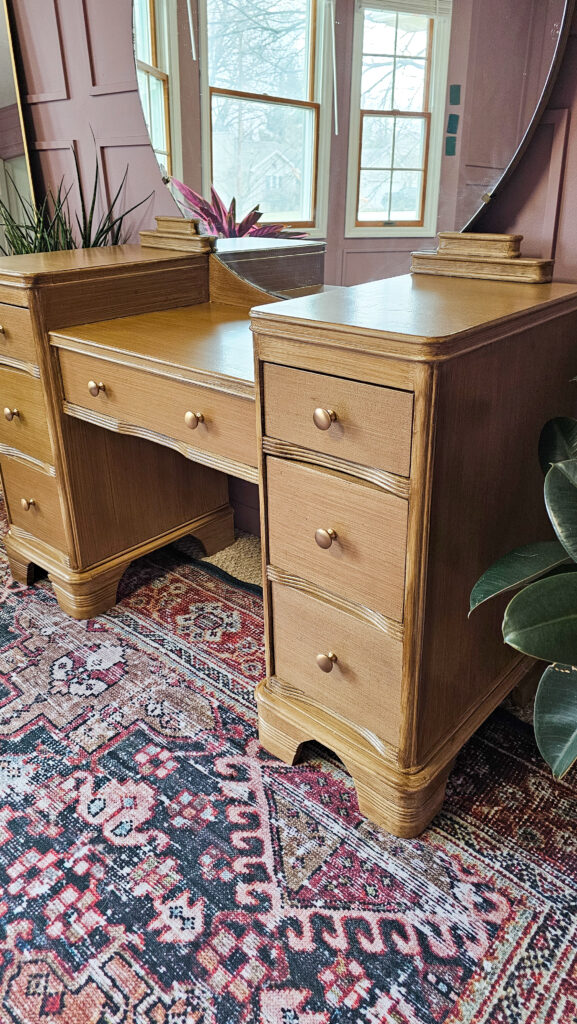
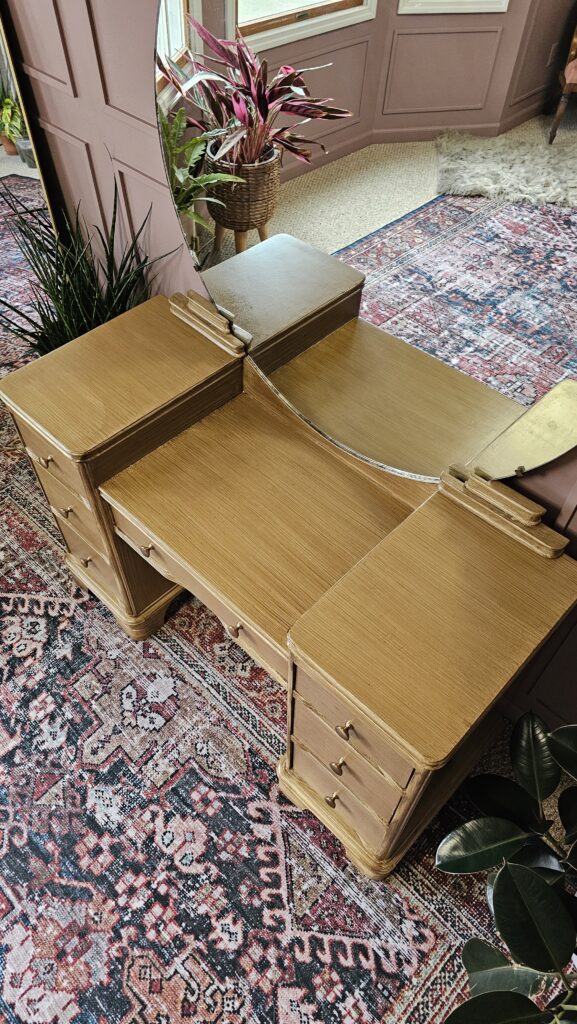
I’ve had this vanity my entire life and instead of getting rid of it, I decided to give it a makeover…again! Over the years this vanity has been painted 4x and some were good, but most were bad! Let me show you how I took this old gross vanity and turned it into this beautiful “faux” wood finish!
If you’d like to see the video of this Vanity Makeover check it out here!
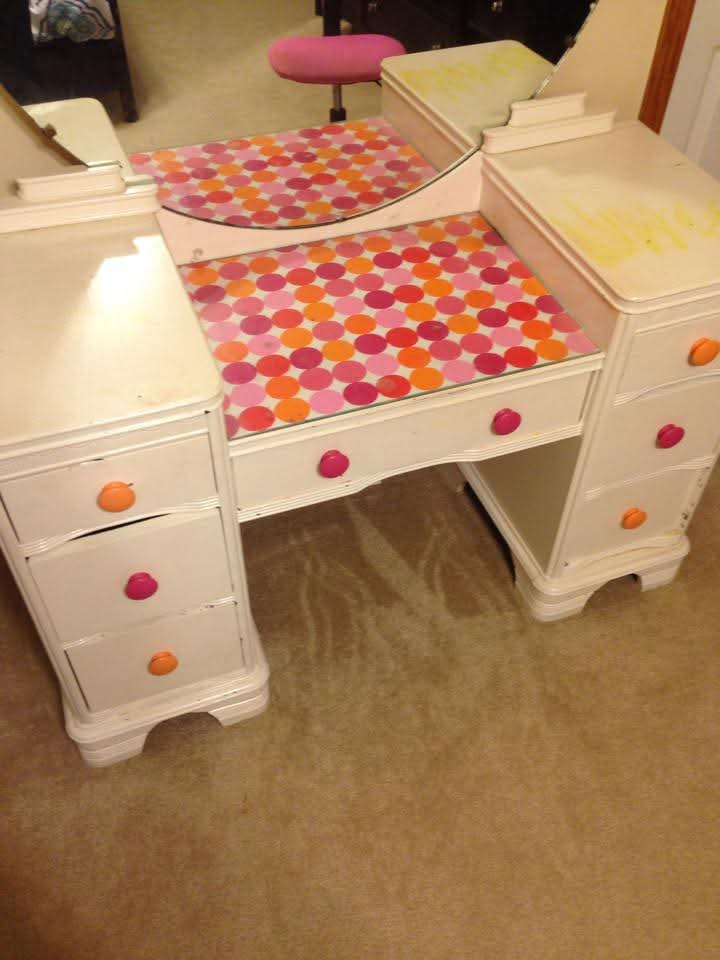
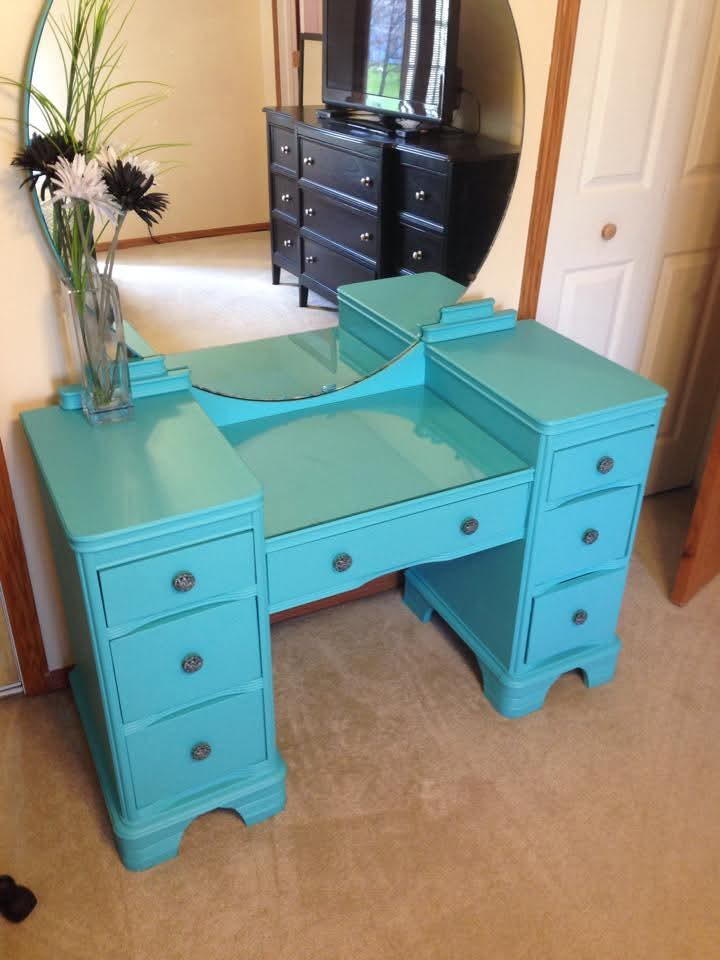
Here is the vanity before this project and after:

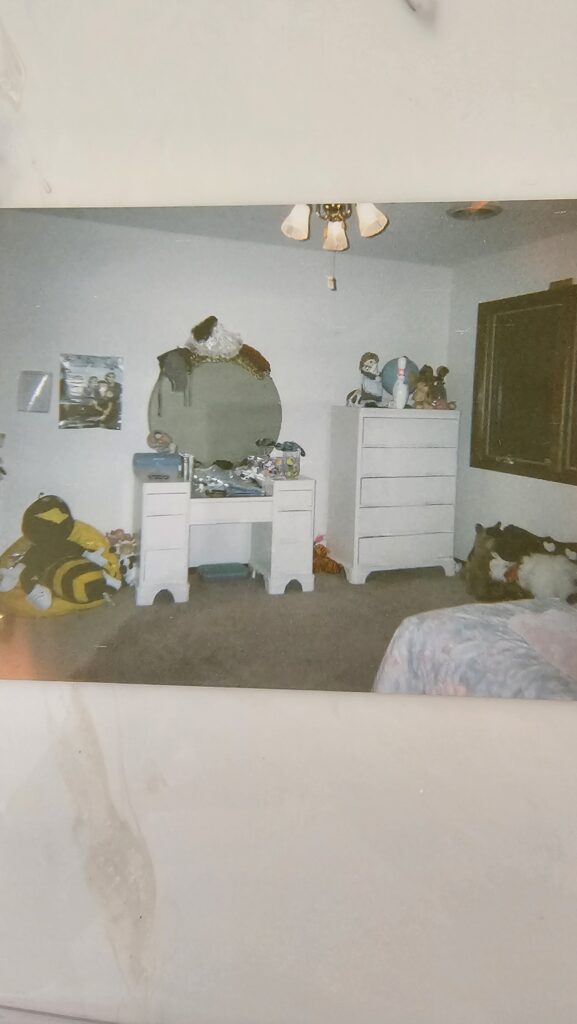
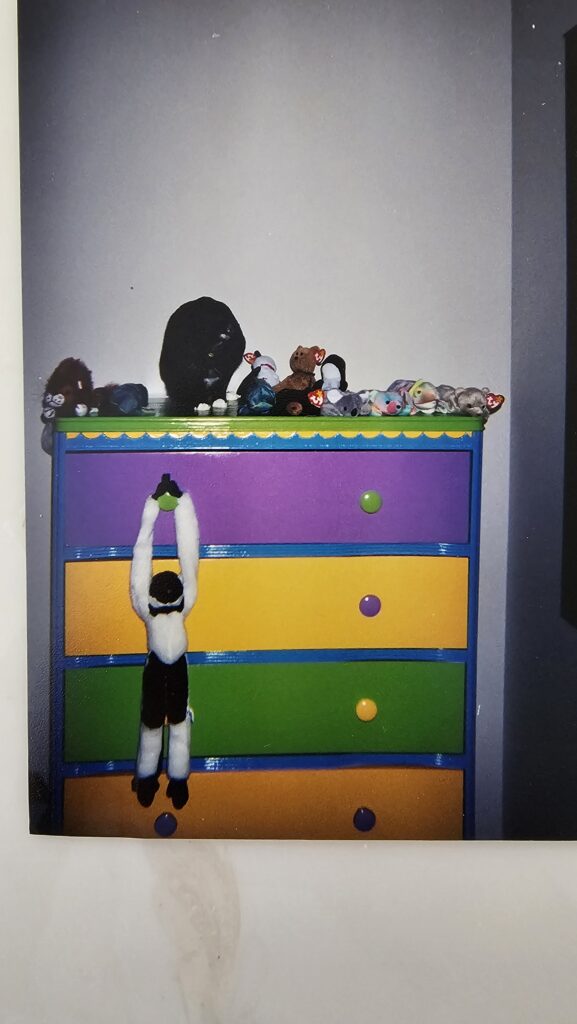
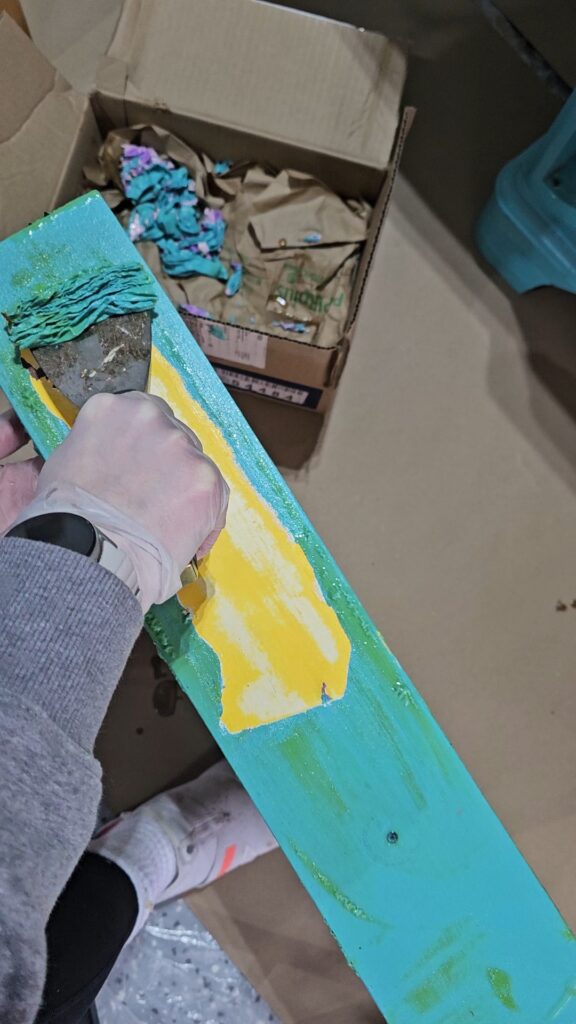
Over the years this vanity got lots of makeovers! First it was painted white in the early 90s. In 2001, my mom let me go crazy in the paint chip aisle and pick out any colors I wanted. I clearly couldn’t narrow it down and picked them all! When I was in high school, I painted my room half orange and half pink, so the vanity was painted white with accents of orange and pink to match. Finally, when I moved back home in 2014 after college, it got this turquoise makeover which was the top of color of that year!
*I may earn a small commission on any linked items in this article*
Supplies
- Paint Brush
- Deck Brush
- Dust Broom Head
- Primer
- Tan Paint
- Rustoleum Glaze
- Polyacrylic
- Paint Stripper (if needed)
- Bondo (if needed)
- Drawer Liner (not required)
Step Summary
- Strip off old paint
- Sand everything smooth
- Repair any damage
- Prime the furniture piece
- Paint tan base
- Apply glaze using paint brush
- Add texture using deck brush
- Add more texture using broom head
- Seal with polycrylic
- Add in drawer liners
Detail Steps
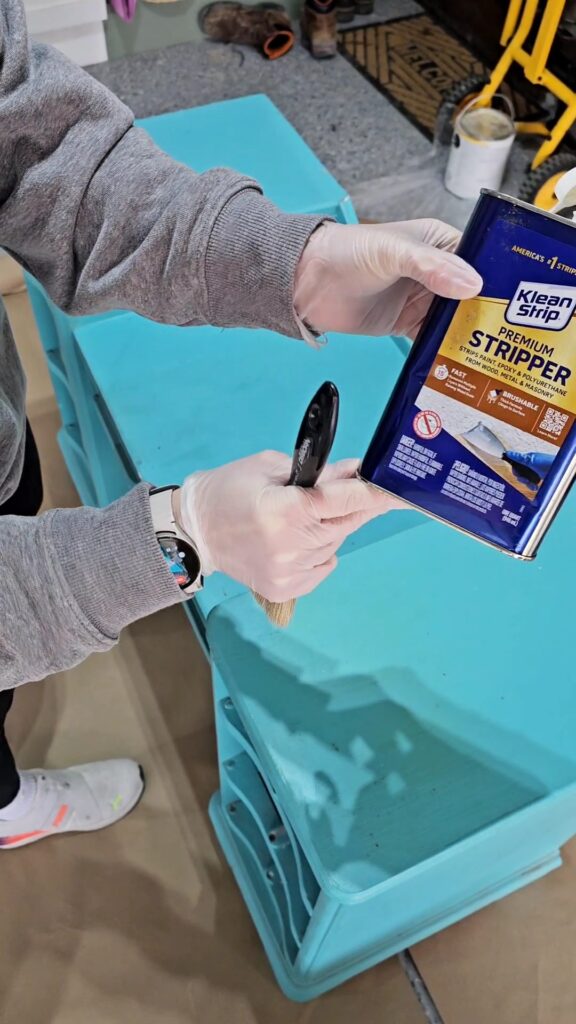
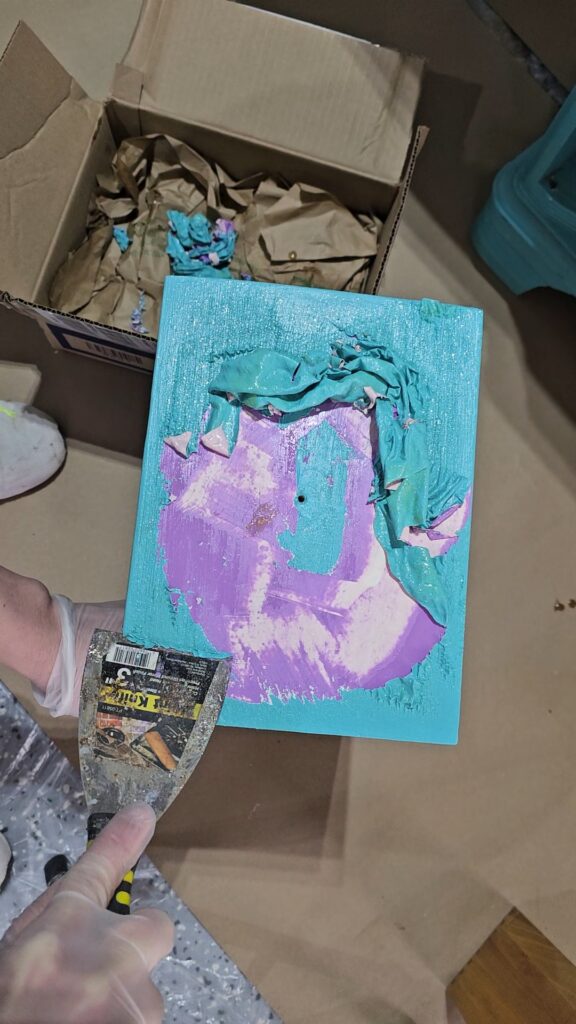
Strip Off Old Paint
You don’t have to strip off the old paint, you could get to work sanding it off. But I knew there were at least 4 layers of paint under this! I wanted to start fresh with this vanity and that meant taking all this off. This stripper was able to work through the first couple of layers of paint, but I didn’t let it sit long enough so I had to do a second coat. This is the best stuff to use, just make sure to do it in a well-ventilated place and to wear a respirator mask. This is STRONG!

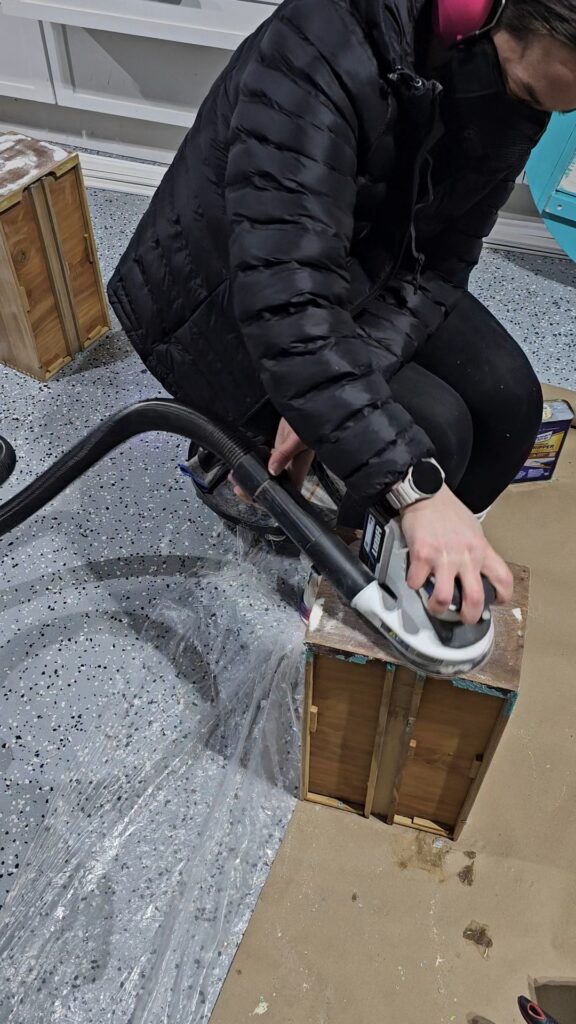
Sand Everything Smooth
After I stripped off as much paint as I could, I used my sander to remove the rest of the loose paint. I start with a 120 grit and then do a final sanding using 220 grit to get everything nice and smooth before paint or stain.
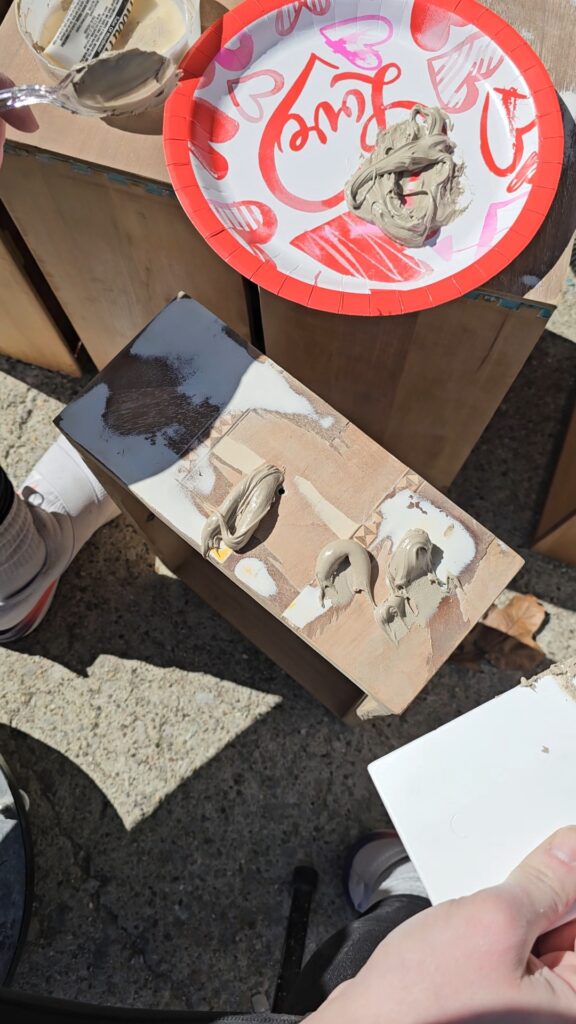
Repair Any Damage
Unfortunately, this vanity wasn’t solid wood like I had hoped. There was veneer all over it and some of it was damaged. Instead of replacing the damaged veneer, I used Bondo to smooth out this damage and sand it smooth. This is a lot tougher than regular wood filler and once it’s painted, you’d never know. Once the Bondo has dried, I sanded everything smooth to prep it for paint.
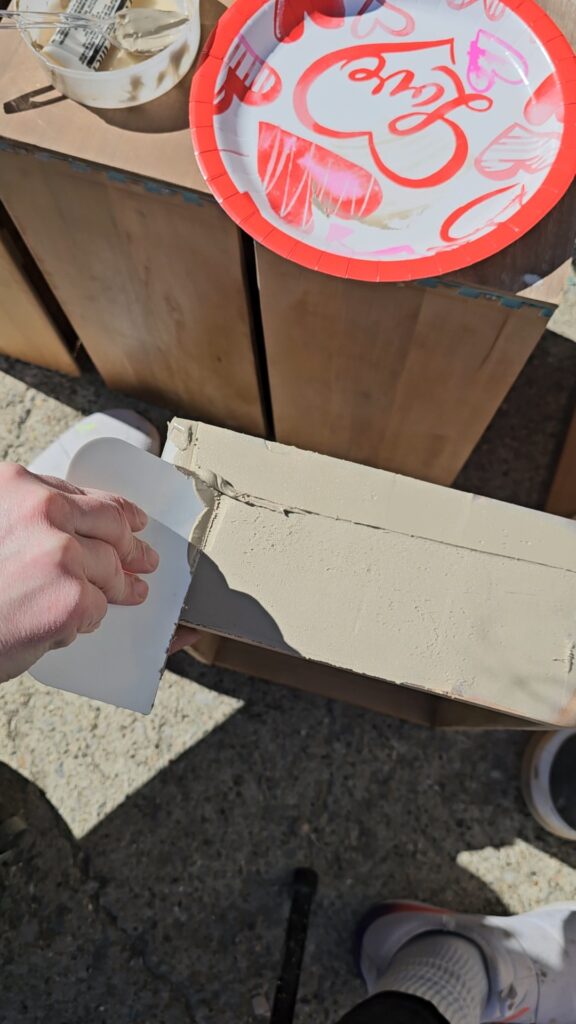
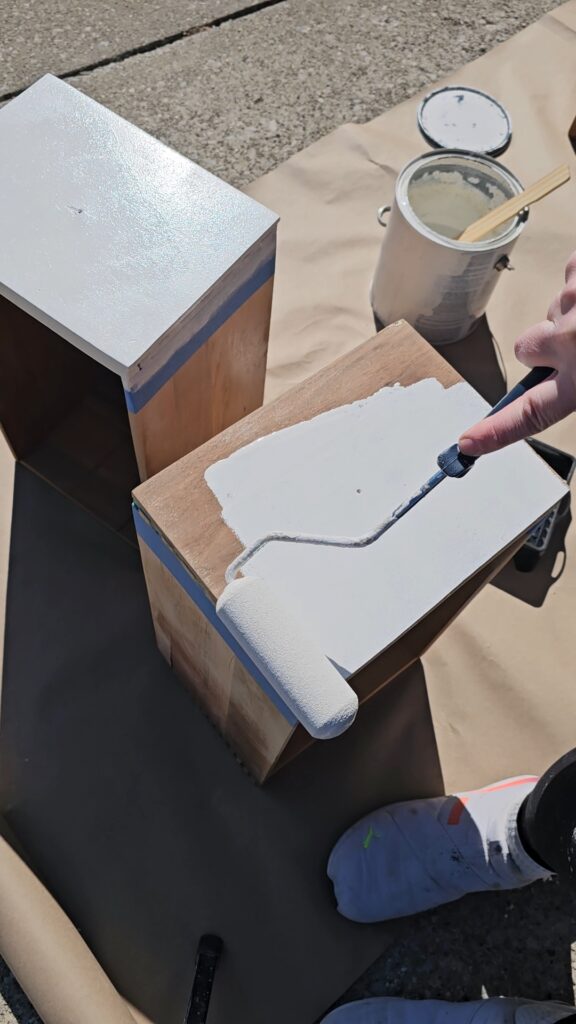
Prime Furniture
I use this primer from Bin’s, it is one of my favorites. If you don’t already have a gallon laying around, you could try it out in the spray paint cans which would be much easier! I already had a gallon in the garage, so I used a foam roller and brush to add 2 coats of primer. In-between each coat of primer I lightly sanded with a 220 grit. This creates a perfectly smooth surface ready for paint or glaze.
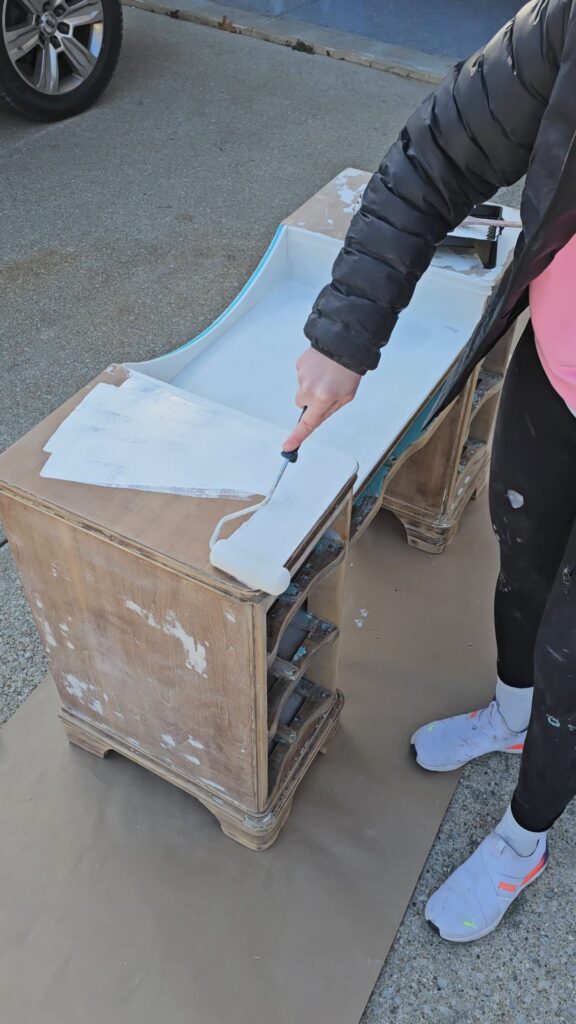
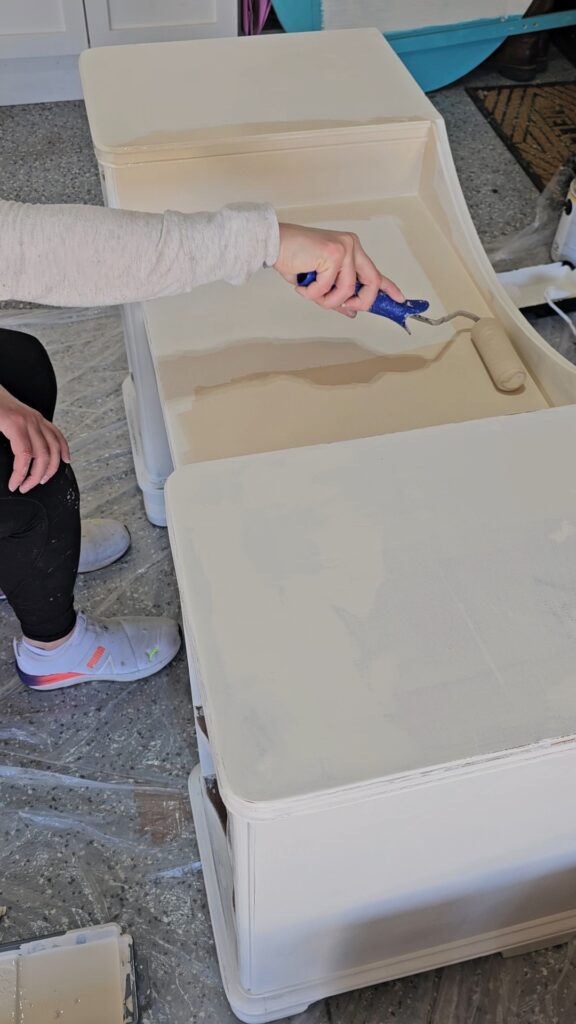
Paint Tan Base
I just used leftover tan paint I had on hand to paint over the primer. This color will show through the glaze a little bit so if you want it a light wood, use a lighter tan. But any tan color will work!
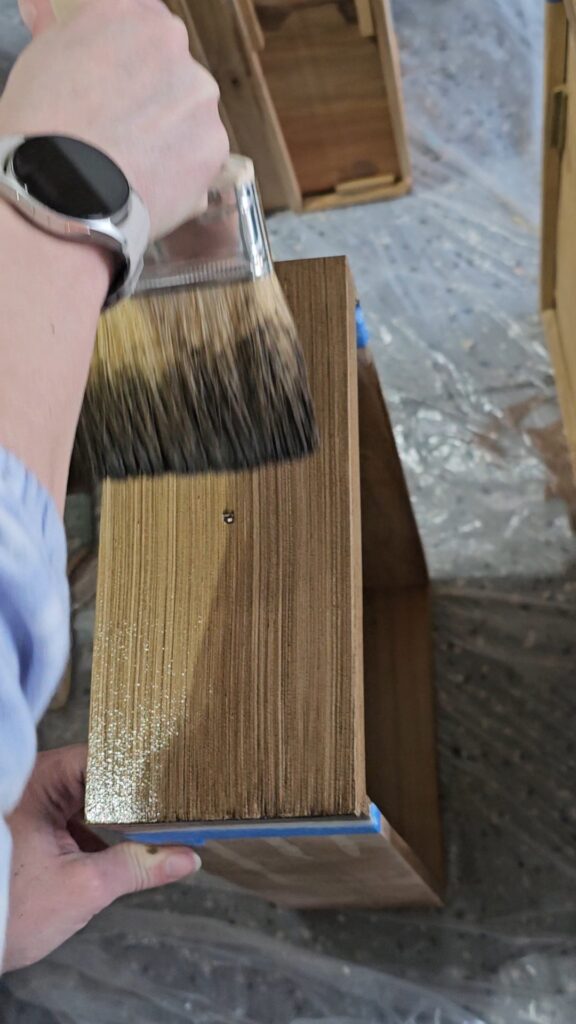
Apply Glaze using Paint Brush
I first use just a regular paint brush to apply the glaze. You don’t want to use a ton. The more glaze you use, the darker your “wood tone” will be. So, use it sparingly until you find the color you want. The glaze does dry faster than paint, so if you need more working time, you can lightly mist your surface first to make the glaze able to be manipulated longer.
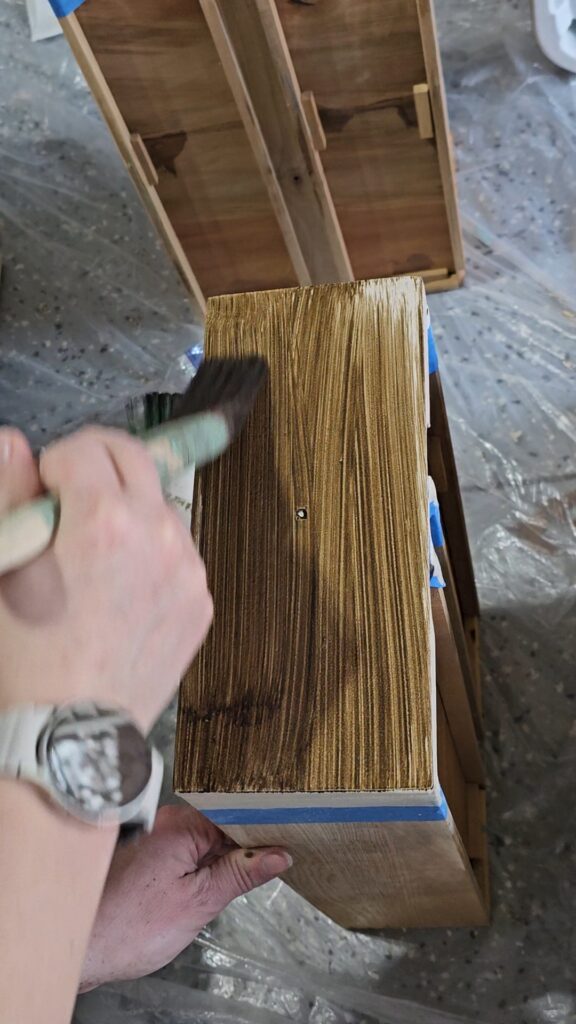
Add Texture using Deck Brush
After the glaze is spread out, I used this 4″ deck stain brush to add more texture to the glaze. This will thin out the glaze a bit more. I usually keep spare towels nearby and remove the excess glaze from the end of the brush so it doesn’t glob up on the edges.
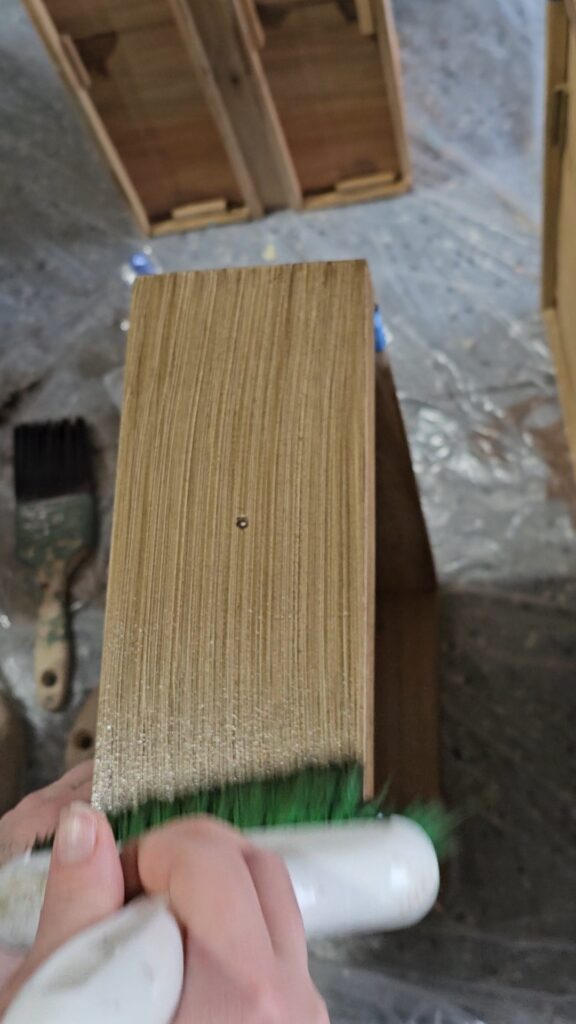
Add More Texture with Broom Head
To add even more texture, you can use a broom head or a corn whisk brush. This isn’t a necessary step, but it does give a more realistic look. The best part of this process is you can make it your own! So, if you want to use the broom head or not, it’s up to you!
After I have the texture close to how I want, I do one final brush with the Deck Brush to just smooth everything back out.
Seal with Polyacrylic
Let your glaze dry for at least 24 hours before applying your polyacrylic. If you have a sprayer, this would be better, but you don’t need one! I used a foam brush roller to apply 2 coats of polyacrylic.
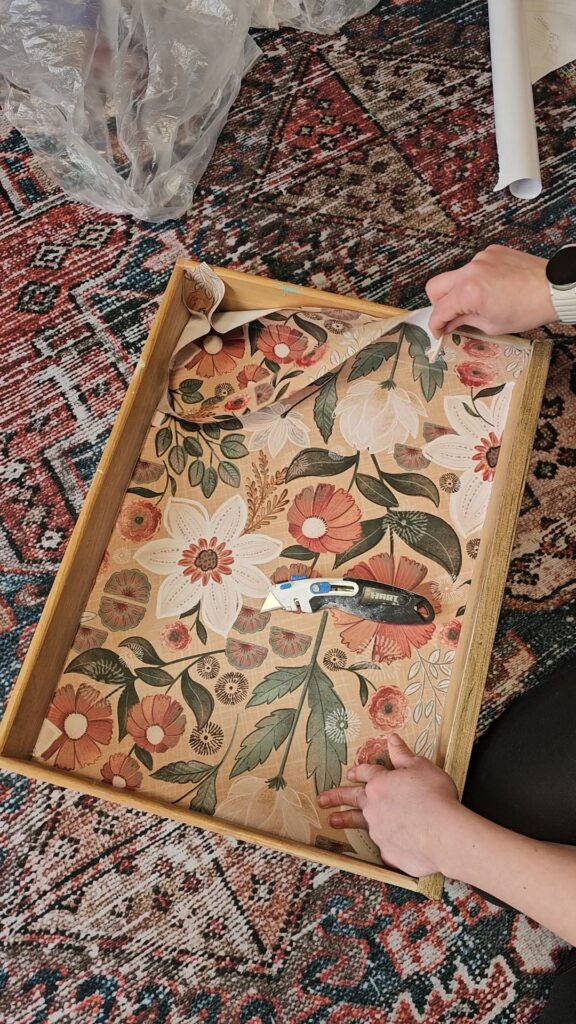
Add in Drawer Liners
This vanity has had major use over the years, so to give the drawers a fresh new look, I added in some peel & stick wallpaper. I just needed one roll to do all the drawers!
I love that I got to bring new life into this vanity with this Faux Wood look! It would have been much easier to replace it, but I knew it had the potential. Plus, there are so many memories that I just couldn’t yet let go of. Thanks, mom, for the creative drive taught to me at such a young age!

To see how I made this simple Picture Frame Molding in my room, check out my full blog post here!
If you’d like to see the video of this Vanity Makeover check it out here!
Mar 24, 2025