")
“Faux” Crown Molding
Crown molding can add so much character and dimension into your space, but let’s be honest it can be a little intimidating! They do make crown molding jigs like this one to help, however I didn’t want to make this project any harder than it needed to be. So, let’s make crown molding without all the complicated measuring and math! This is a beginner friendly project that anyone you can do, all you need is a saw that can make 45-degree cuts!
*I may earn a small commission on any linked items in this article*

Supplies
- Crown Molding Parts
- Miter Saw
- Nail Gun
- Measuring Tape
- Level
Step Summary
- Cut boards for your “faux” crown molding
- Install upside down baseboard
- Install cove molding
- Install detailed trim
- Caulk and wood fill
- Paint your new “faux” crown molding
Detailed Steps
Cut Boards for your “Faux” Crown Molding
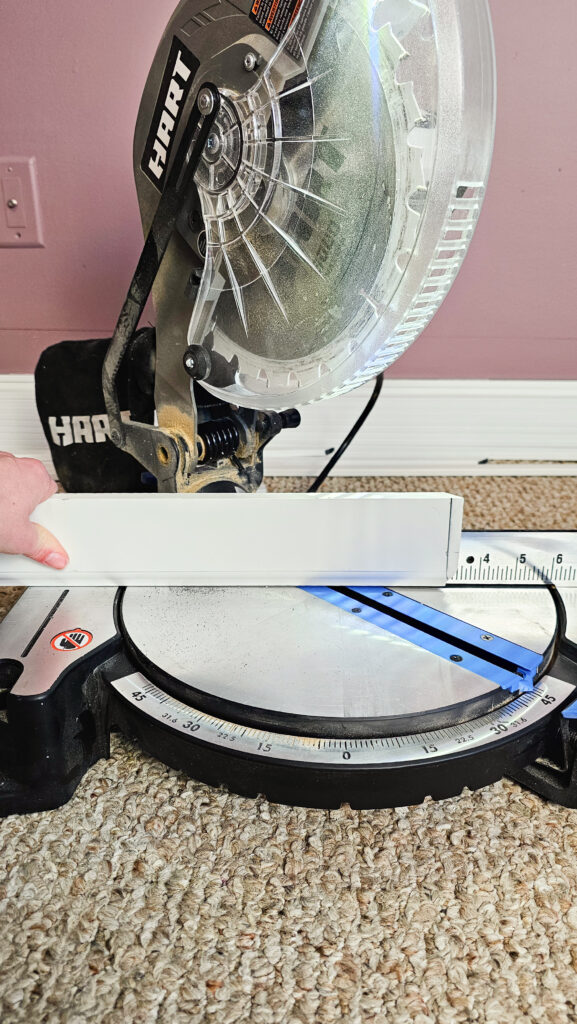
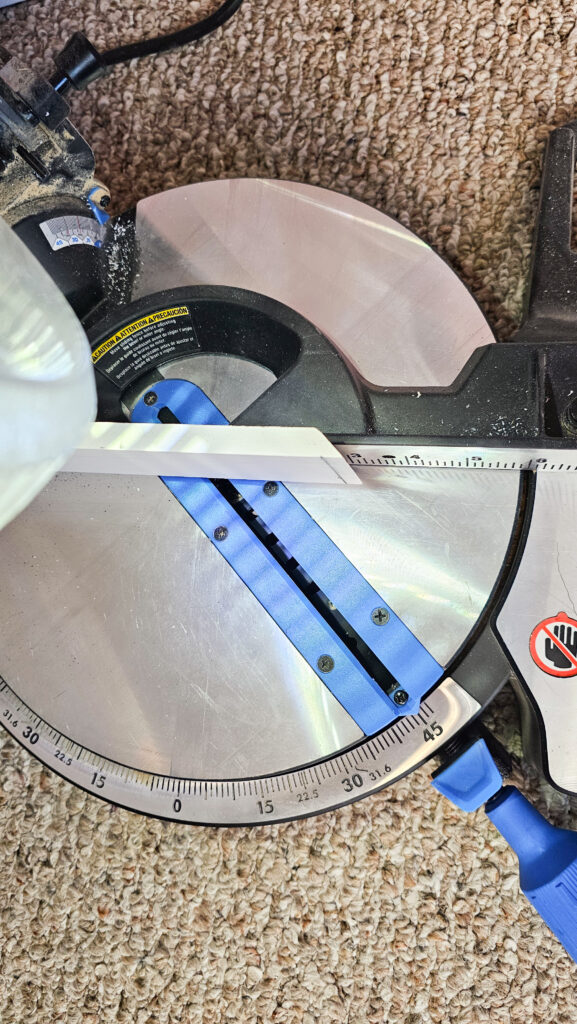
The best part of making this faux crown molding is it only requires easy 45-degree angle cuts. Just turn your miter saw to the 45-degree mark for any corners you come across. When cutting outside corners vs. inside corners just remember the arm on your miter saw will swing opposite directions. Whenever I am unsure of a cut, I will make a practice board to ensure I have everything lined up.
If you are a beginner and you don’t have a dual bevel miter saw, you will just need to adjust your boards a bit, don’t worry! With a dual bevel miter saw, that means your saw arm can swing right to left and tilt side to side. If you have a single bevel miter saw, meaning it just swings right to left, then you will want to place your board standing up on your saw like I have it below. This will ensure your 45-degree cuts will provide you with perfect corners!
Install Upside Down Baseboards
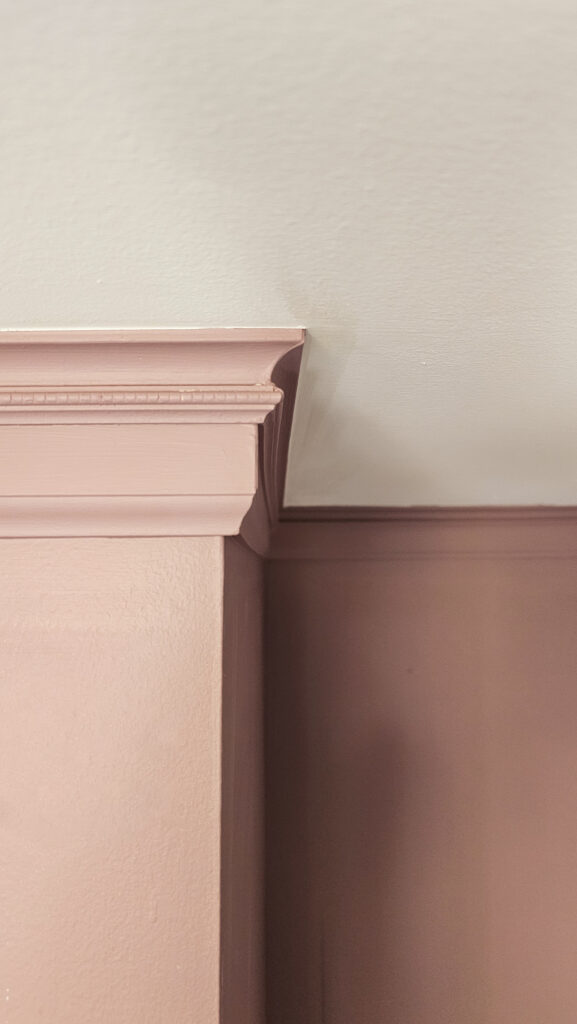
This is how you create that “faux” crown molding look by stacking your different trims!
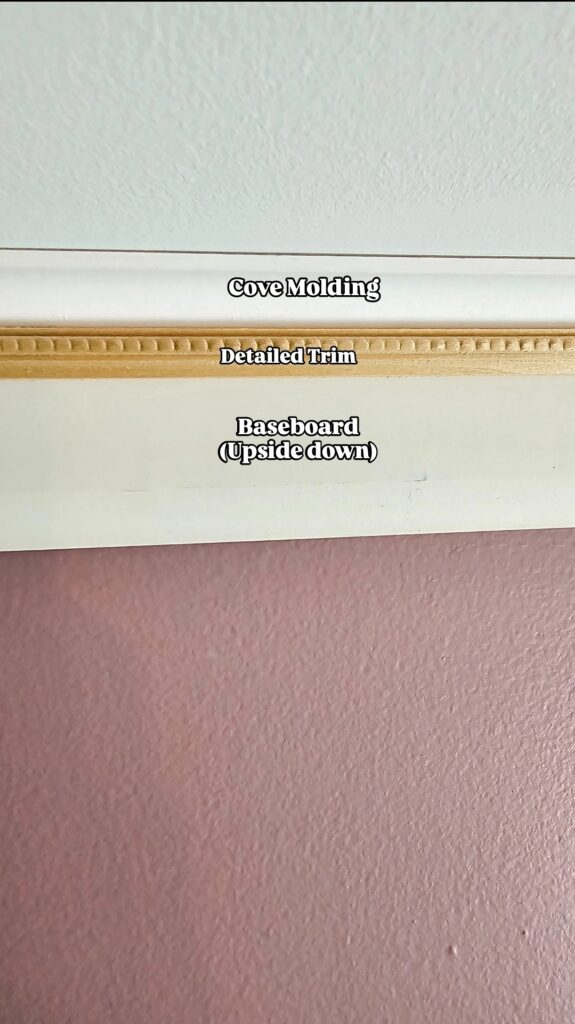
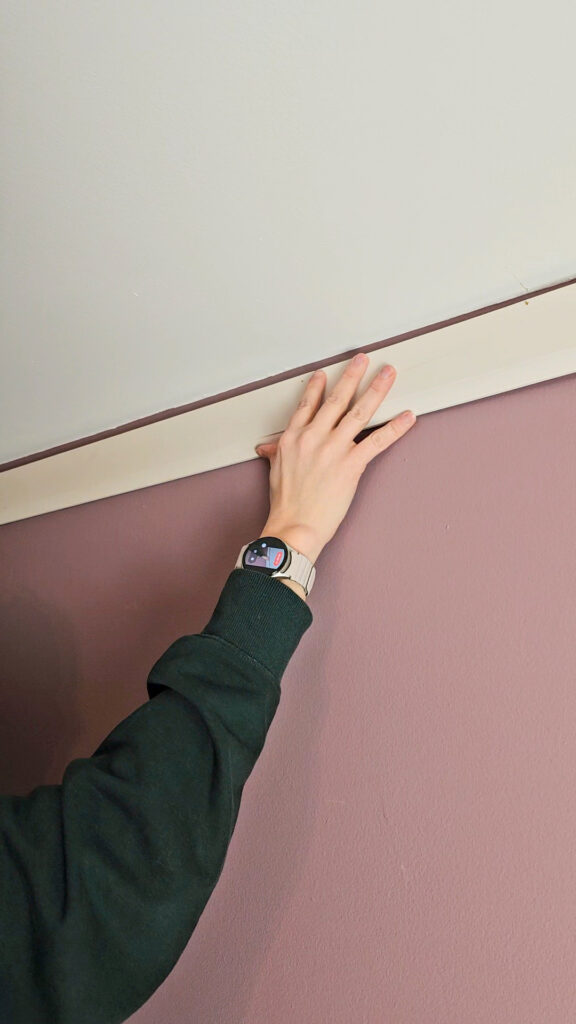
After your boards are cut, you will want to flip the baseboard you bought upside down. This will leave the bottom of the baseboard up against your ceiling. Use a nail gun to attach to the wall
Install Cove Molding
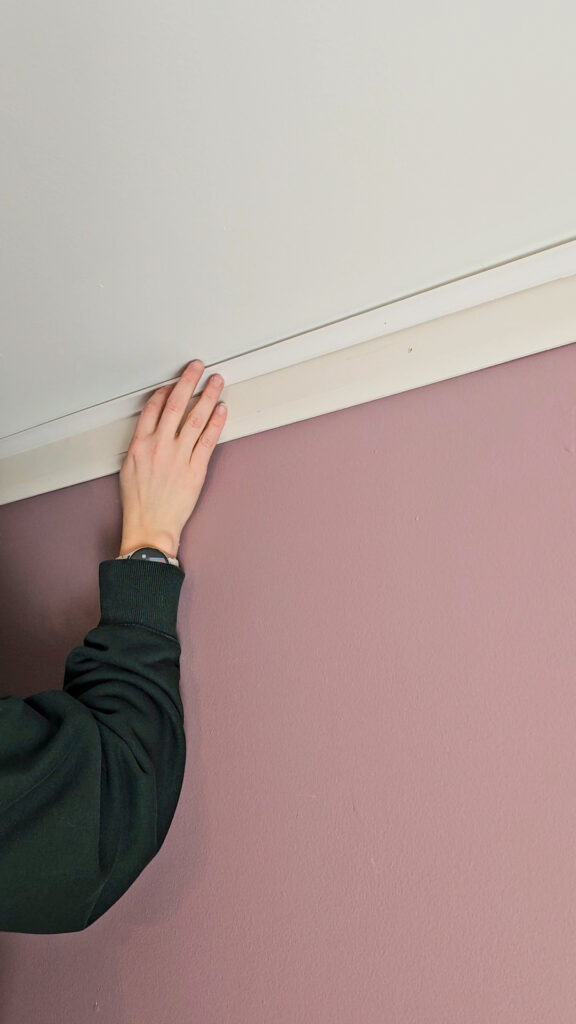
Once your baseboard is up, you will install your cove molding next. One side of the cove molding will sit against your ceiling and the other against your baseboard. This creates that crown molding illusion!
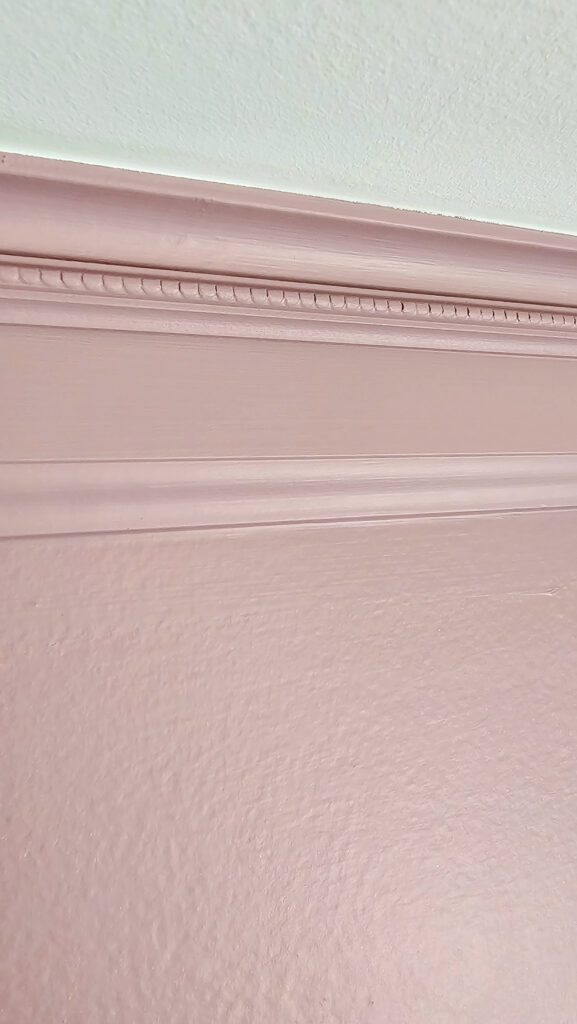
Install Detailed Trim
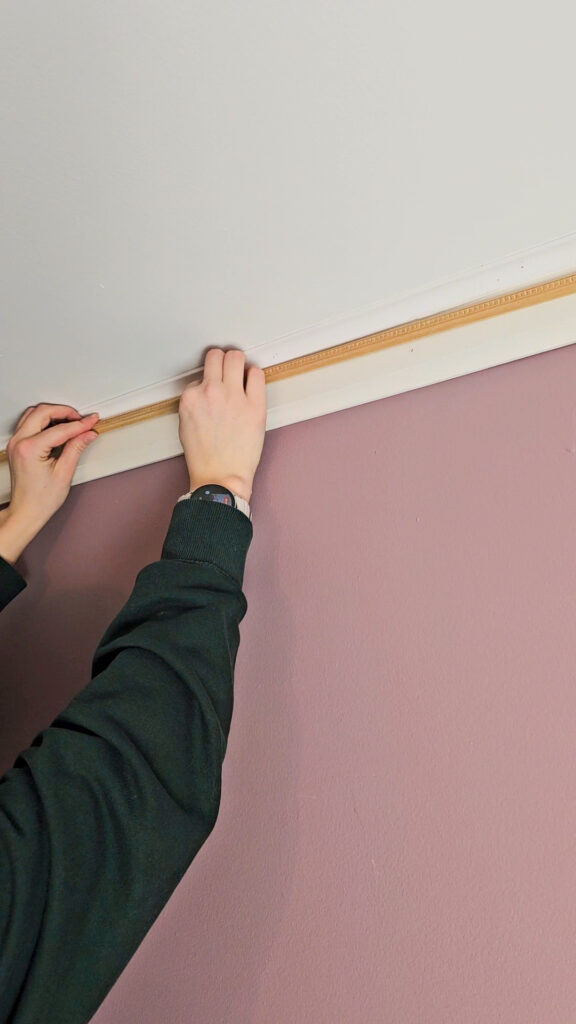
Finally, this part isn’t required, but I love that you get to customize this to look how you want. I found this adorable, beaded trim at the store and knew I needed to add it on. I just added this beaded trim right below the cove molding. Don’t worry this looks like a mismatched board, once we paint it you won’t even know!
Caulk & Wood Fill all trim
After my boards were installed, I added caulk along the top of my trim and the bottom of my trim. I learned my ceiling isn’t perfectly level, so I had some bigger gaps to fill in. Caulk fixed all of this. Then I added in wood filler to all my nail holes. This gives all your projects a more professional look.
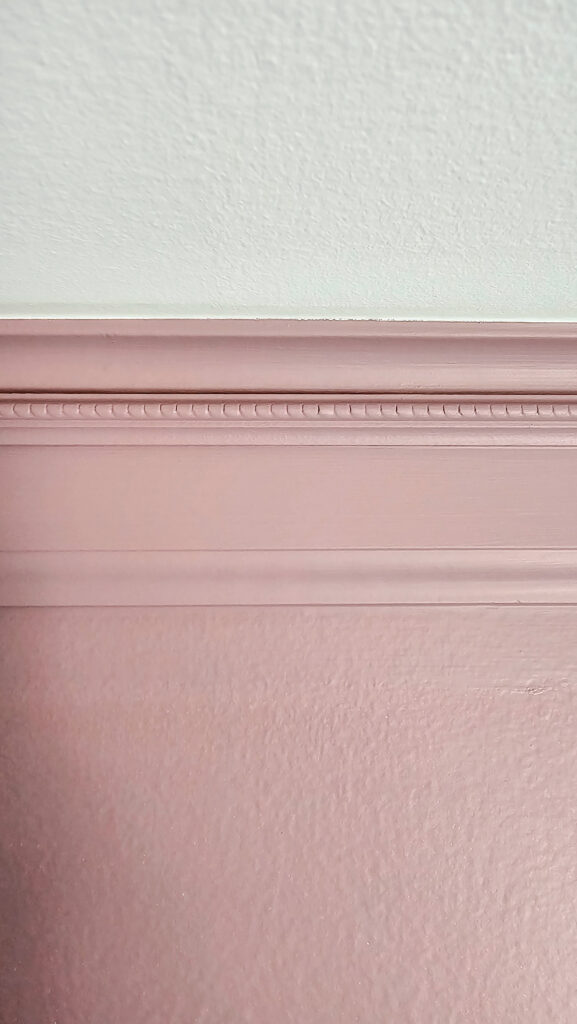
Paint your new “Faux” Crown Molding
Now that everything is attached and prepped, it’s time to paint!
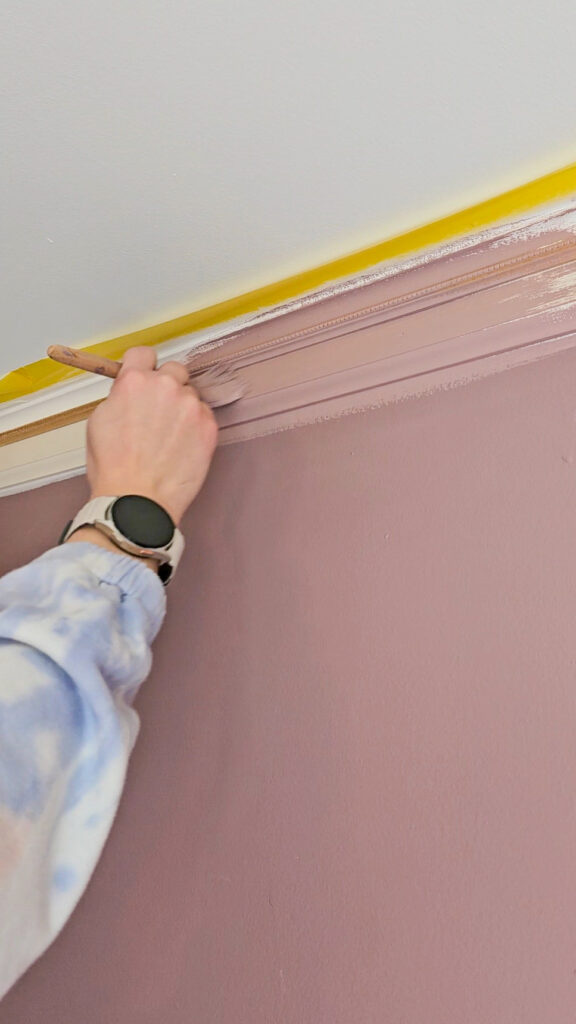
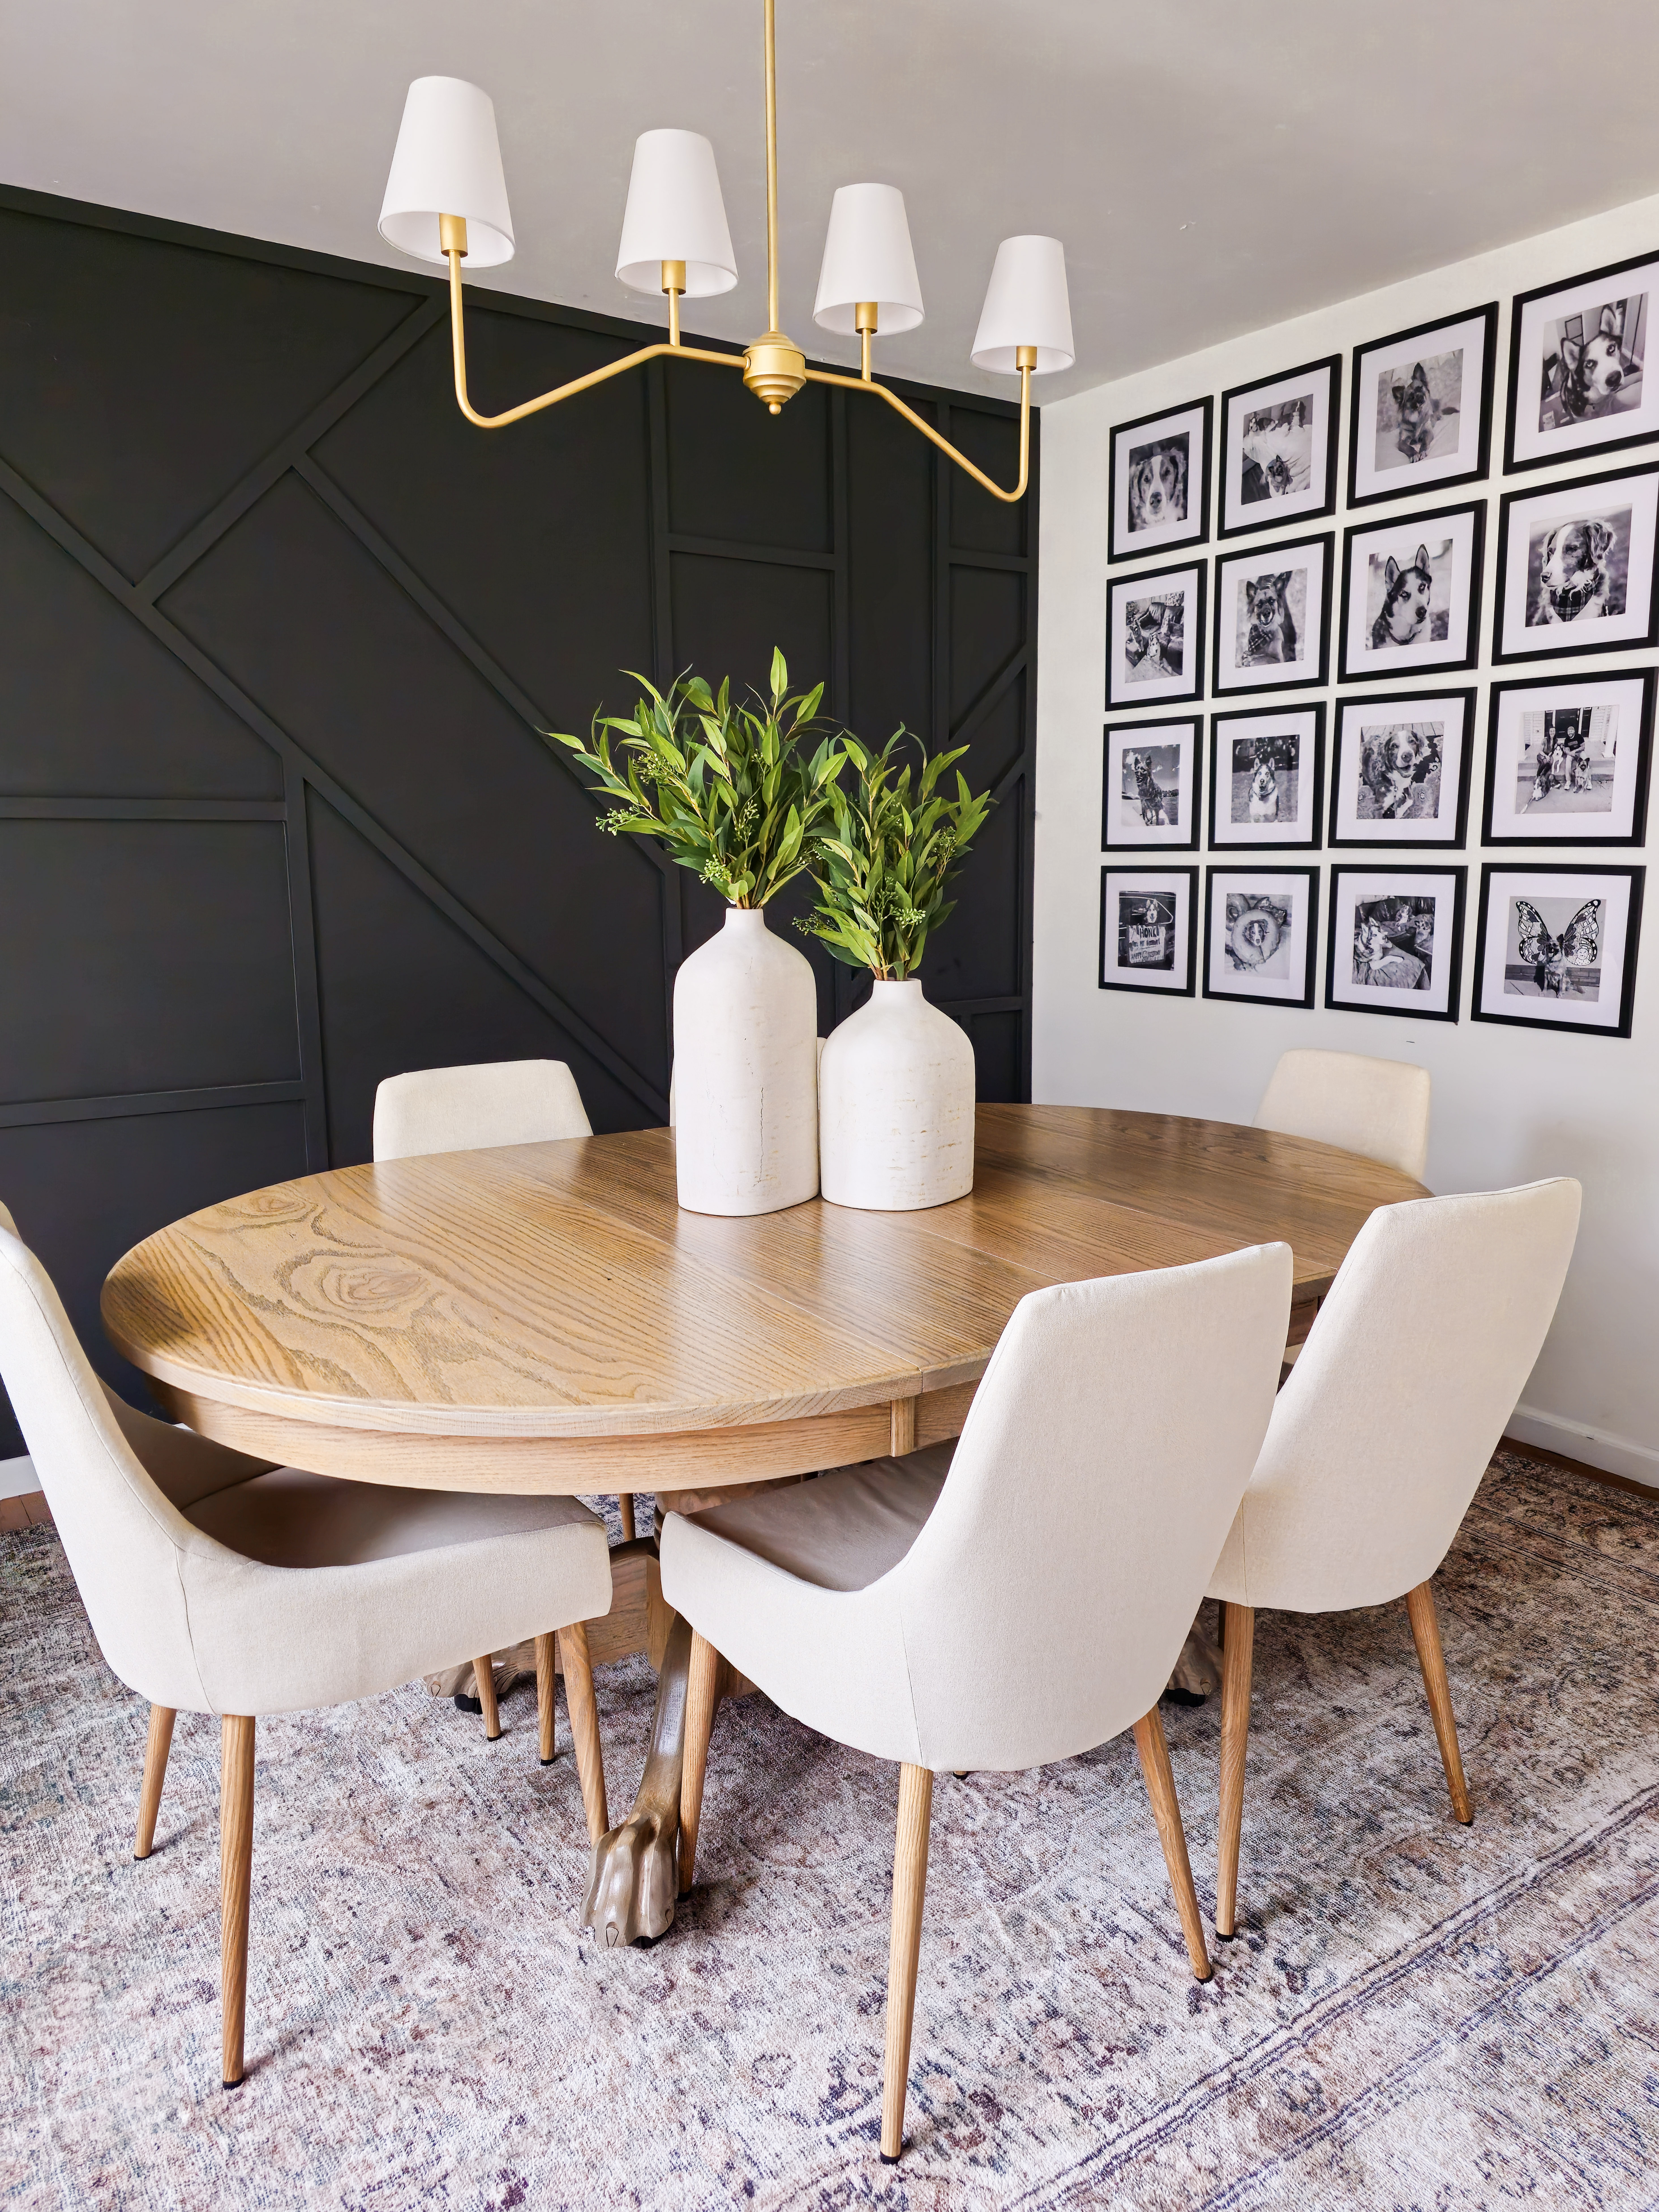
I love how this turned out! This crown is unlike anything you will find in the store because you get to customize it. I love getting to wonder the aisles at Home Depot or Menards and seeing what I can find!
Feb 26, 2025