


")
How to Install Peel & Stick Tiles
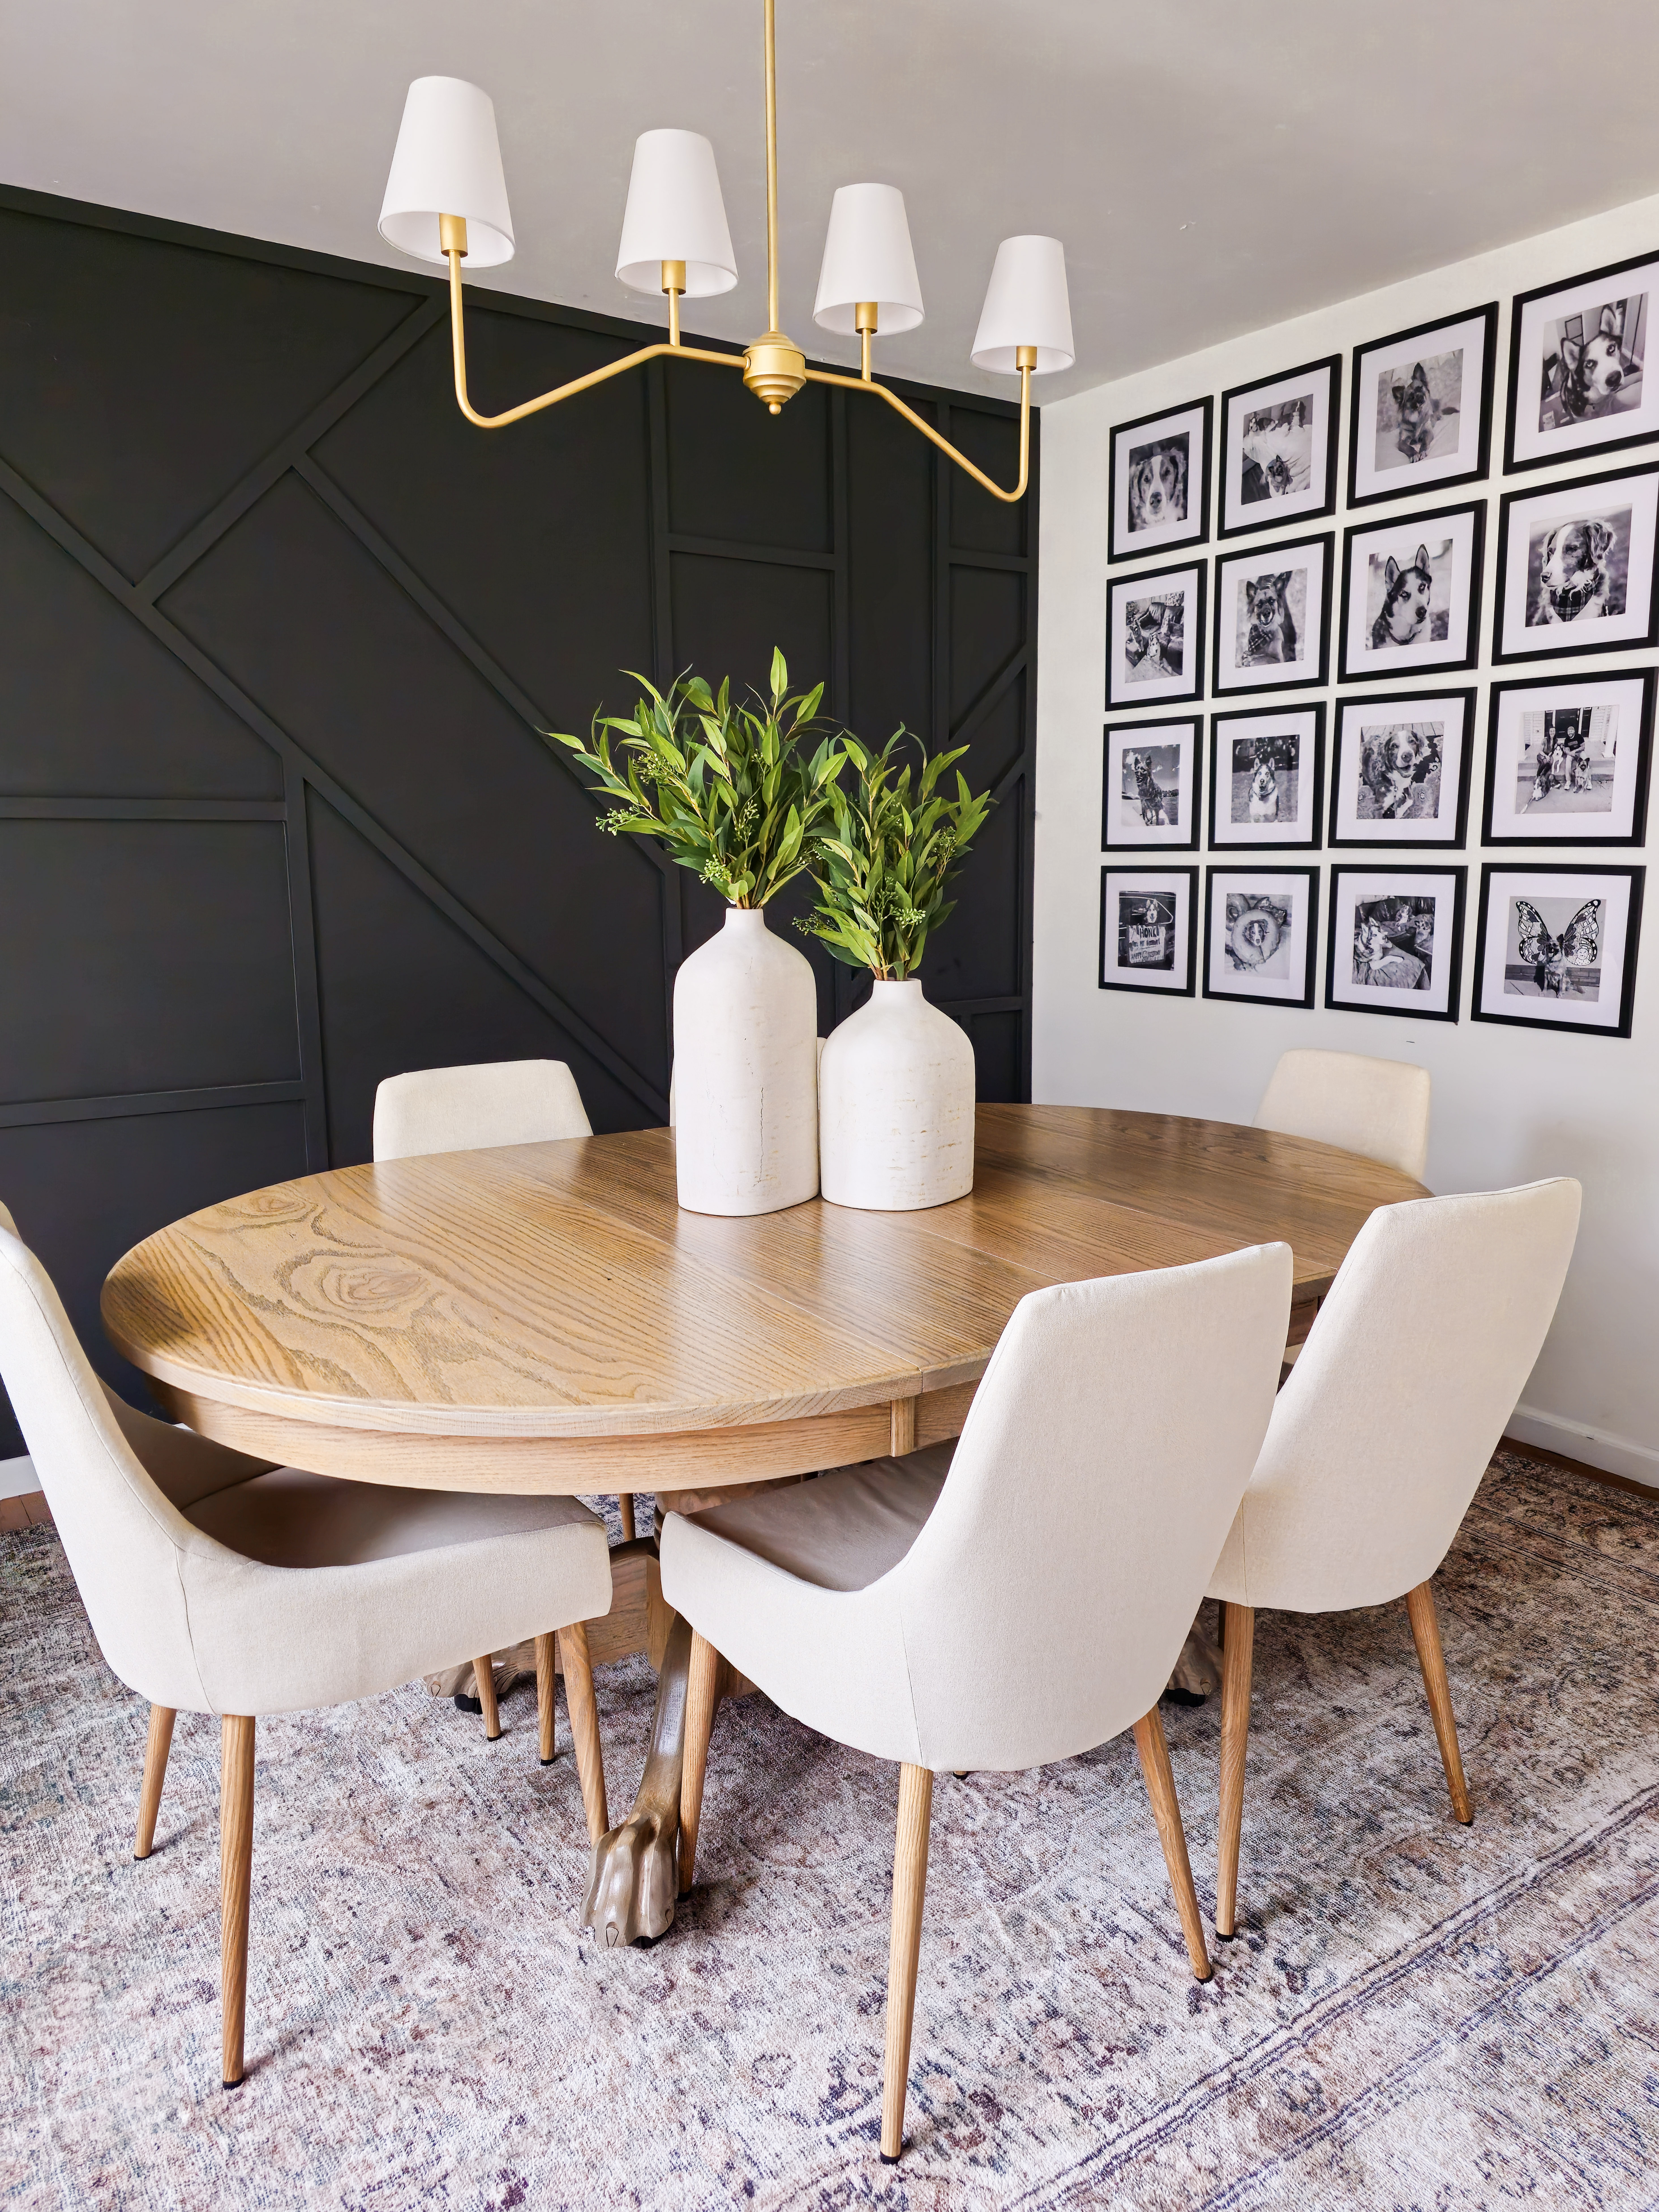
I wanted an easy and quick update to this No Demo Reno, and I have been waiting to find the perfect spot to try out these beautiful peel & stick tiles. This is a one-day project that anyone can do with no power tools! I have provided a total cost breakdown at the bottom.
*I may earn a small commission on any linked items in this article*
Supply List
- Peel & Stick Tiles
- Primer (if needed)
- Quarter Round (optional)
Tool List
- Box Cutter
- Straight Board or Level
- Laser Level (optional)
- Scissors
- Roller (optional)
- Measuring Tape
- Miter Shear (optional)
- Nail Gun (optional)
Step Summary
- Clean your floors
- Prime (if needed)
- Start with a straight line, either with a pencil or laser leveler
- Install first row of tile
- Work your way out from your first row
- Cut tiles using box cutter and straight edge
- Cut around toilet with scissors
- Use roller to push down on tiles
- Install quarter round trim around baseboards
Detailed Steps
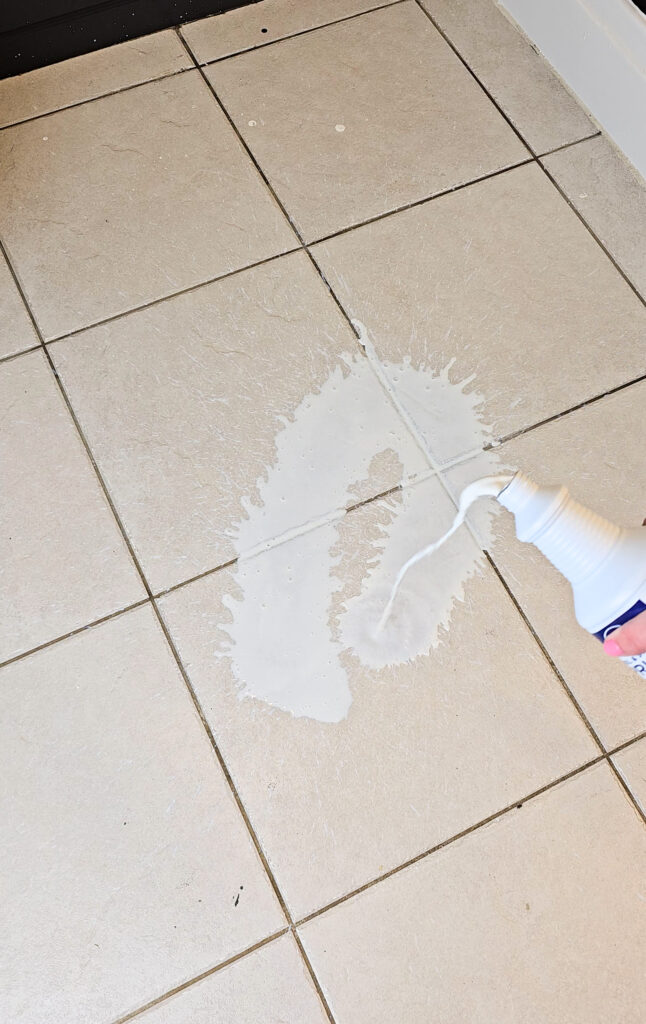
Clean Your Floors
Nothing will stick to dirty floors. You need to scrub and clean everything up off your floors before you start laying down tiles. If you don’t, these will peel up. I scrubbed my floors a couple times and then had to vacuum as I went just to make sure I got all the dust up. Plus, I have 2 adorable but furry dogs, and it never fails their fur ends up everywhere. So, I kept my shop vac on hand.
Prime Your Floors
If you are laying these on unfinished floors, like concrete or plywood, you need to use FloorPop’s Primer. I didn’t realize this wasn’t needed for finished surfaces, like the tile I have, so I bought it. Because I had it on hand, I decided to add it in. I figured it can’t hurt to add it in! I put down the primer and let that dry. It was only an extra $15, so it was worth it to me!
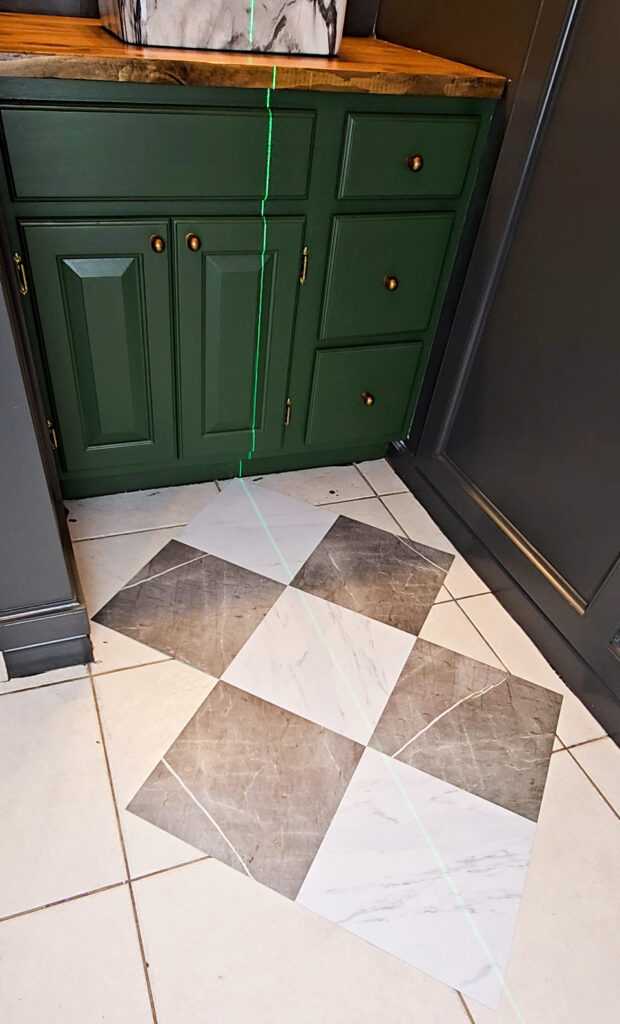
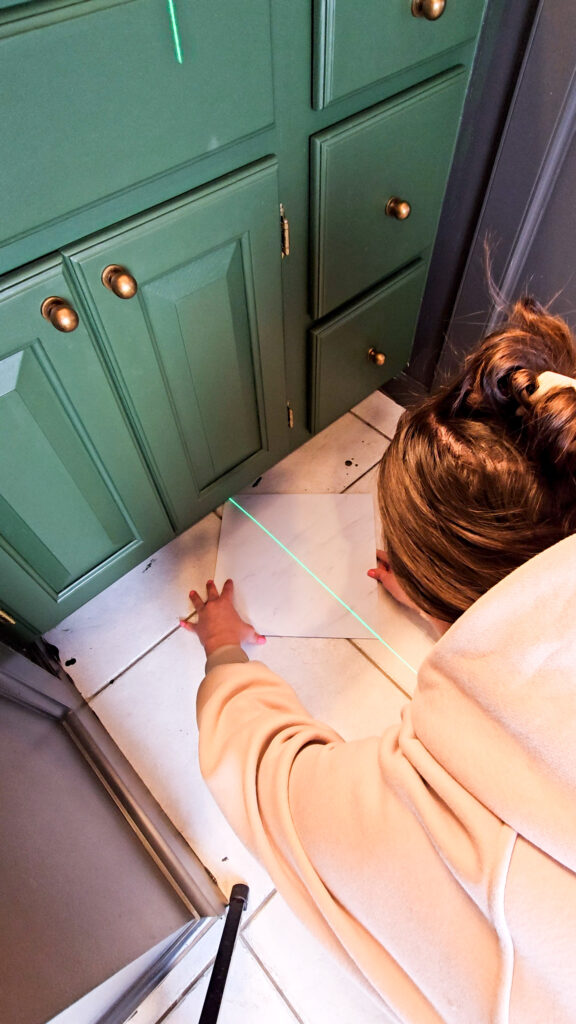
Add a straight line to your floors
Before you start laying your tiles, you need to create a straight line. I used my laser level to have my first row perfectly line up with the center of my vanity and faucet. If you don’t have a laser level, you can just draw a line on your floors with pencil or marker so you can easily follow it.
If I were to go back and redo this, I would actually make my first cuts be perfect half tiles along my wall to the right. Because I didn’t do this, I ended up with 2/3 of a tile needed against my wall, which resulted in having to buy extra boxes of flooring. If I had started with a perfect 1/2 tile against my wall instead of centering mine with the vanity, then I would have been able to use the other half of that tile across the room. Overall, I still love it, but it did cost me an extra $40 in tile. Just something to keep in mind!
Install Your first row of peel & stick tiles
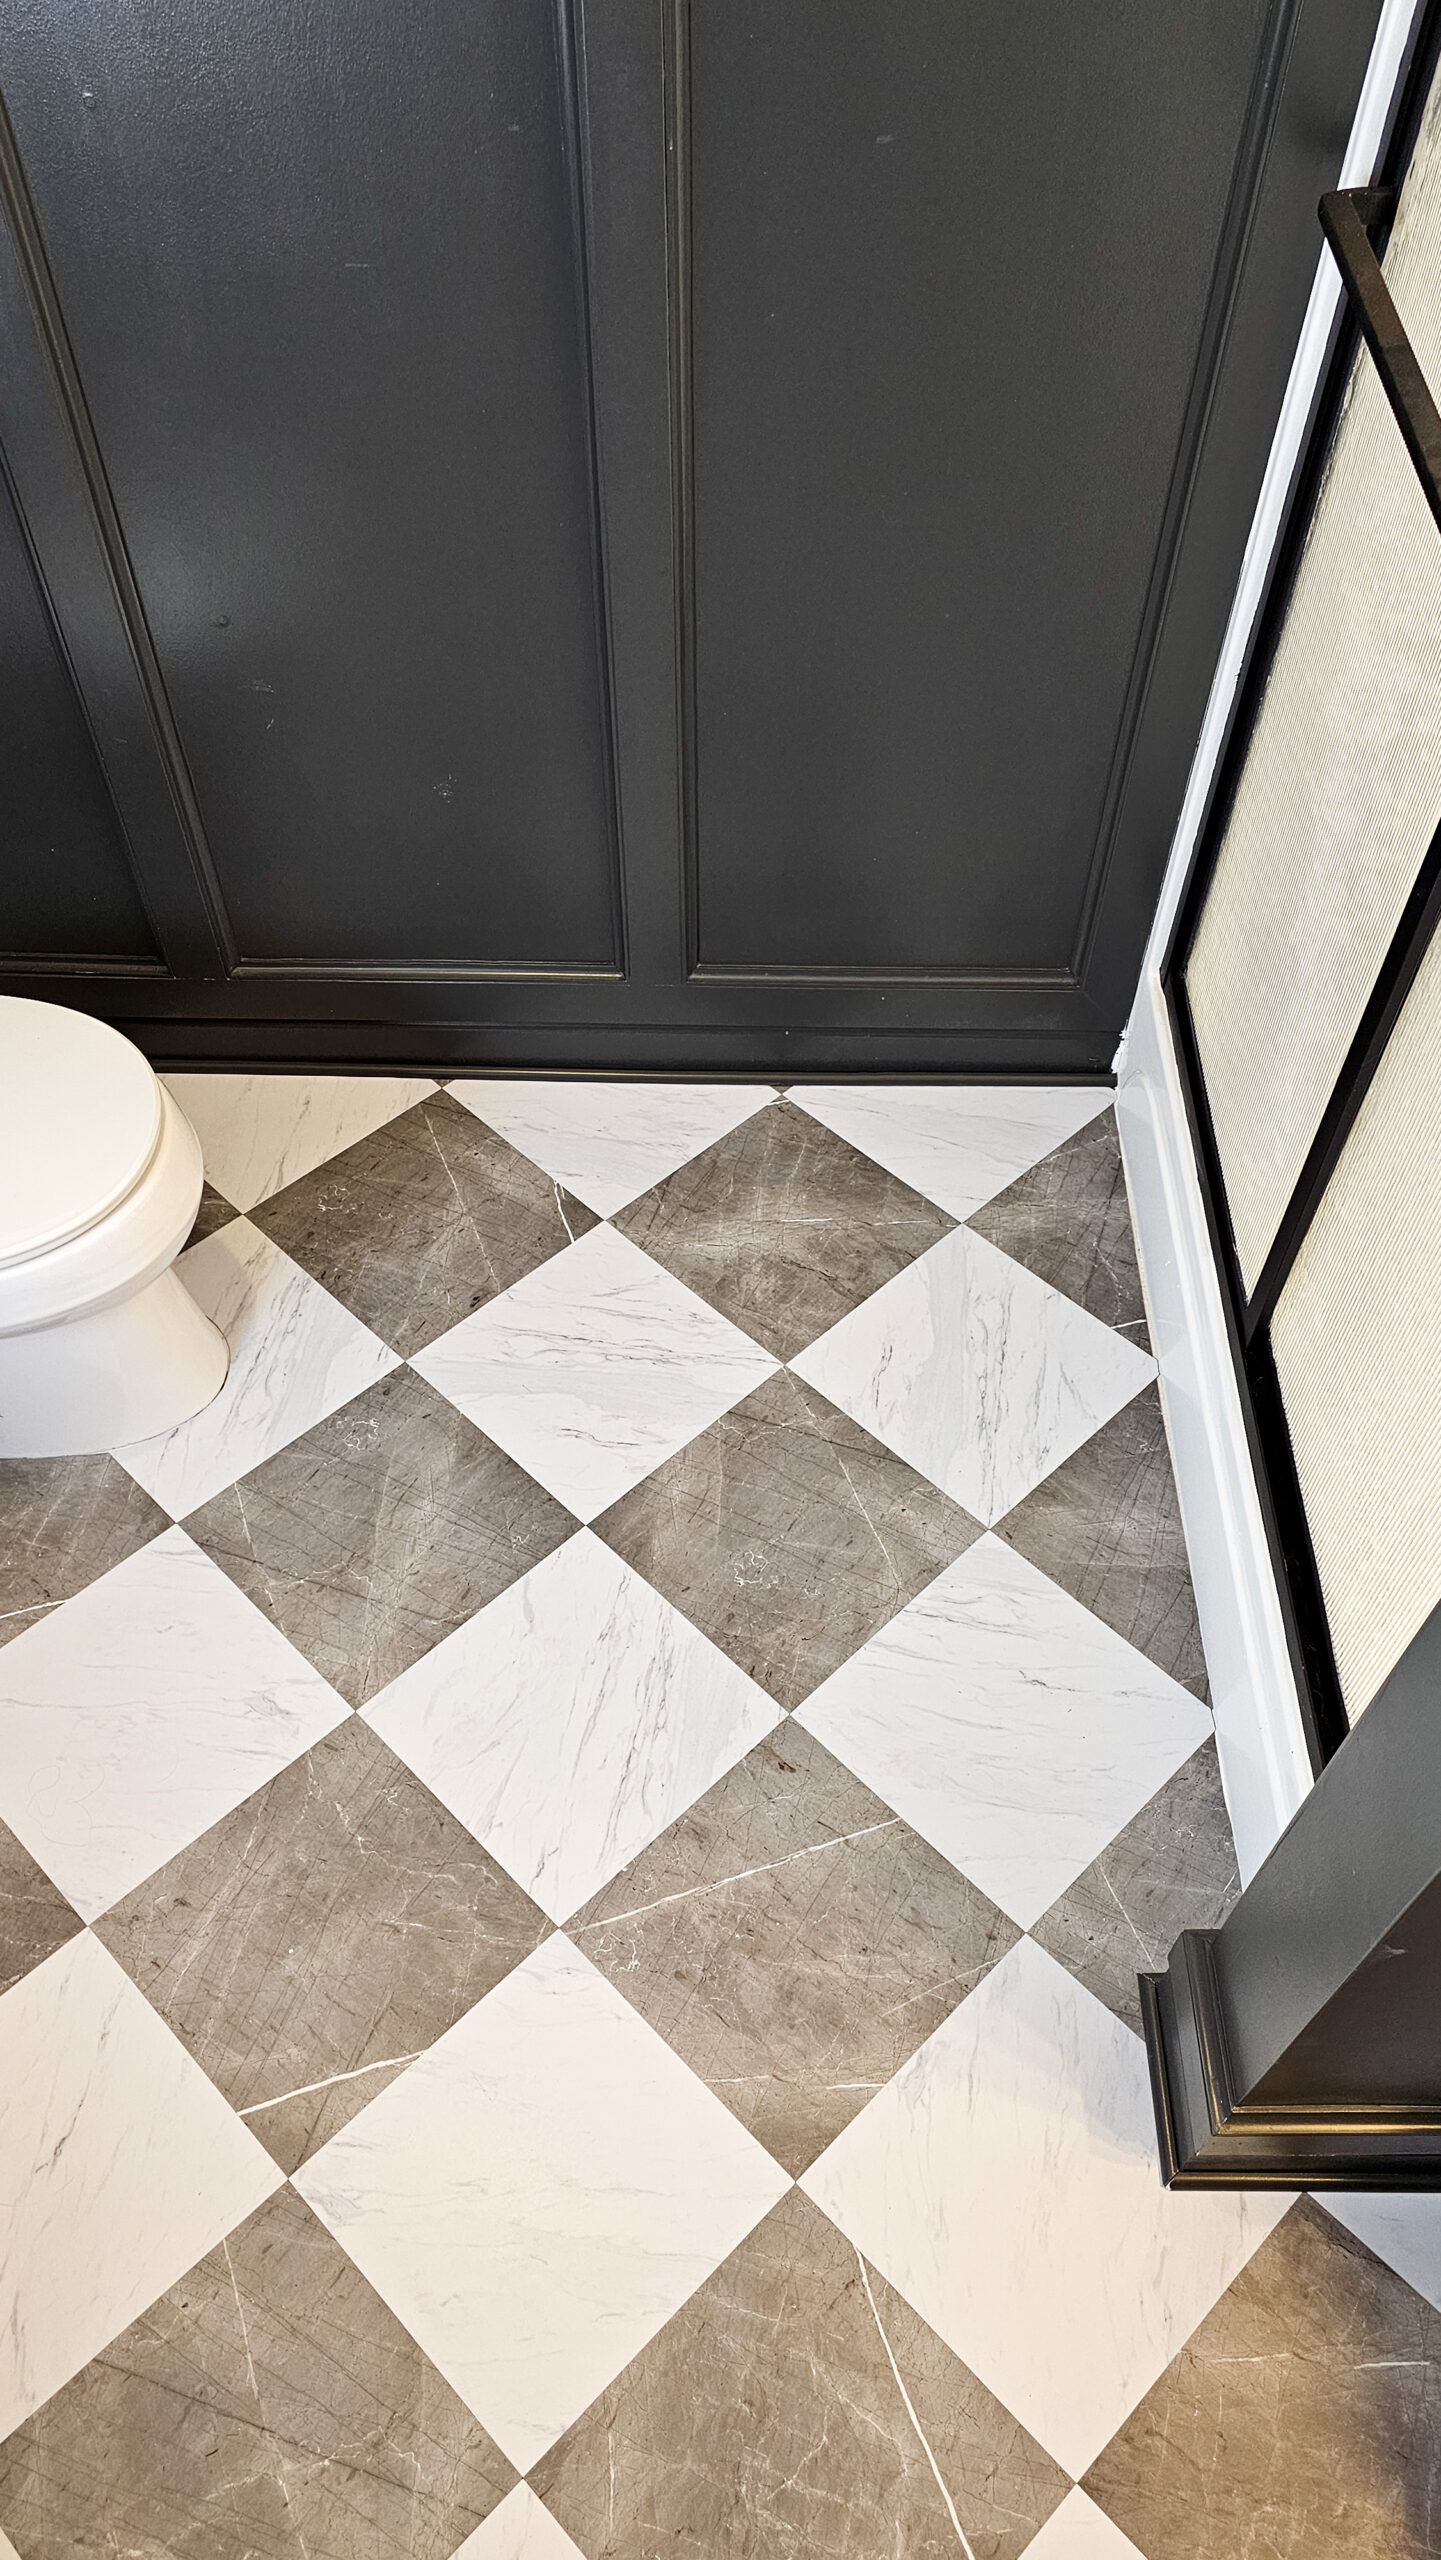
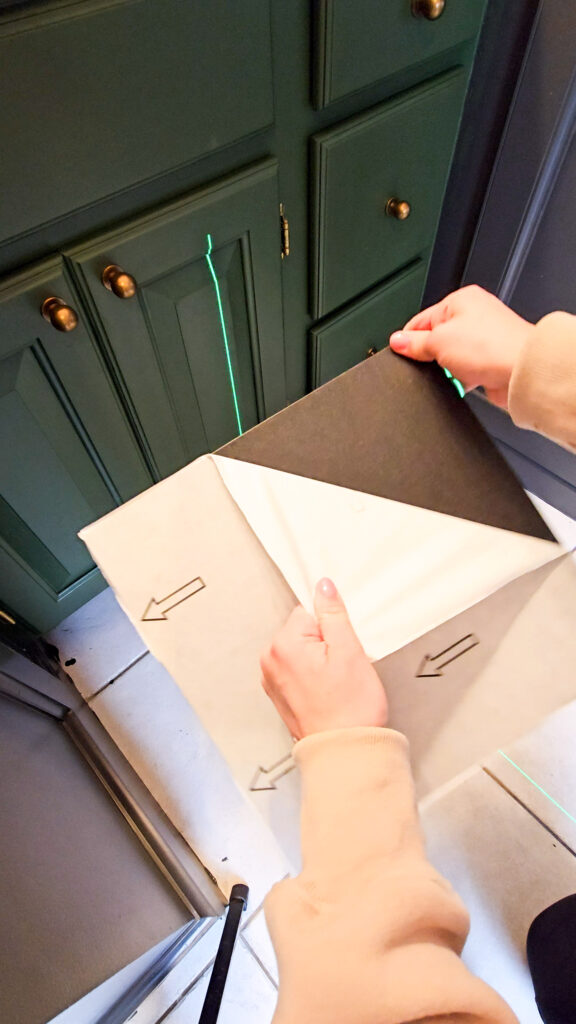
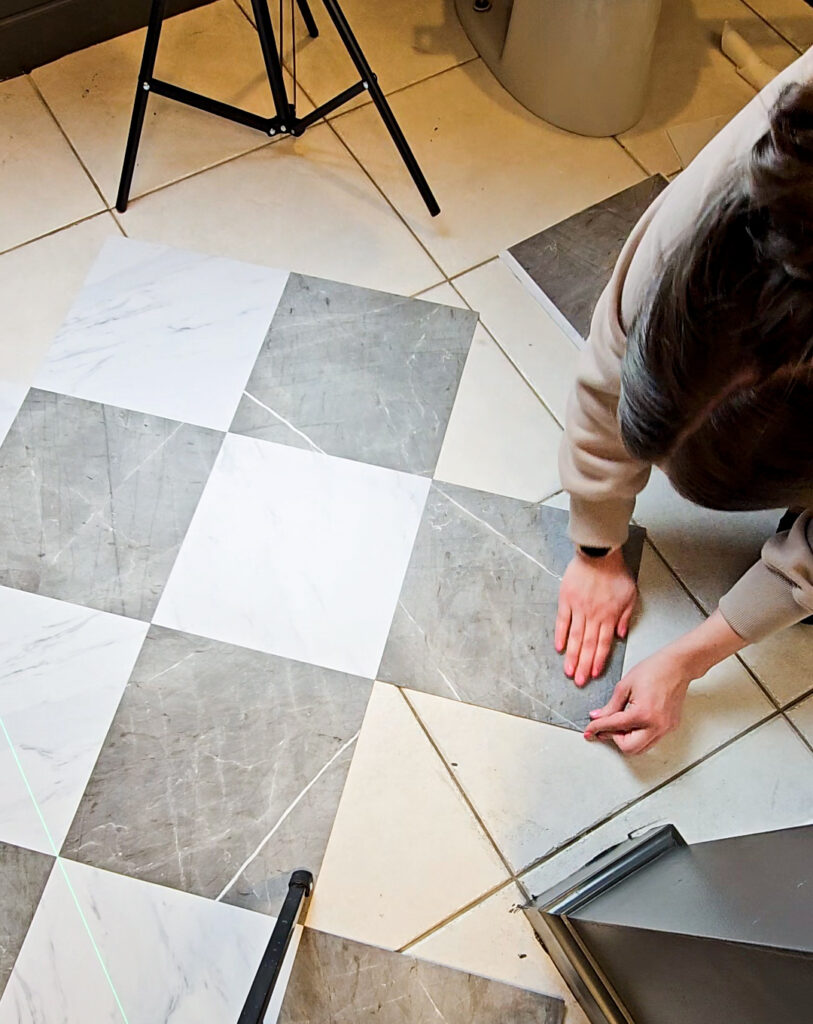
These tiles have a backing that you just peel off as you go. Try not to touch the back of your tiles to keep the sticky intact. If you want to do a diamond pattern like I did, you will line up your tile corner to corner along your straight line. I randomly laid my marble direction.
Work your way out from your first row
Once your first row is laid and straight, then you can work your way out for that spot. You don’t want to start in another spot in your room in case it doesn’t work out perfectly with your tiles. You need these nice and tight against each other to prevent dust getting between them and maybe make them peel up.
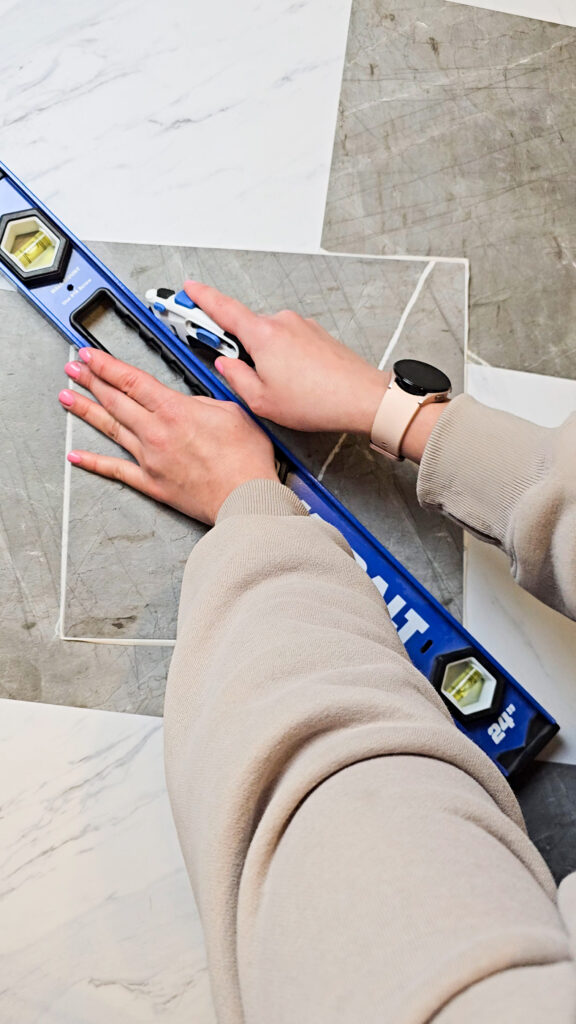
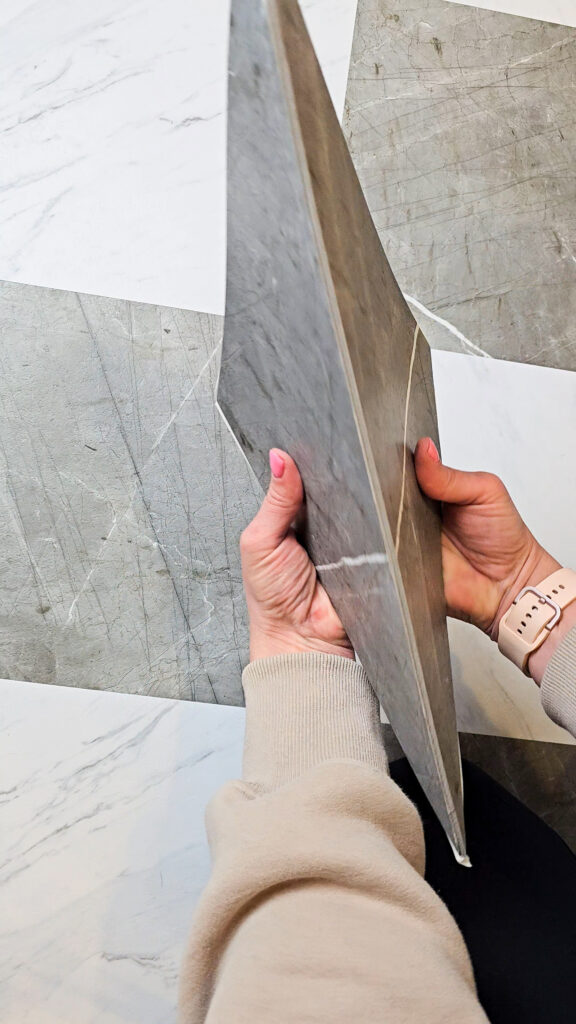
Cut your peel & stick tiles with a straight edge
These tiles are super easy to cut! You just need something that is straight, I used a level, and a box cutter. Using a measuring tape to see how big you need your cut to be, then lay your level down on the tile. You will score the tile with your box cutter. You don’t need to cut all the way through the tile. Once you have scored a line on the tile, you just bend it along that line and it will snap in half! It’s so easy. Don’t waste your time trying to cut through the whole tile. Score and Snap!
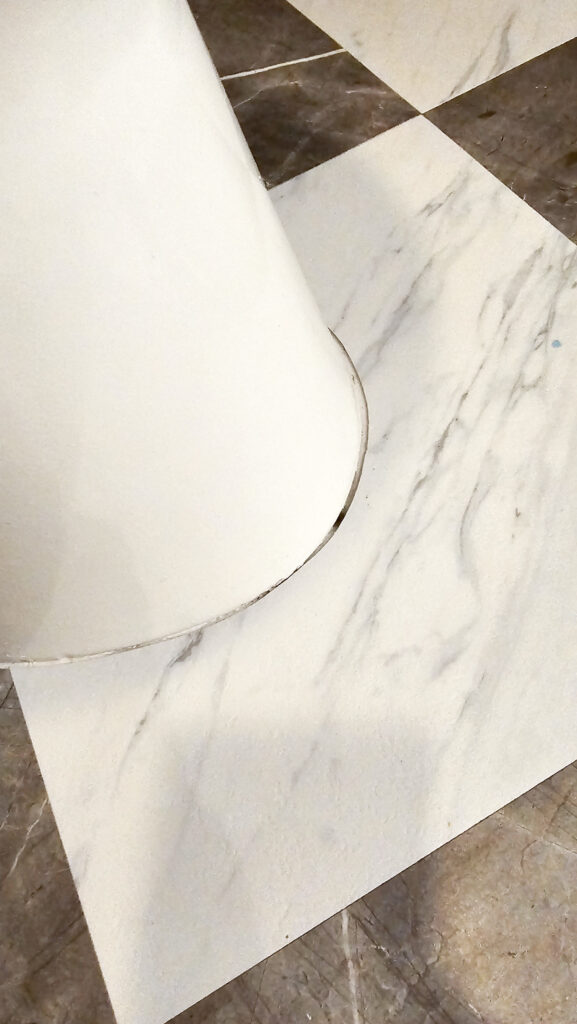
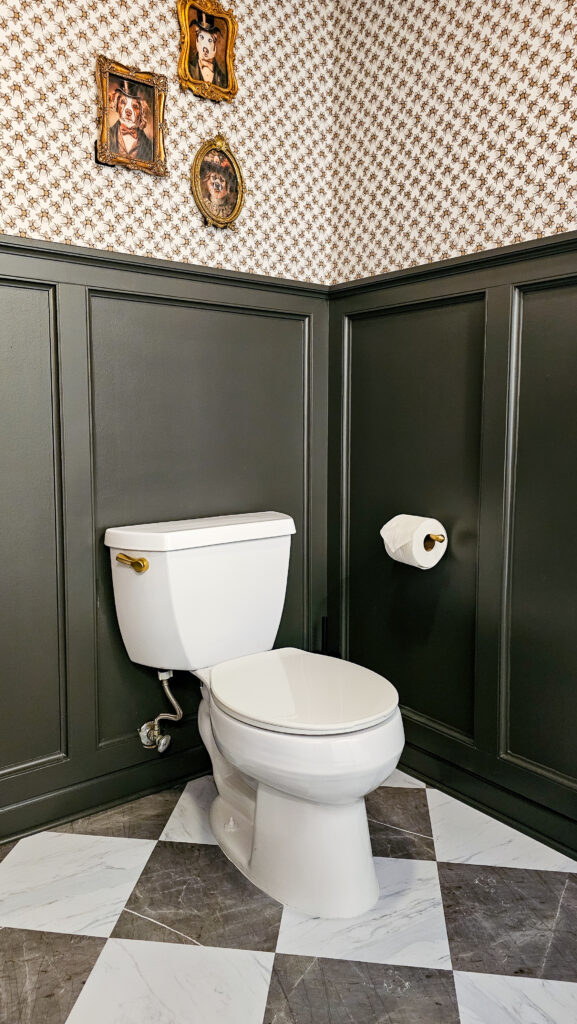
Cut around your toilet or other objects
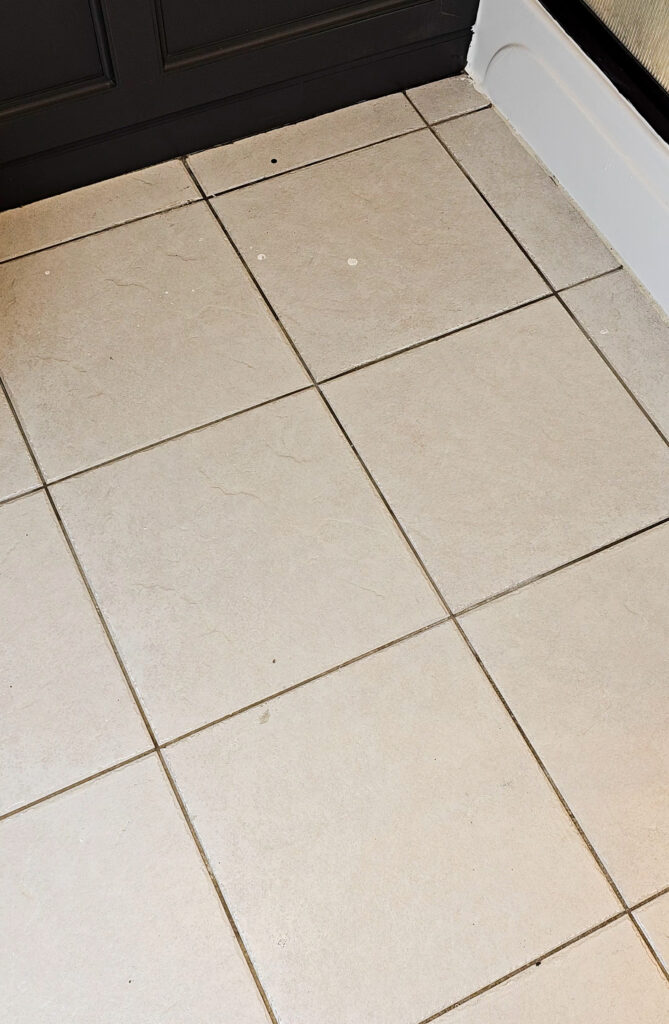
When you come to your toilet or any other rounded edges instead of using a box cutter, you can use a pair of scissors. If you are handy enough, you can actually take the toilet up and lay the tile, then put your toilet back into place. But I am scared of plumbing, so I just cut my tile around the toilet using scissors. This was the most time-consuming part of this project if I’m being honest. I would slowly trim the tile until it laid against my toilet. You can also grab one of these contour edge guides to help you!
Now this isn’t pretty cuts, so I just caulked along the bottom of the toilet to disguise these cut lines better. Personally, from a distance you cannot tell the edges aren’t perfect. This picture is before I caulked.
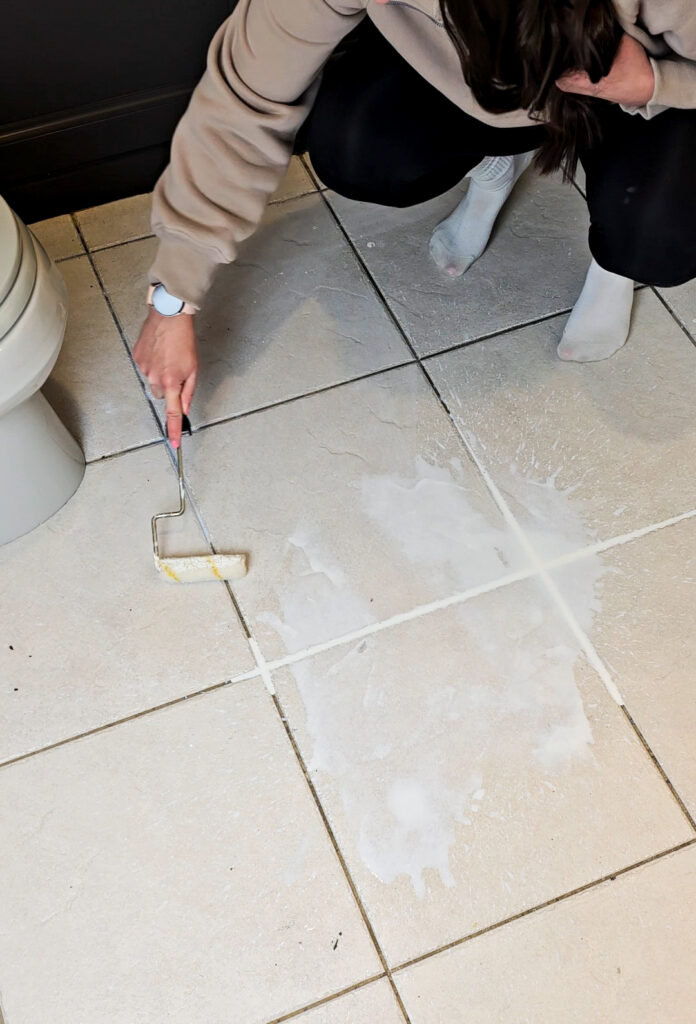
Use a roller to push down your peel & stick tiles
You want to give your tiles good pressure to properly adhere to the floors. I used a baking pin roller I had to apply even pressure all along the tiles. Focus on your edges and corners.
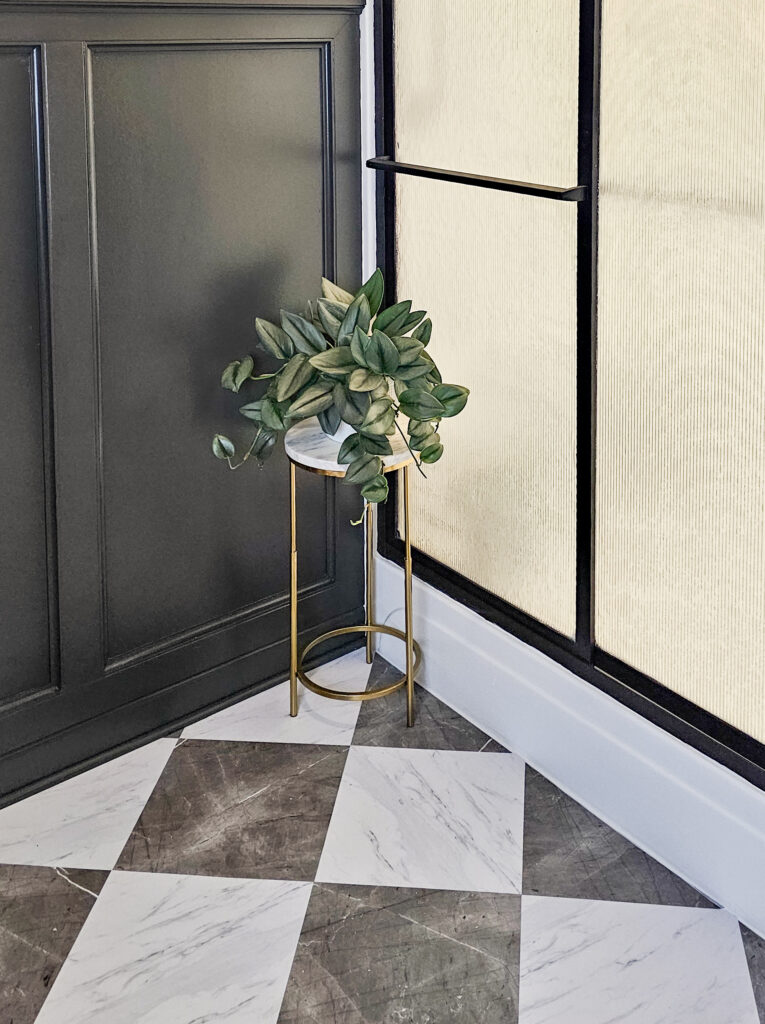
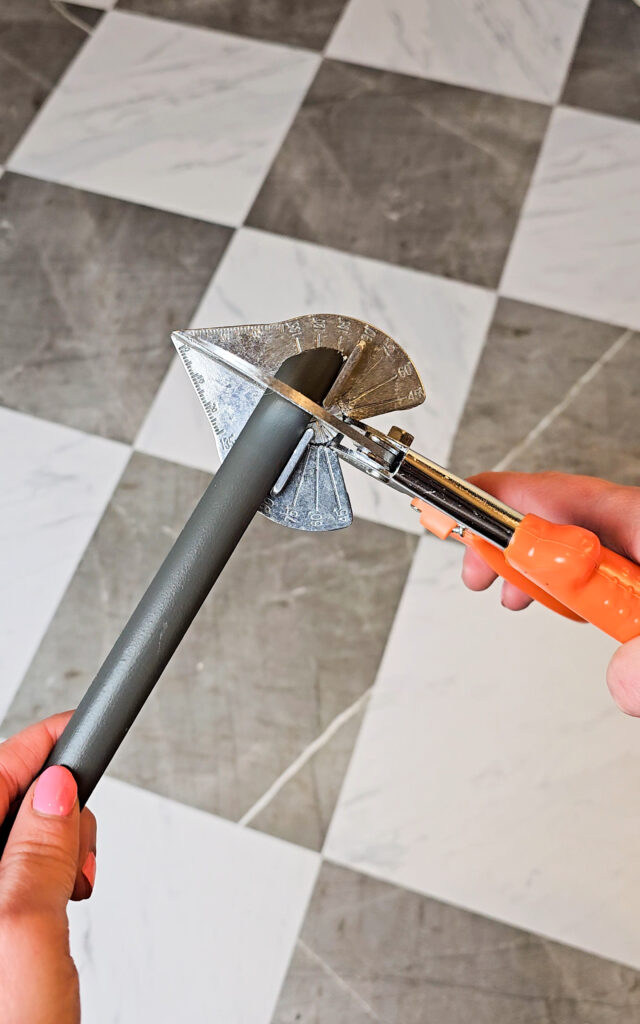
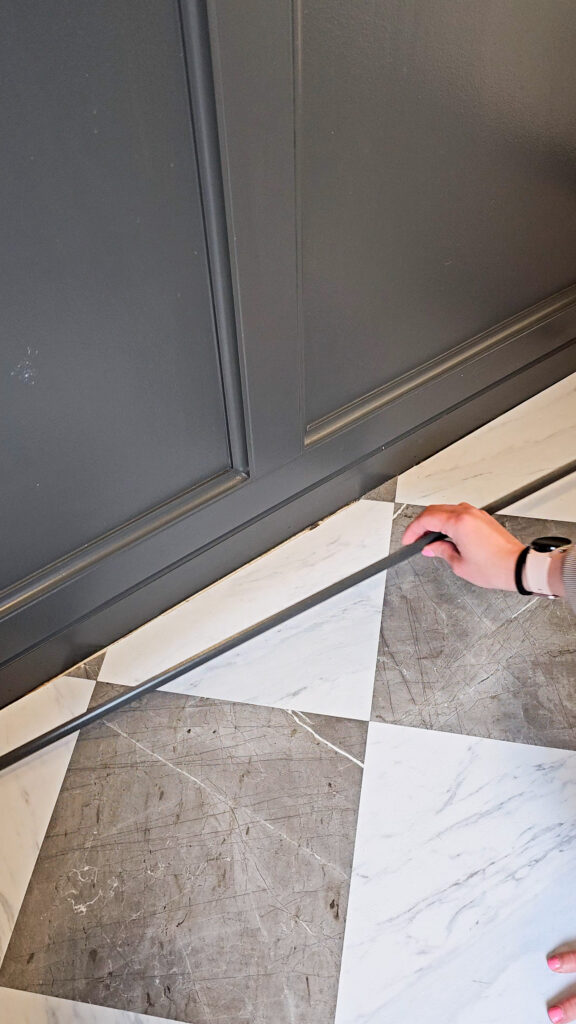
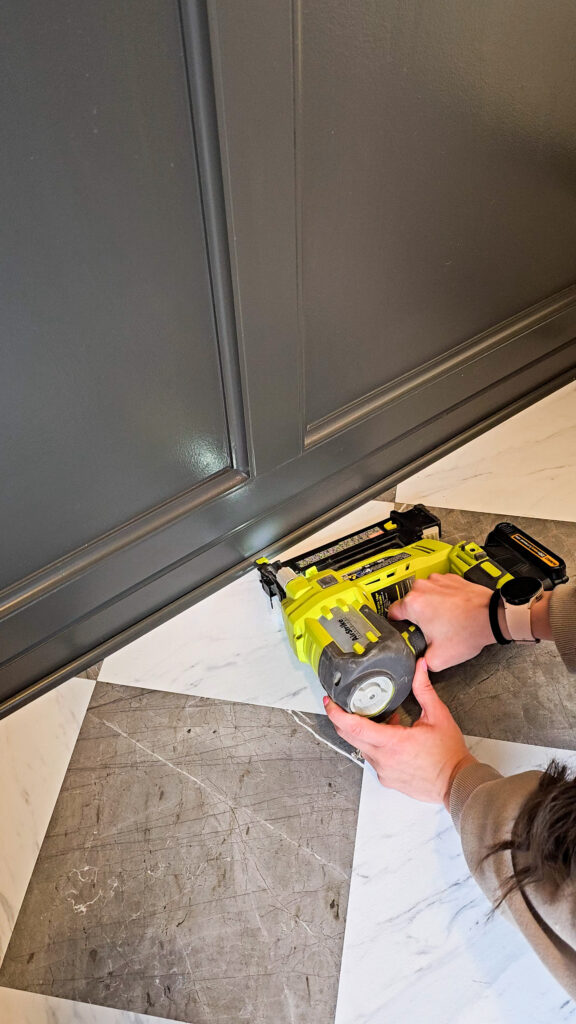
Install Quarter Round along baseboards
Again, if you want to remove your baseboards before you start laying tile you can skip this step. Since I already had all my trim on the walls, I decided to add in quarter round along my baseboards instead. This gives you a nice clean finished look around your space. I used these handy miter shears to trim the quarter round. Then I installed them using my nail gun against my baseboard. If you can remove your baseboards, I love that look much better, but quarter round is a great option if not!

Total Cost Breakdown
- Peel & Stick Floor Tiles – 7 x $20 = $140 (I could have used less tile if I had planned out my layout ahead of time and saved $20)
- Primer – $16
- Quarter Round 3 x $5 = $15
- Total Cost: $175ish
This bathroom has been so fun to work on and I originally had wanted to paint these floors to look like marble…. but that sounded like too much work! I love how these turned out and would do this over again!
Check out my video showing this process here:
How I Installed Peel & Stick Tile
If you’d like to catch up on other projects in my bathroom, check them out below!
How I Painted My Shower with Paint!
Apr 21, 2024