


")
Wallpaper Tips to Hang Your Own!
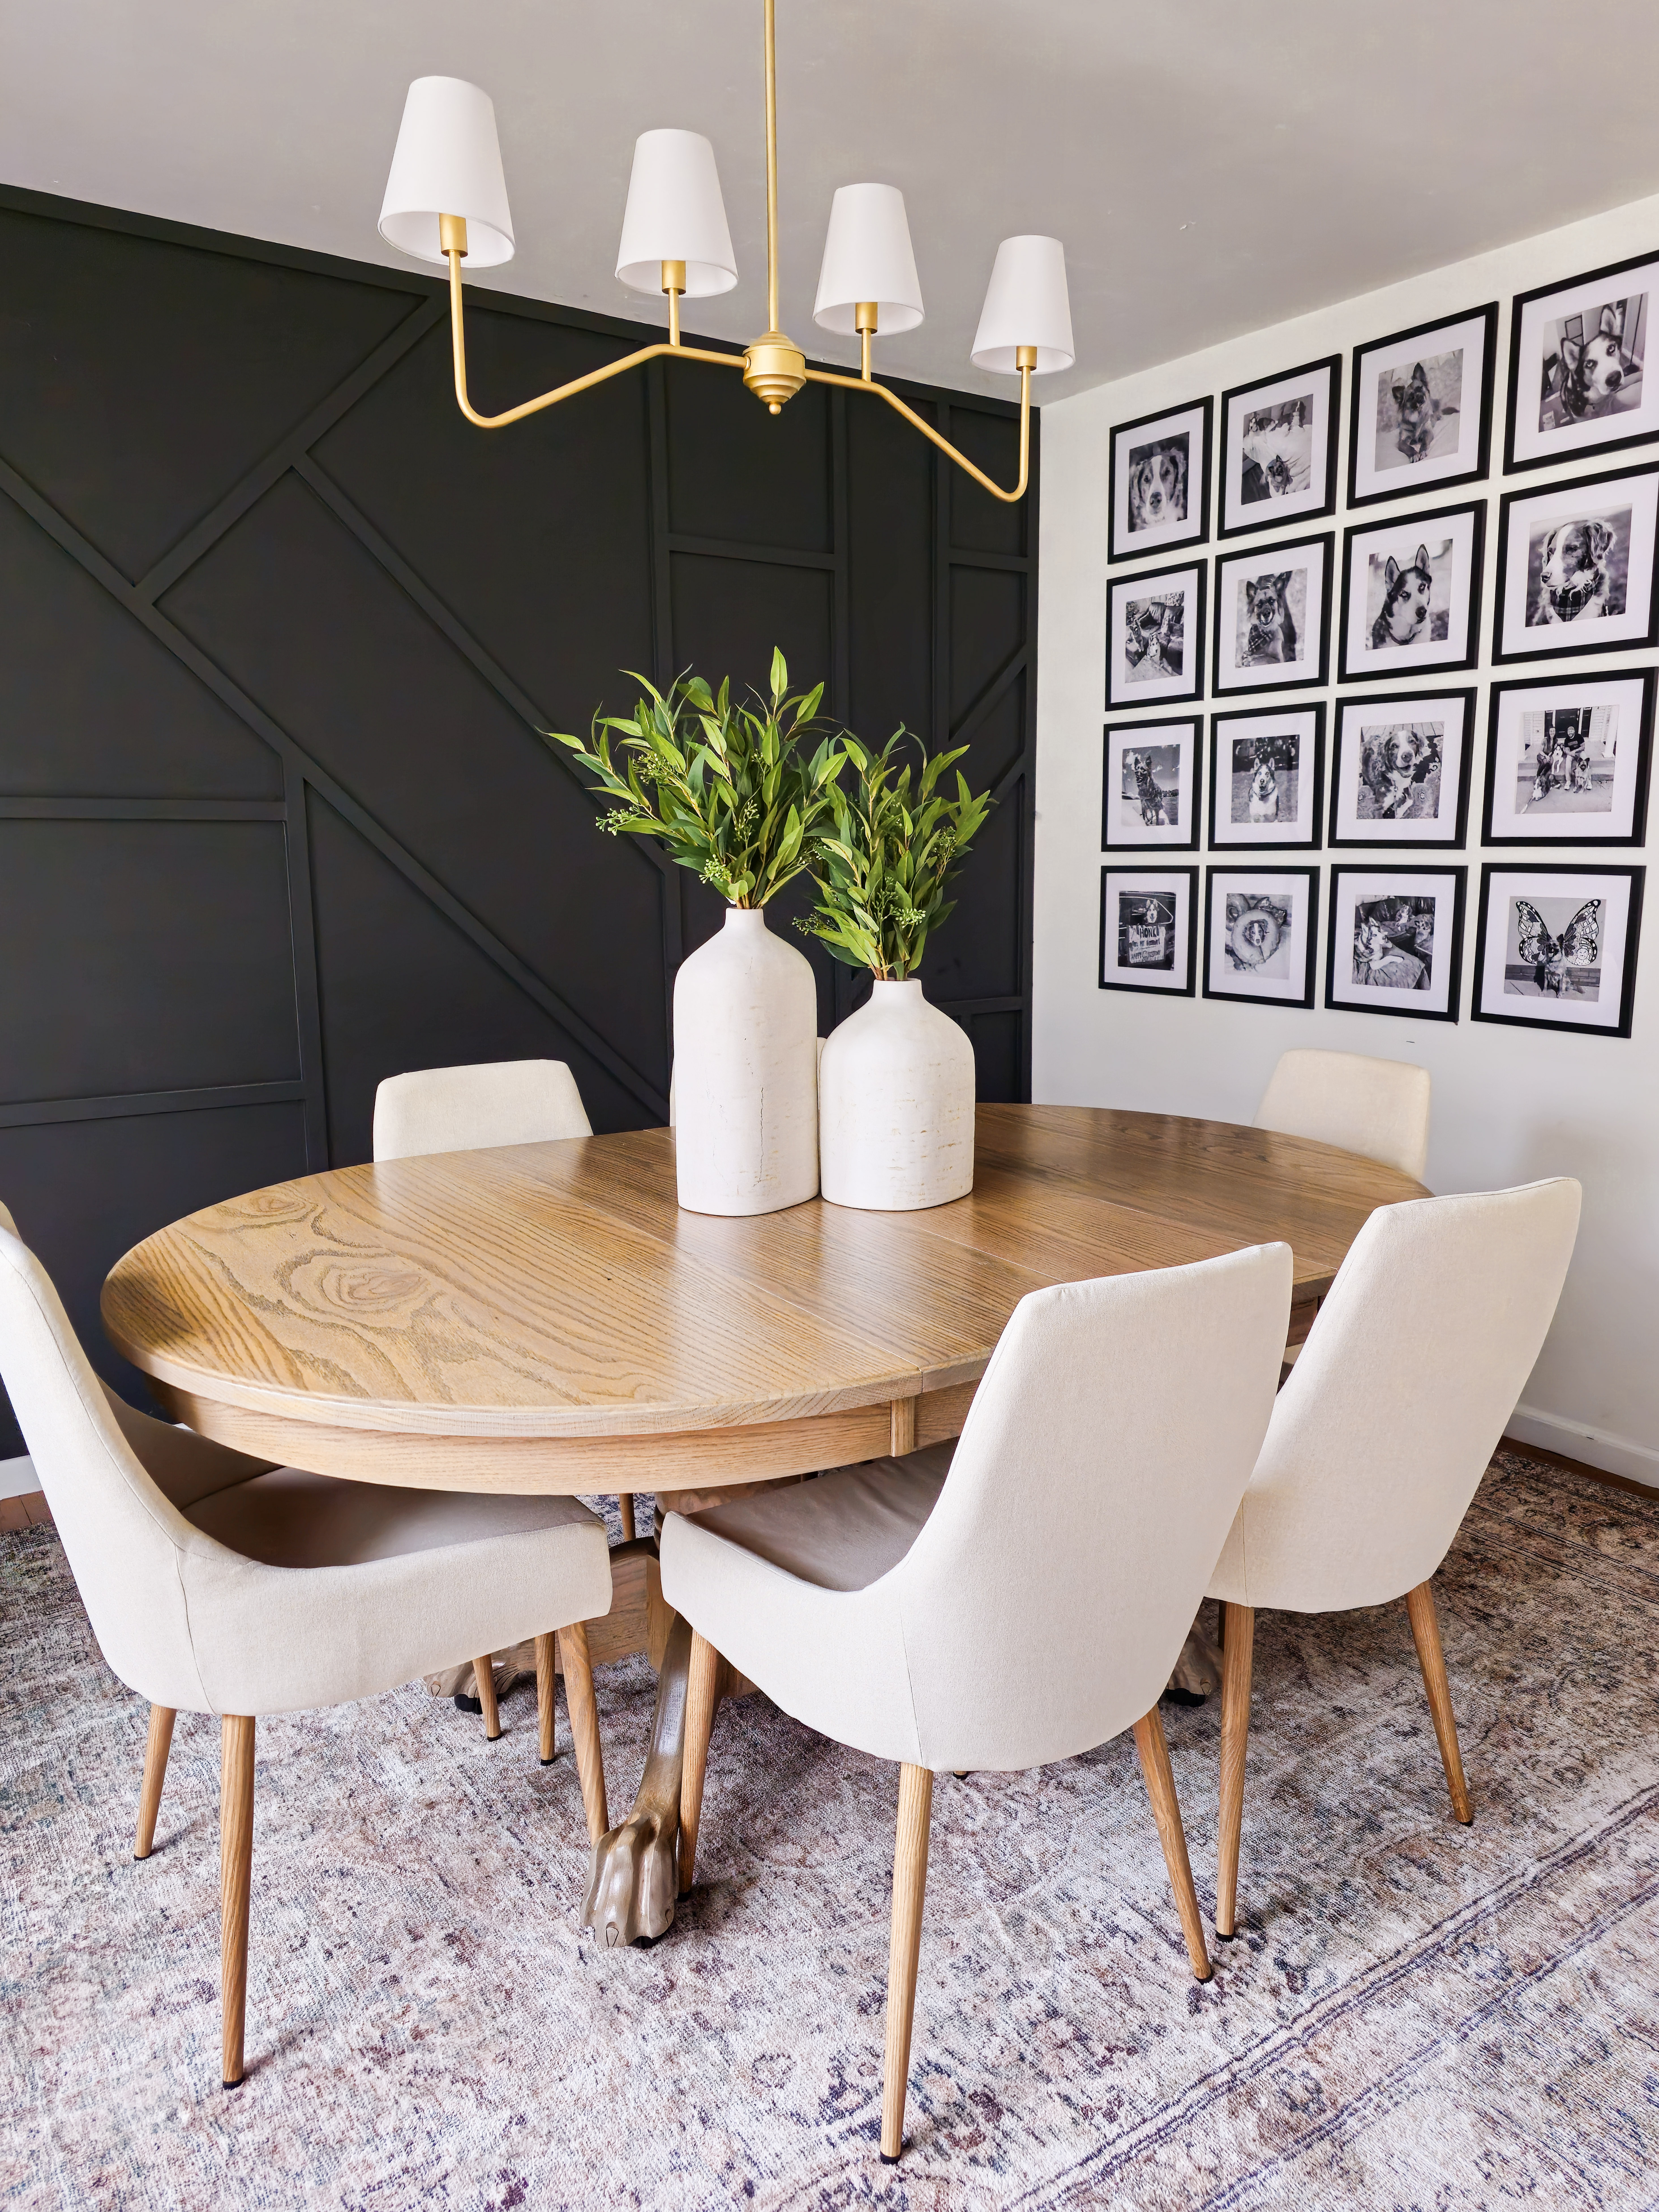
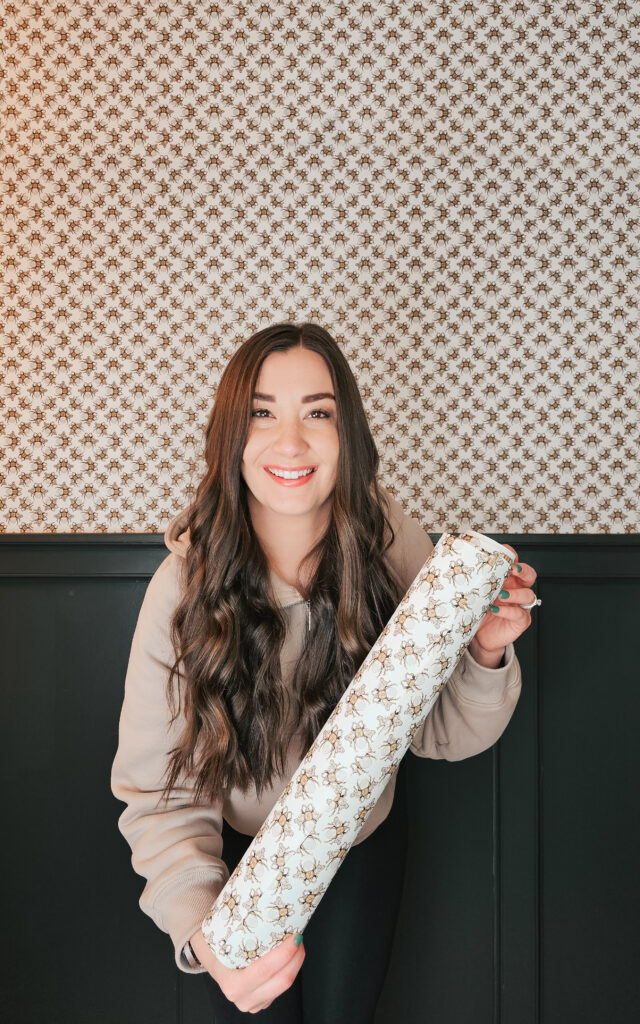
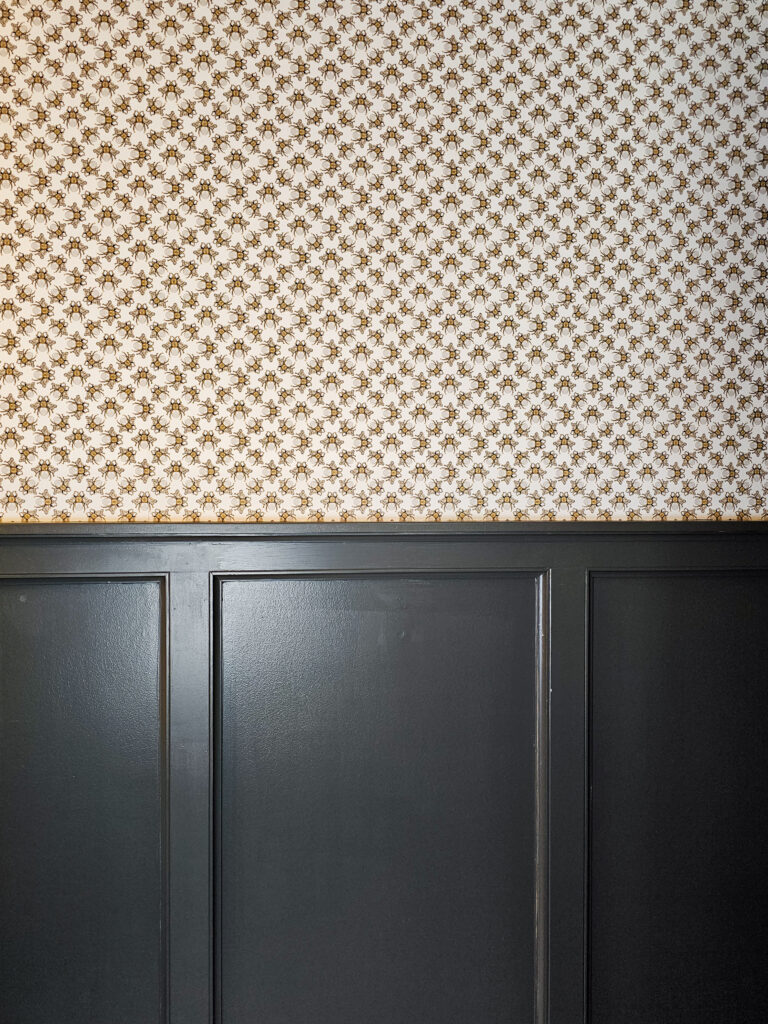
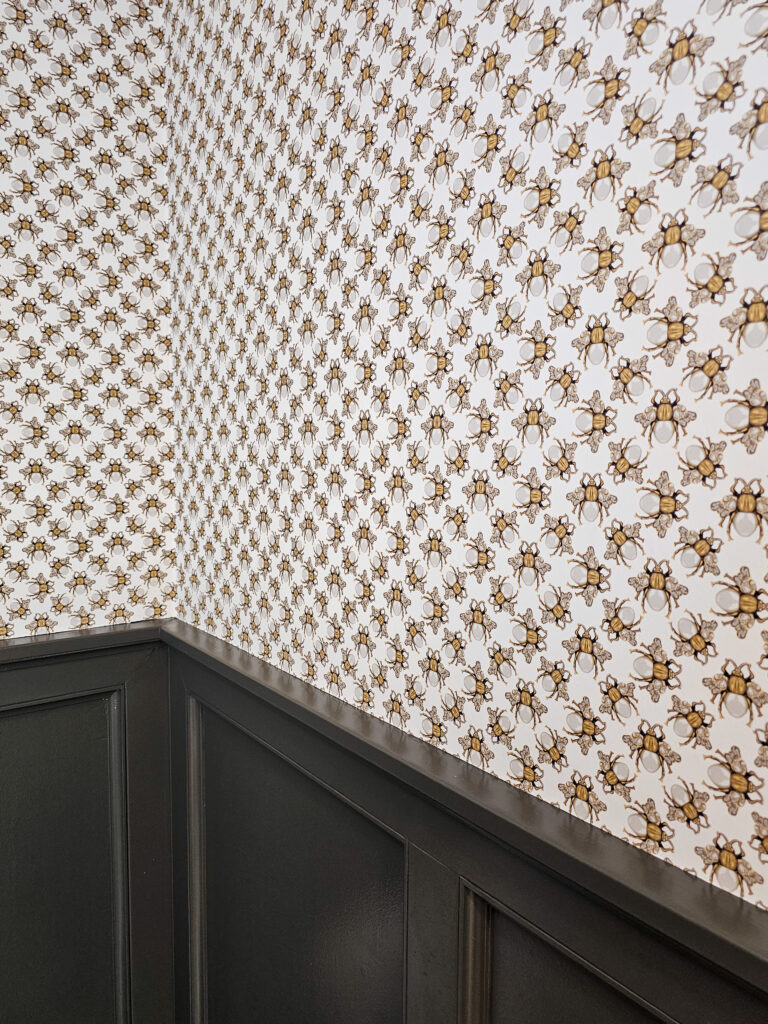
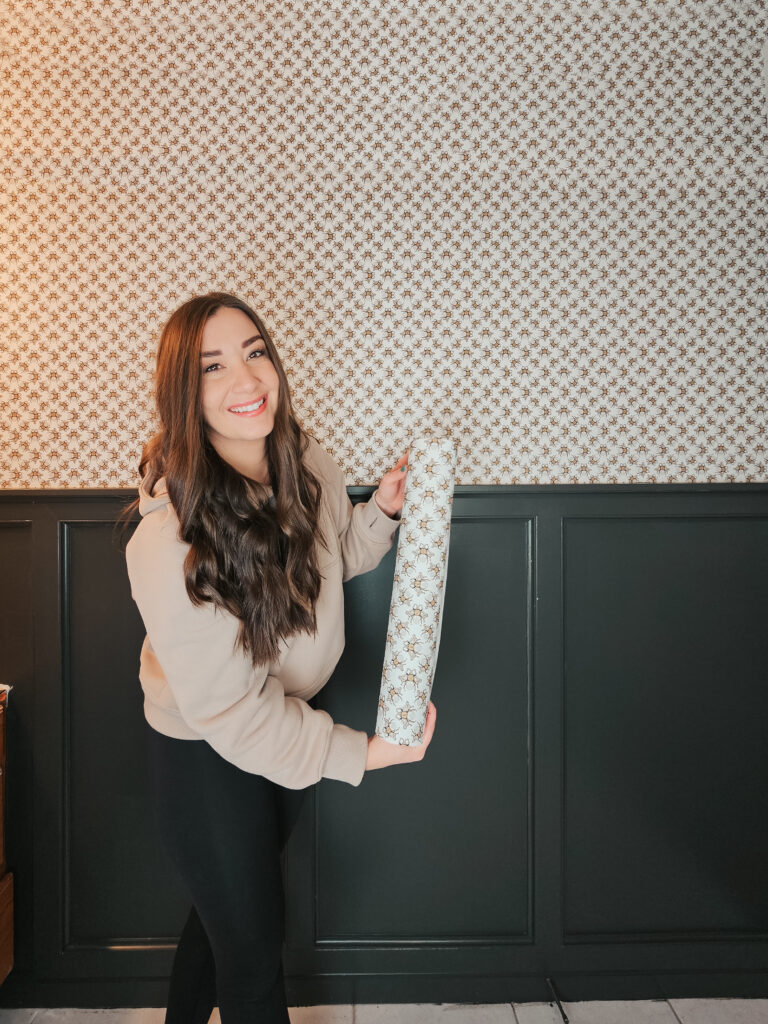
When I started this basement bathroom “No Demo Reno” I wanted it to be a moody, speakeasy with some modern urban vibes. I love being able to mix together styles! I looked for traditional wallpaper for my space. I have done peel & stick wallpaper before, and it isn’t easier. In my opinion, it’s much harder! Traditional wallpaper is so much easier to move around and get perfectly level! Let me explain the best tips to hang your own wallpaper!

*I may earn a small commission on any linked items in this article*
Links to Supplies
Tip # 1
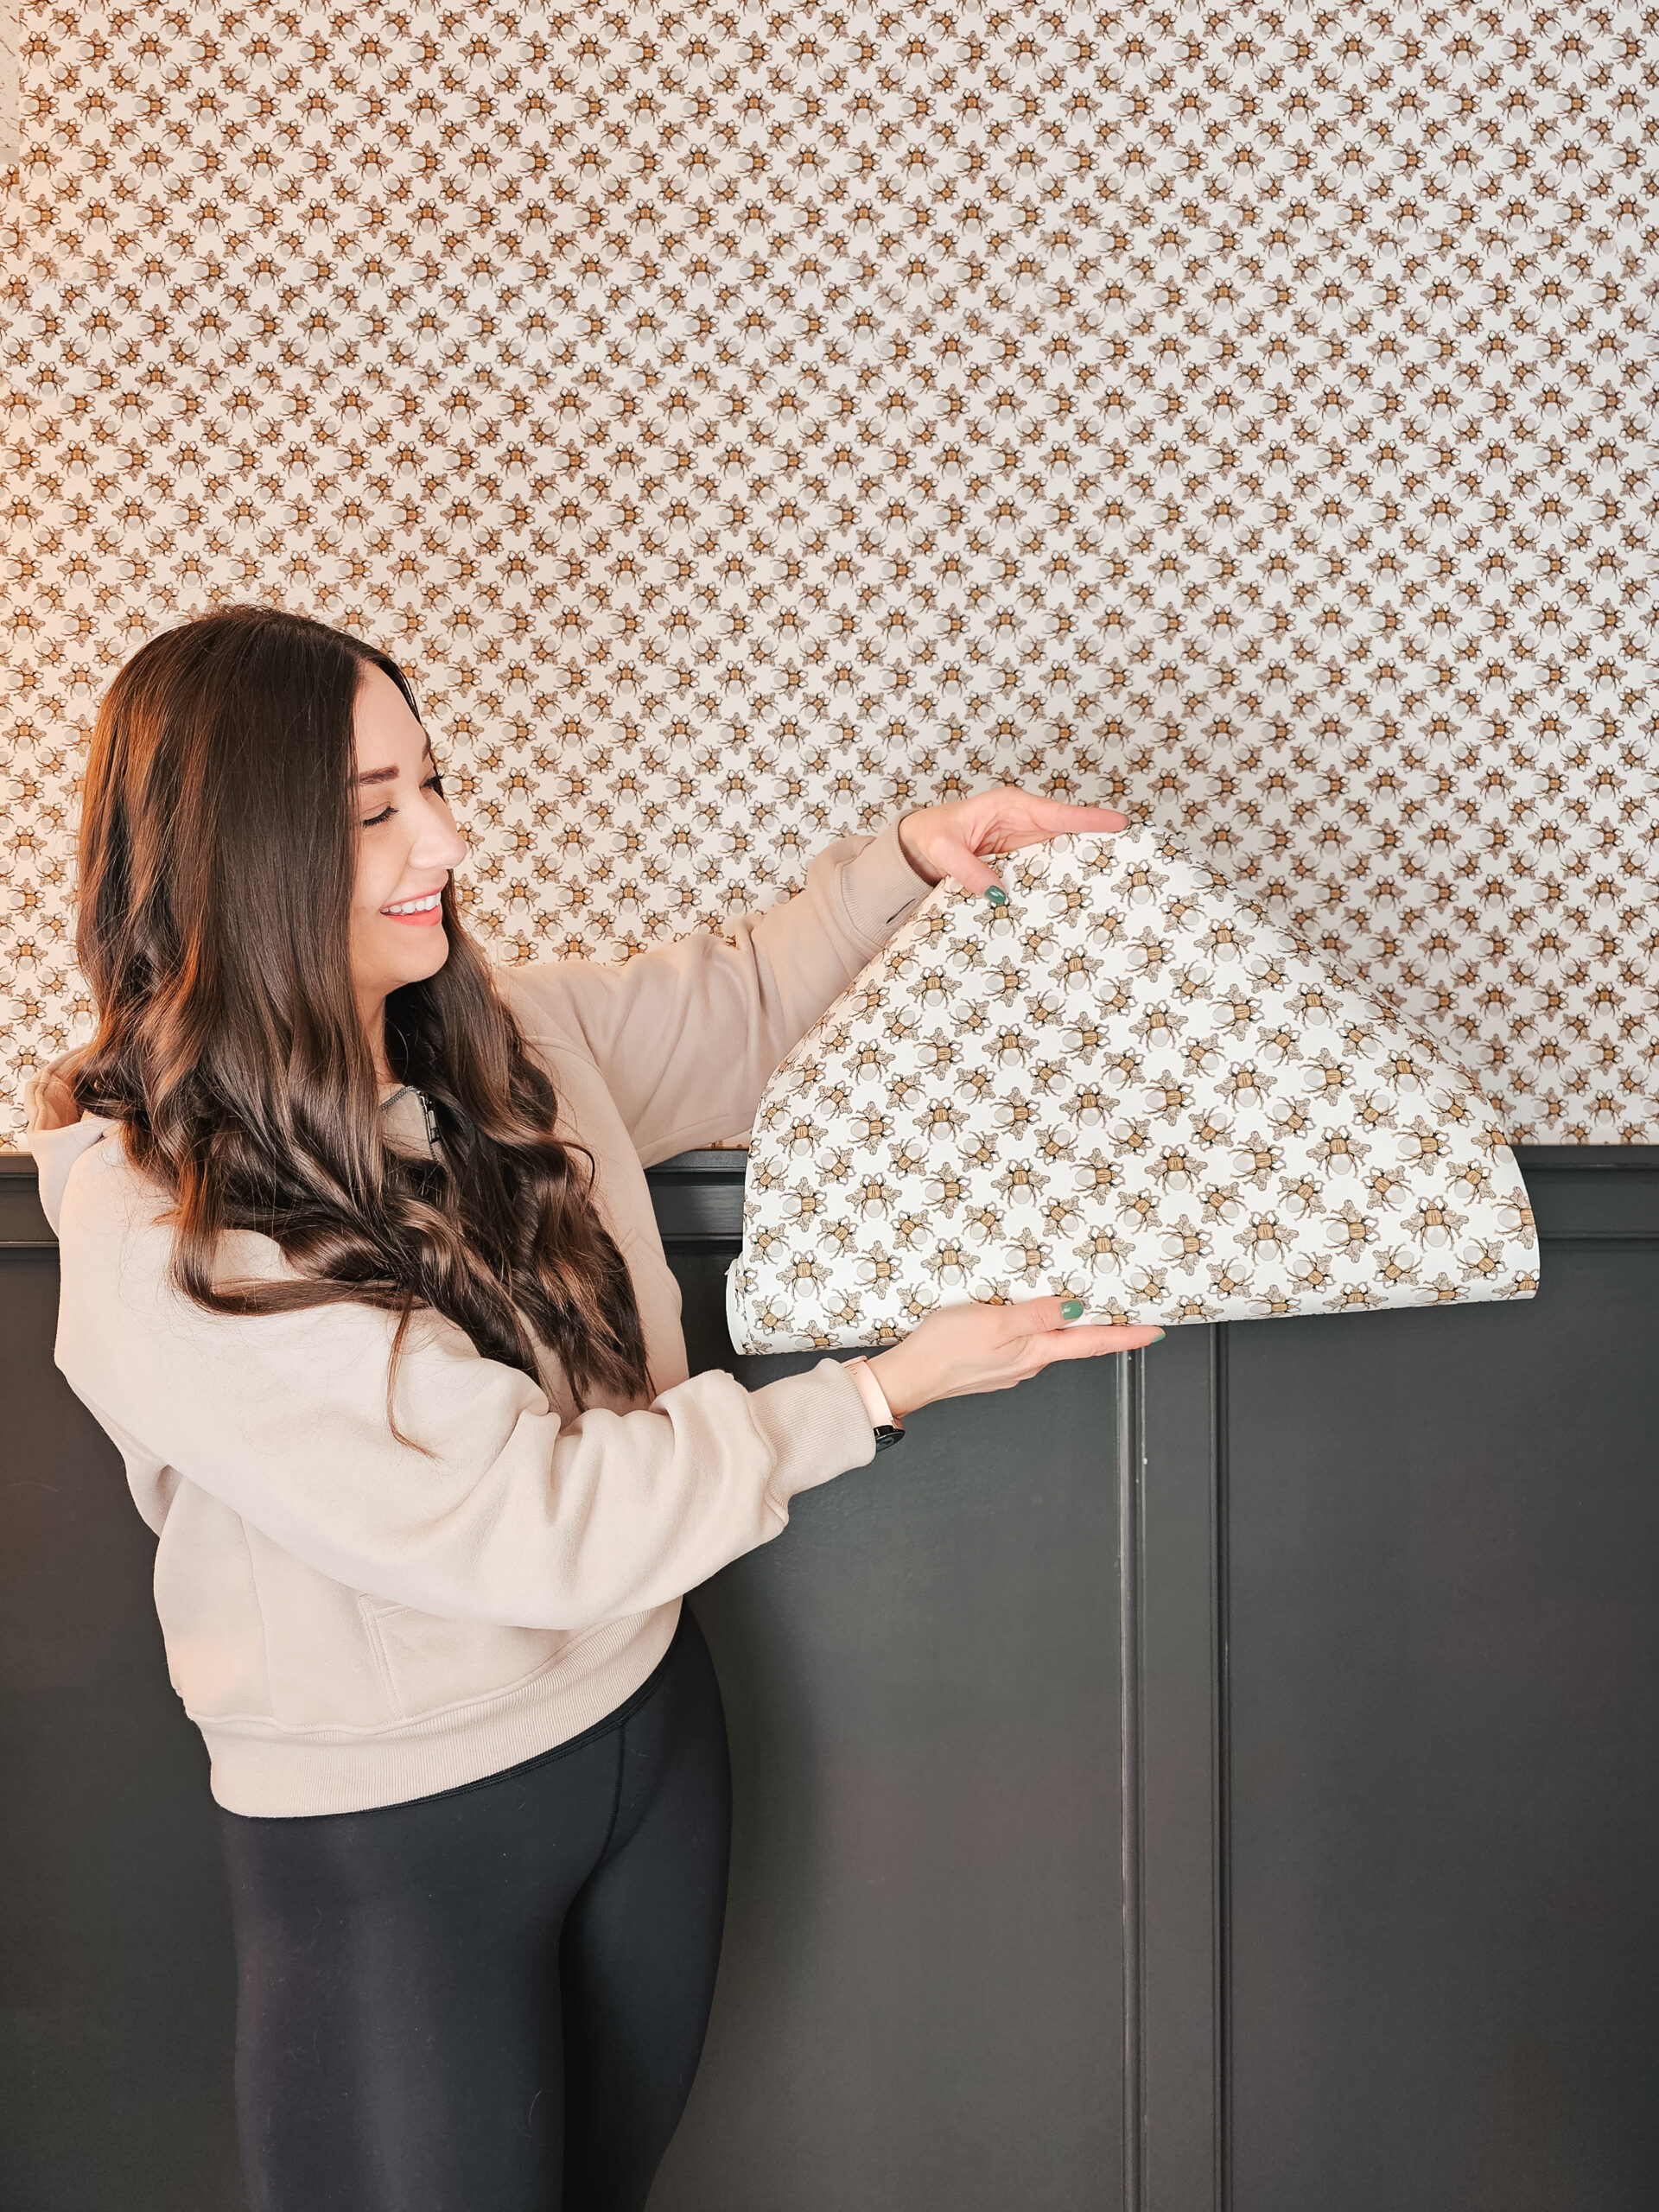
Avoid peel & stick, especially as a beginner! Peel & Stick is sold as beginner friendly, and it really is only good for one wall. Going around corners or light fixtures, is impossible to keep it lined up. Traditional wallpaper can be a little messier, but it easily cleans up and will help you get perfectly straight paper. This wallpaper I used is traditional, but if you would still like to try Peel & Stick, it also comes in that option as well!
Tip #2
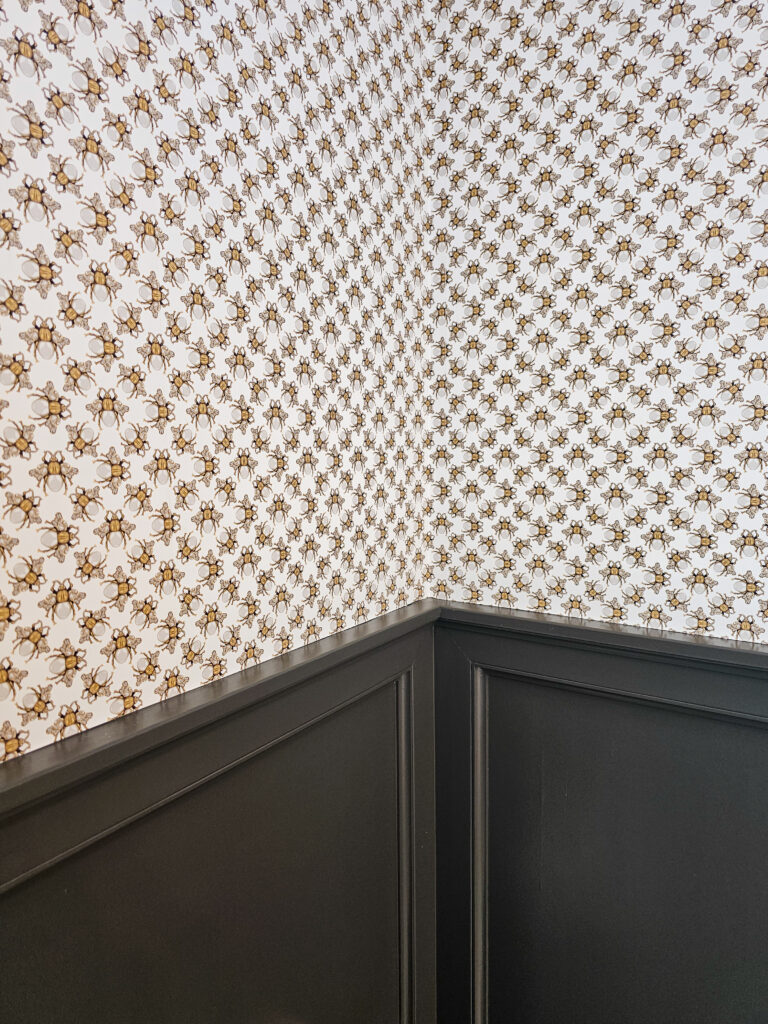
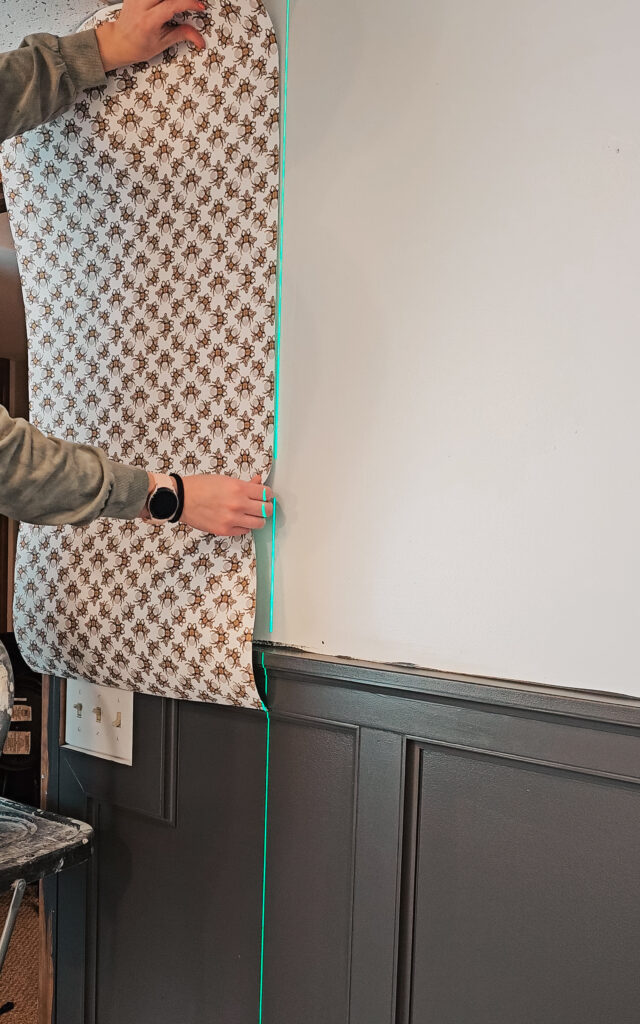
Use a laser leveler. I have hung wallpaper without it, and so can you, but a laser leveler will make it much easier! Whenever you go around a corner, it’s important to check that your panels are still level. Your house and walls are almost never squared, so going around a corner can make your panels go crooked. If you have a laser level, it’s much easier to check at the beginning and around each corner.
Tip #3
Which brings me to point 3…. check your panels are square after each corner. This should be self-explanatory after the last tip but let me reiterate your walls are not perfectly square in your home. It’s best to just go ahead and assume they aren’t! In this bathroom I had 8 corners to go around… yes 8! The level helped ensure I didn’t have any issues though and helped this go much quicker!


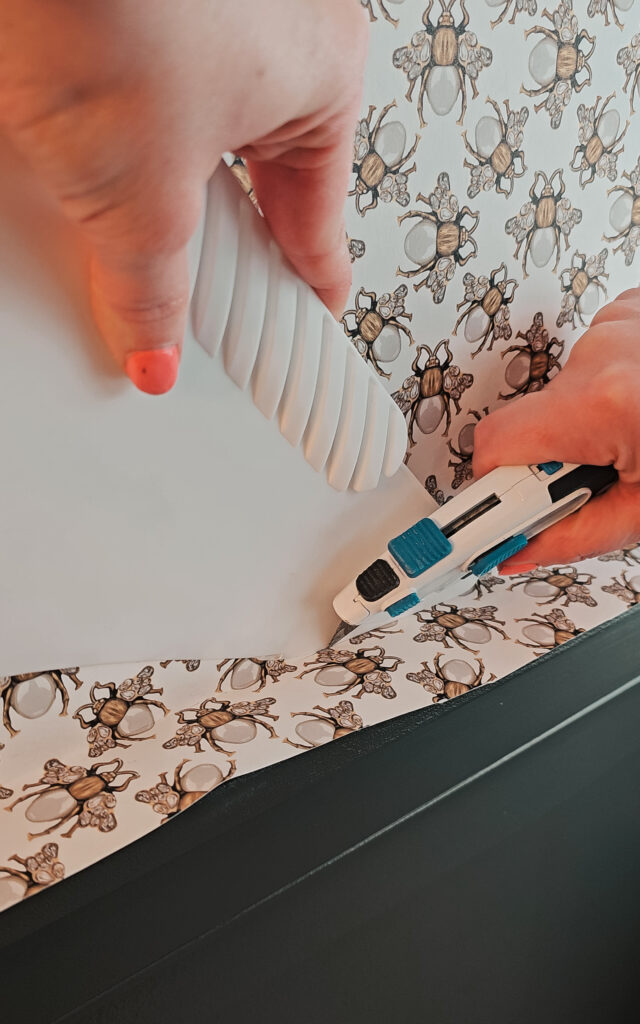
Tip #4
When trimming your edges, use a new razor blade on your box cutter. This will prevent tears on your edges. I change my razor blade every couple of walls to make sure they are nice and sharp!
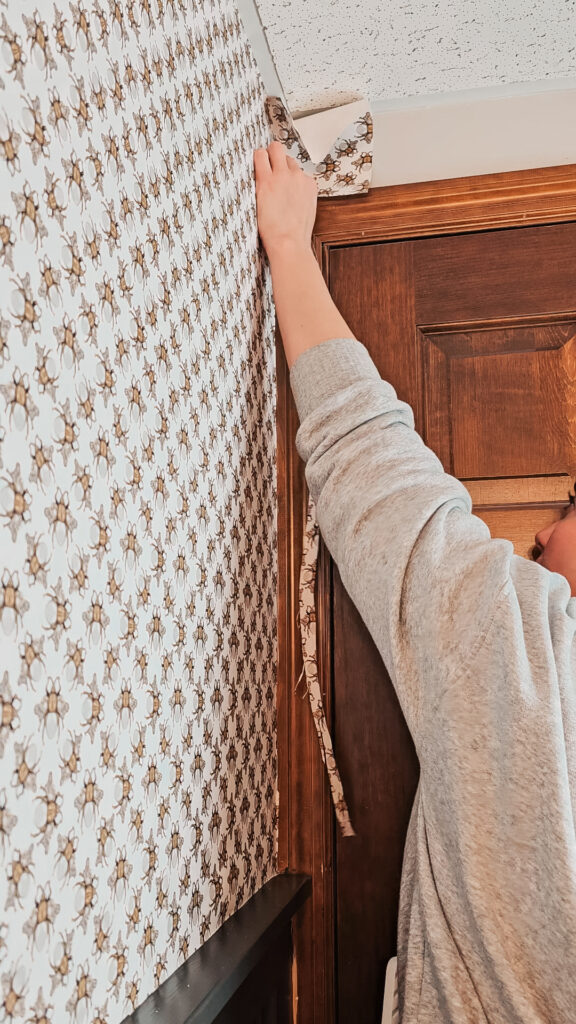
Tip #5
Start and end in an inconspicuous spot when adding wallpaper to more than 1 wall. The problem with going around an entire room, is at some point your wallpaper has to meet back together. It is never going to line up perfectly, so you will have to blend it as well as you can. To avoid this being noticeable, I usually start over a doorway or in a corner like I did in this space.
Wallpaper can add so much character and charm to a space so don’t let this scare you off! When I first wallpapered 3 years ago, I made mistakes and over the years I have gotten better with every space and so will you! And don’t let the fact you may have to remove it someday stop you from putting it up! That’s a problem for your future self ( or future home owner ha! ), so add in the fun wallpaper!
Mar 17, 2024