Replacing Drop Down Ceiling Tiles (again!)
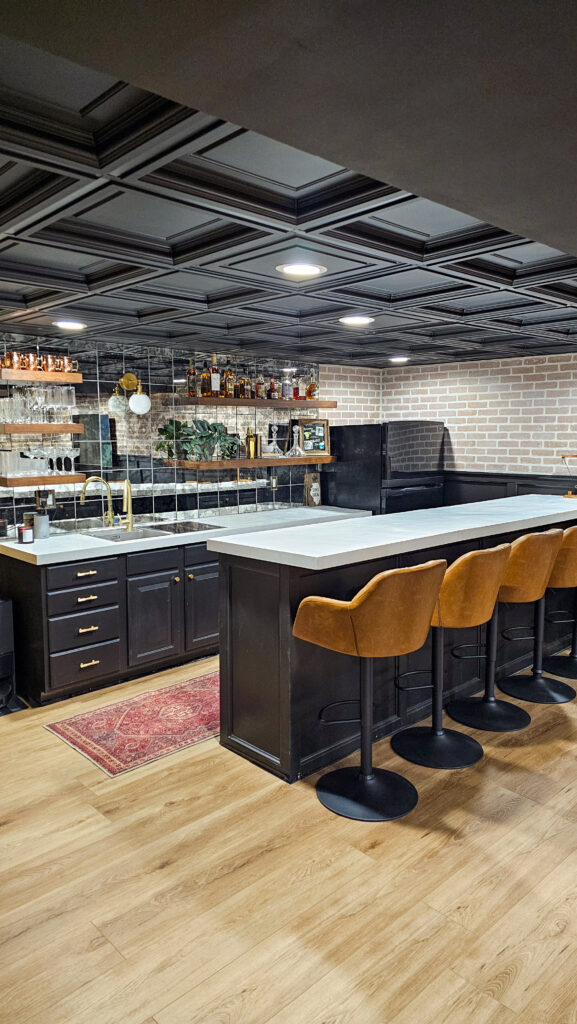
We had this old outdated drop down ceiling in our basement that I initially wanted to rip out. But I really didn’t want to do drywall work on a ceiling. I went looking for alternatives and stumbled upon Ceilume ceiling tiles. You can just swap out the old outdated tiles for new ones and even cover up the grid to be any color you want. I immediately clicked add to cart!
Drop down ceilings can feel outdated and replacing them with new ceiling tiles is a straightforward way to refresh the look and feel of a room without a full renovation. In this post, I’ll walk through how the installation process works and how this simple update can improve both the aesthetics and feeling of your space!
*I may earn a small commission on any linked items in this article*
Supply List
- Ceilume Ceiling Tiles
- Ceilume Ceiling Edge Tiles
- Grid Covers
- Measuring Tape
- Metal Cutting Shears
- Pencil
- Straight Edge or Level
Step Summary
- Paint ceiling grids or buy grid covers
- Install Ceilume ceiling tiles
- Cut edge ceiling tiles to fit
- Install grid covers
Detailed Steps
Buy grid covers or paint the ceiling grids
When I installed my first set of Ceilume tiles, I picked a color that wasn’t available in their grid covers. They did offer some complimentary colors, but I had wanted it to match. So I actually ended up spray painting my grids in this blog post here! But for this space, I was wanting black and was able to just buy grid covers (which was much easier!). You could install these first, but I opted to install them after all my tiles were up.
Install Ceilume ceiling tiles
I first took down my old tiles, which were super dusty! I wore a mask and gloves because the crap was going everywhere. It gave me a new found appreciation for this new ceiling, which can easily be dusted and wiped down, which means less dust in our home!
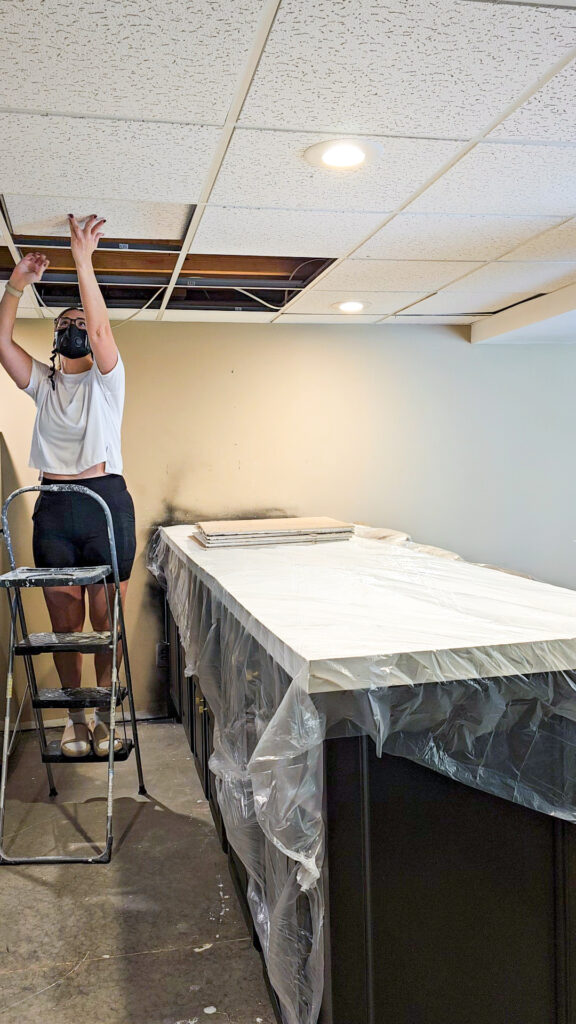
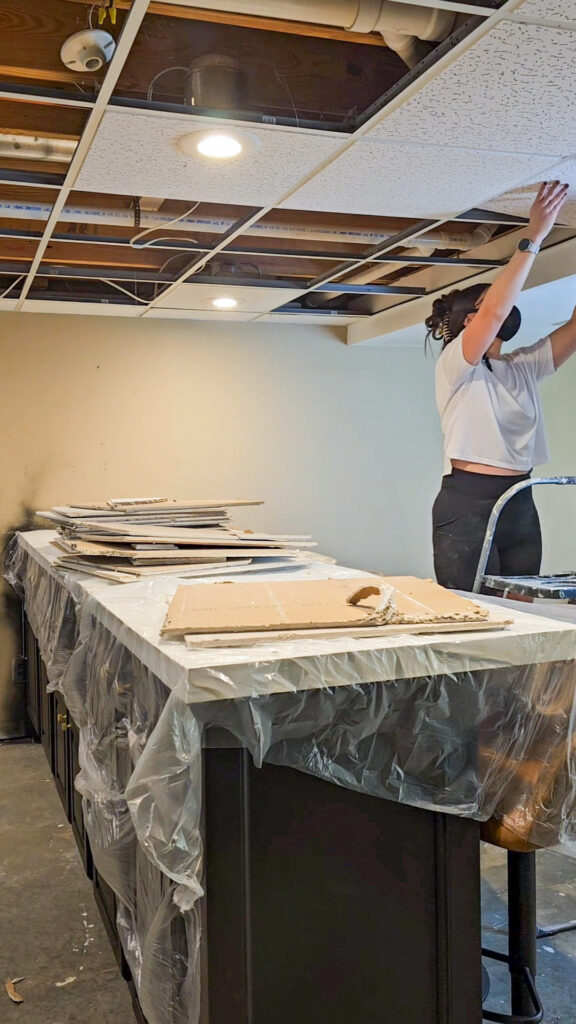
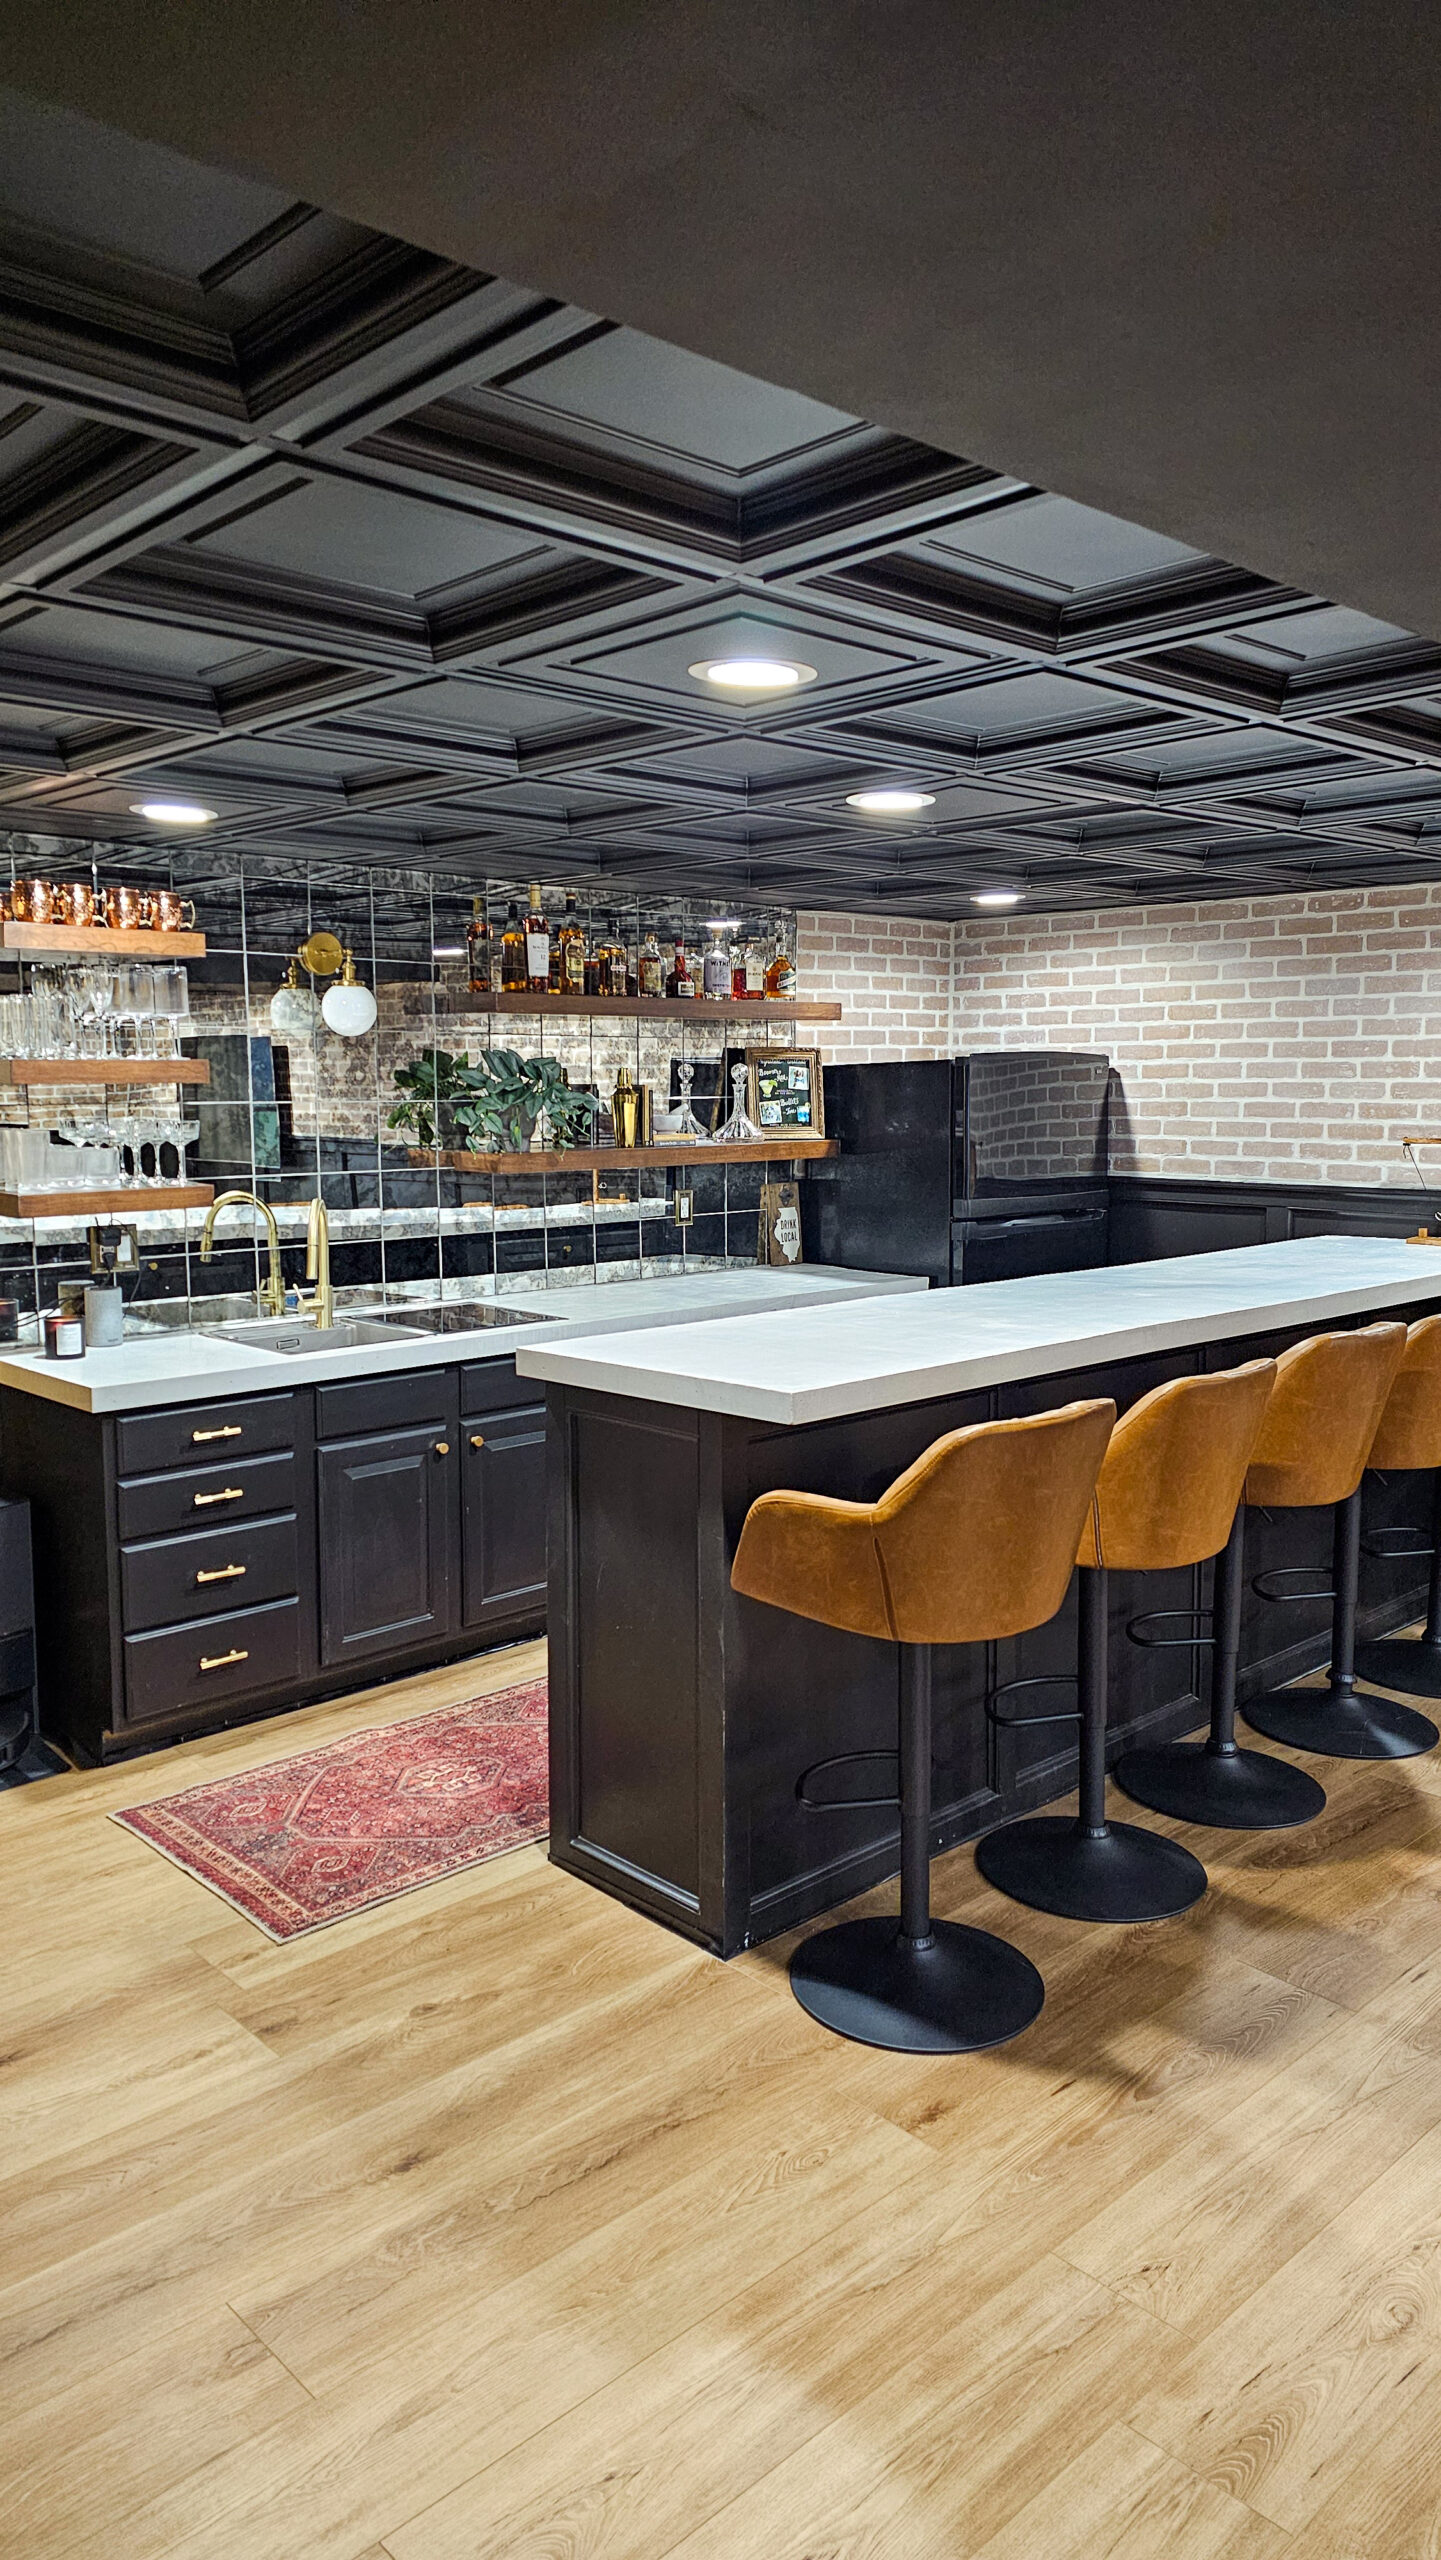
Once all the old tiles were down, I started installing these Madison tiles from Ceilume. These were concave so they actually added about 2.5″ of height to our ceiling! I was worried the black would make the space feel smaller, but these tiles had the opposite effect.
One thing to note is not all of their tiles can be cut into smaller squares to replace edge tiles, which I will cover in the next section!


Cut edge ceiling tiles to fit
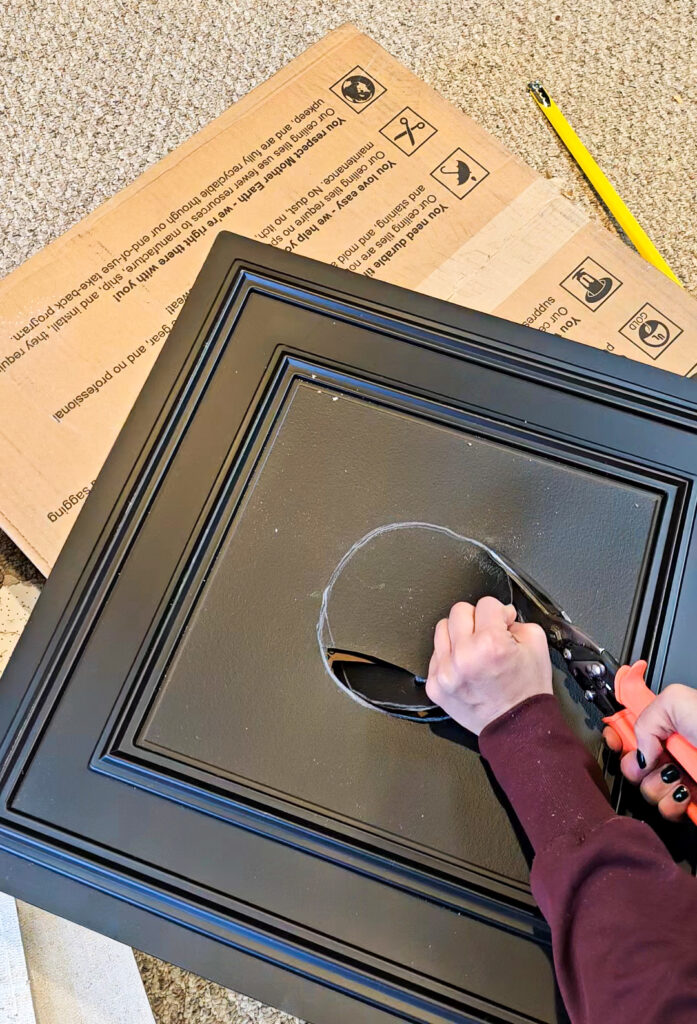
These Madison tiles unfortunately can’t be used as edge pieces since they can’t be trimmed to a smaller size. I ended up also ordered these Stratford matching tiles, but that are flat. When you are just in the basement, you truly don’t notice that some of the tiles are concave and some are not unless you are looking for it specifically. We also had tiles that had can lights in them. We used the Stratford flat tiles for these spaces as well.
These tiles are super easy to cut with just a pair of metal shears. You don’t need any fancy tools or saws. I even cut all the circles for our can lights with just the shears.
Install grid covers
Now that all the tiles were up it was some to cover up the grid. There are 2 types of grid covers, grid covers and edge covers. These simply just slide over your existing grid and that’s it! For the edges, I had to cut some of the grid covers to size and these easily cut using the shears.
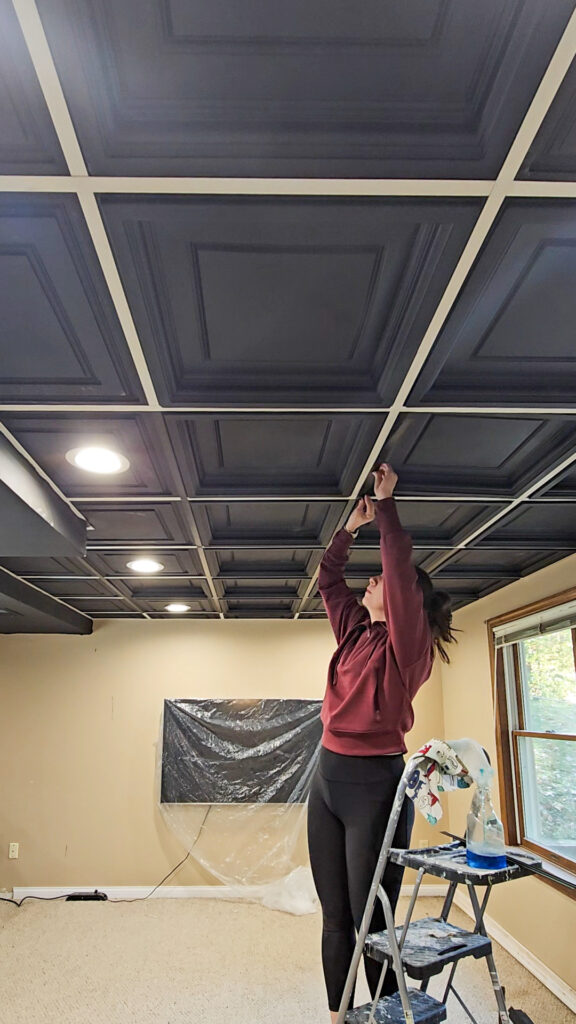
This basement looks entirely different than when I started this project. I am so glad I decided not to remove this drop ceiling but to improve it and make it more modern! Head over to my Instagram to check out more projects with my basement!

Related Articles:
Replacing a Drop Down Ceiling – The first time
How to Paint Cabinets like a Pro!
No Demo Reno Basement Bathroom – Start to Finish
Dec 22, 2024
