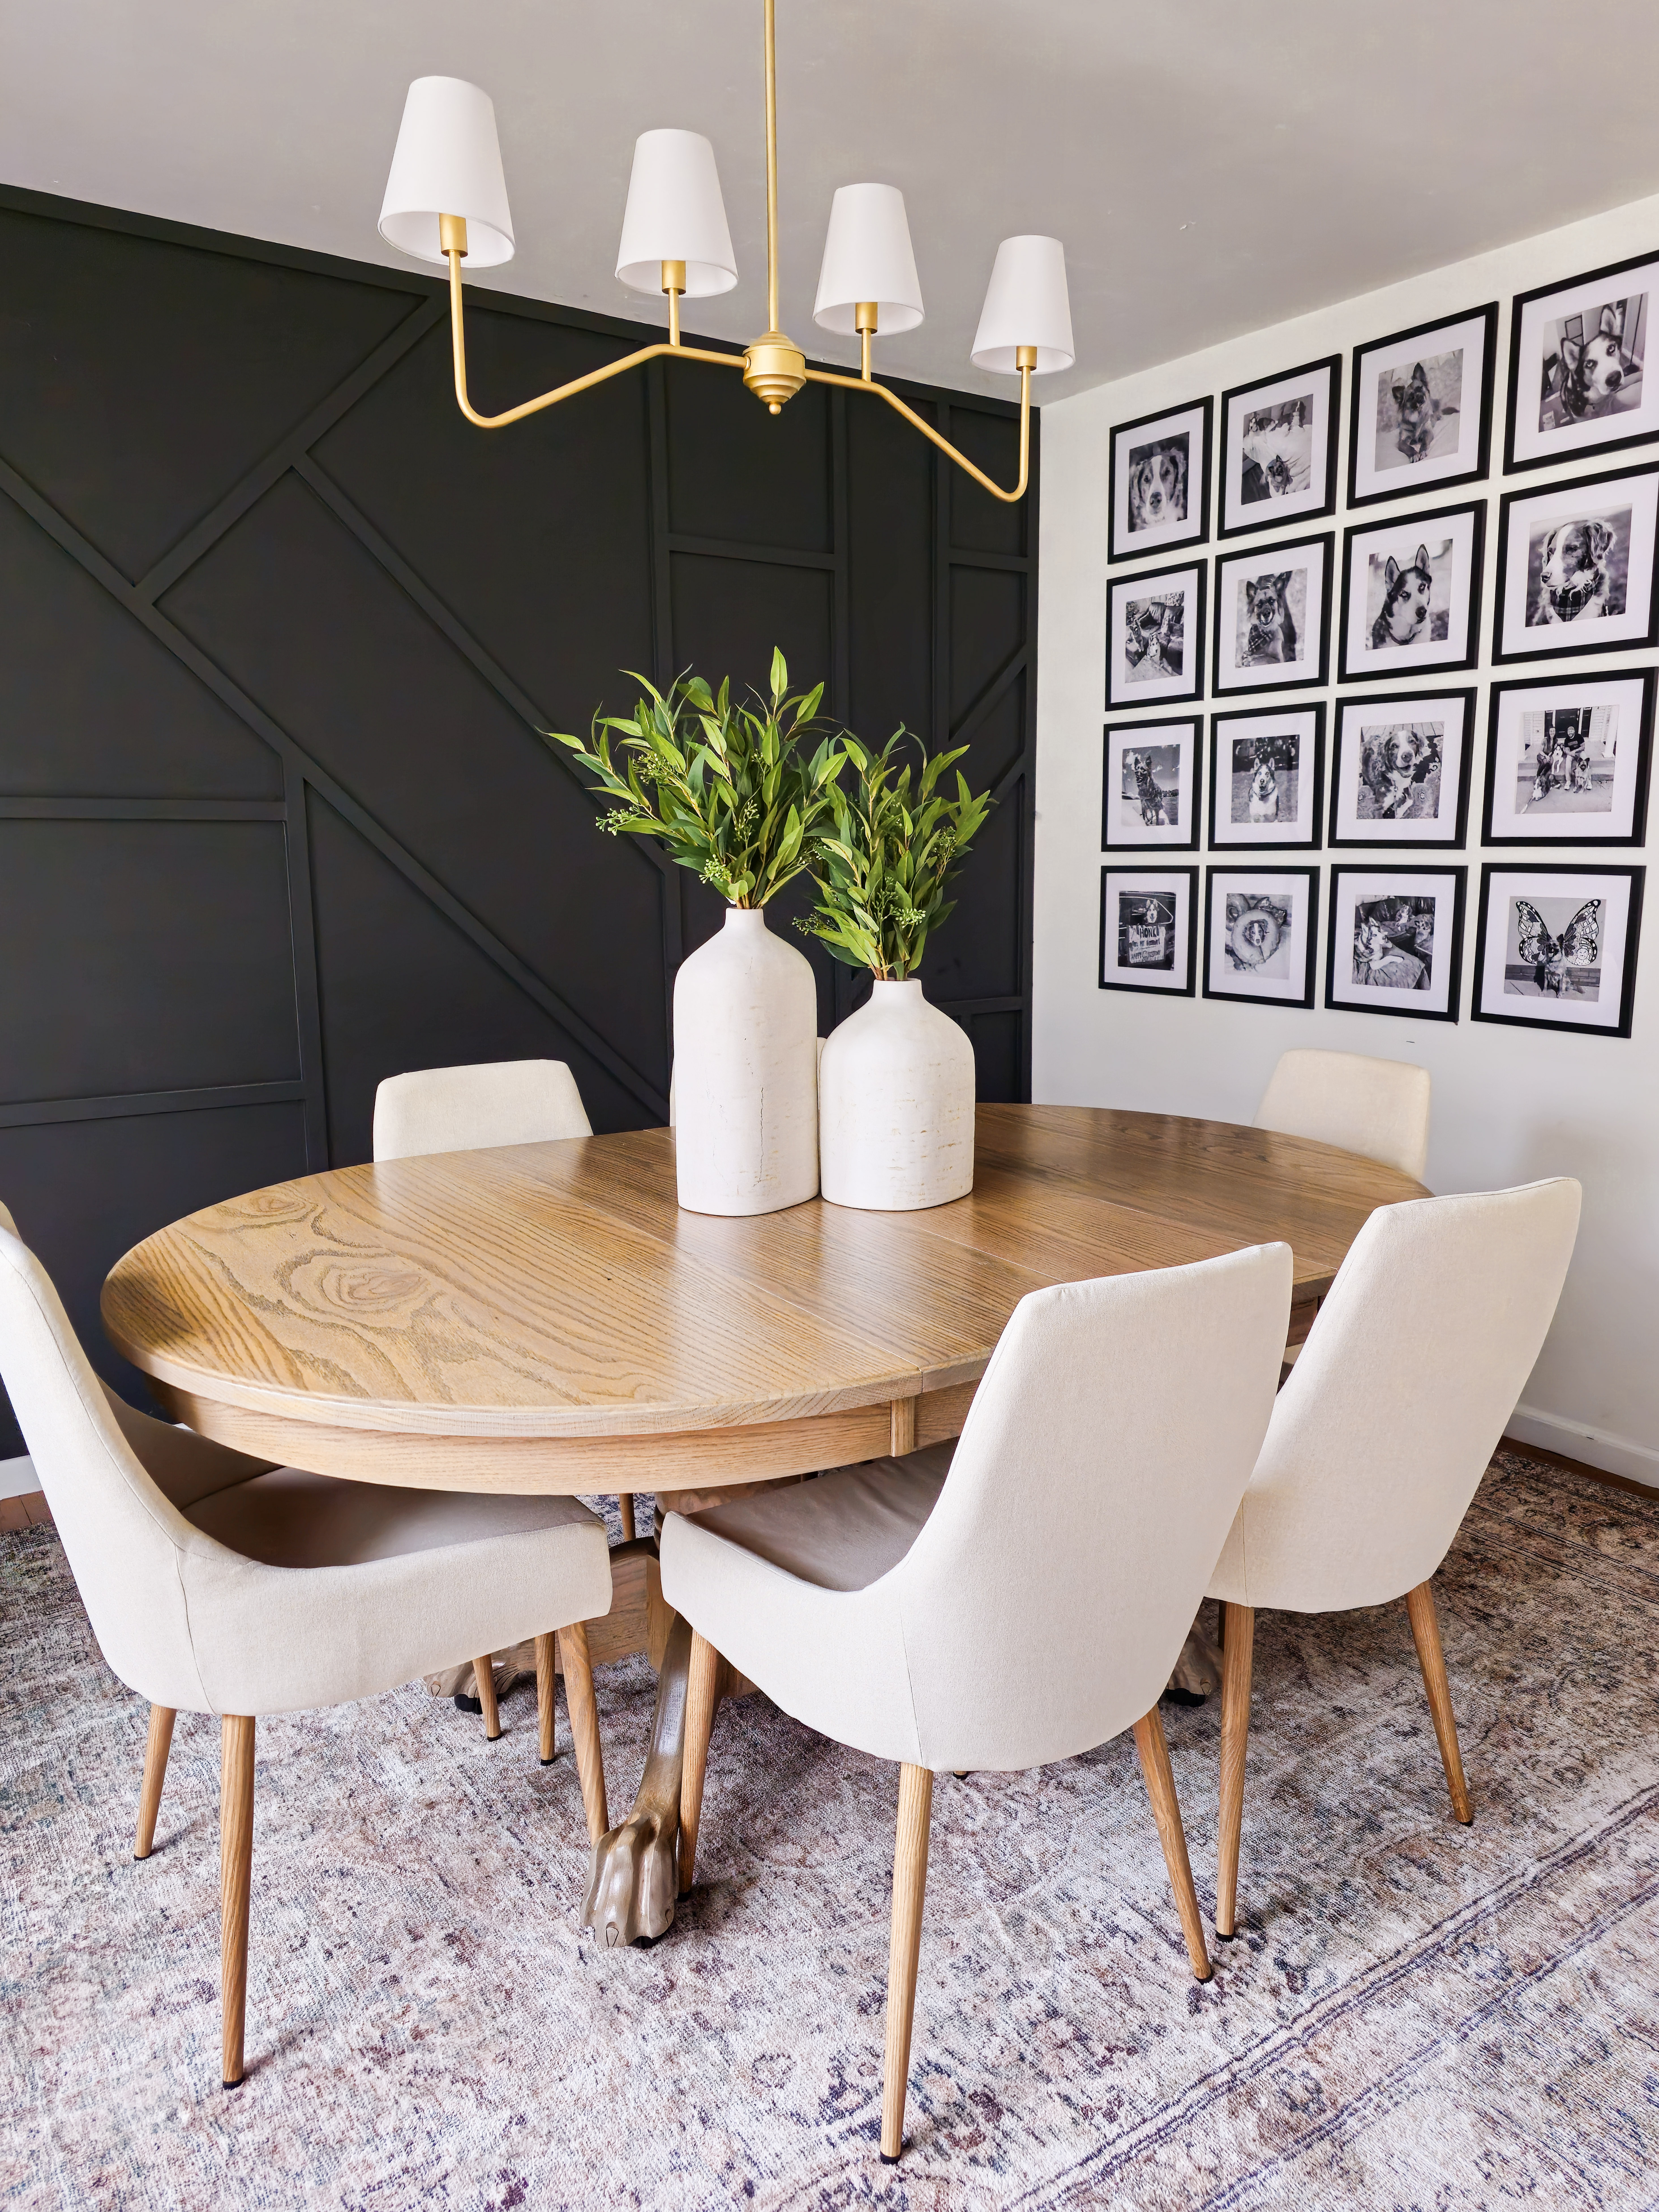
How to Paint Cabinets like a pro!
Painting cabinets can be really intimidating when you are first starting out. I am going to walk you through the proper steps to take to get your cabinets ready for paint and guarantee proper adhesion for durability! Without proper prep your paint will not last so it’s important to take those extra steps.
If you’d like to check out more of my basement renovation, you can see my concrete countertops here!
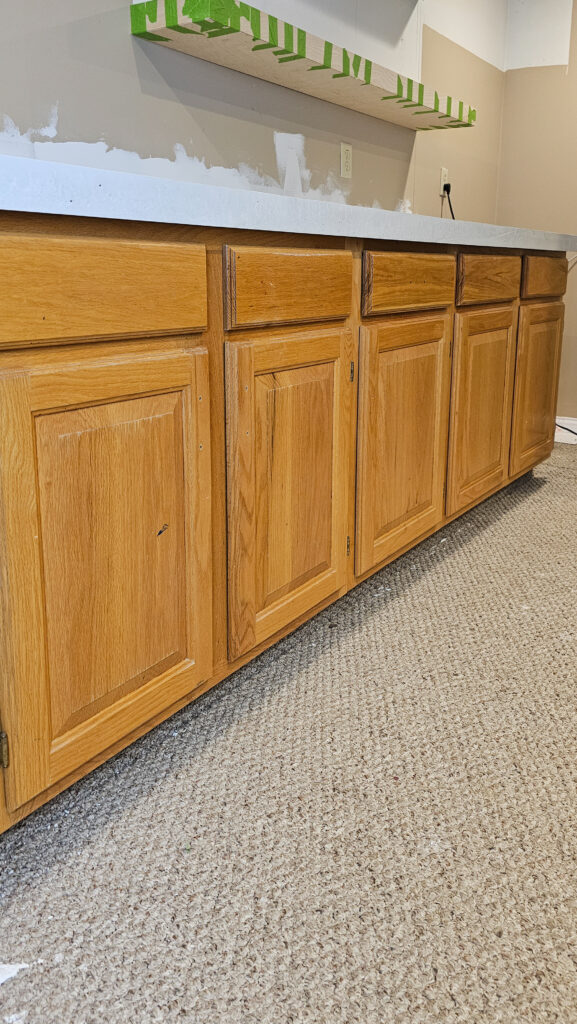
*I may earn a small commission on any linked items in this article*
Supplies
- Degreaser/Cleaner
- Tack Cloth
- Primer
- Cabinet Paint – I love this Behr Enamel paint!
- Paint Sprayer or Foam Roller & Brush
- Optional: Spray Tent
- Optional: Knobs & Handles
Step Summary:
- Remove doors and hardware
- Clean everything
- Fill any holes
- Sand down the finish
- Prime your cabinets
- Sand Primer
- Prep for Paint
- Paint with Sprayer or Foam Roller
Detailed Steps
Remove doors and any hardware
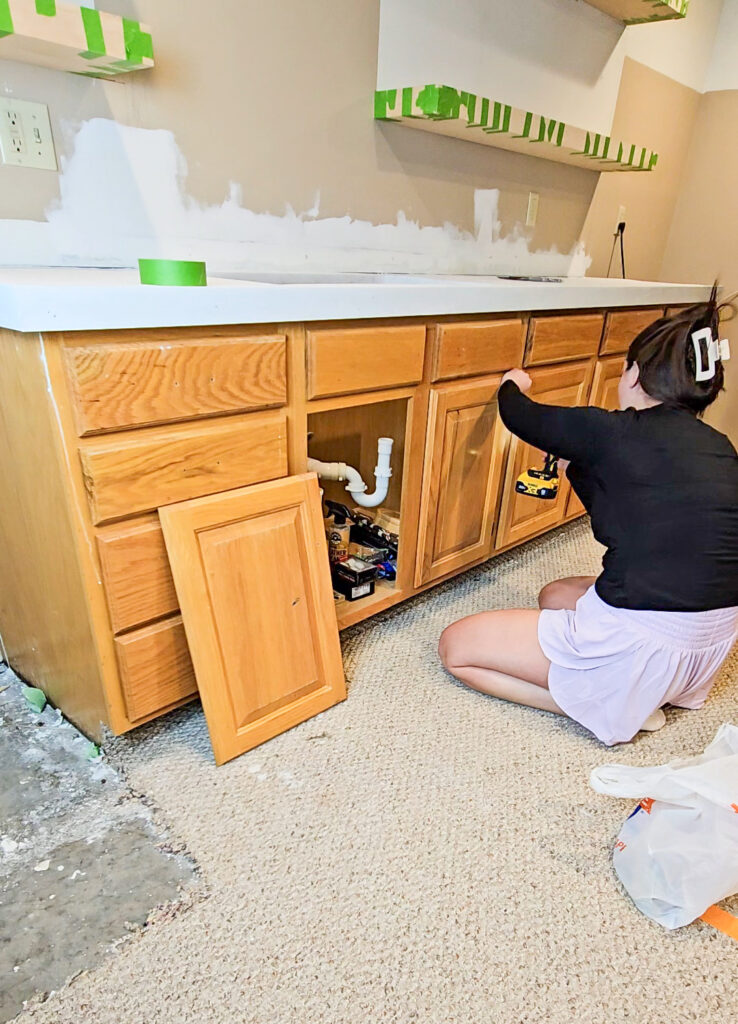
I first start by removing all my doors and any hardware from my cabinets. Make sure you label each door so you remember where it came from, it will make it easier to put them all back when you are done. In addition, label your hinges too! They are always
Clean everything from dirt and grime
Cabinets get really dirty, especially in the kitchen. It’s important to properly clean off all the dirt and grease off of them. I use this Krud Kutter degreaser to prep my cabinets for paint. Paint won’t stick to dirt and will easily chip off so don’t skip this step!
Fill in any old hardware holes
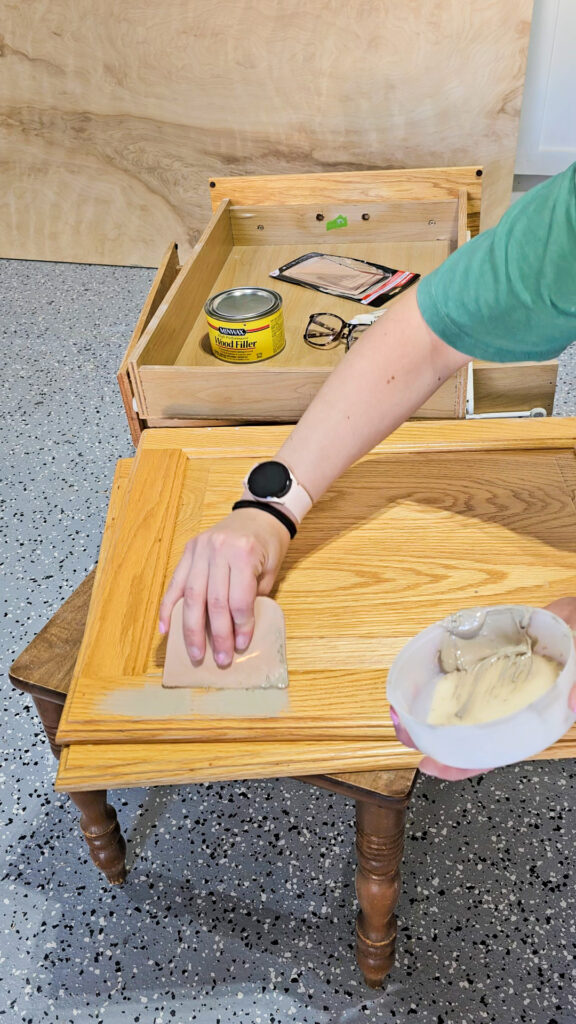
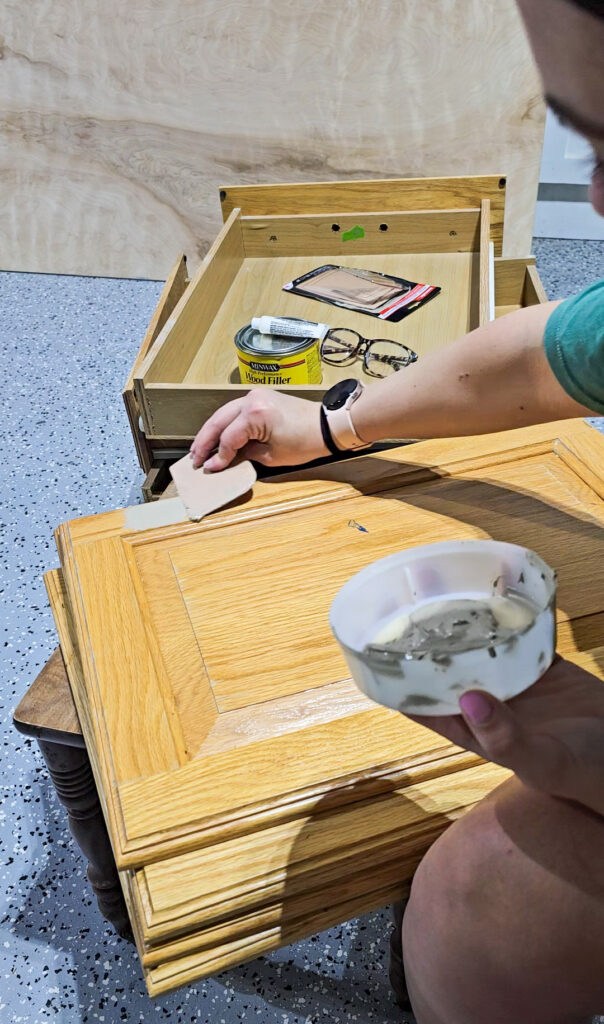
My cabinet doors had handles, but I want to add in knobs instead. To fill in the holes you can just use wood filler. Normally regular wood filler is fine, but personally I think you need something stronger on cabinets to prevent any shrinking or cracking. I used this Minwax Wood filler that is very similar to Bondo. After mixing in the hardener, you only have about 10 minutes to work with the product.
Sand down the old finish
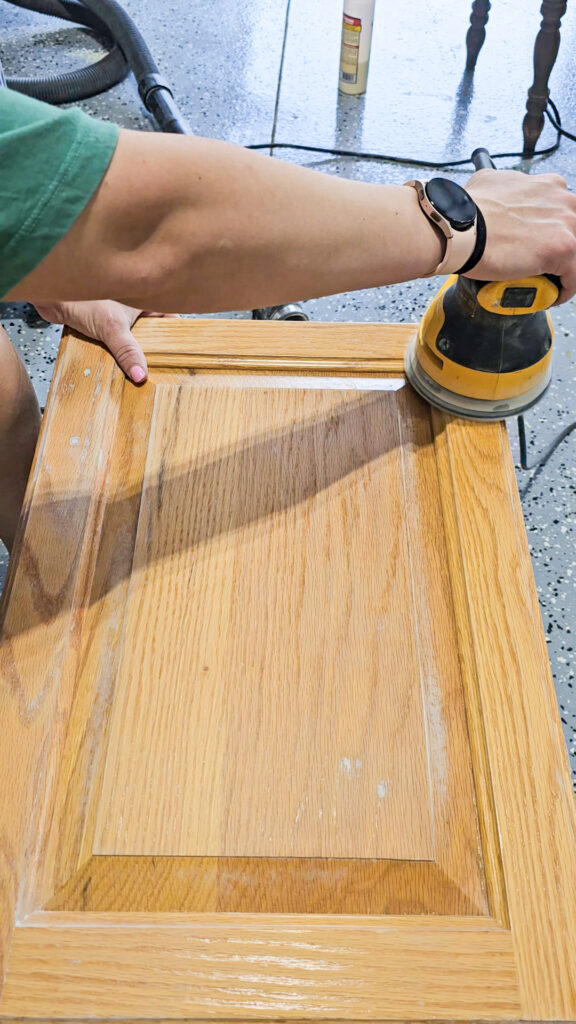
Before painting your cabinets with primer, we are going to sand off the old finish. I know a lot of paints will advertise that you don’t need to sand before using them, but in a kitchen for longevity you want to sand. Kitchen cabinets are heavily used and touched and the better you prep, the better your paint will stay!
I start with a 120 grit and then use a 220 grit as a final step. For my cabinet doors, I am going to paint the front and backs of them. This gives them a more professional look and finish. When you buy furniture from a store, the inside of the doors is almost always painted.
Prime your cabinets
Again, paints will advertise that you don’t need primer… While that could be true, just prime. This is the best primer I have ever used, and it dries super-fast. I just use a foam roller to apply this primer on both sides of the cabinet doors. I did 2 coats of primer.
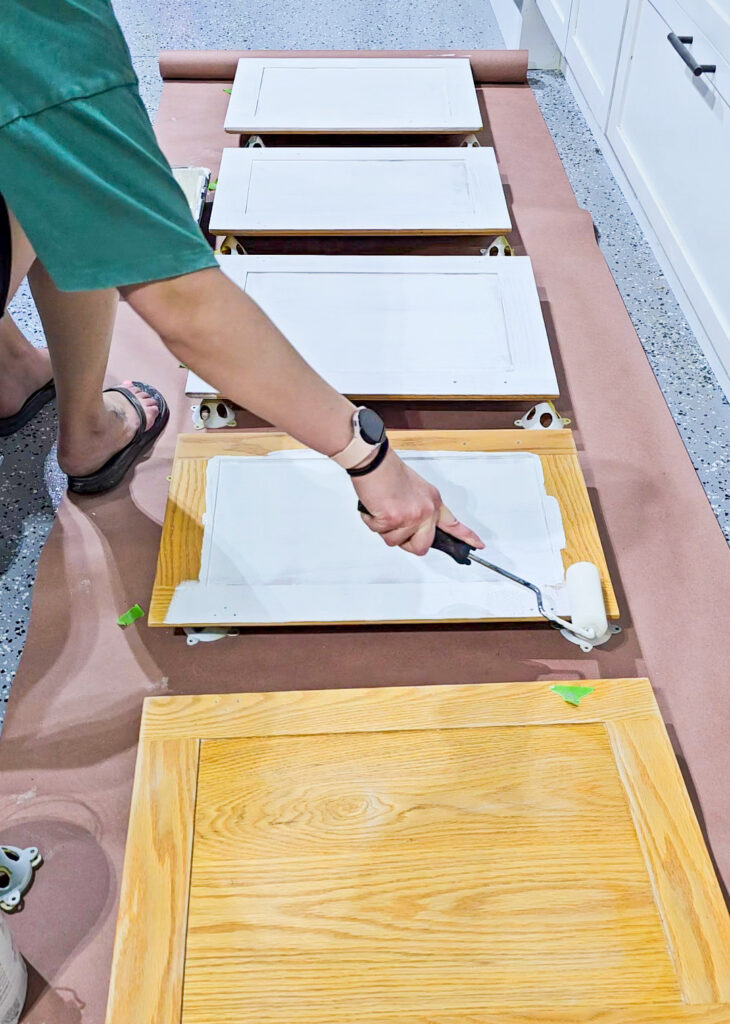
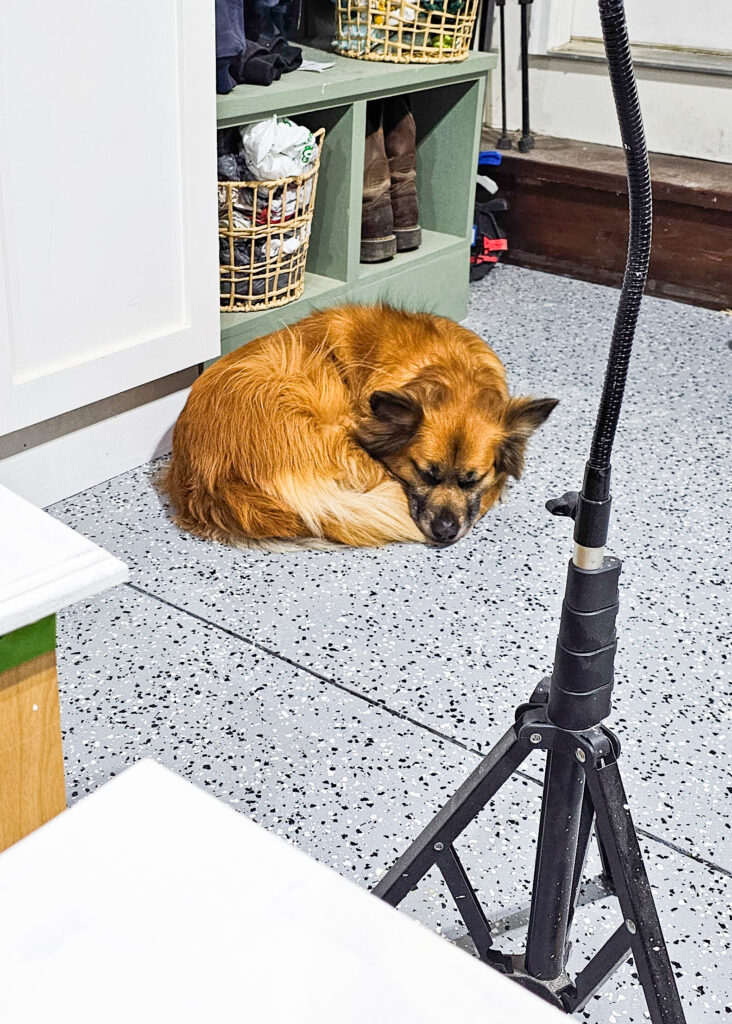
I had a cute little helper in the garage when I primed everything!
Sand primer
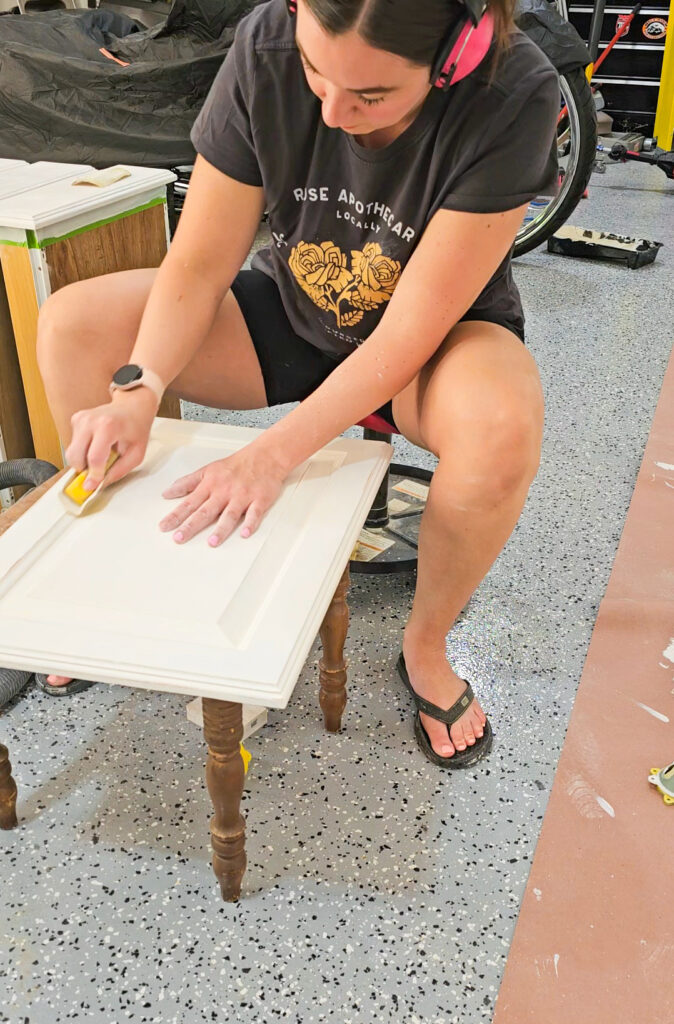
After the primer has dried, you will want to take a 220-grit sanding block and sand down the primer. It will be so smooth after this! Once you have done this, it will be also easy to tell if you need another coat or primer or any other imperfections to fill before you move on to paint.
Prep before painting
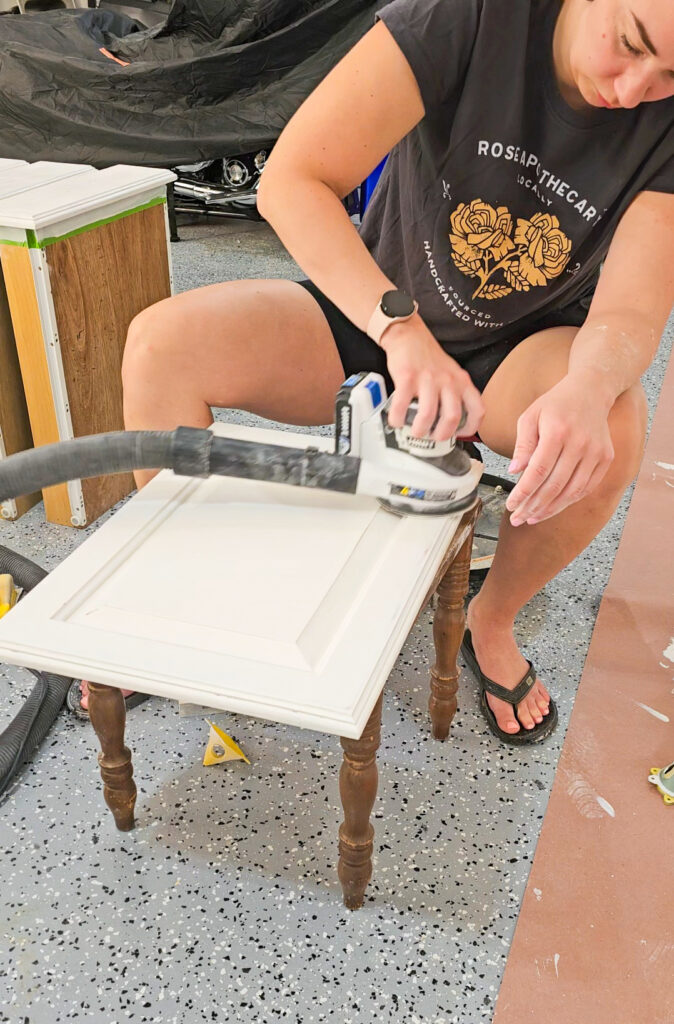
Before I move on to painting the cabinets, it’s important to get every speck of dust off your cabinets and doors. I like to use my shop vac first and then I go over everything with these tack clothes.
Paint your cabinets
Now the magic happens! We are going to paint our cabinets and doors. You have 2 options, either paint them with a sprayer or a foam roller and brush. I have painted cabinets both ways and you get a great finish both ways! Personally, a sprayer just gives a smooth finish you can’t get with a foam roller. BUT! You won’t know unless you compare both options side by side.
If you want to spray, there are 2 sprayers I recommend. This HomeRight Sprayer is a great budget friendly option! But if you are looking to do more, then this Graco Cordless Sprayer is the best. There is also the corded version of Graco that is a lot more budget friendly right in-between these two options!
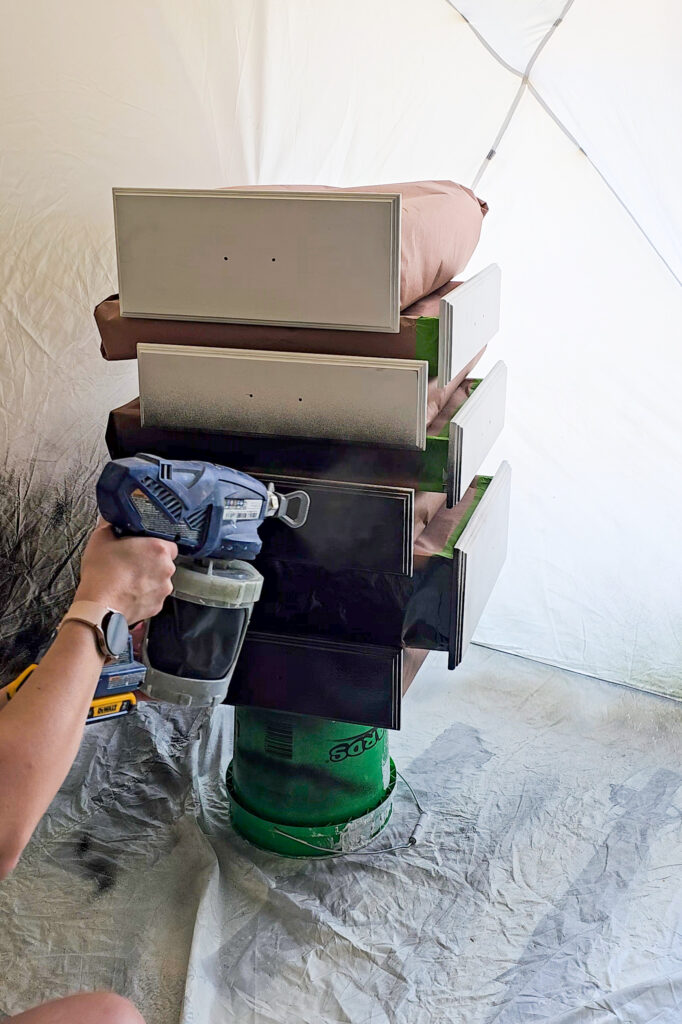
For these cabinets, I am going to be spraying them with my Graco Cordless Paint sprayer. I bought this spray tent that I can easily setup in my garage. It helps contain the overspray and keeps bugs off your paint while it dries.
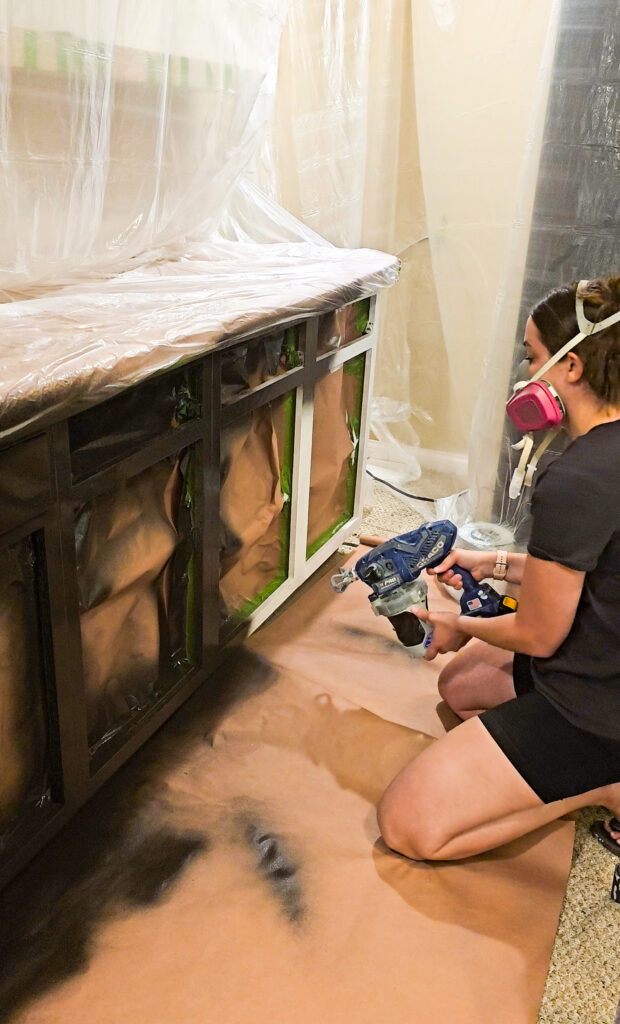
This is my favorite cabinet paint. The finish on it is beautiful and so smooth. I have used this Behr Enamel paint in my kitchen, office, and now our basement cabinets. It is self-leveling dries to a durable hard finish. I did 2 coats of paint on each side of my doors and on my cabinets. Be sure to let the paint dry for at least 24 hours before handling.

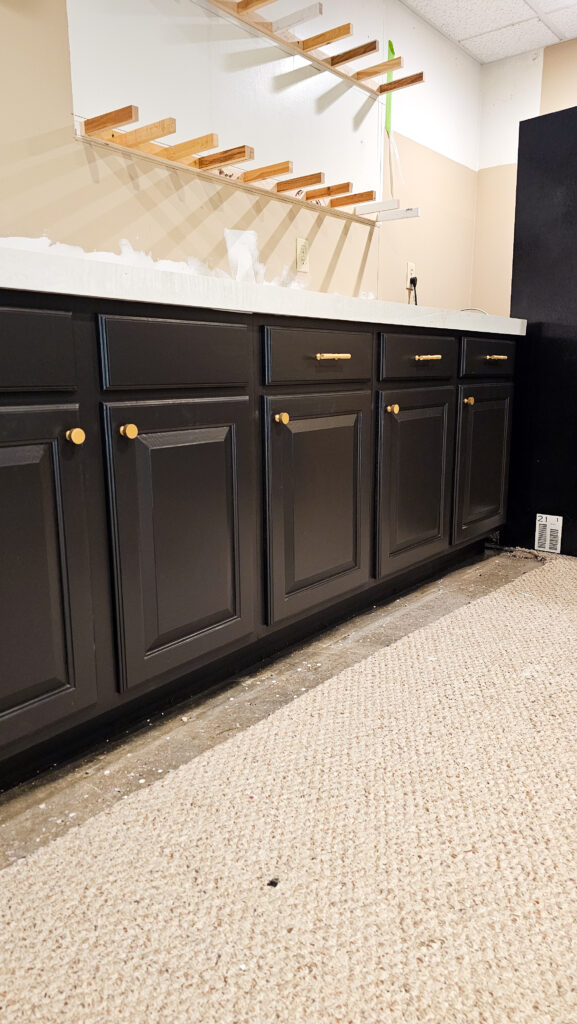
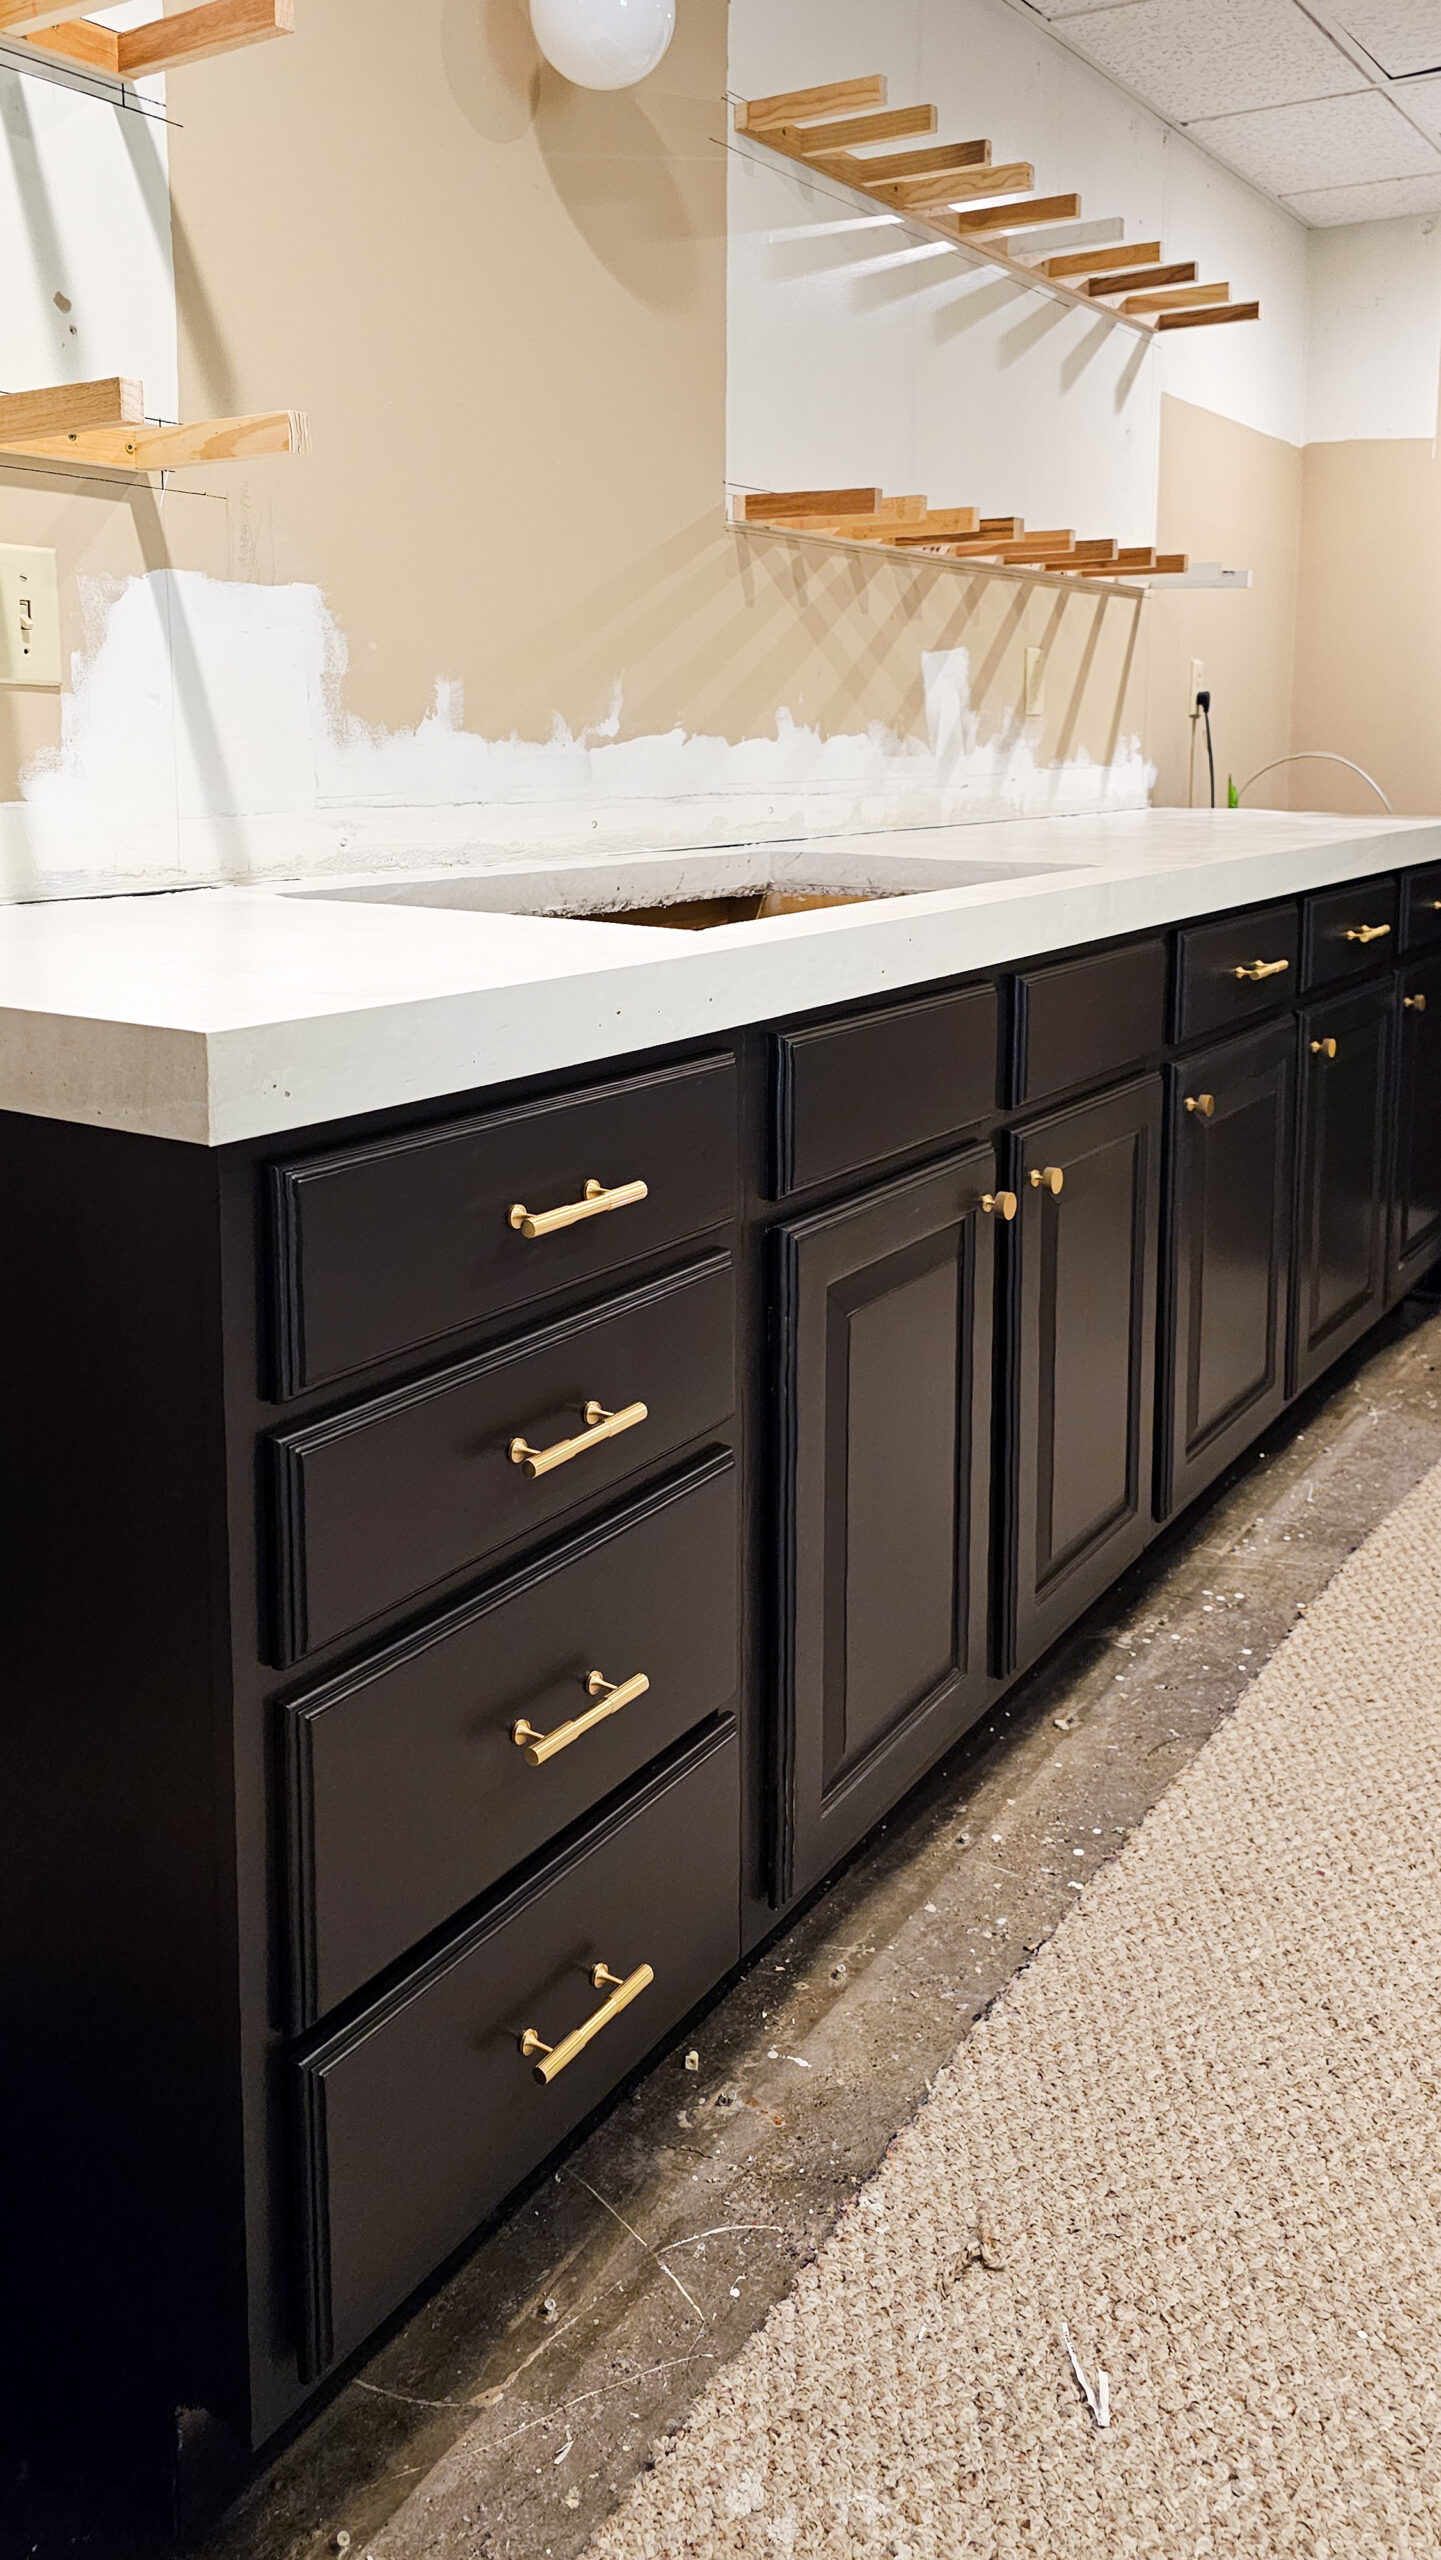
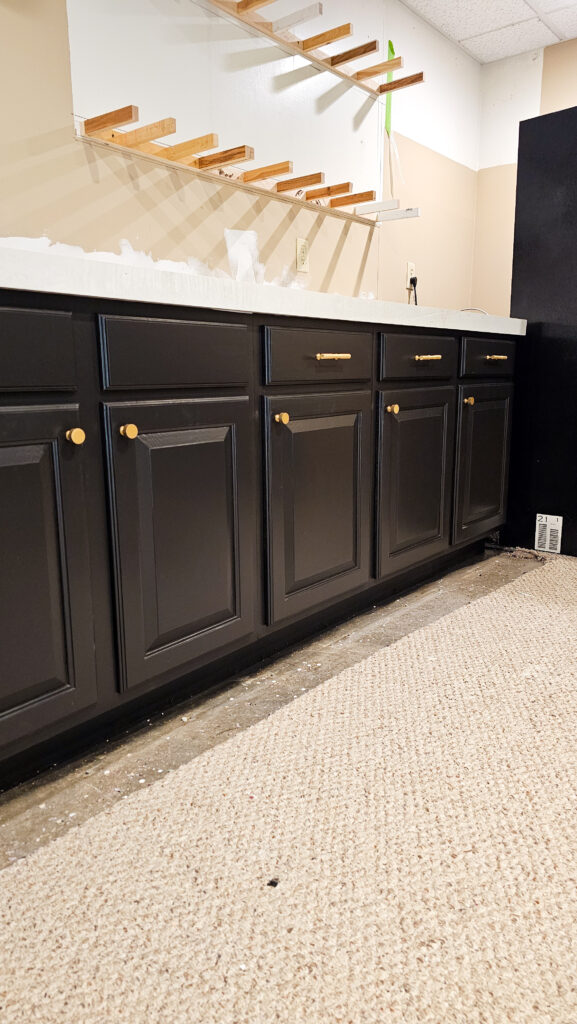
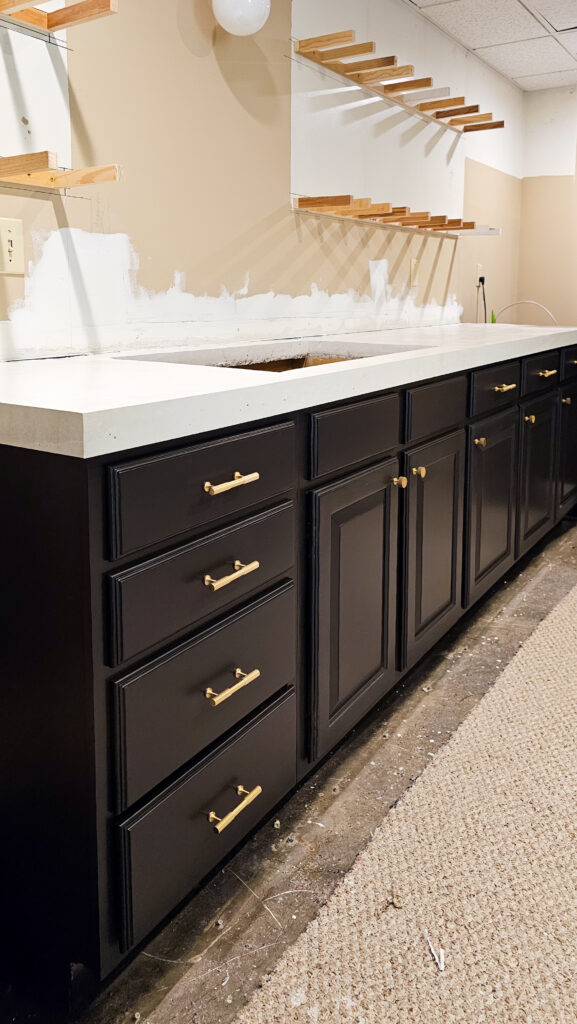
These cabinets now look like they were always this color! I love how these have turned out and the finish is amazing. I added in this gold knobs on my cabinet doors and these gold handles on the drawers to give them an even more modern look.
See a video on the process here!
Up next in this basement is finishing the floating shelves, new flooring, backsplash install, and installing our 2-in-1 dishwasher sink!
Jul 8, 2024
