")
Home Library using IKEA Billy Bookcases
Our guestroom felt like such an unused pointless space, so I decided to turn it into my Dream Library space. I had always wanted a room to keep all my books displayed and somewhere to go at night to relax and curl up with a book. I started planning out my idea for this library and decided to use IKEA Billy Bookcases but give them a completely custom look!
*I may earn a small commission on any linked items in this article*
You can check out a full video on the process over on my Instagram @Cedar_Hill_Builder here!
Decor
All items are linked! Just click the item below you are interested in seeing.
Supplies
- Ikea Billy Bookcases
- Bookcase Extension
- 1/2″ MDF Board
- Crown Molding
- Fluted Trim
- Wood Filler
- Caulk
- Orbital Sander
- Shellac Primer (or use this spray paint version)
- Foam Roller & Tray (for primer if you don’t use spray version)
- Cabinet Paint (Color: Fine Wine by Behr)
- Paint Sprayer
Tools
Step Summary
- Plan Out Library
- Build Ikea Billy Bookcases
- Build Smaller Bookcases
- Attach Bookcases into studs
- Add in Bookcase Extension
- Trim Out Bookshelves with MDF
- Add in Fluted Trim Detail
- Caulk and Wood Fill in all gaps and cracks
- Paint Bookshelves with Primer
- Paint shelves with Cabinet Paint
Detailed Steps
Plan Out Library
When I started planning out my library, I decided which wall I wanted my shelves to be on. I picked the longer wall, so I had more room for books. I knew I was going to be using IKEA’s Billy Bookcases, which are 31.5″ wide. I was able to fit 3 Billy Bookcases along my wall.
For the height, my ceilings are an average height of most homes, 8 feet tall. These bookcases at 79.5″ tall leaving about 17″ to fill in. I grabbed the Billy Bookcase extensions that would bring my shelves almost to the ceiling but leave room to add in trim and crown molding.
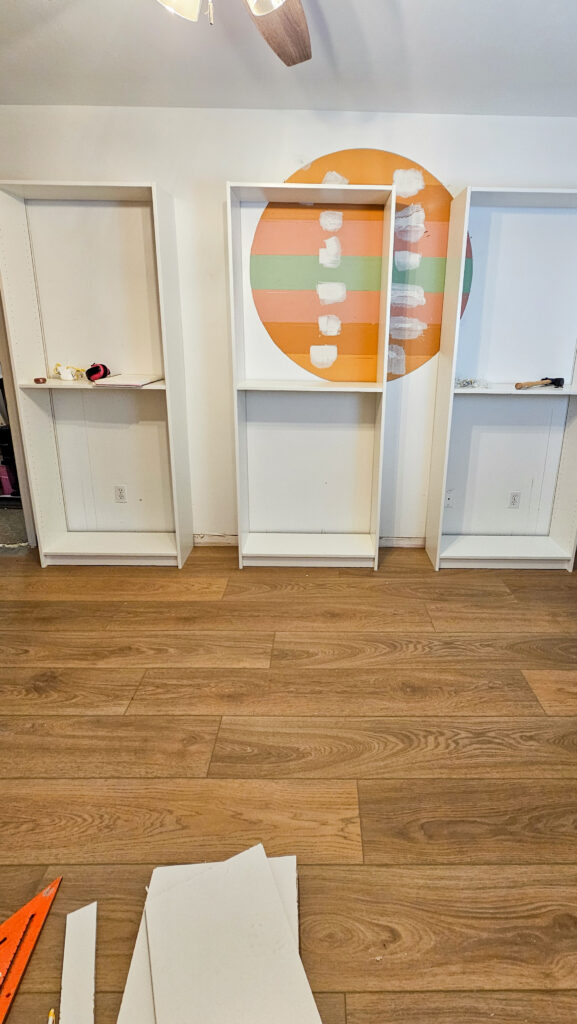
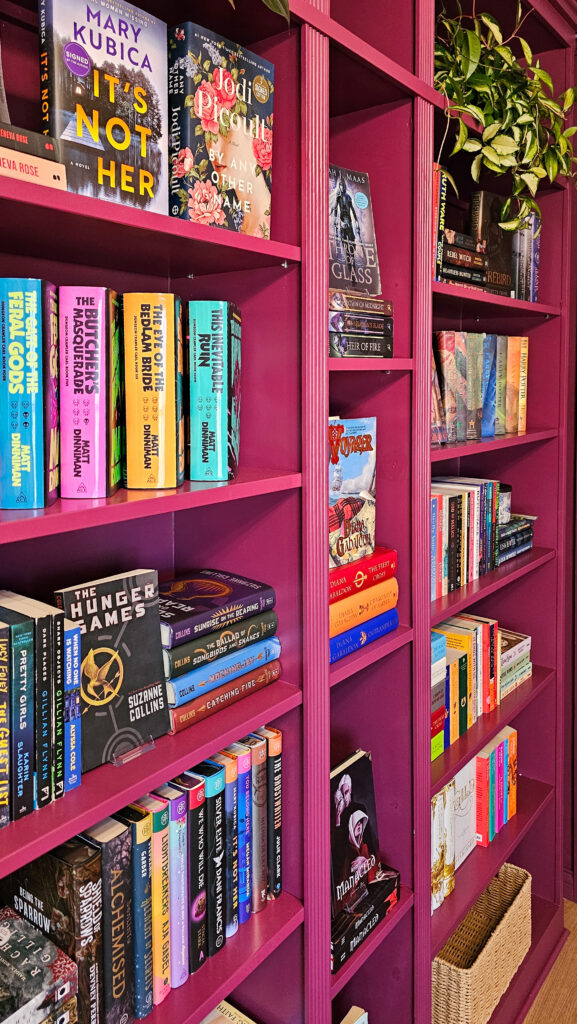
Once I had that laid out, I realized I had room to put 2 smaller shelves in-between my 3 larger shelves! I was so excited, but then quickly disappointed when I realized that the smaller Billy Bookcases that are 15″ wide were too big for my space… so I built my own that are only 12″ wide!
In the end I ended up with = 1 Large Billy + 1 Small shelf + 1 Large Billy + 1 Small Shelf + 1 Large Billy

Build IKEA Billy Bookcases
I have never really bought furniture from IKEA but had always heard it comes in a million pieces and can be a pain to put together. So when I ran to IKEA and picked up my shelves, I planned for a long day… but these were easy to put together! The instructions were clear and easy to follow.
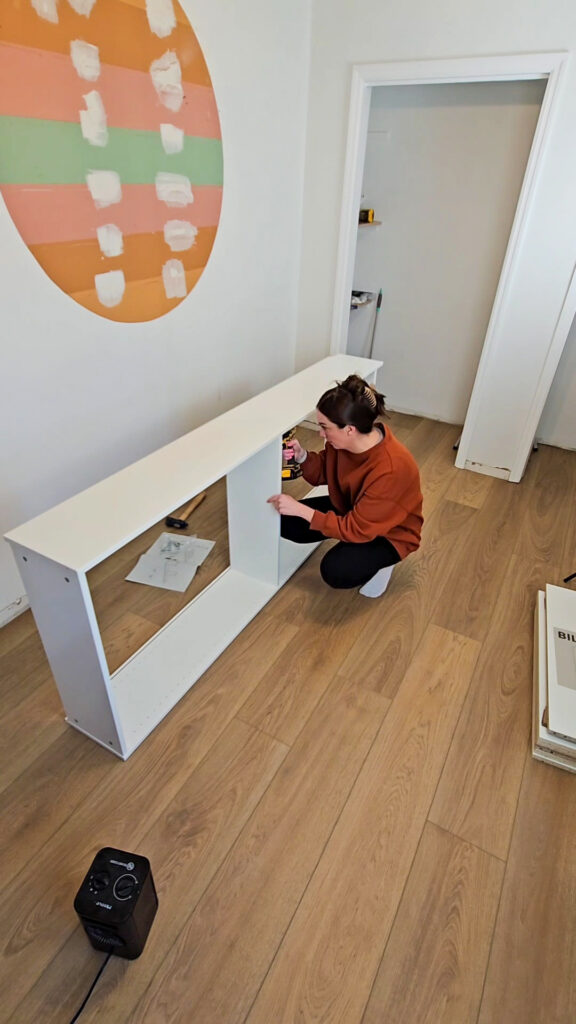
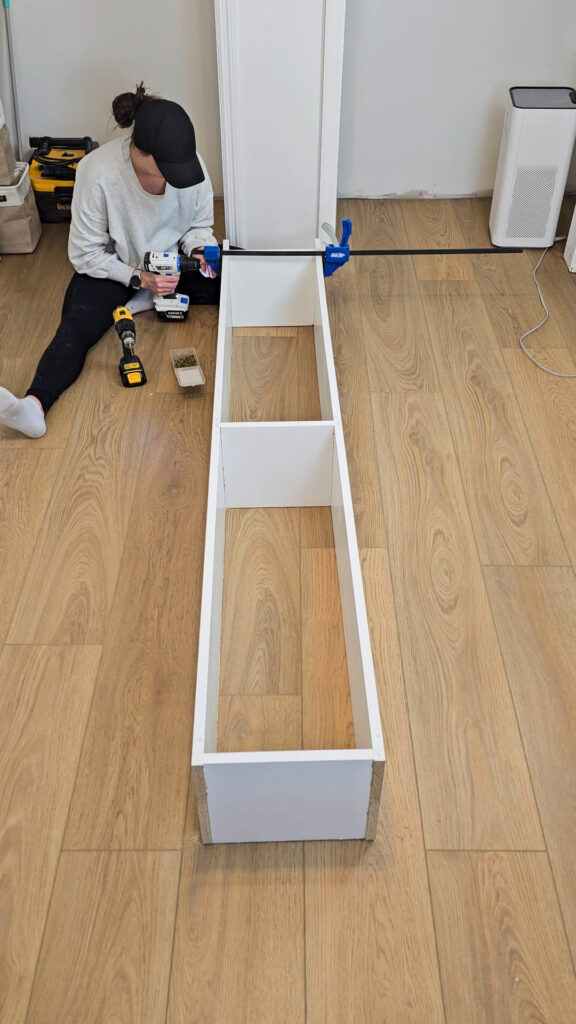
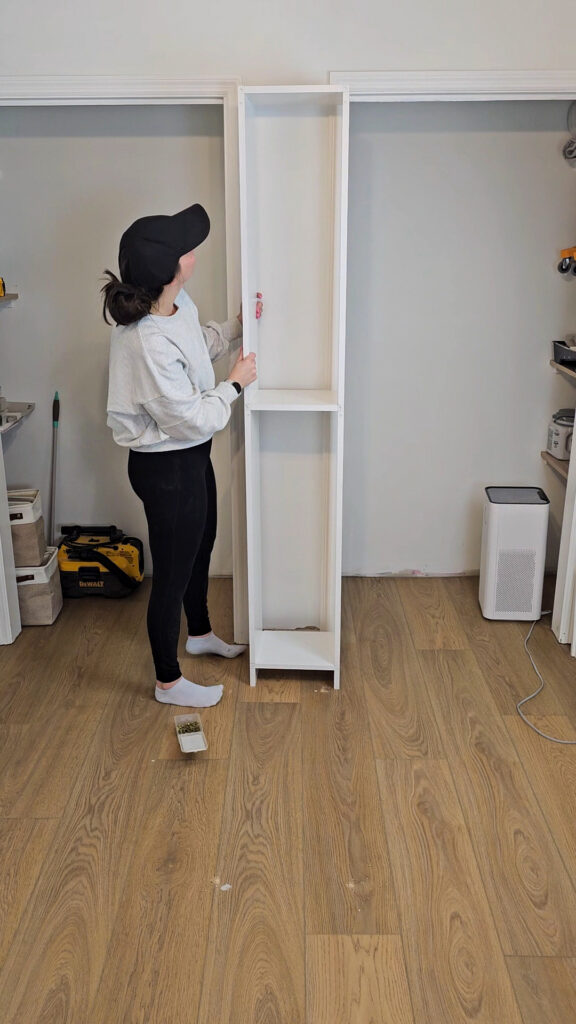
Build Smaller Bookcases
Once my IKEA bookcases were built, I simply made 12″ version of those using 3/4″ melamine shelf boards. The IKEA Bookcases are 11″ wide, but I was unable to find it in that size in store. I bought 12″ wide melamine and had to trim off some to make it fit.
Materials Needed:
- 12″ wide melamine shelf x 3/4″ thick (I needed 5 boards for 2 shelves)
- 1.5″ screws
Tools Needed:
Cuts to Make:
- Sides: 79″ long x 2 per shelf
- Shelves: 10.5″ long x 5 per shelf (more if you want more shelves)
Once my boards were cut, I applied wood glue to the edges of my shelves and attached to my sides using screws. Since the sides of these are hidden, I didn’t mind that the screws would be showing on the sides. To match the IKEA shelves, I added in the top, middle, and bottom shelves. The remaining shelves I will add in with shelf pins so I can move them around as needed.

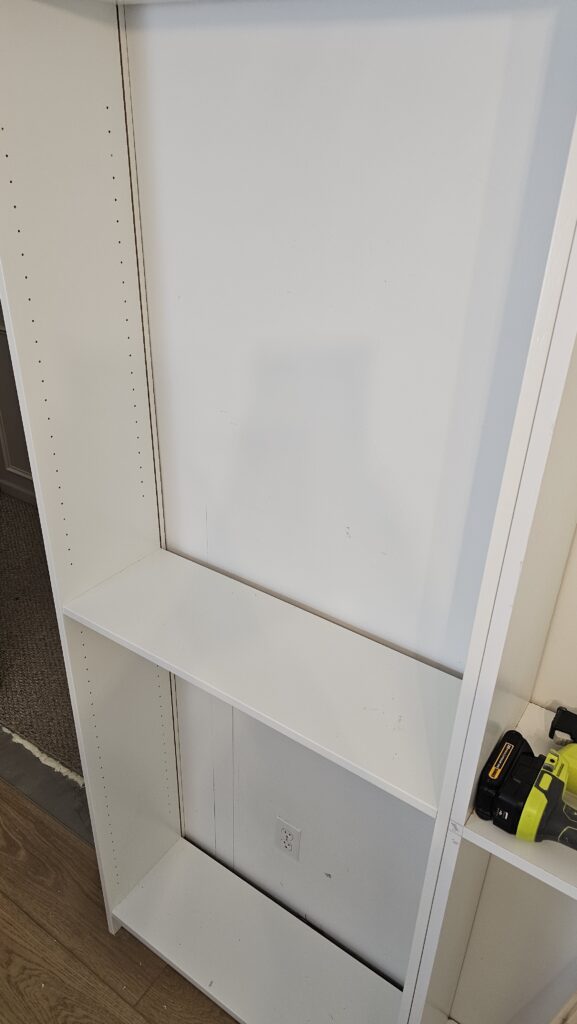
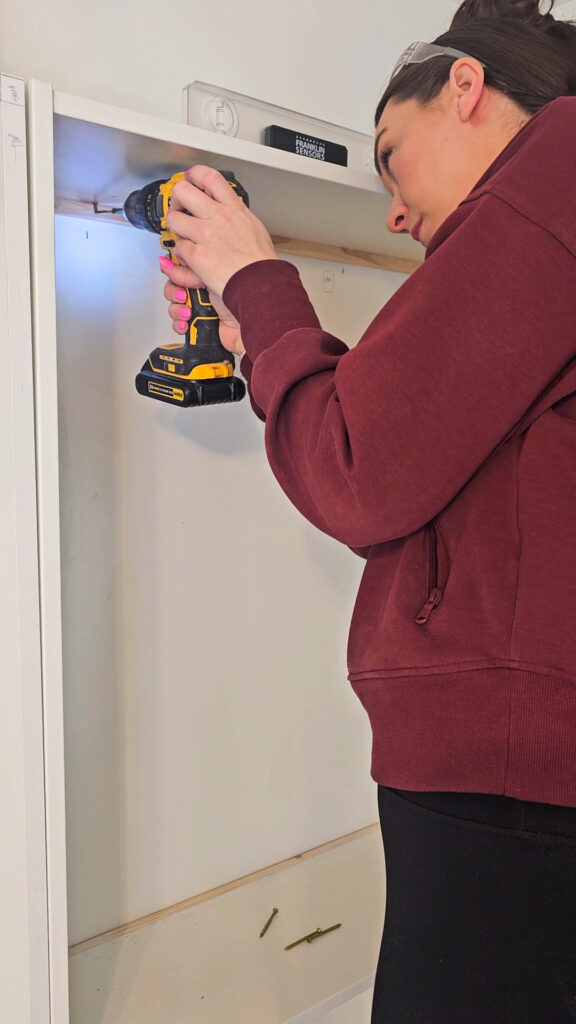
Attach Bookcases to the Studs
This is an optional part of this project, but I decided not to use the backs of the IKEA bookcases that were provided because I had multiple outlets that would be covered. You can cut out the backs, but you would need spacers for your outlets. I don’t like messing with electrical, and I also decided I wanted my shelves deeper rather than letting wasted space go unused. This is all optional, if you use the backs of the IKEA shelves, the kit also comes with brackets to attach into your studs, and you can skip this entirely.
To account for the 3/4″ thick gap, I used 1×2 boards. I attached these to the top and middle shelves on my bookcases using wood glue and my nail gun. After that was dry, I was able to attach my shelves to the studs screws drilled through the scrap boards.
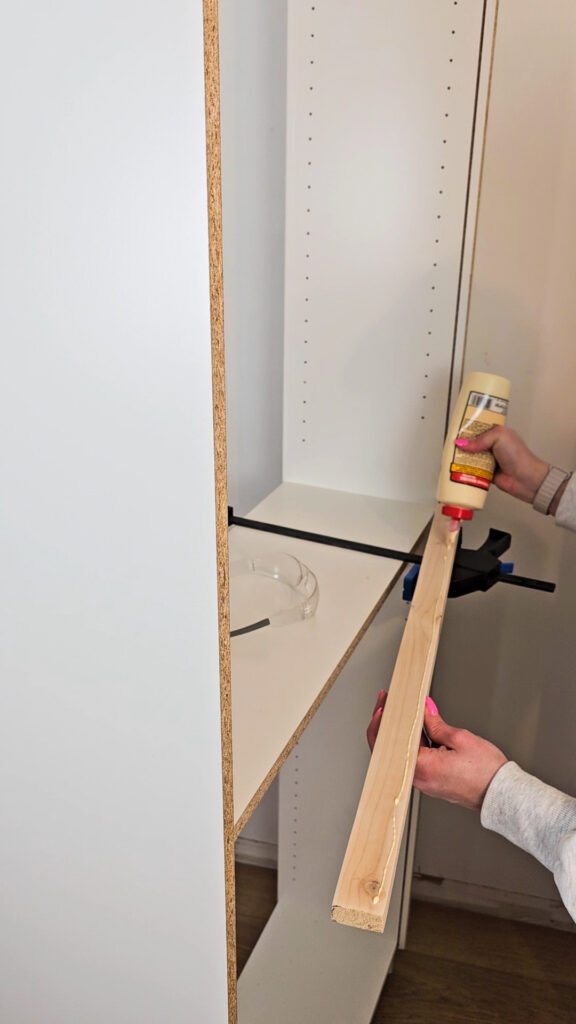
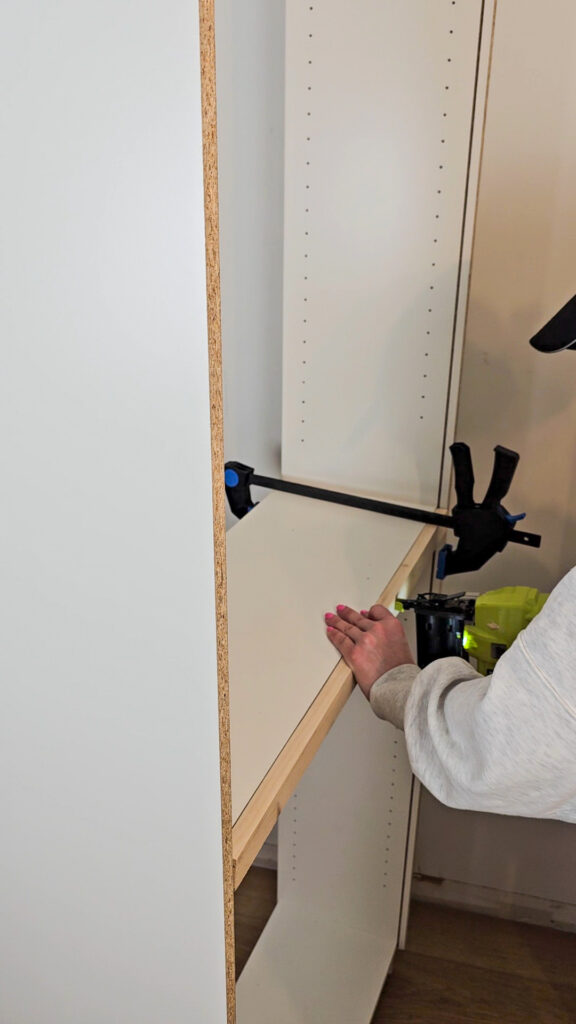
Once the 1×2’s were dry, I just attached these into my drywall. I always use a stud finder to make sure I am attaching directly into a stud. If you don’t have a stud, you will need to use anchors, or your shelves will not be secure to the wall.
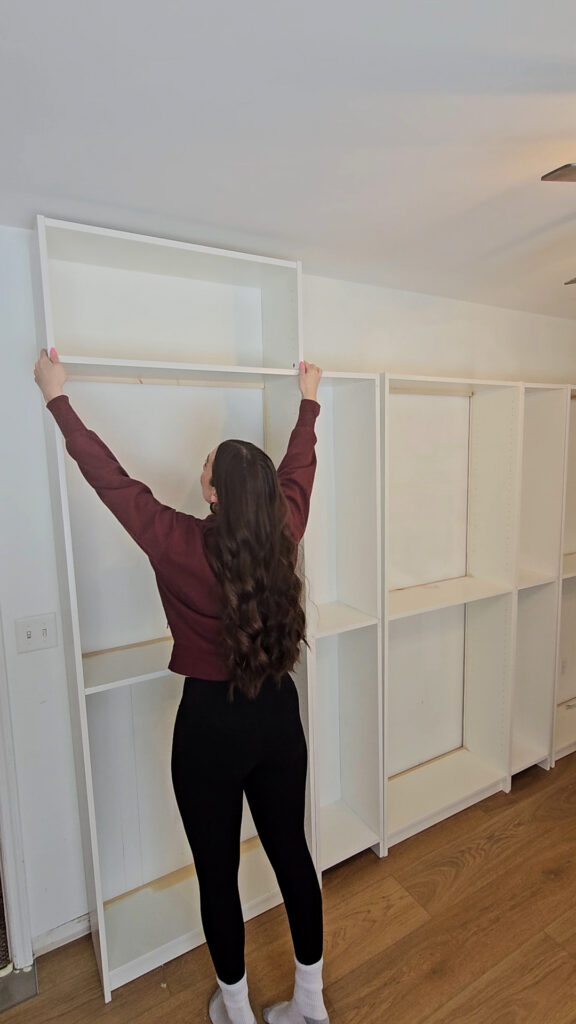
Add in Bookcase Extensions
I assembled the extensions and added them on top of my bookcases. Now my shelves went almost all the way to the ceiling! I was worried this would make my room feel smaller, but it was quite the opposite. The room felt massive and much taller now that the shelves were in.
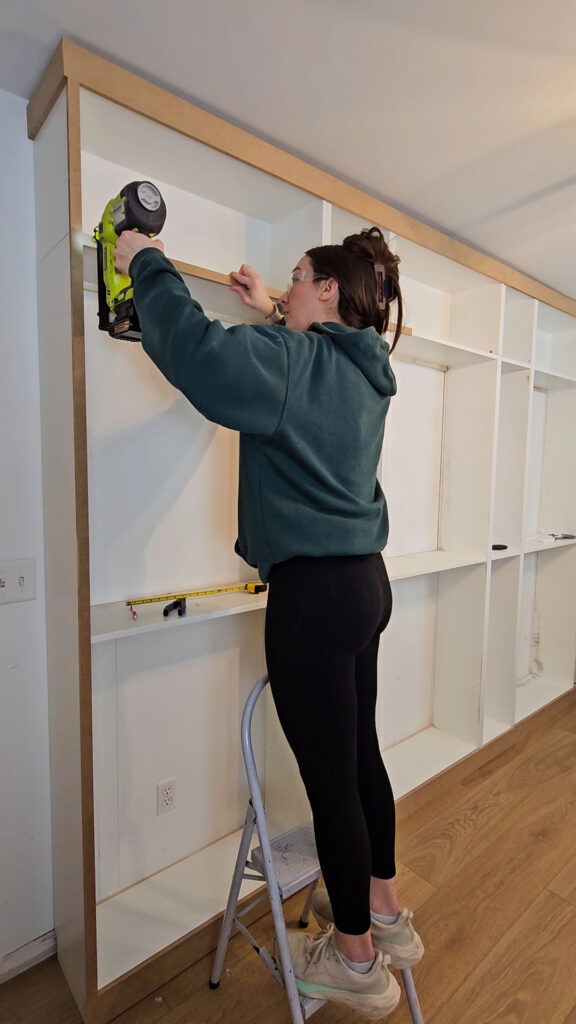
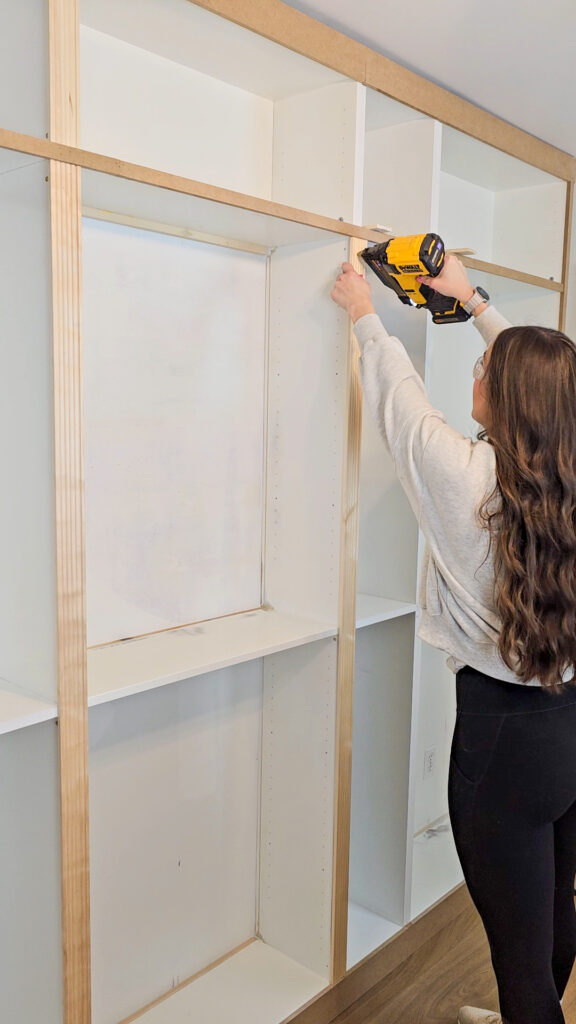
Trim Out Bookshelves in MDF Boards
I used 1/2″ mdf to trim out my bookcases so they would look like one large shelf instead of 5 individual shelves. I added in mdf all along the bottom, the top, and on the outside edges. I used my nail gun or also called brad nailer to attach this mdf trim to my bookshelves.
Add in Fluted Trim Detail
I wanted a little bit of extra detail, so I grabbed this fluted trim. I added this to my middle sections. I used a pin nailer to add this trim in since it is more delicate and that worked great.
Caulk and Woodfill All Gaps and Cracks In
To make any project look professional, it’s important to fill in all nail holes and gaps & cracks. I used wood filler on all my nail holes and gaps along my trim. I used caulk on the inside edges of my shelves along the wall. This will instantly make your projects look more professional so don’t skip it!
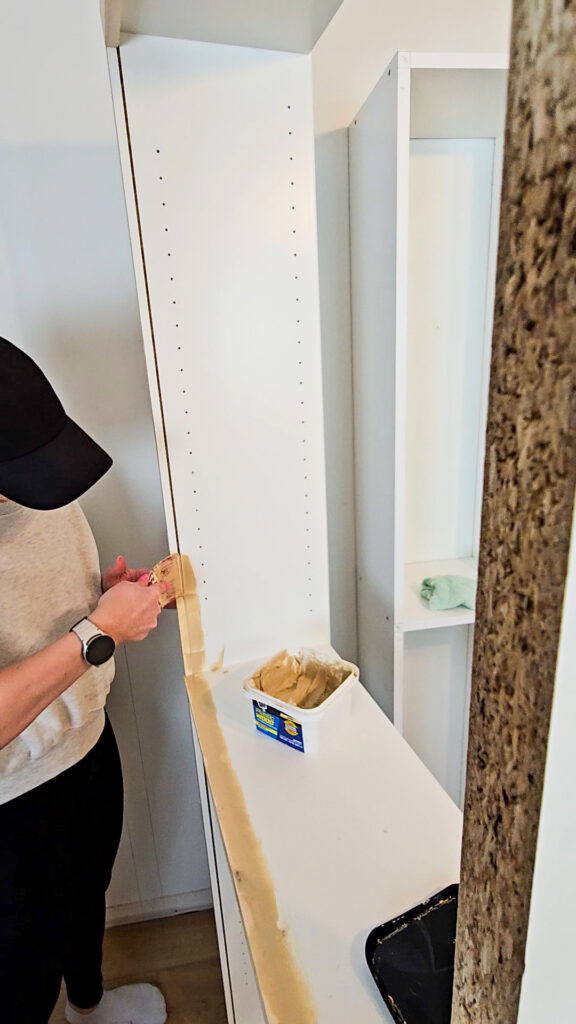
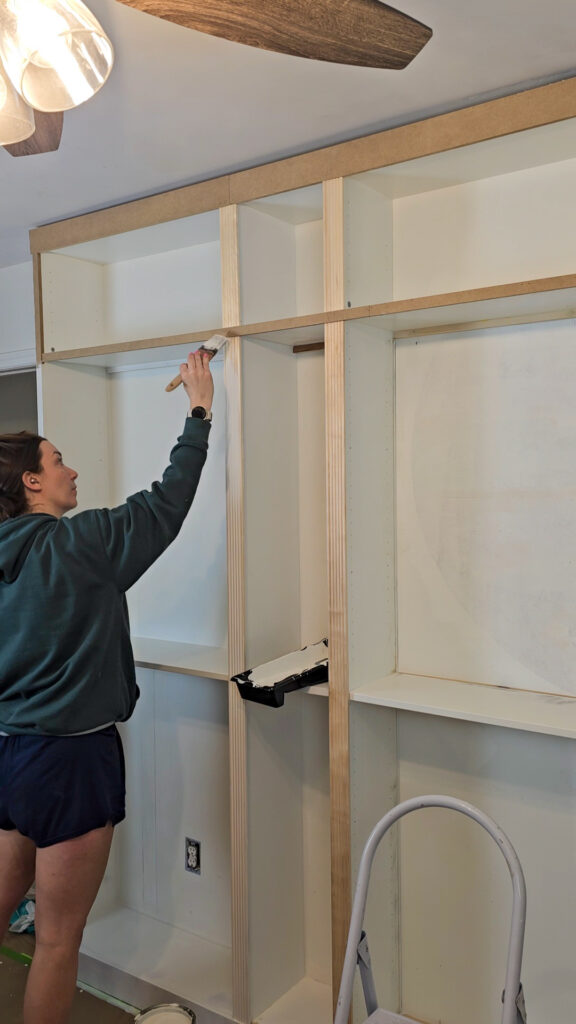
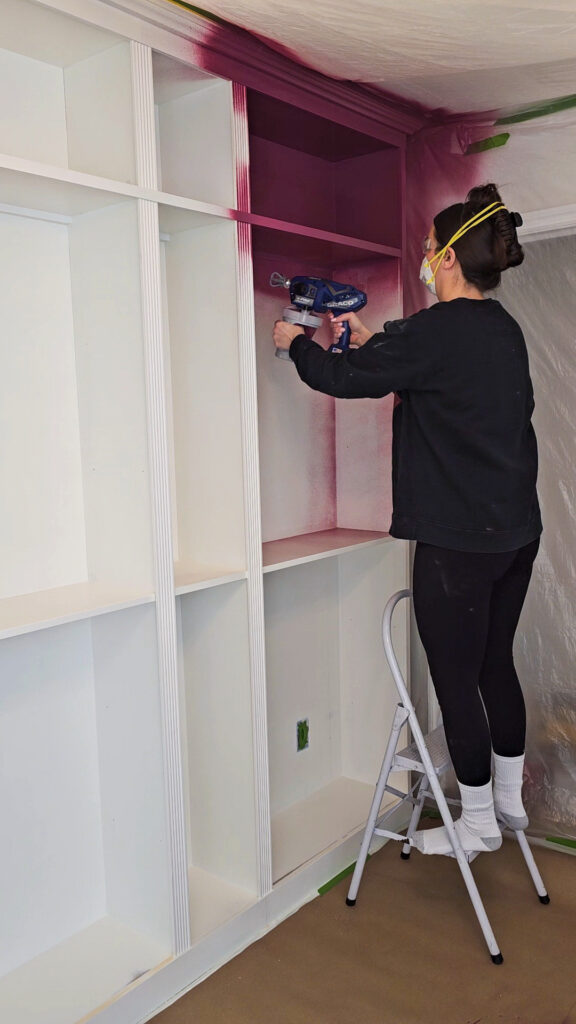
Paint Bookshelves with Primer
IKEA Bookcases can be painted, but you must take the proper steps first. After sanding all my shelves down with a 120 grit to scuff up the surface a bit using my orbital sander, I wiped them all down from dust. I use Zinsser’s Bin Shellac Primer on any “hard to paint” surfaces because it works the best. When applying this primer, I used a foam roller which makes for a smooth application. Once the first coat of primer is done, I sand with a 220 grit in-between to smooth out any imperfections. Then repeat primer and sanding one more time.
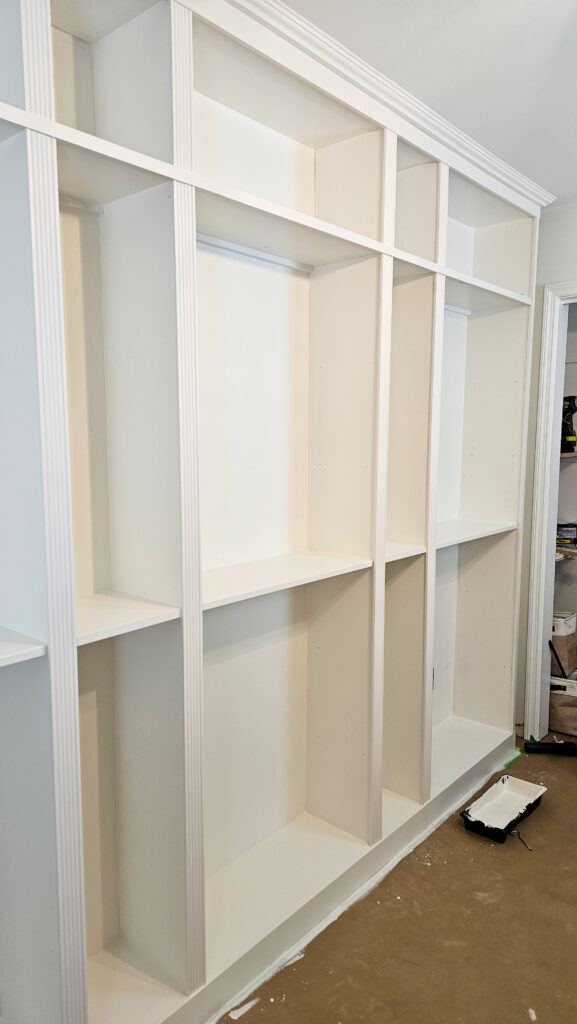
Paint Bookshelves with Paint
I used cabinet specific paint for my bookshelves. I wanted these to be extra durable so I wouldn’t have to worry about moving my books around on them and possibly chipping them.
You can achieve a smooth finish with a foam roller, but I did opt to spray these with my paint sprayer. Spraying takes a lot more prep getting everything taped off and covered, but the actual painting only takes a couple minutes.
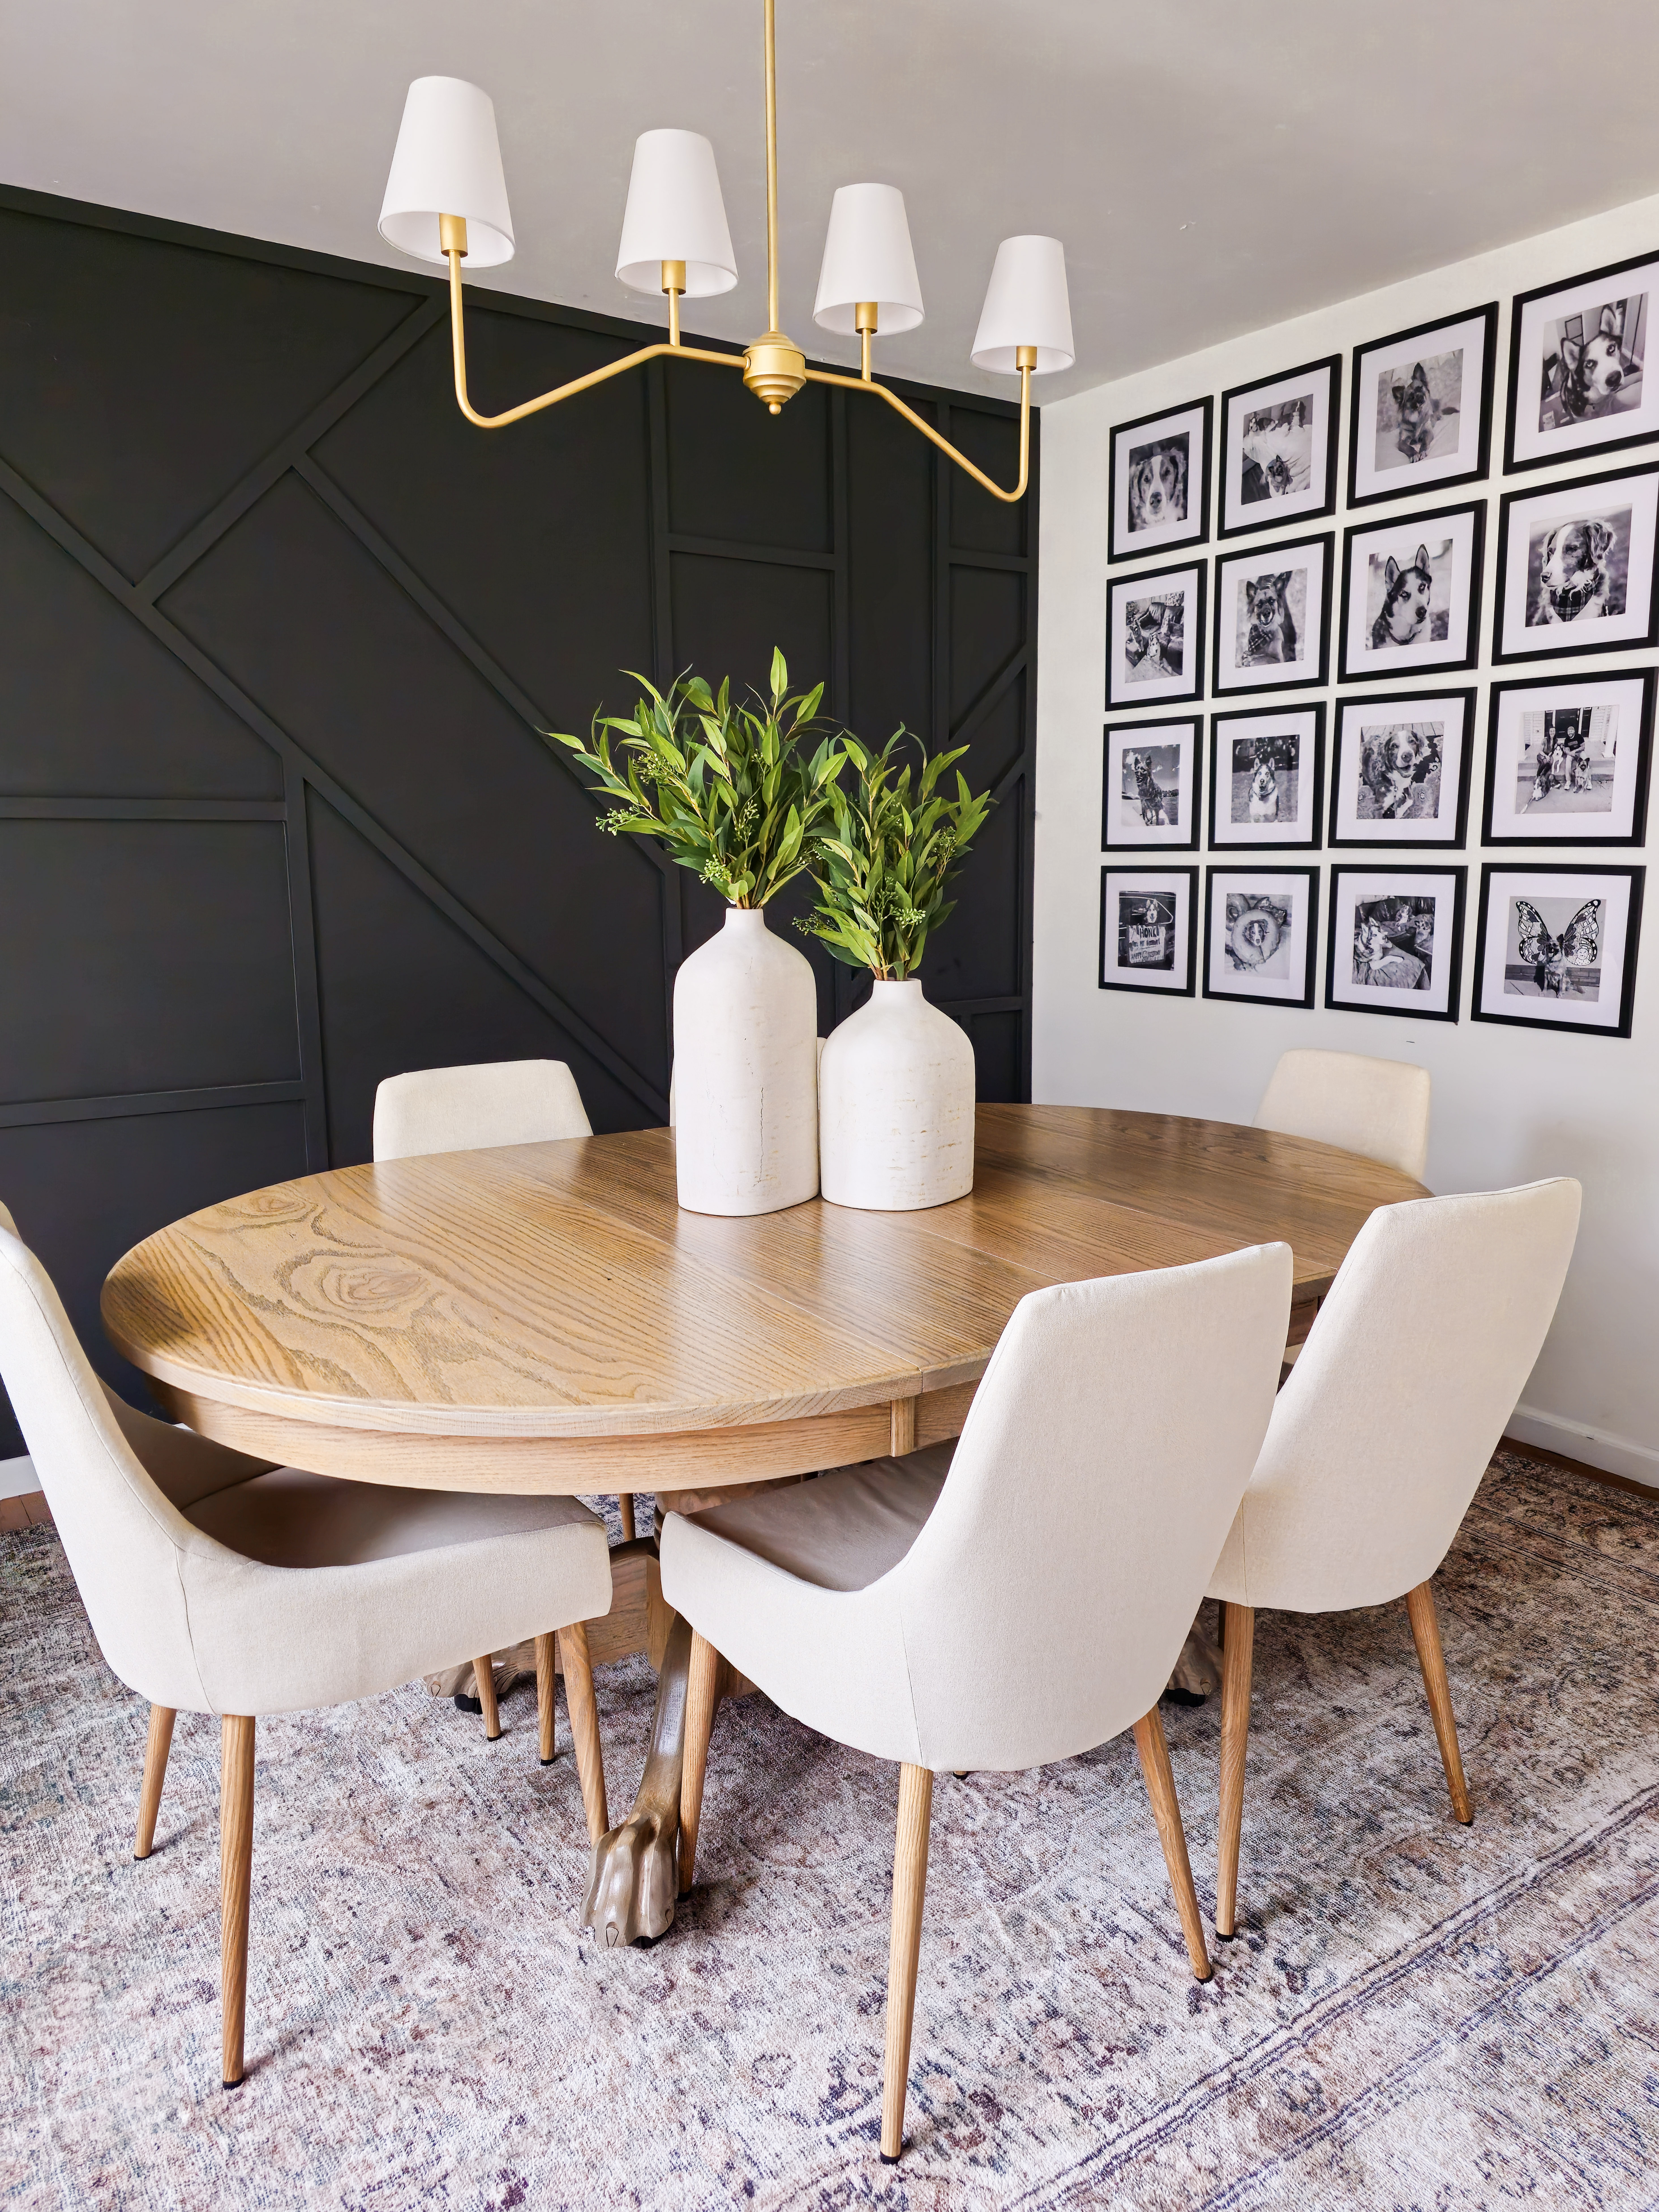
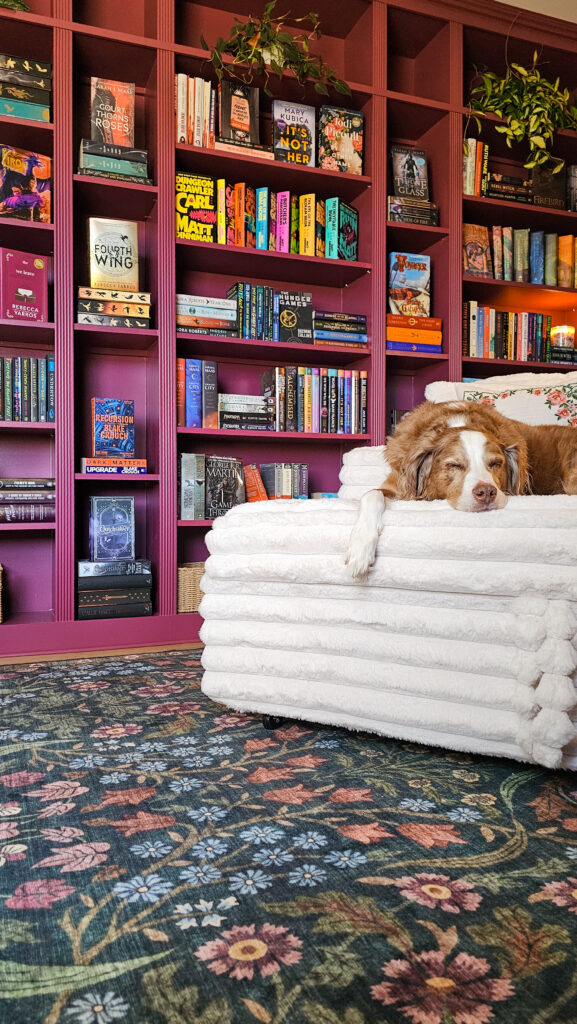
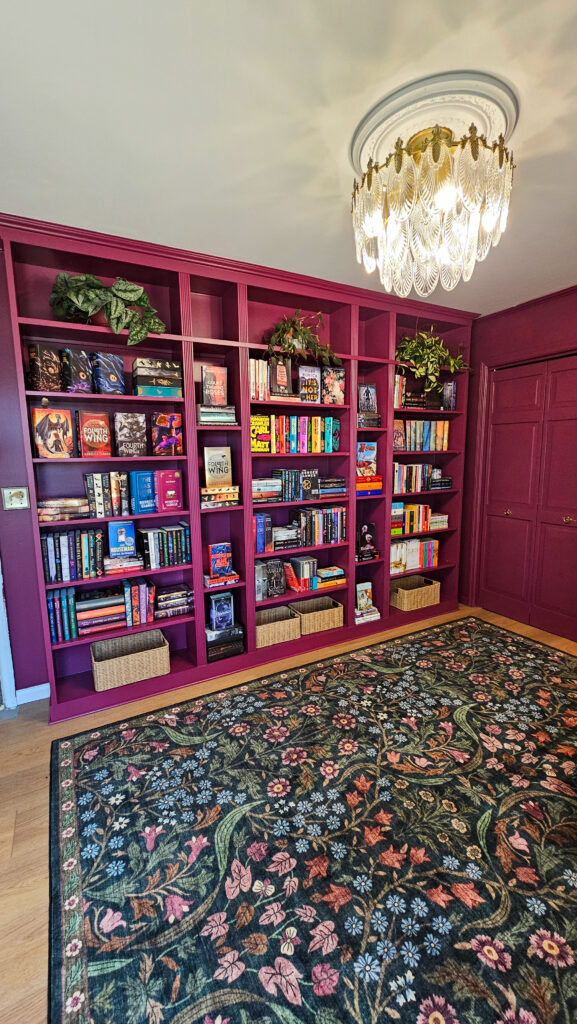
I am in love with how these library shelves turned out! My smaller middle bookcases turned out to be the perfect spot to highlight some of my favorite books I own. But now that the shelves are done, I need to go book shopping! Plus this rug and chair adds the perfect touch!
You can check out a full video on the process over on my Instagram @Cedar_Hill_Builder here!


Mar 1, 2026