")
How to Redo Your Stairs with Plank Flooring
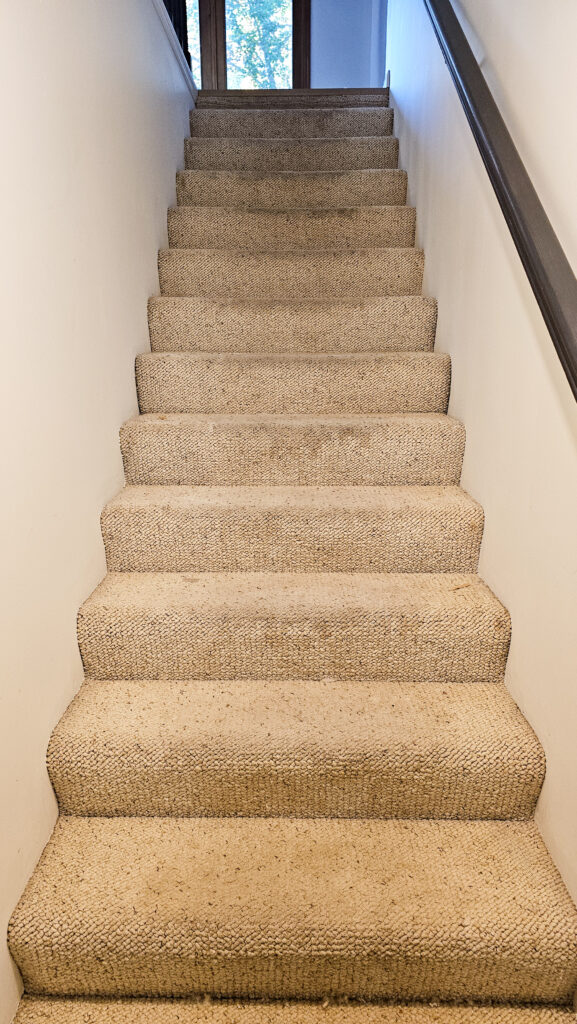
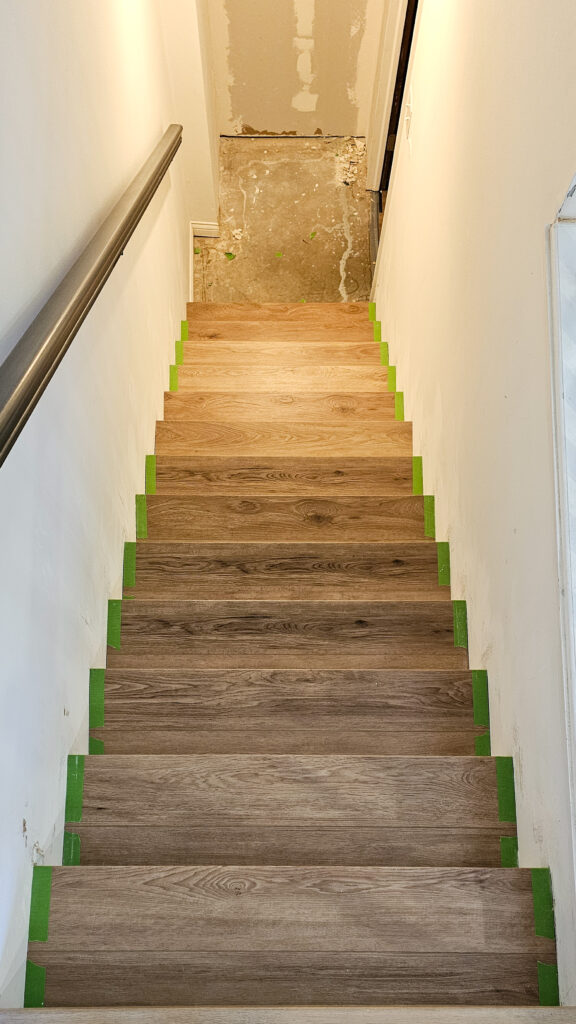
Last year I renovated our basement from top to bottom with new floors, trim, and even built a bar! But there was one sore spot still left, the stairs leading down to our basement. They were covered in carpet that was 30 years old and original to our home. No matter how much we cleaned them, they never looked clean. So, I did something I wanted to do for over 4 years and ripped it off! I then installed this beautiful plank flooring over them, and they look so good! I’ve detailed it all below along with a link to the video showing the full process over on my social media.
*I may earn a small commission on any linked items in this article*
Supplies
- Plank Flooring – Hewn Stoneform Floors in Sonoma
- Tread Template Tool
- Construction Adhesive
- Rubber Mallet
- Measuring Tape
- Risers
- 1/4″ plywood
- Paint
- If you damage your drywall (which I did!)
Step Summary
- Remove old carpet and staples
- Install stair risers
- Fill in any big gaps along edges
- Use tread template tool
- Cut nose tread and extra plank
- Install nose tread and plank
- Patch drywall
Detailed Steps
Remove Old Carpet and Staples
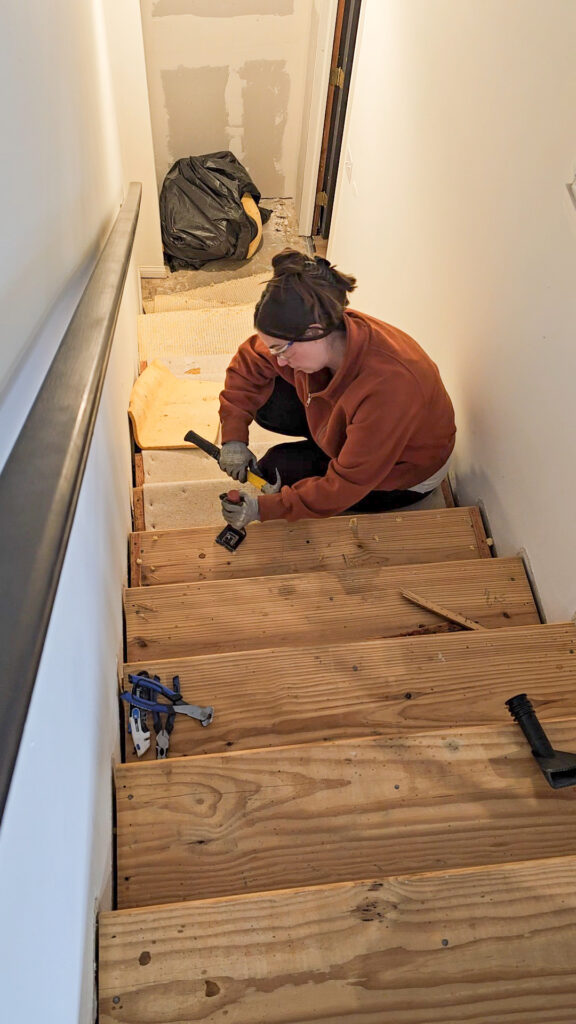
These steps that head down to our basement were covered in carpet that was original to our house. There was no saving it, so it had to go! When you are removing carpet, make sure you put on gloves and safety glasses, there is alot of dirt and dust that comes out. I would also grab a mask, which I forgot.
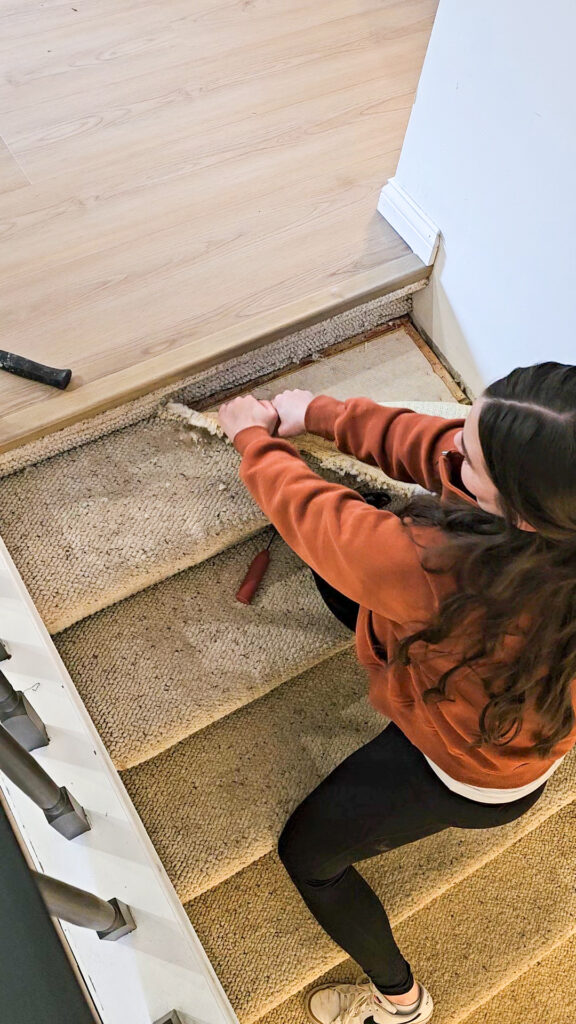
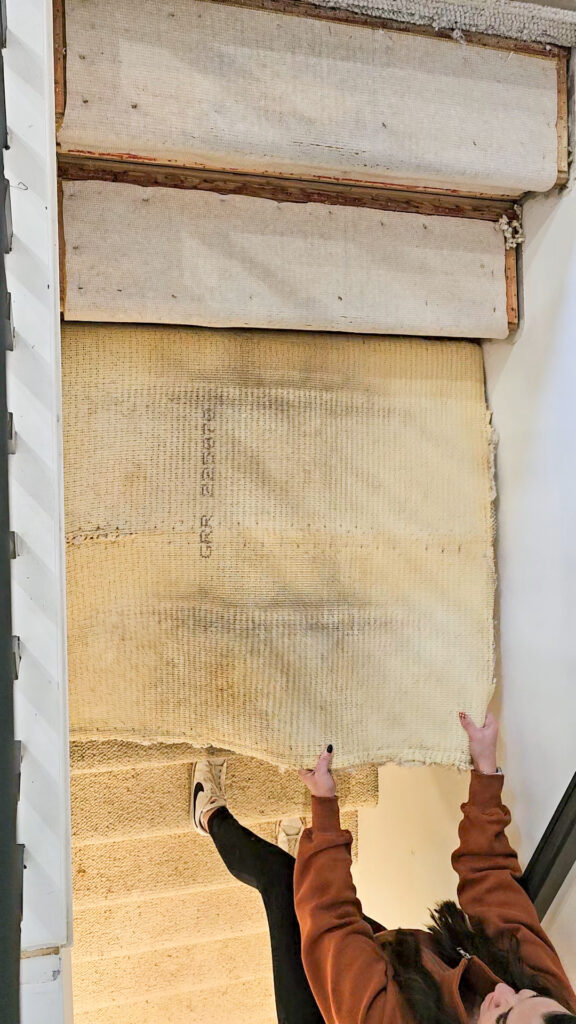
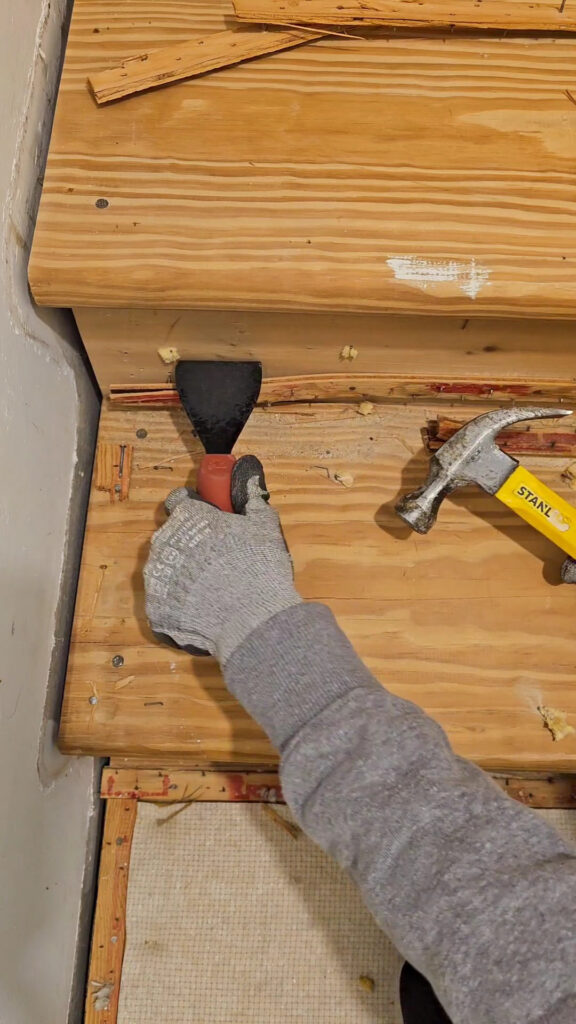
Once the carpet is off, you will need to remove the carpet grippers, which are little wood pieces with sharp tacks sticking straight up. Usually they are nailed down, but some may be glued. I used this mini trim puller and a hammer to easily pry mine up. You need to be sure to remove all nails and staples that are in your stairs, the surface needs to be completely clean and free of anything that can damage the planks.
Install Stair Risers
I had 2 options for my stairs risers, paint them white or buy extra LVP planks to cut to size. I did opt to just cover my risers with cheap plywood and paint them white. This was the cheaper option and I still think looks amazing! Plus these are basement stairs, so I wasn’t too concerned.
You don’t need to buy expensive wood, especially if you are painting it. If you are staining it, then you would want to get higher quality wood. I purchased a sheet of 1/4″ plywood in 4×8. I used my table saw to rip it down to the sizes I needed. If you don’t have a table saw, you can go to Lowe’s or Home Depot and they can make the cuts for you! Just remember that each step is probably a different size by a little bit, so you may have small gaps you need to fill in. I labeled all my stair risers so I knew which step they belonged to.
Once the plywood was cut and I made sure each one fit, I sanded it down smooth. This won’t get rid of all the wood texture, so if you want it completely smooth, I would grab a container of wood filler and you can make some in a cup with water. Once it’s waterier, you can easily spread it across your whole piece of wood to fill in any and all grain. I sanded all that down once it was dried. Finally, I added in primer and then used trim specific paint to make sure its durable!
Fill in Any Big Gaps Along Edges
If the existing treads under your carpet don’t go all the way to the wall, you may need to fill in those gaps. Fortunately none of my gaps were big enough to be filled, but if you did need to you can use a can of expanding foam.
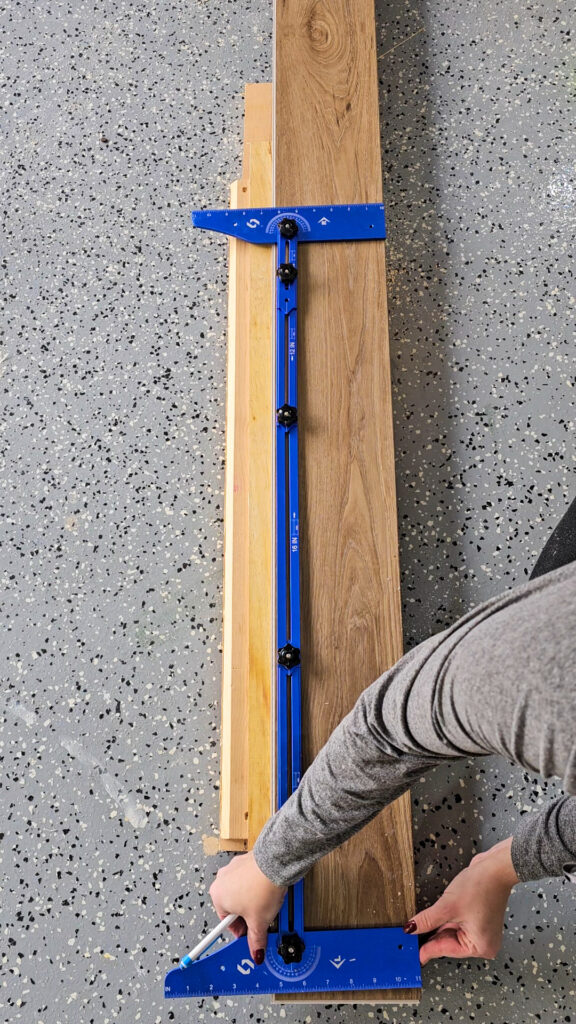
Use Tread Template Tool
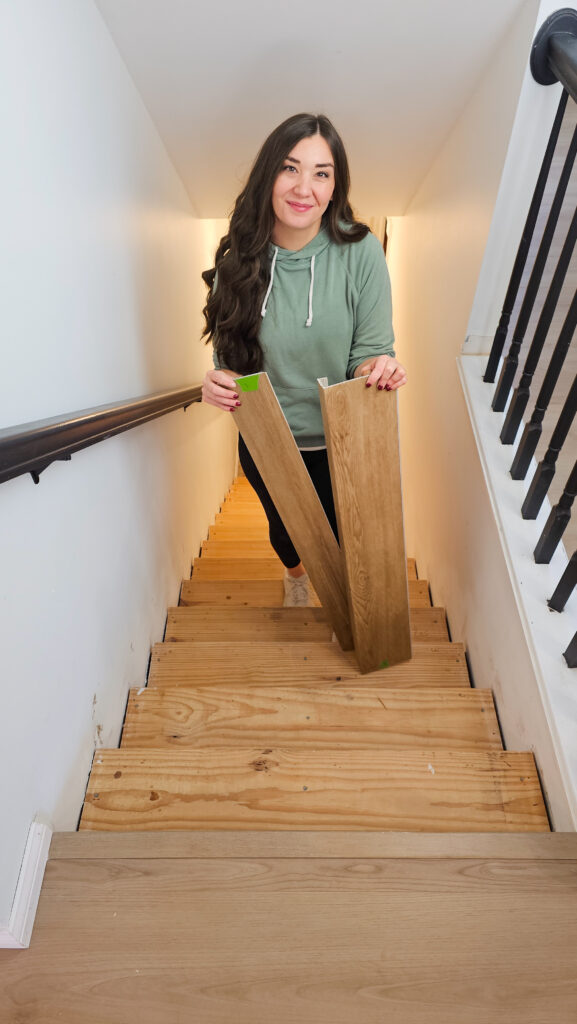
Now comes the time to start making your cuts! This is the part of the process that made me the most nervous. This flooring is beautiful, and this isn’t an extremely difficult project, but one wrong miscut could be costly. So, if there is any step you be sure to measure 2x and cut once… it’s this one!
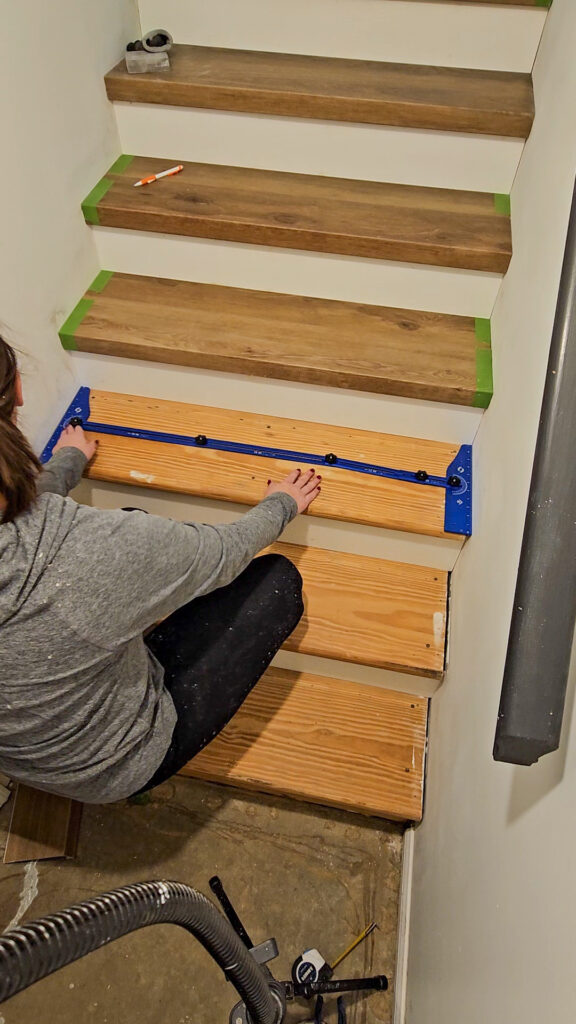
Like I mentioned above, no 2 stairs are the same size. The easiest way to know your cuts is to invest in a Tread Template Tool. This was worth the extra $40 to ensure I didn’t waste any flooring. You just push the template all the way out and lock it into place. Then you can use the template tool to trace out your cut onto your treads. I just laid my template onto each nose tread first, marked my line with a pencil, and then added painters’ tape along the line to prevent any tear out on my saw blade.

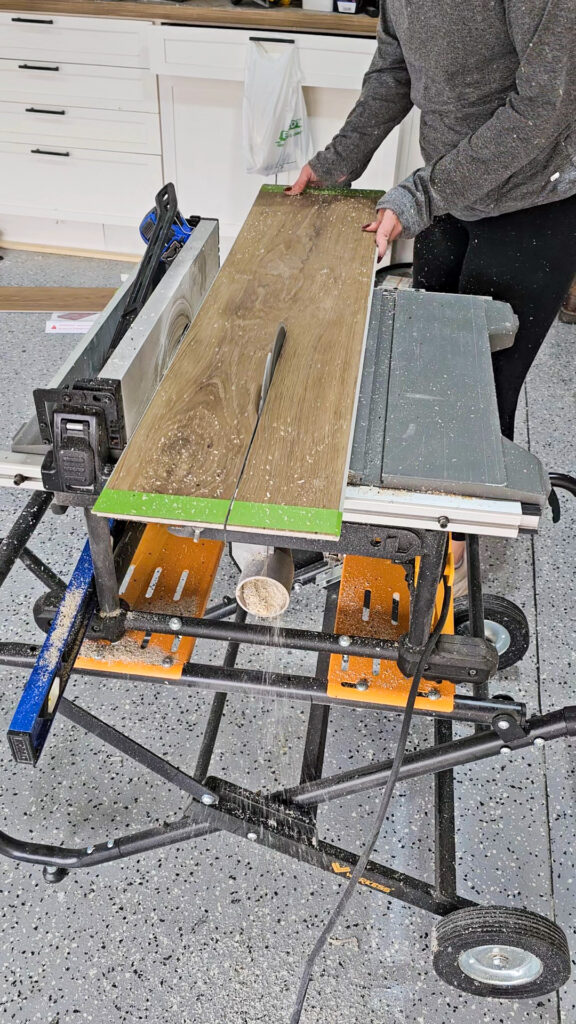
Cut Nose Tread and Extra Planking
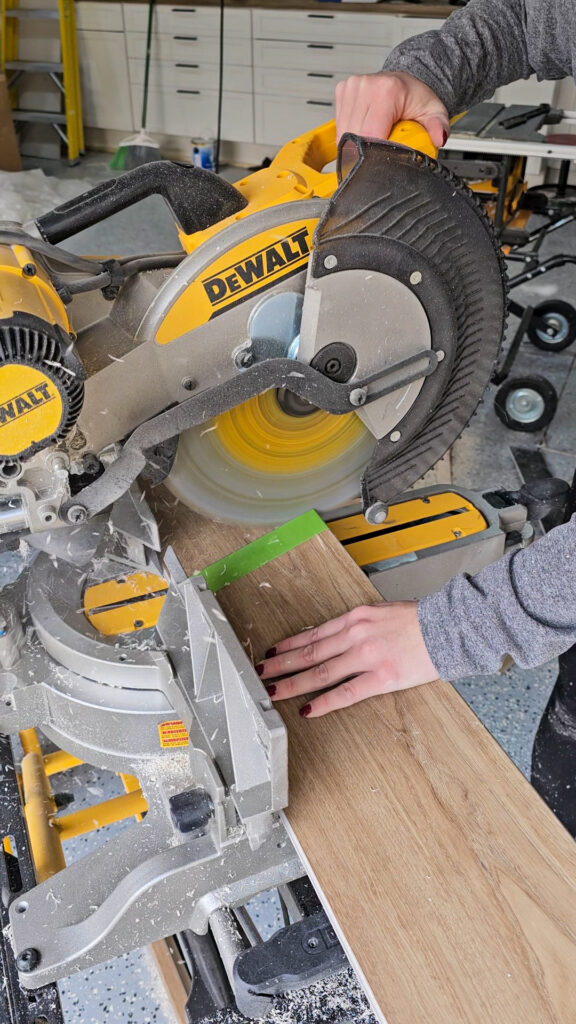
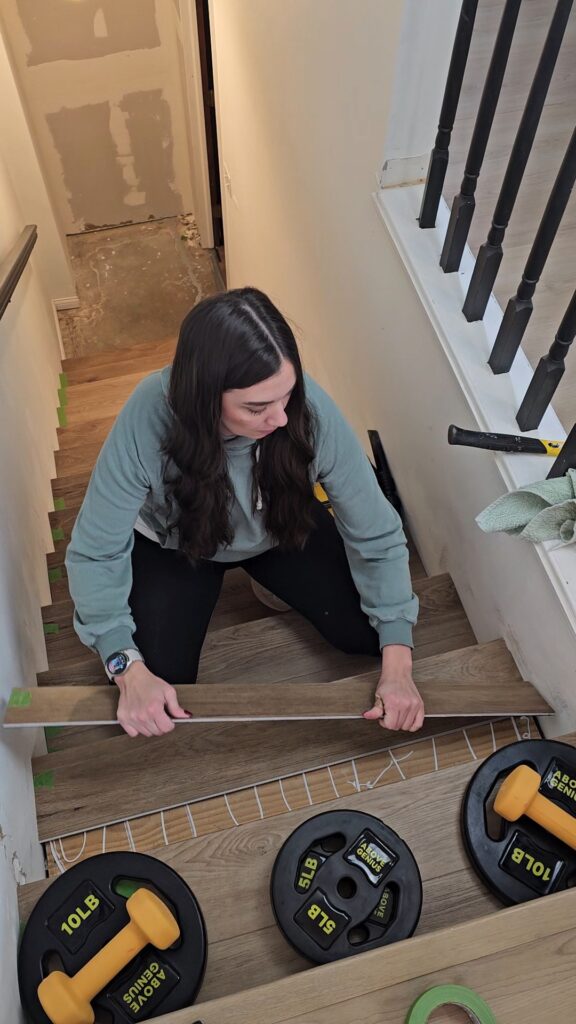
It’s time to cut! I just used my miter saw to easily make these cuts. Some of the treads weren’t exactly 90-degree angles, so I used my jigsaw to make any small additional cuts that may be needed. Once I made the cut, I made sure each nose tread fit onto each step. With this flooring specifically, I had to make sure the nose tread sit all the way flush with the original tread and there were no gaps. This was important to make sure it was stable and secure.
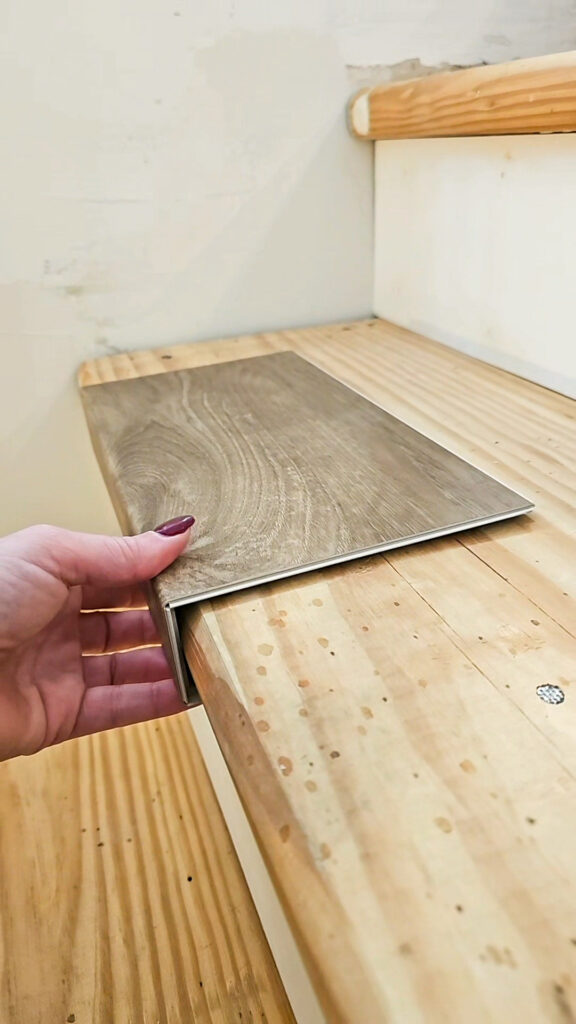
Once the nose tread piece was cut and a perfect fit, it was time to fill in the rest of the step with just a normal LVP plank. Every brand will be different, so be sure to do you research! With this flooring, the nose tread and the regular flat tread click and lock into each other. I cut the flat tread to fit perfectly between the nose tread and the riser.
I don’t like to lie about timelines, so just to be transparent, this was most time-consuming piece of this project. Each step has to be individually measured and cut.
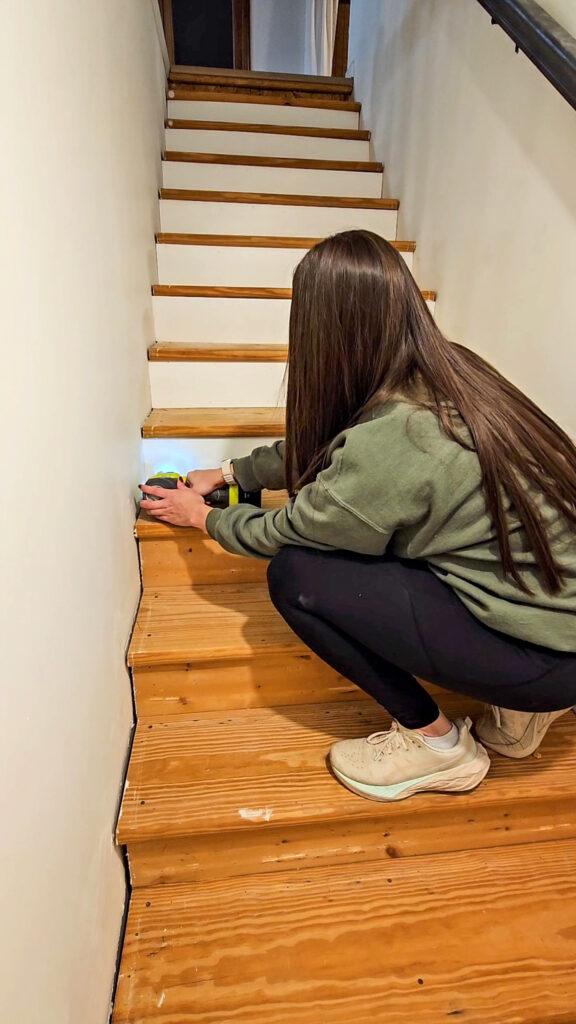
Install Nose Tread and Planking
Now comes the most exciting piece, it’s time to install! Normally you don’t glue down click and lock plank flooring, but when installing it on the stairs, you will most likely need to glue it down. Again, it is different with other brands, so be sure to read your brands specific instructions.

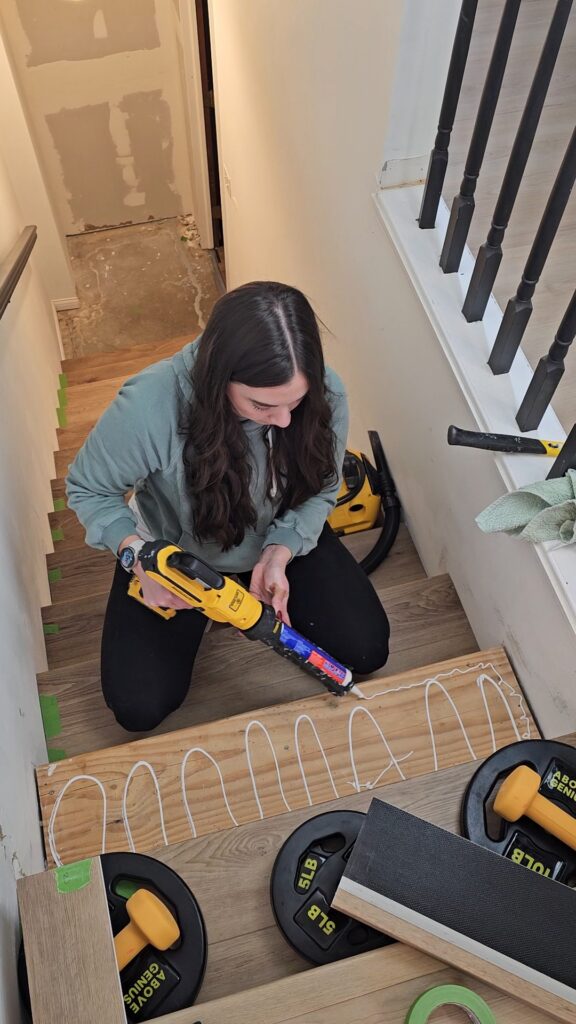
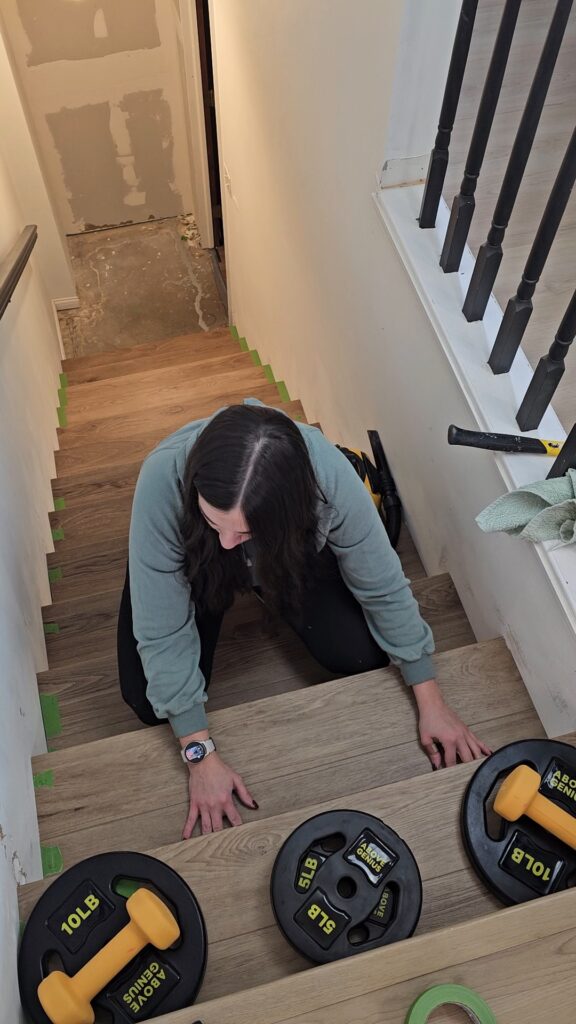
I just used construction adhesive and laid my planks into place. You can use a rubber mallet to ensure its nice and tight into place. Once the glue was applied, I laid heavy objects on each step to make sure it had time to dry.
Patch Drywall
When I dry fitted some treads, I had some drywall damage. I used drywall patch compound and a sanding block to get a smooth finish. If you have any gaps along your planks to the walls or treads, you can use caulk to fill them in. They even made this cool color match caulk you can buy instead of just white.
Final Results
Below you can see how bad this carpet was before and the final after look! I love how they turned out! I truly think anyone can do this project with just a little time and patience. This stair remodel took me a couple of weekends to get finished up, but in the end, it was absolutely worth it!

Here is another look at the stairs from above before I finished touching up the drywall damage.
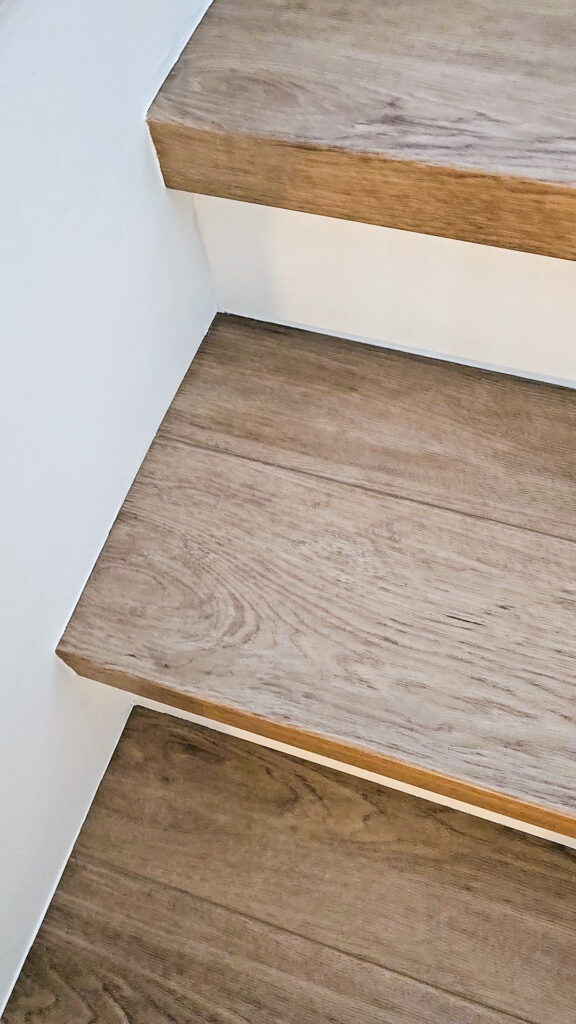
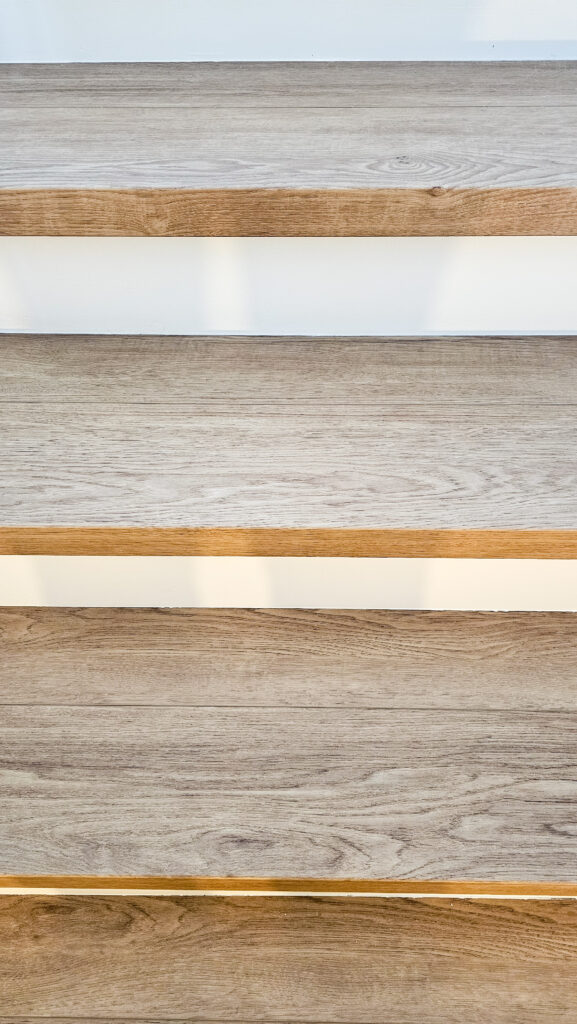
Close up shots of the flooring
Dec 2, 2025