


")
How to Make a Magical Ceiling
I saw this ceiling all over the internet and had to give it a try! This Harry Potter inspired magical ceiling was so easy to do and turned out so fun! I grew up watching Harry Potter and reading all the books at the midnight releases, so I knew I had to try out this fun ceiling. This could either be a fun design for a bedroom or Halloween decor, even Christmas! I broke it all down below and a cost breakdown at the end!
Supplies
Step Summary
- Hang lights on ceiling
- Add polyfil to the sheet
- Pin sheets onto ceiling
- Hang floating candles
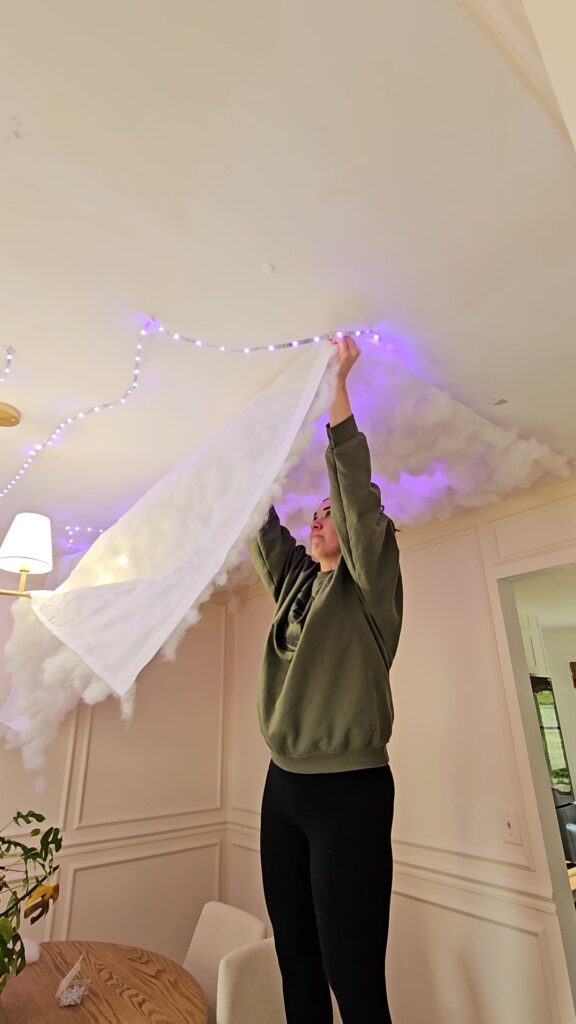
Hang lights on the ceiling
I have seen people do this by attaching the lights to the back of sheet, but I opted to go ahead add them directly to my ceiling. I just used sticky dots to hold it up. Your sheet will end up holding it up if it falls down, so I wasn’t too worried about this holding up long term. I did get lights that connect to an app that had lots of settings. Then I could easily pick which light display I wanted to use that day.

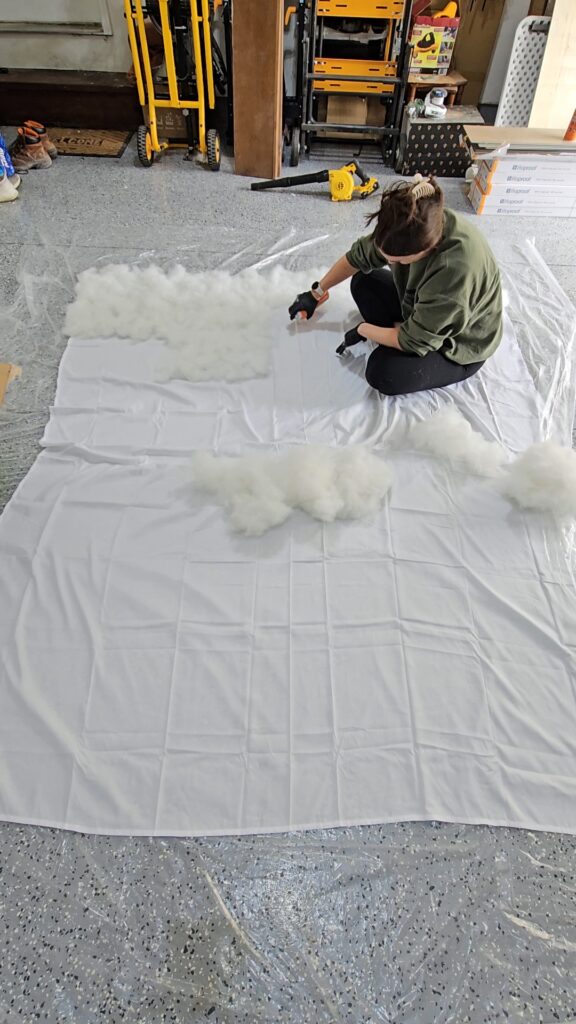
Add Poly-Fil stuffing to sheet
I used plain white flat sheets, but you could just get plain white material and probably save some money! I just grabbed a can of this Gorilla Glue Spray Adhesive to attach the poly-fill to the sheet. I worked in small sections and spread out the poly-fill to cover the blank spaces. The spray adhesive gets all over your hands, so be sure to wear gloves or you’ll be scrubbing your hands for an hour afterwards!

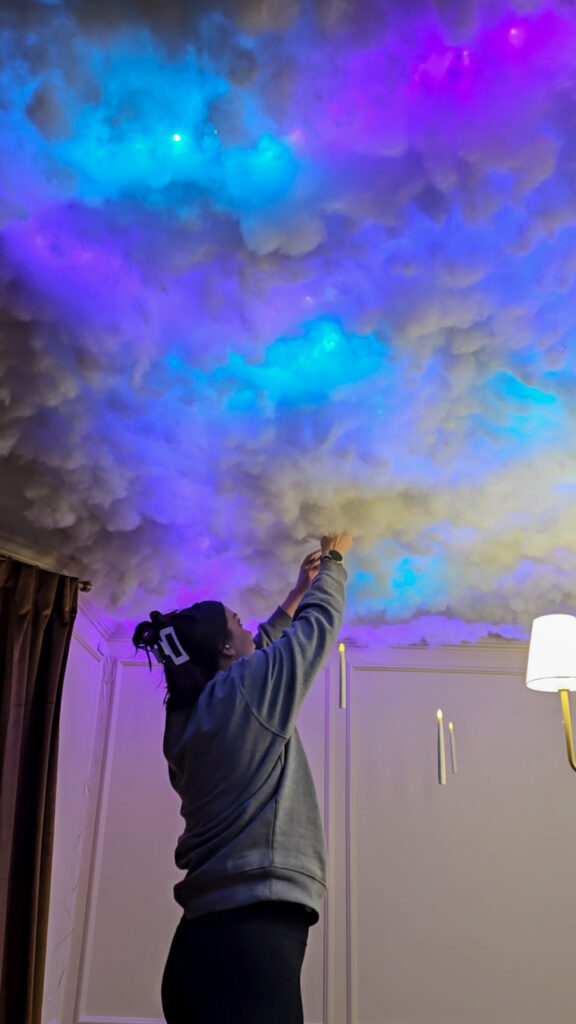
Pin sheet onto ceiling
After your glue has fully dried, you will hang you sheet onto the ceiling. I used these clear push pins to attach it to the ceiling. This will only leave small holes behind. Be sure you DON’T poke through your strip lights. I left mine on so I could see them while I hung up my sheets.

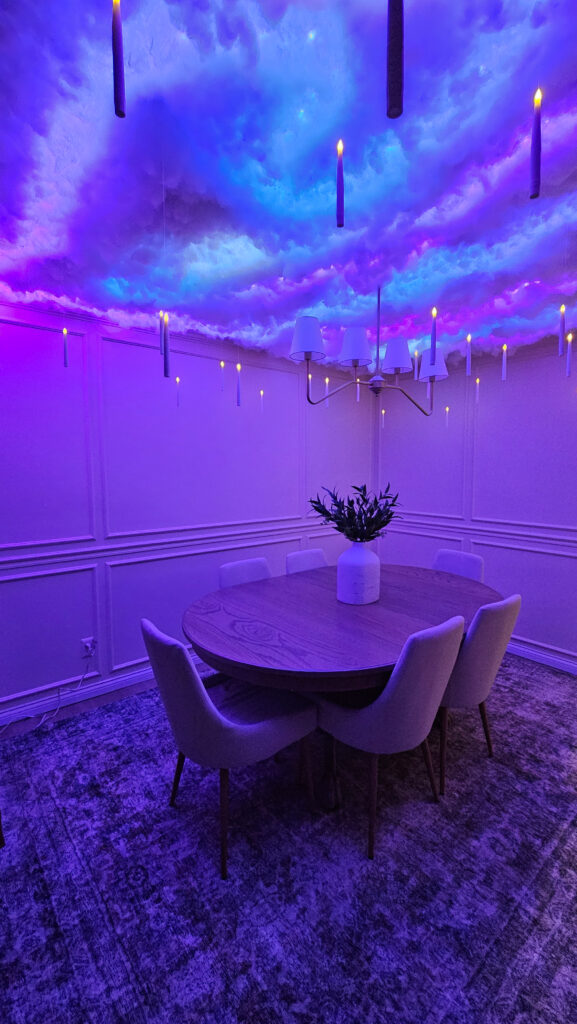
Hang floating candles
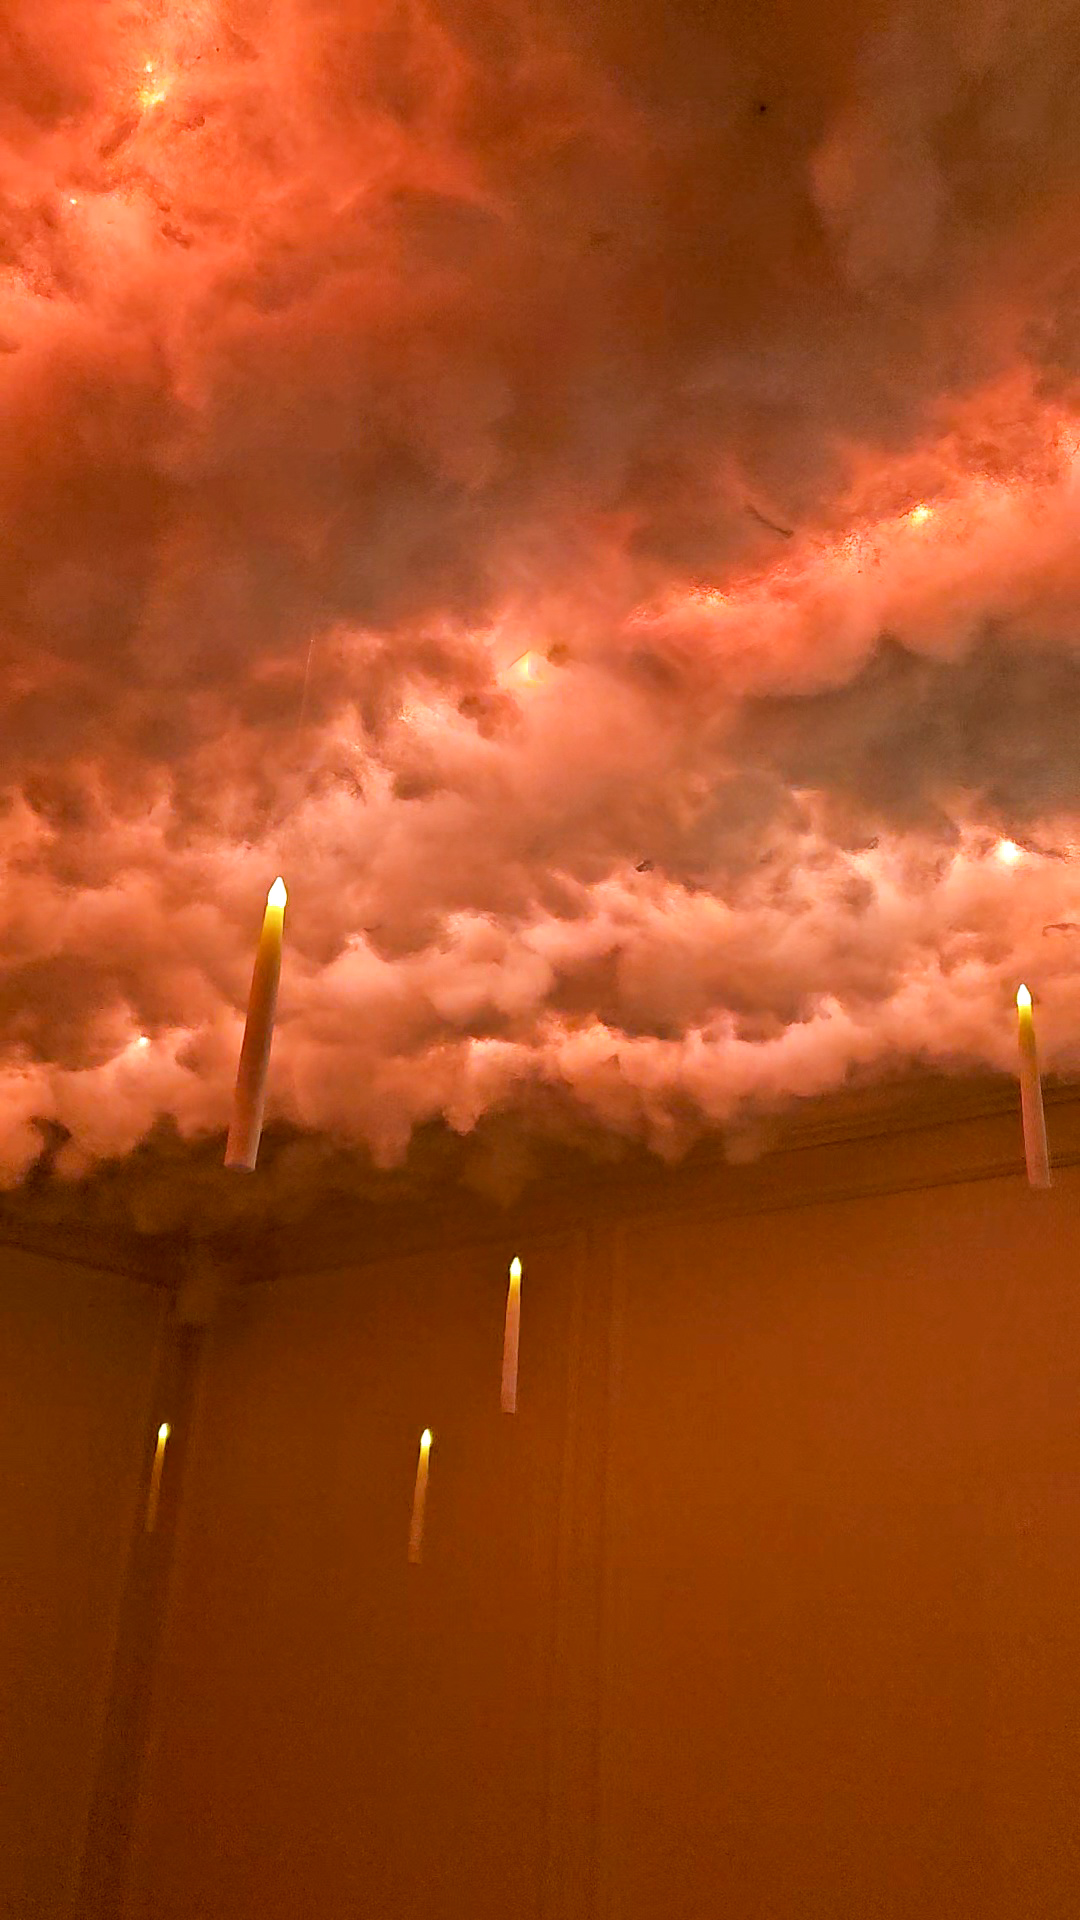
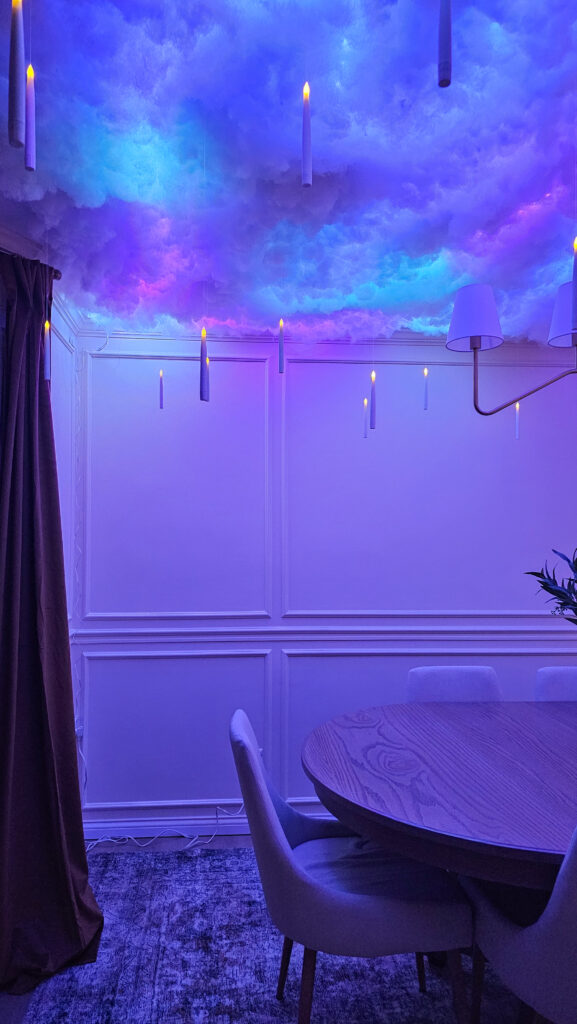
The final step is adding in however many floating candles as you’d like! I grabbed these off Amazon, and they just hang by fishing wire. I used the same clear pins to add them all over my ceiling with various heights. The best part about these lights is the remote control is a wand. It adds that little extra bit of magic!
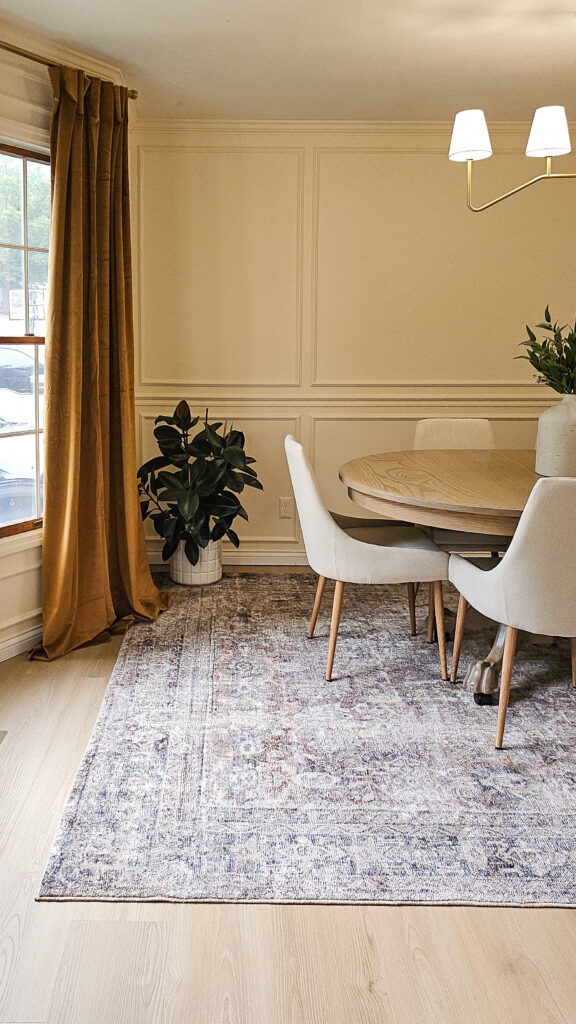
My dining room went from everyday to magical in just one weekend! I would recommend this project to anyone who wants to add a little magic into your home. I feel like I’m dining in the Great Hall at Hogwarts!

Cost Breakdown
I think it’s important to note the size of my space as well, my dining room is about 12×14 feet. My sheet didn’t cover all the way into my bay window, but it did cover majority of the ceiling
- Strip Lights – $69 – I opted for this larger roll and wish I had honestly gotten more!
- White Flat Sheet – I spent $35 on sheets
- Clear Push Pins – $5
- Poly-fil Stuffing – $55 – I bought way too much (12 lbs). I only used about half the stuffing
- Spray Adhesive – $10 per can (x4 cans) – this didn’t last as long as I thought it would – $40
- Floating Candles – $25 per box (x2 boxes) – I already had one set I’ve used for 3 years, but decided to add a second box for even more magic!
- Total Cost: $250 – I could have saved money by finding cheaper lights and buying less filling! You could easily do this project for around $150

Oct 28, 2025