


")
Secret Hidden Nook with Book Lever
When I decided to build my own home office built-ins, I knew I wanted to add in some hidden storage! I couldn’t find any articles on the process, so I made my own up and I’m breaking it down for your below! This was actually very simple, and anyone can add this fun secret hidden nook to your home with a book latch!

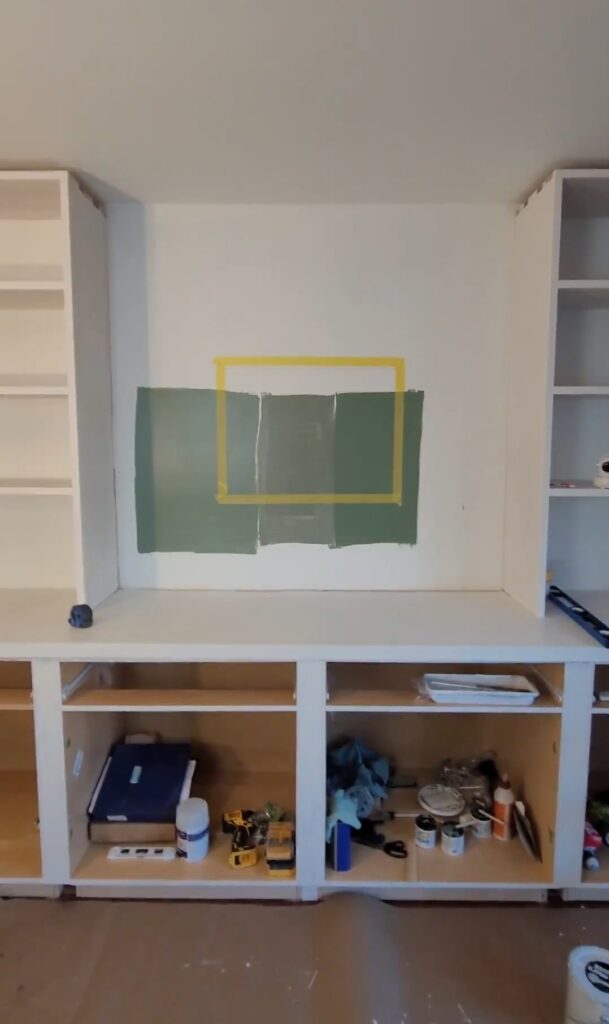
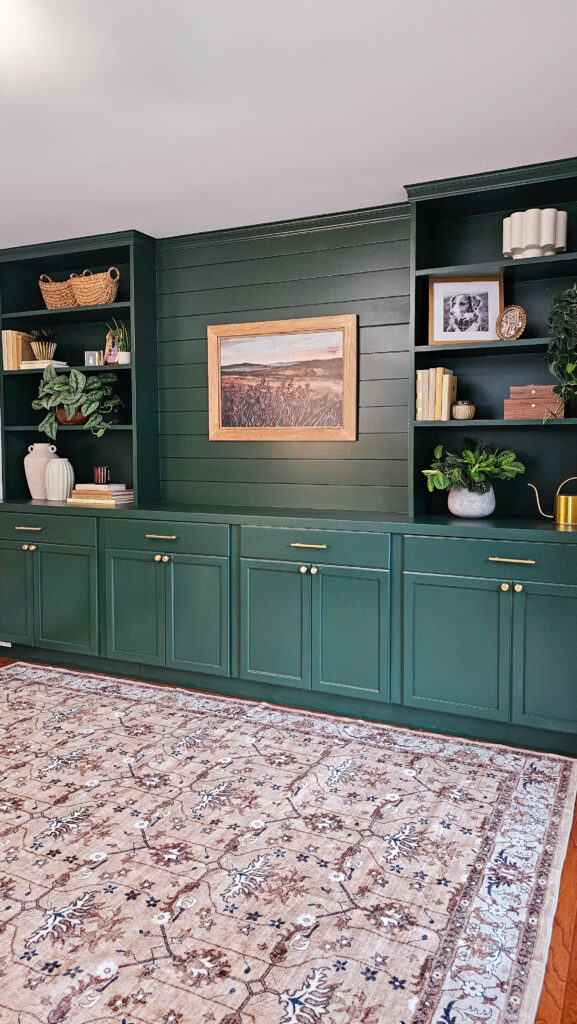
Note: I repainted these built-ins after 2 years so you will see a mix of light blue and dark green in pictures, but it is the same space!
*I may earn a small commission on any linked items in this article*
Supplies
- 2x6x8 Boards
- 3″ Screws
- Book
- Wood Block
- Construction Adhesive
- Gate Latch
- Utility Hinge
- Loop Hook
- Wire or String
- Artwork with Wood Frame
- Power Drill
- Cabinet Door Hinges
Step Summary
- Build frame
- Frame out hidden nook
- Drill hole for wire
- Add in gate latch
- Make book lever
- Create framed artwork
- Install artwork
- Cover up your hidden nook
- Find something fun to hide in your hidden nook!
Step Details
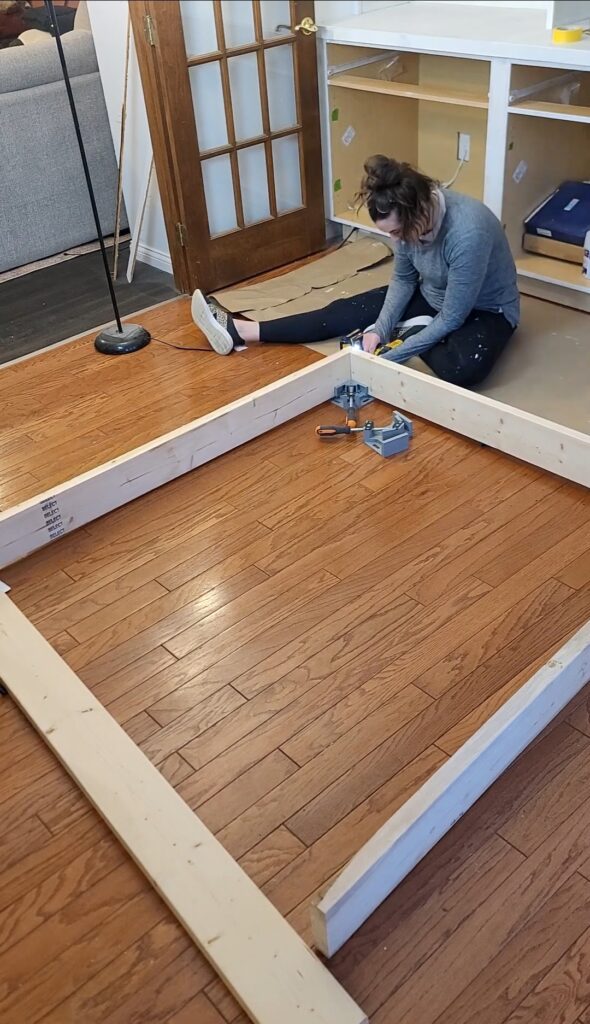
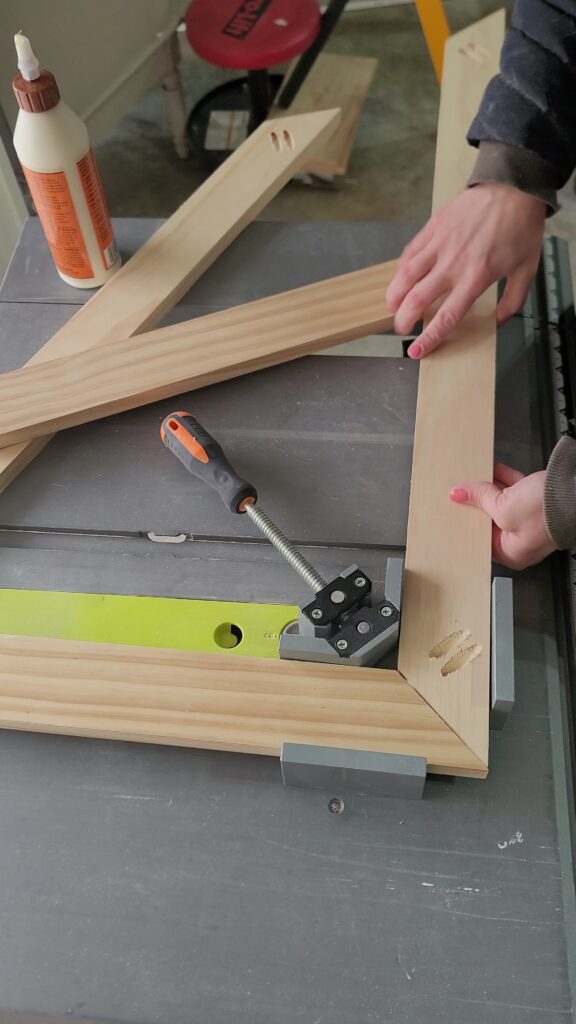
Build your framework
First you need to determine how deep you want your nook to be. I didn’t want mine super deep, so I used 2×6 boards to create my framing. If you want your nook deeper, than you would want to use wider boards. I am building my nook in-between my two bookshelves in my office, so I needed my framework to fit perfectly in-between them. The size of your framing will vary depending on the size of your space.
For reference, my framing is 60″ wide and 62″ tall.
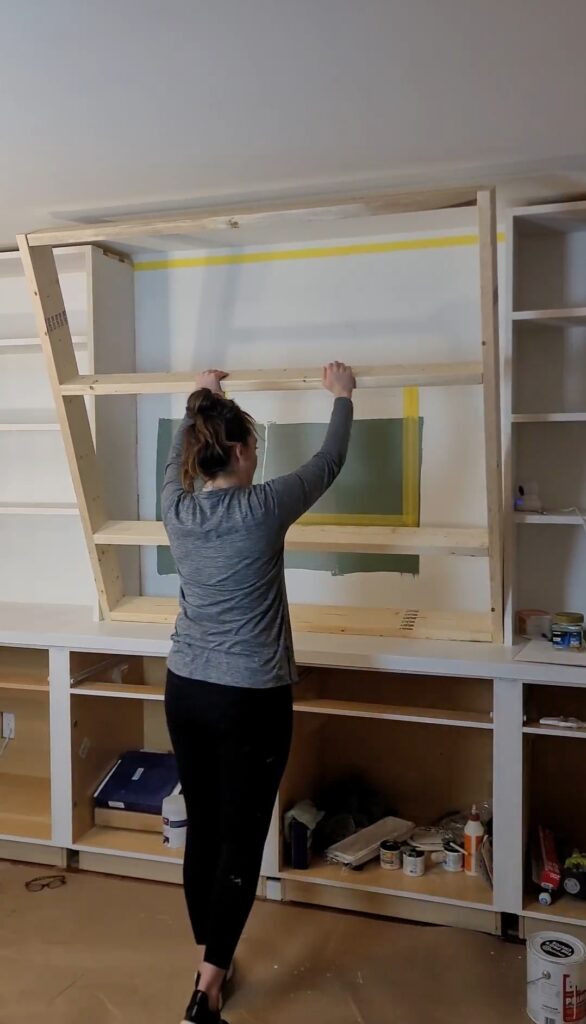
After getting the framing built on the floor, I installed it in-between my 2 bookshelves. I did use pocket holes to attach this to the studs behind my wall. This is very important, so your framing is attached to studs and not just sitting on your shelf or cabinets.
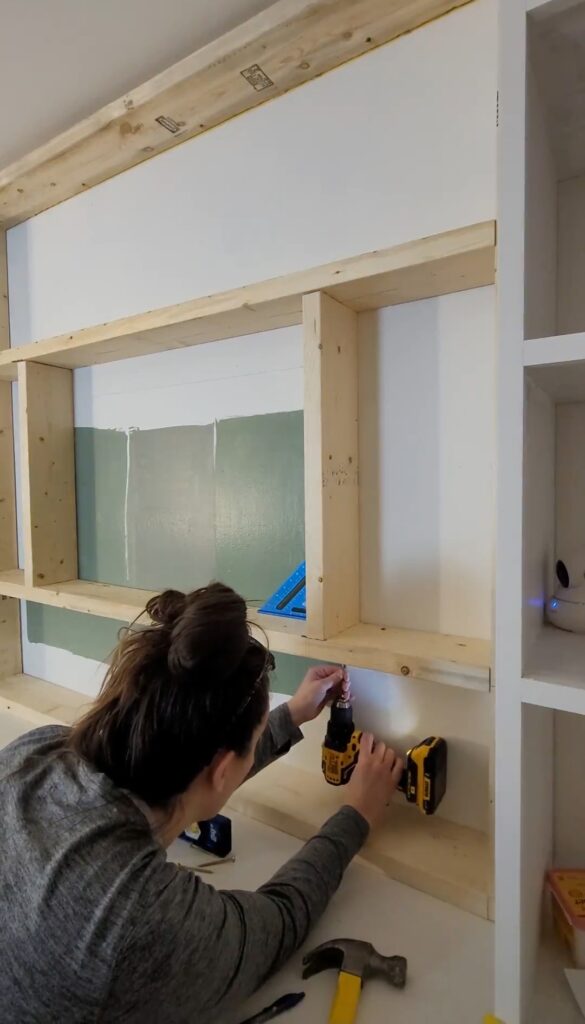
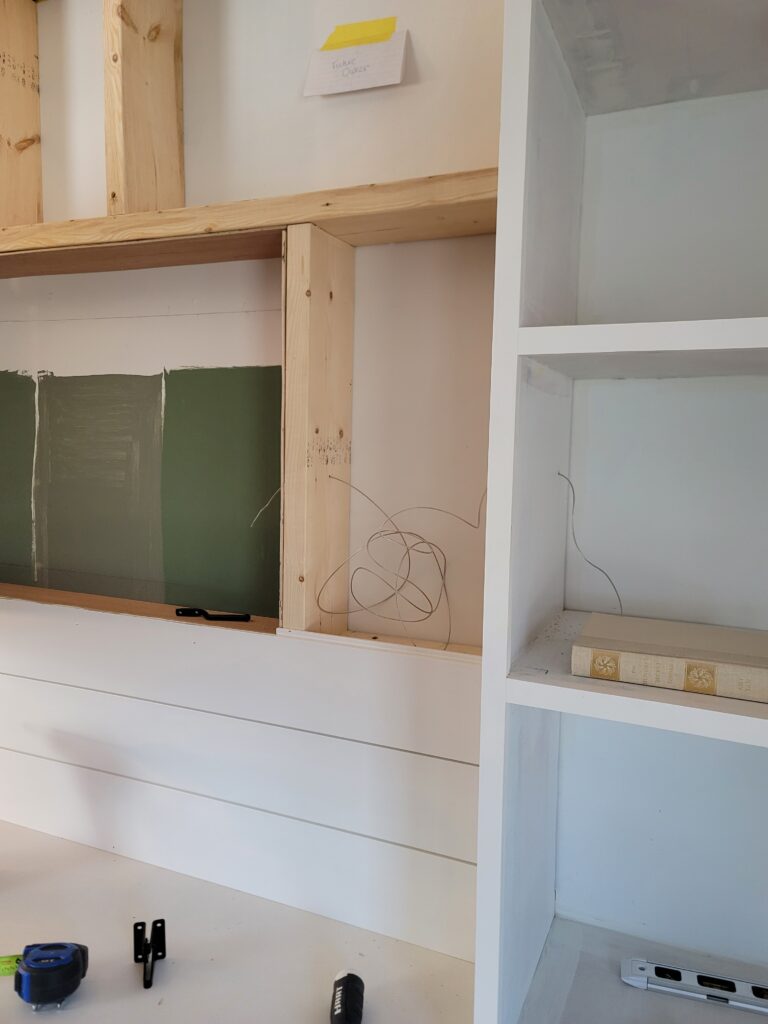
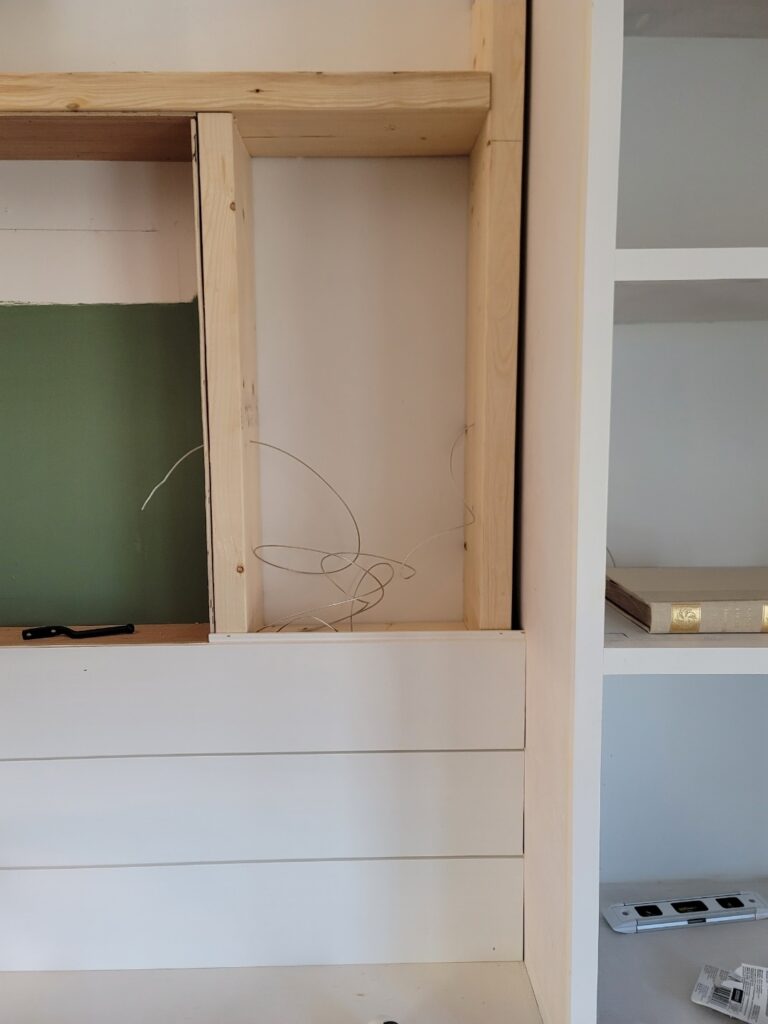
Frame out your nook
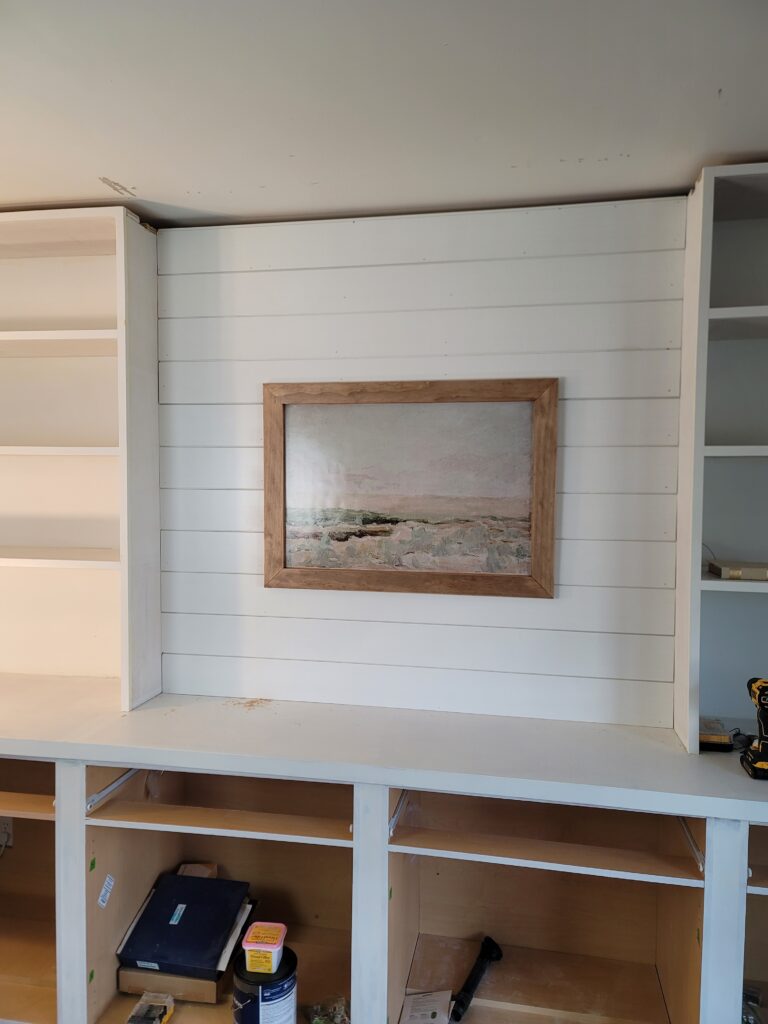
Once the outside framing was installed it was time to frame out the nook itself within this framing. The artwork I decided to add to cover my nook is a 20″x30″ picture, so my nook needed to be small enough to be covered by the artwork. I added in extra bracing to ensure everything would stay in place. Don’t worry how the framing looks, because you will be covering this up.

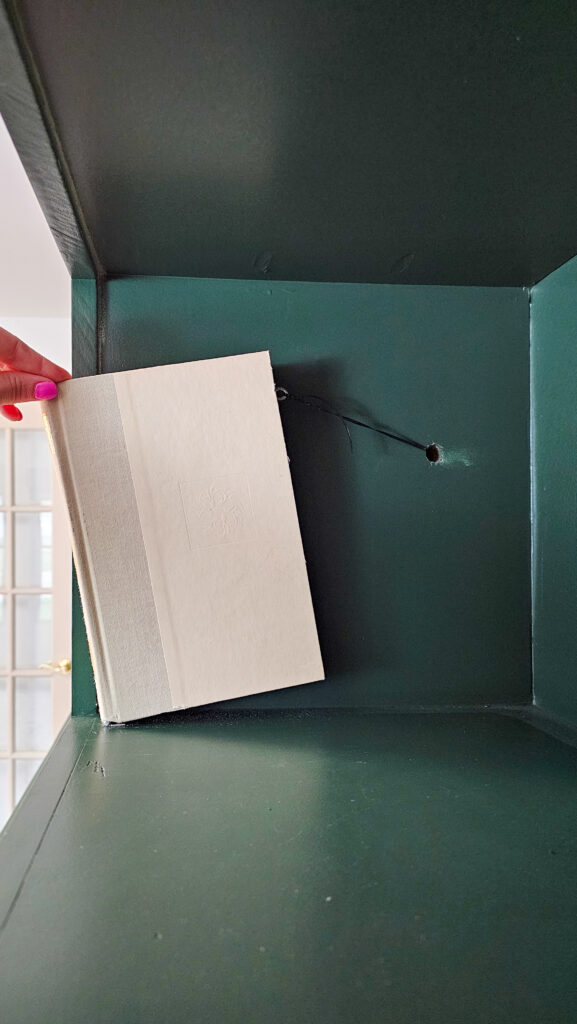
Drill hole for your wire
Now it’s time to drill a hole for your wire. Your wire will need to run from behind your artwork, through your framing, and into the bookshelf back where your book lever will be sitting. You need to do this before your framing is all covered up, otherwise it will be hard to run a wire without being able to see everything. I initially used coated wire, but it was too thick. I ended up finding some really light plastic lace string that allows my latch to go up and down easily. Fishing wire could also be used.
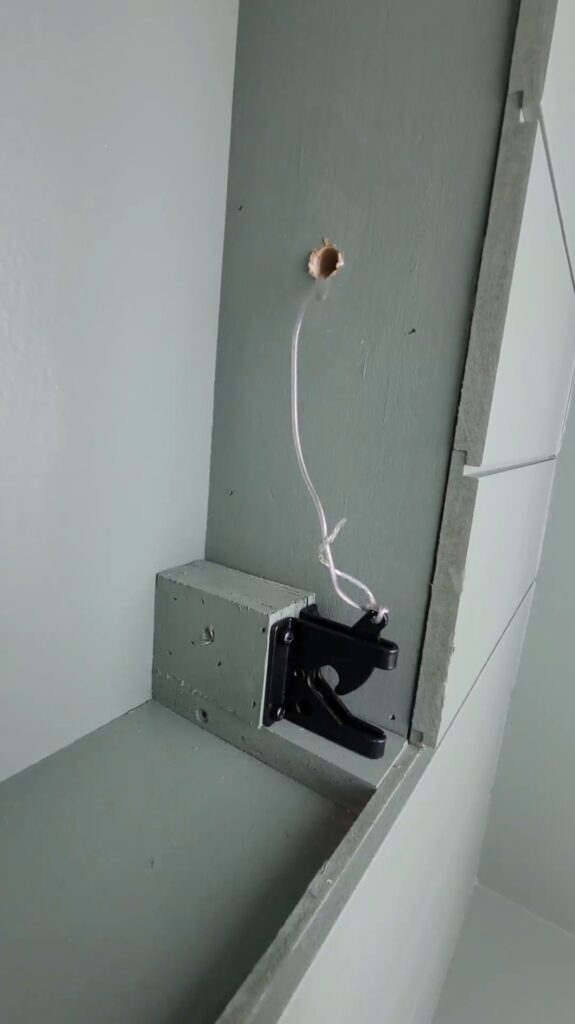
Add in the gate latch
The next step is to add in your latch. Once again, I couldn’t find many articles or blogs on how to build this, so I picked up a gate latch for my artwork. This wasn’t the simplest installation and there are probably easier solutions out there, but this worked great for me! The problem with a gate latch is I had to add a block within my nook for the back of the latch to it out enough to meet my artwork. And then on the back of my artwork, I had to also bump on the latch itself so it would reach the gate latch. This did take me some trial and error to get the dimensions right, but once I did it worked AMAZING!
Once you have your latch where you need it, make sure to tie your wire to the latch itself.
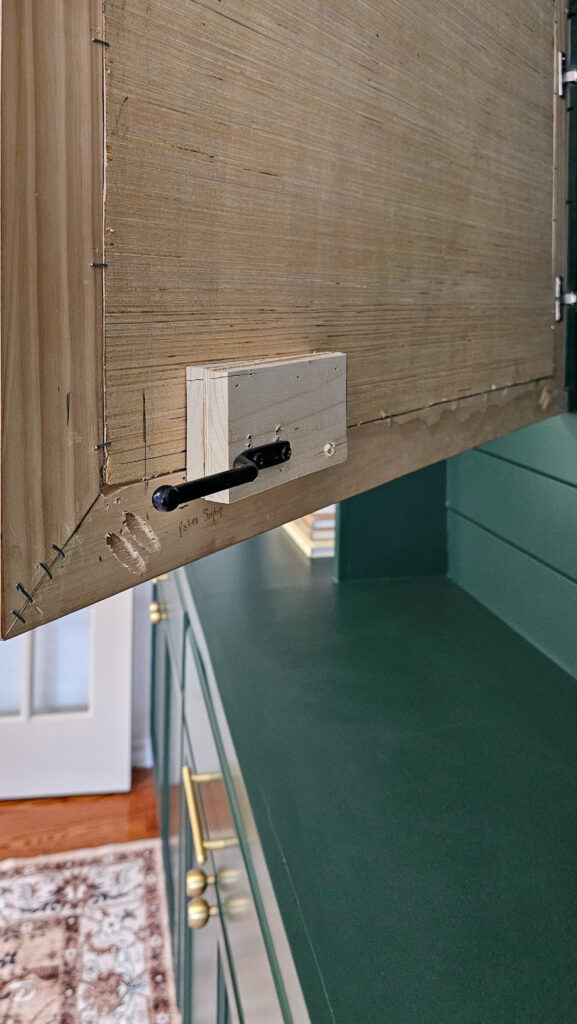
Make your book lever
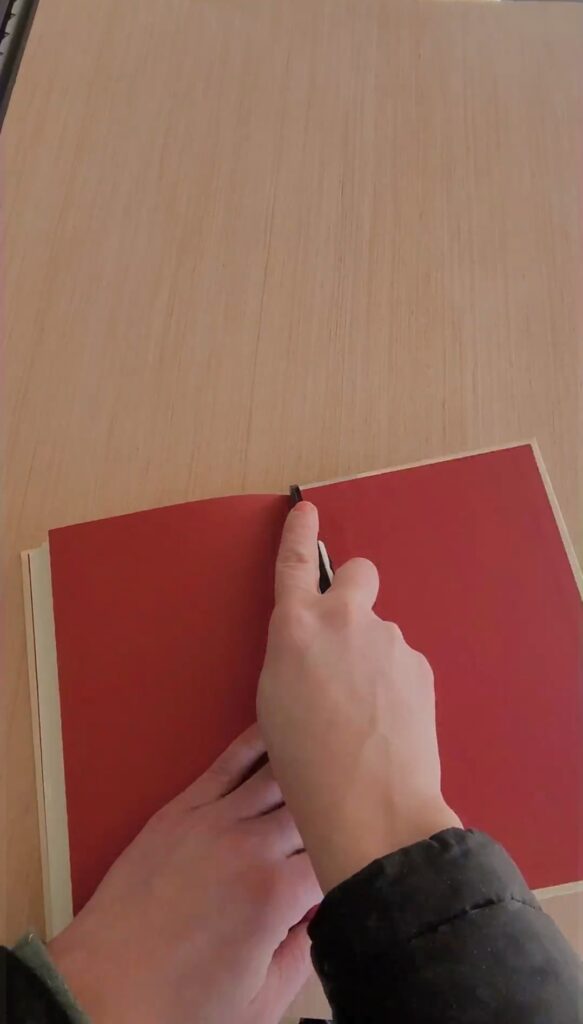
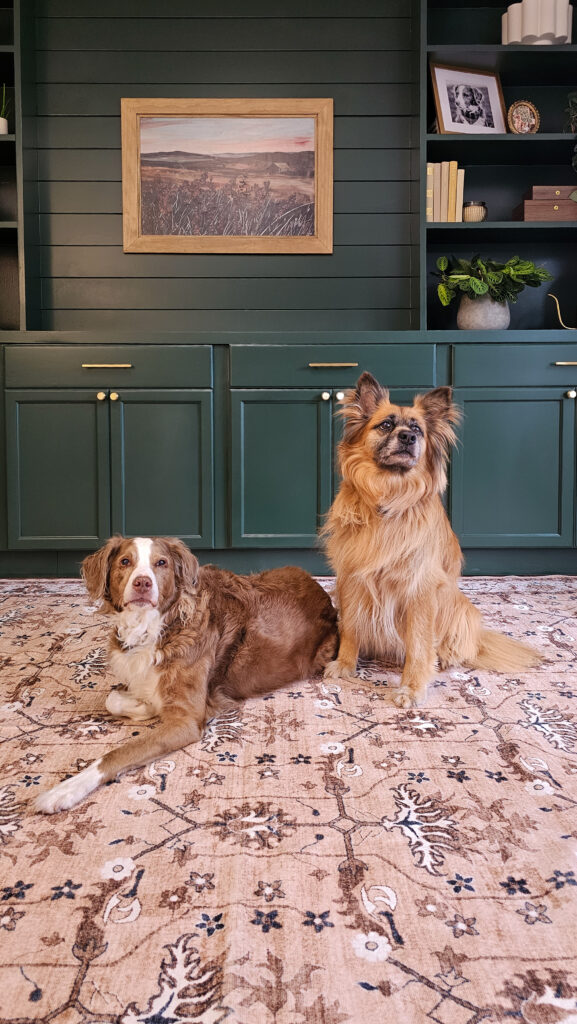
In order to make your book lever you will need a book that you are willing to tear apart. I headed to the thrift store and wanted to find a book that not only fit my decor but also had a fun title. Luckily, I ended up finding this book called “The Hundred Secret Senses”. I wanted a title with hidden or secrets in it, so I was ecstatic I found this one! (even though I have no idea what it’s about)
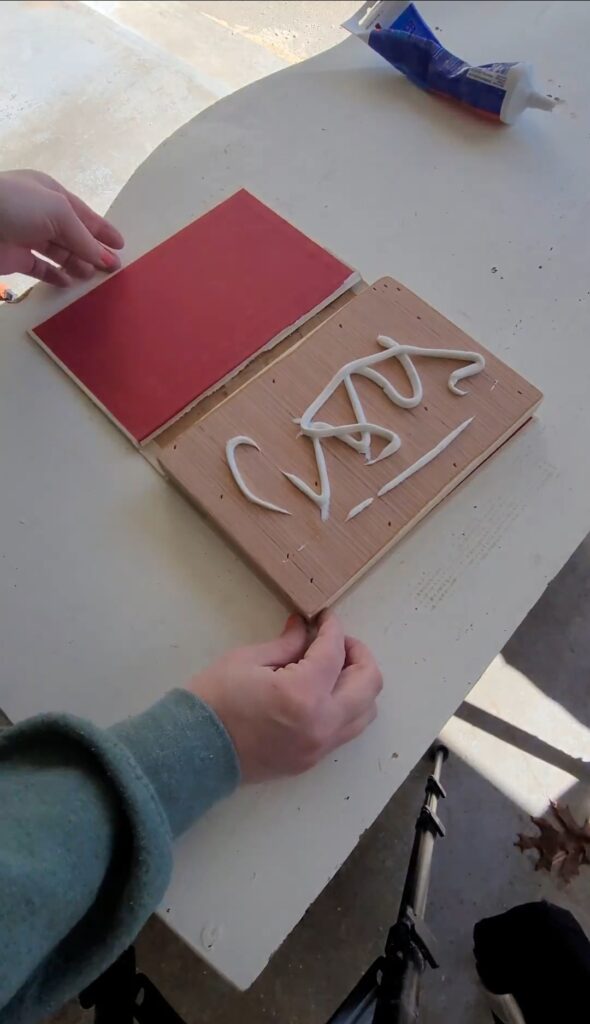
After you find the book, you are going to cut out the cover from the pages. Once that is detached you are going to take leftover wood or buy some thick wood to make a new “book” with. You want it to be the same size as the pages you cut out, so your book still looks the same size. I used construction adhesive to attach this wood block to the cover and let that dry.
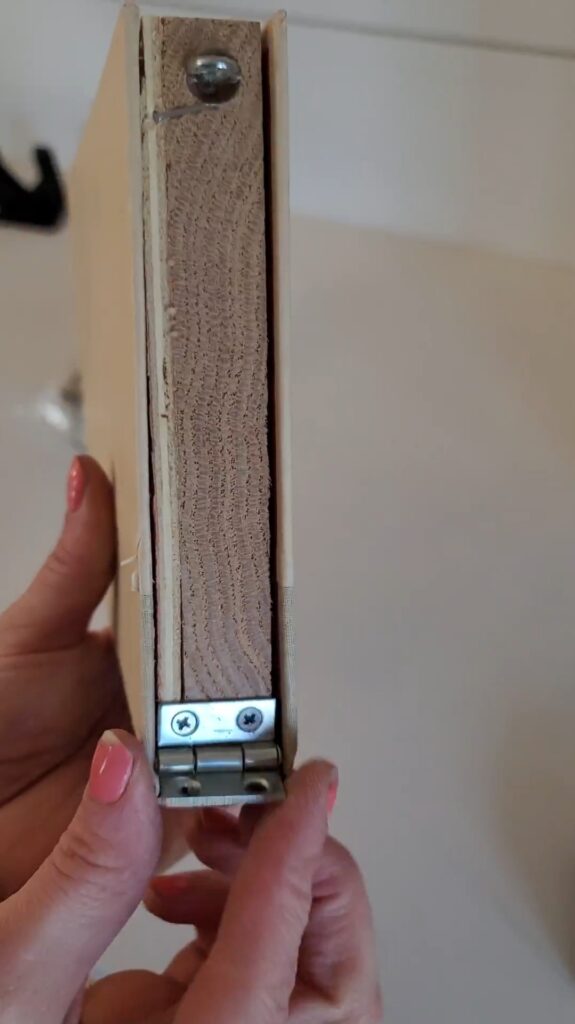
Once the glue was dry, I grabbed these small utility hinges and added one onto the bottom of my book. Then I attached the other side of my utility hinge to the bottom of my bookcase.
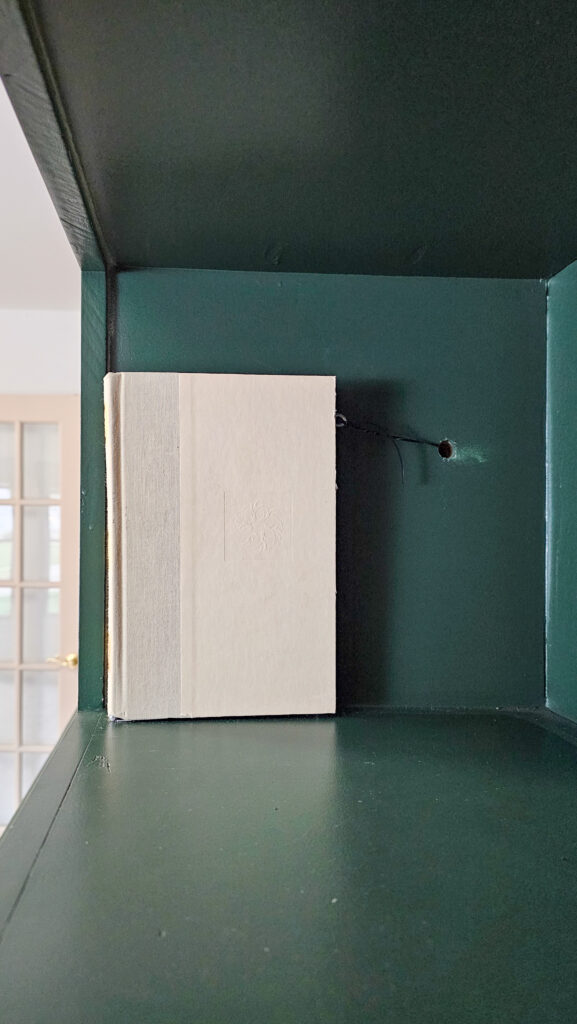
On the back of my book, I installed a loop hook where I can run a string through. You will attach your wire or string to this loop hook and then run it through the inside of your framing to behind where your artwork is. By this point, your book lever and your artwork latch should be connected.
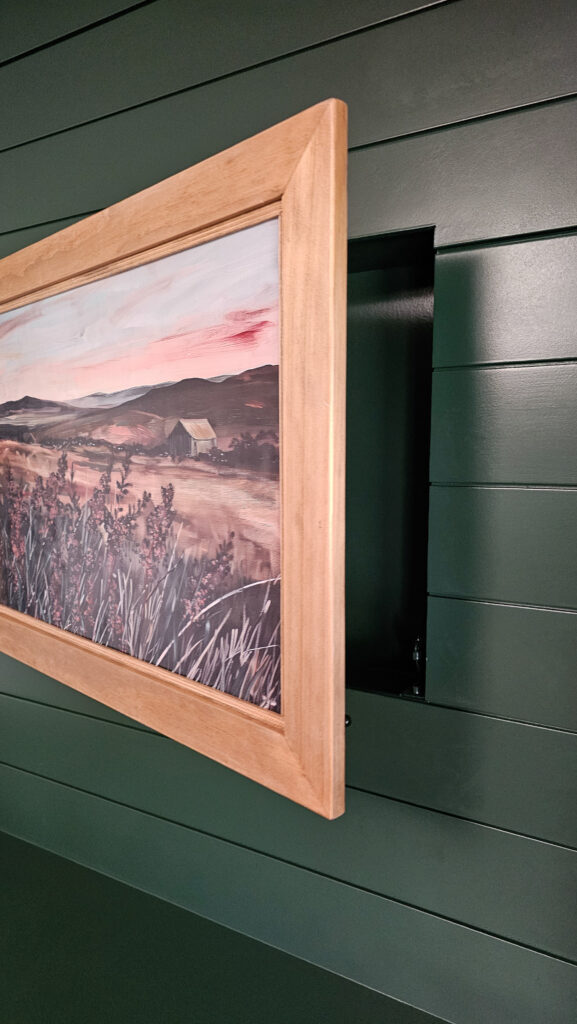
Create your framed artwork
I decided to make my own framed art, so I need the wood framing was sturdy enough for hinges. You only need 1×3 boards, a router, and 1/4″ plywood to make this. I have a full detail blog post coming on this soon! I just bought a simple print off Etsy and had it printed at Walgreens, then I applied it on my homemade framing using mod podge. After that was done, I added in soft close hinges to the framing on the backside. Think about it like this, you are just making a big cabinet door for your nook, but you are making it look like art!

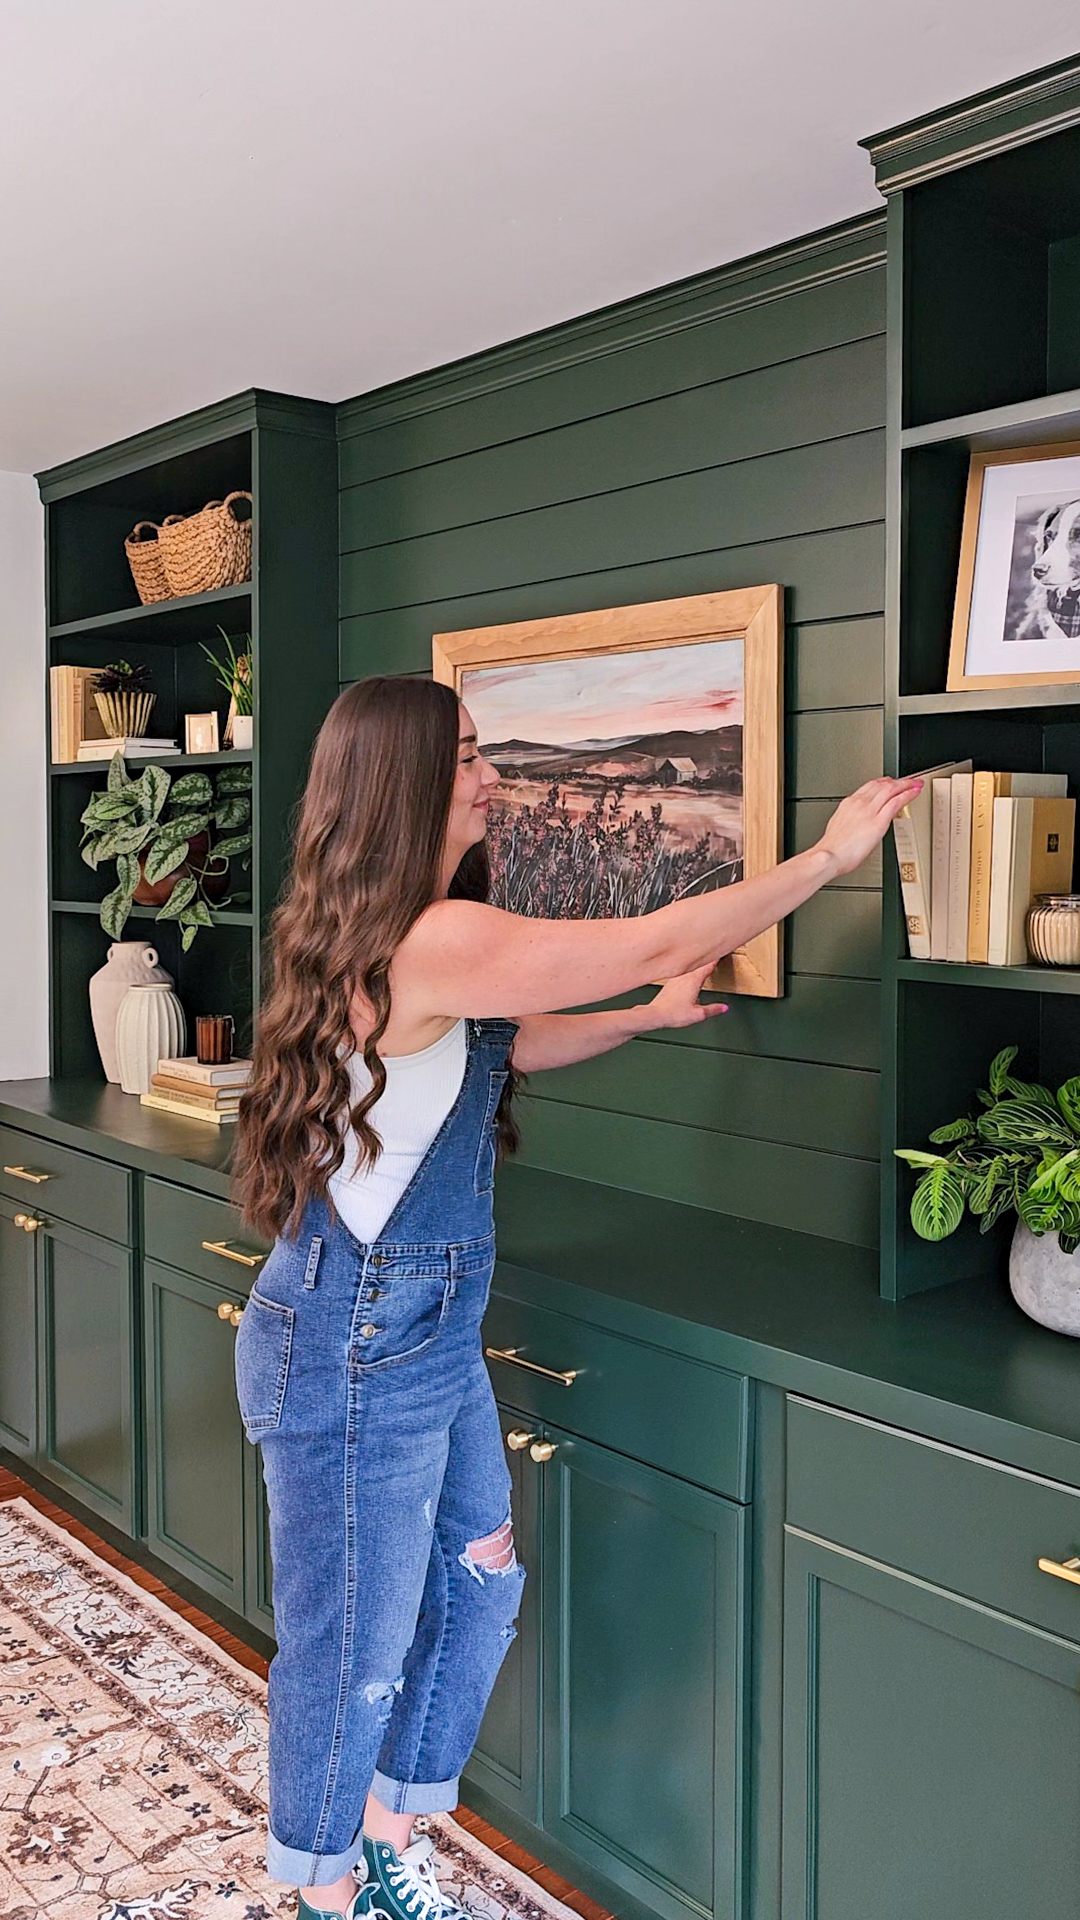
Install your artwork onto your framing
Once the artwork was ready, you just need to attach it to the inside of your nook. The nice part about hinges is they allow you to adjust the settings of it easily and get your artwork perfectly leveled out.
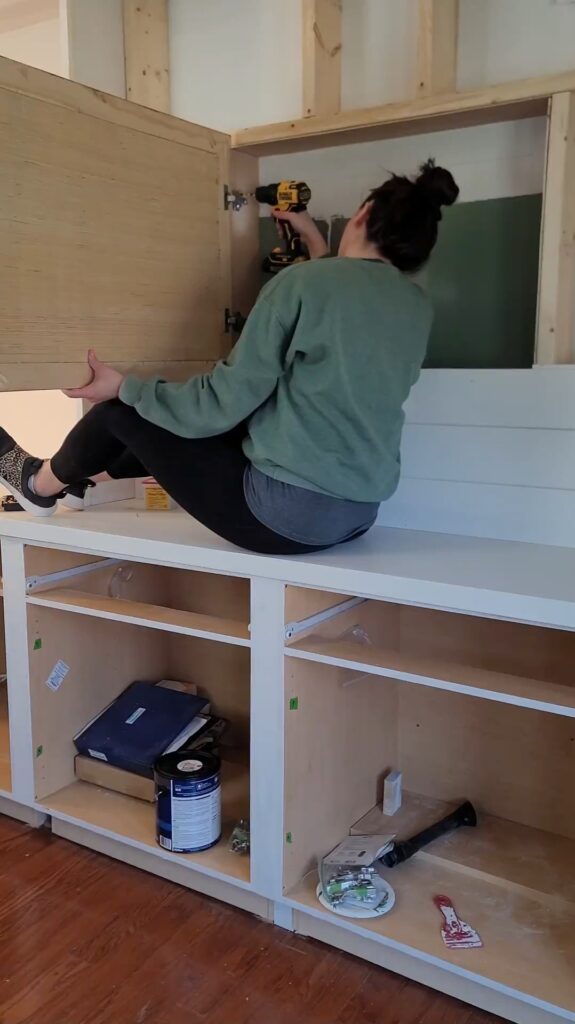
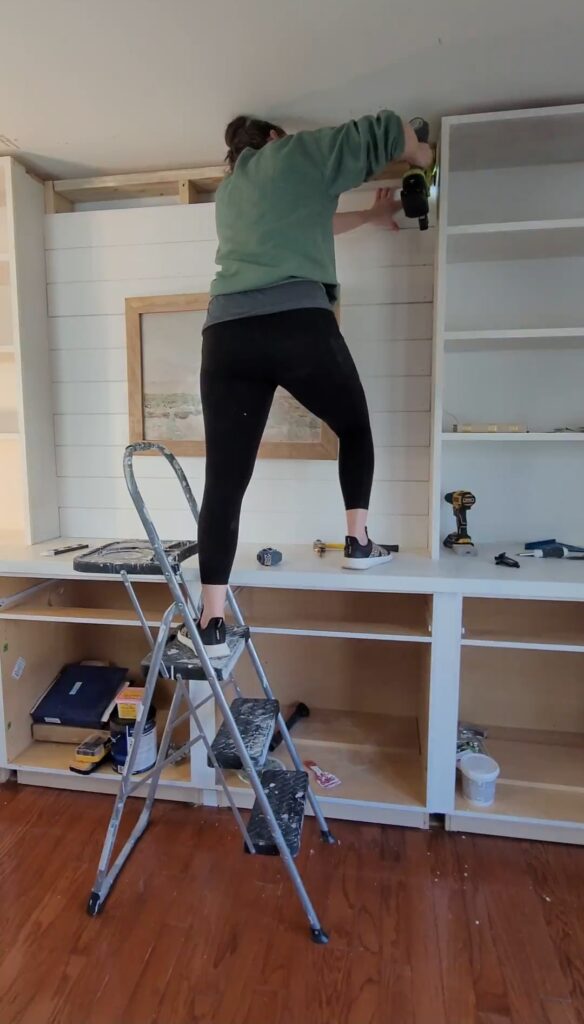
Cover up your framing
Now it’s time to cover up this framing so no one knows your nook is back here. I went with a simple solution and used shiplap to cover this all up. To save money, I bought MDF shiplap. This is a cheaper option than real wood and once it is painted you can’t tell the difference.
Time to hide something fun in your nook!
This was hard for me! I actually have yet to put anything in this nook! I have considered adding an additional shelf on here to may store jars full of all our pencil, pens, scissors, etc. But this would also be so cool to have in a bar area with your expensive liquors hidden!


Jul 8, 2025