DIY Plant Stand
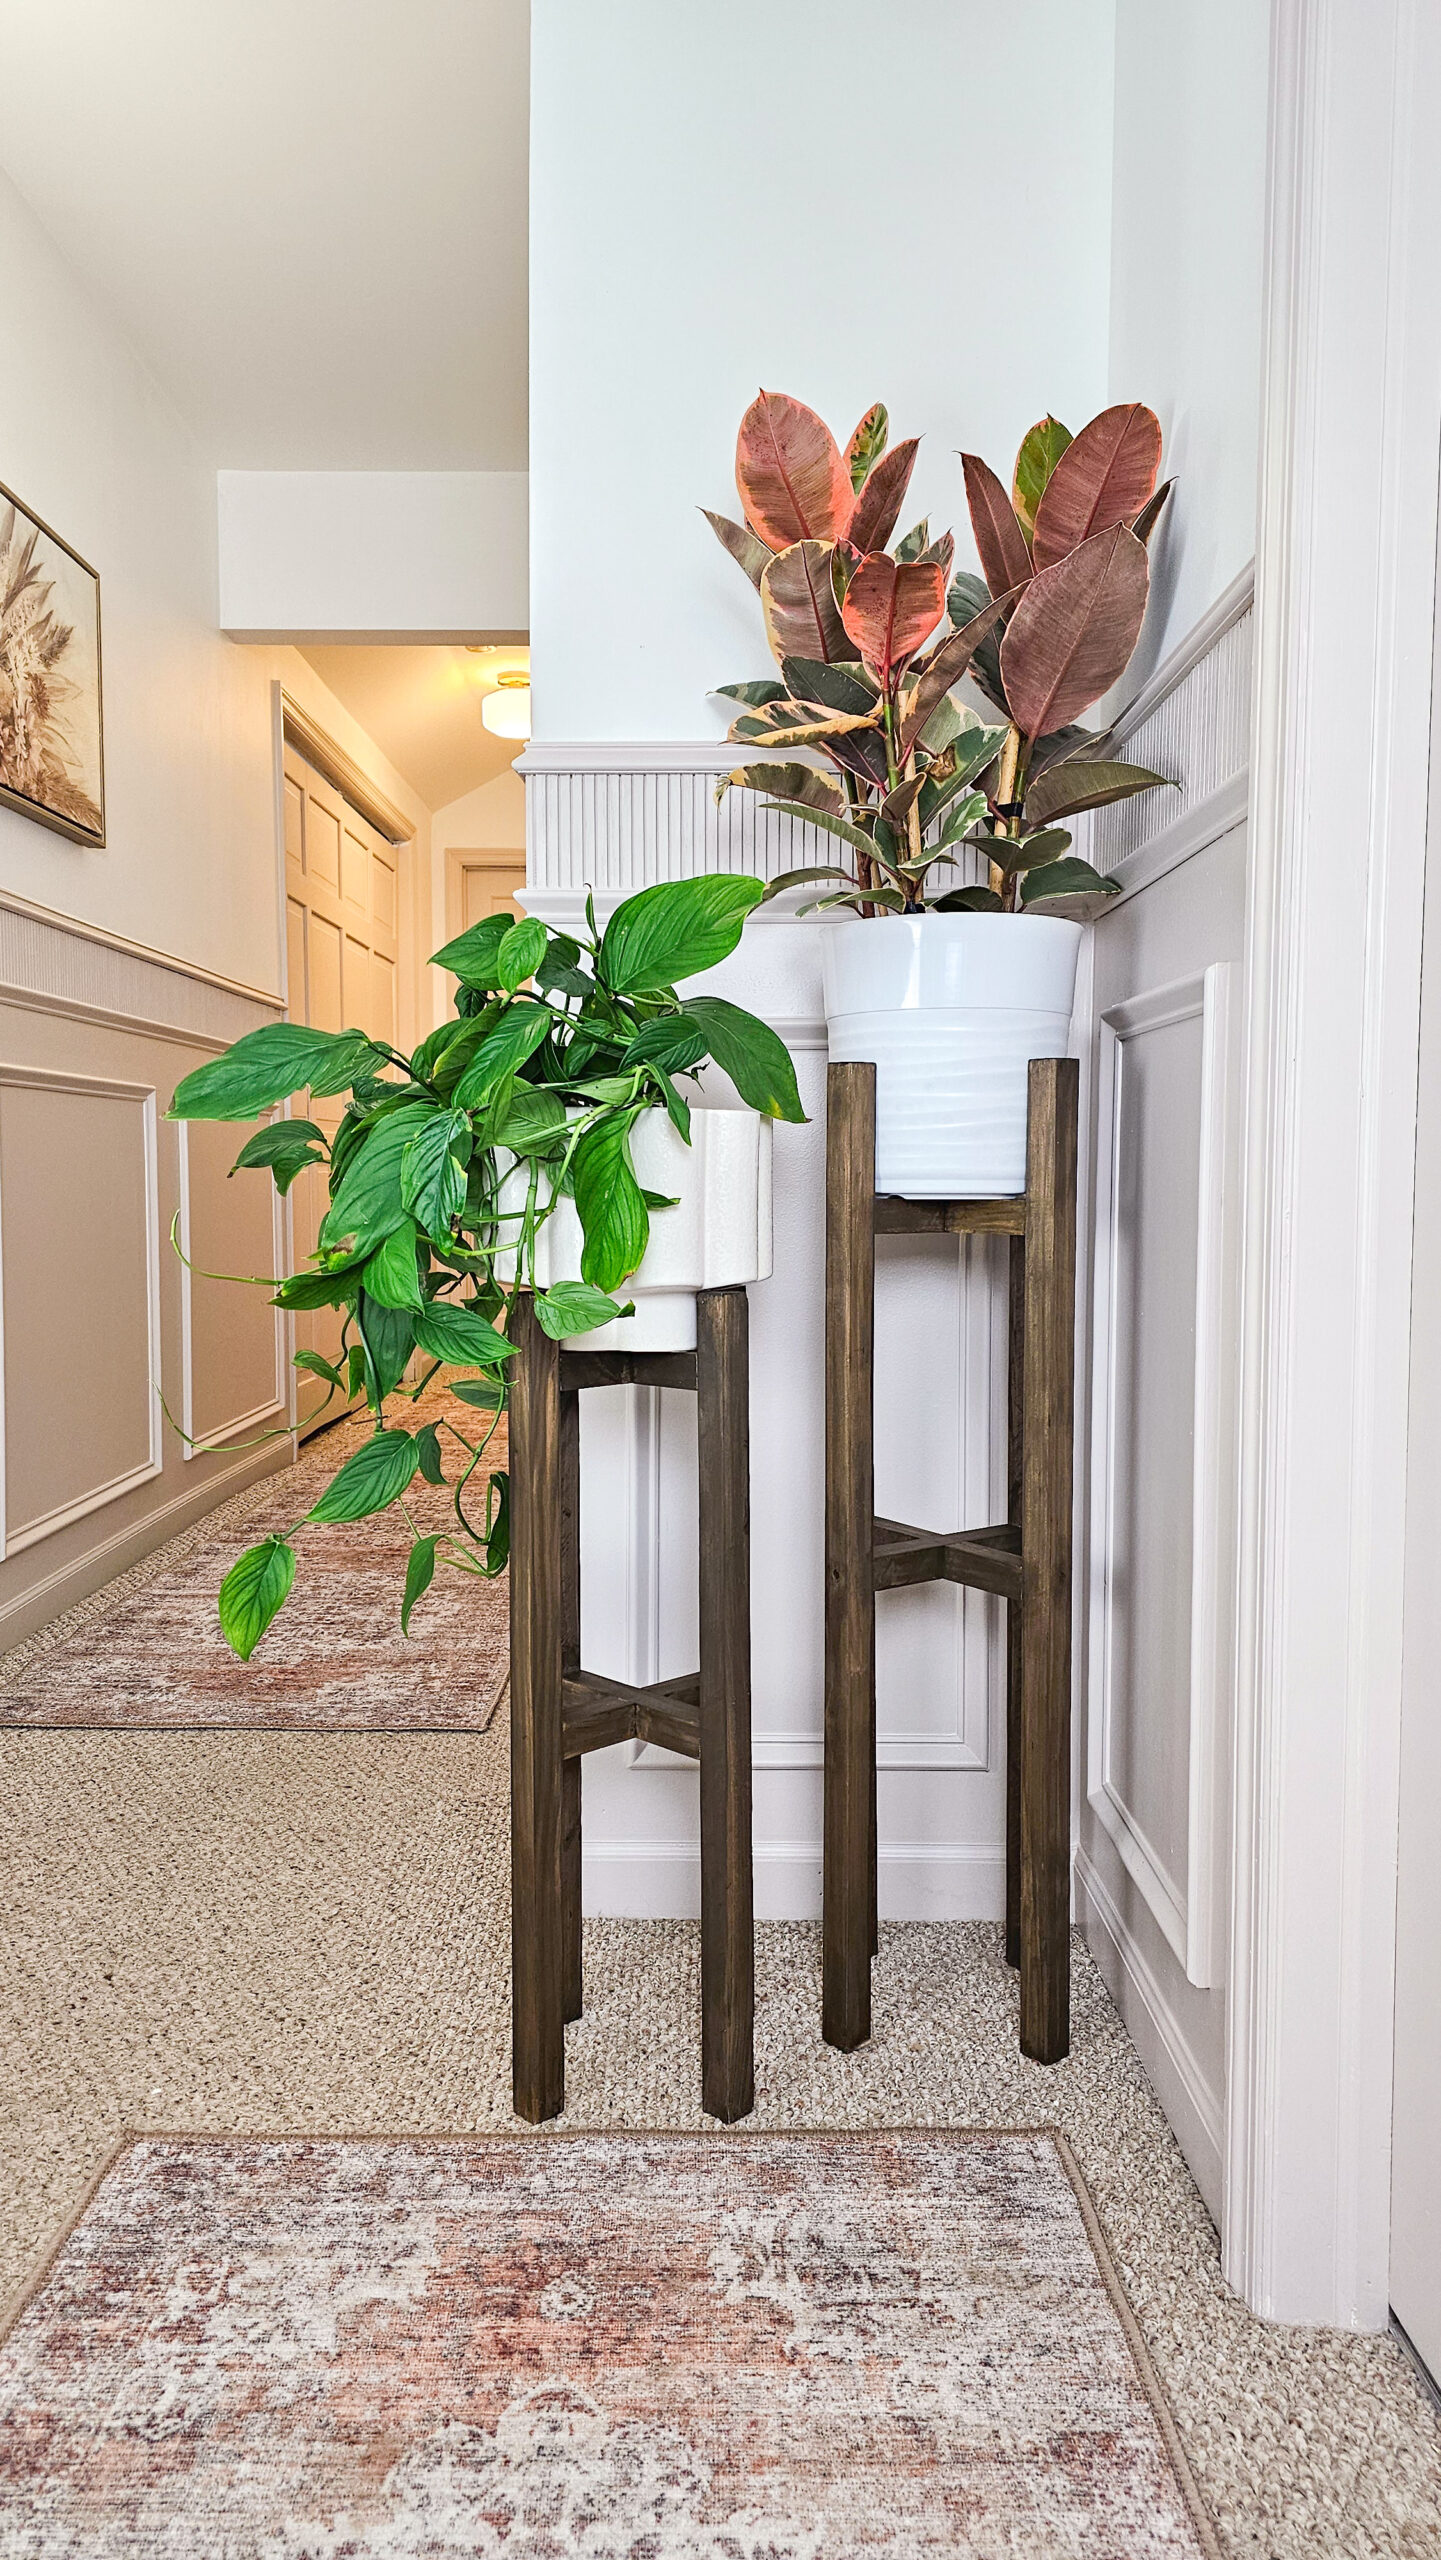
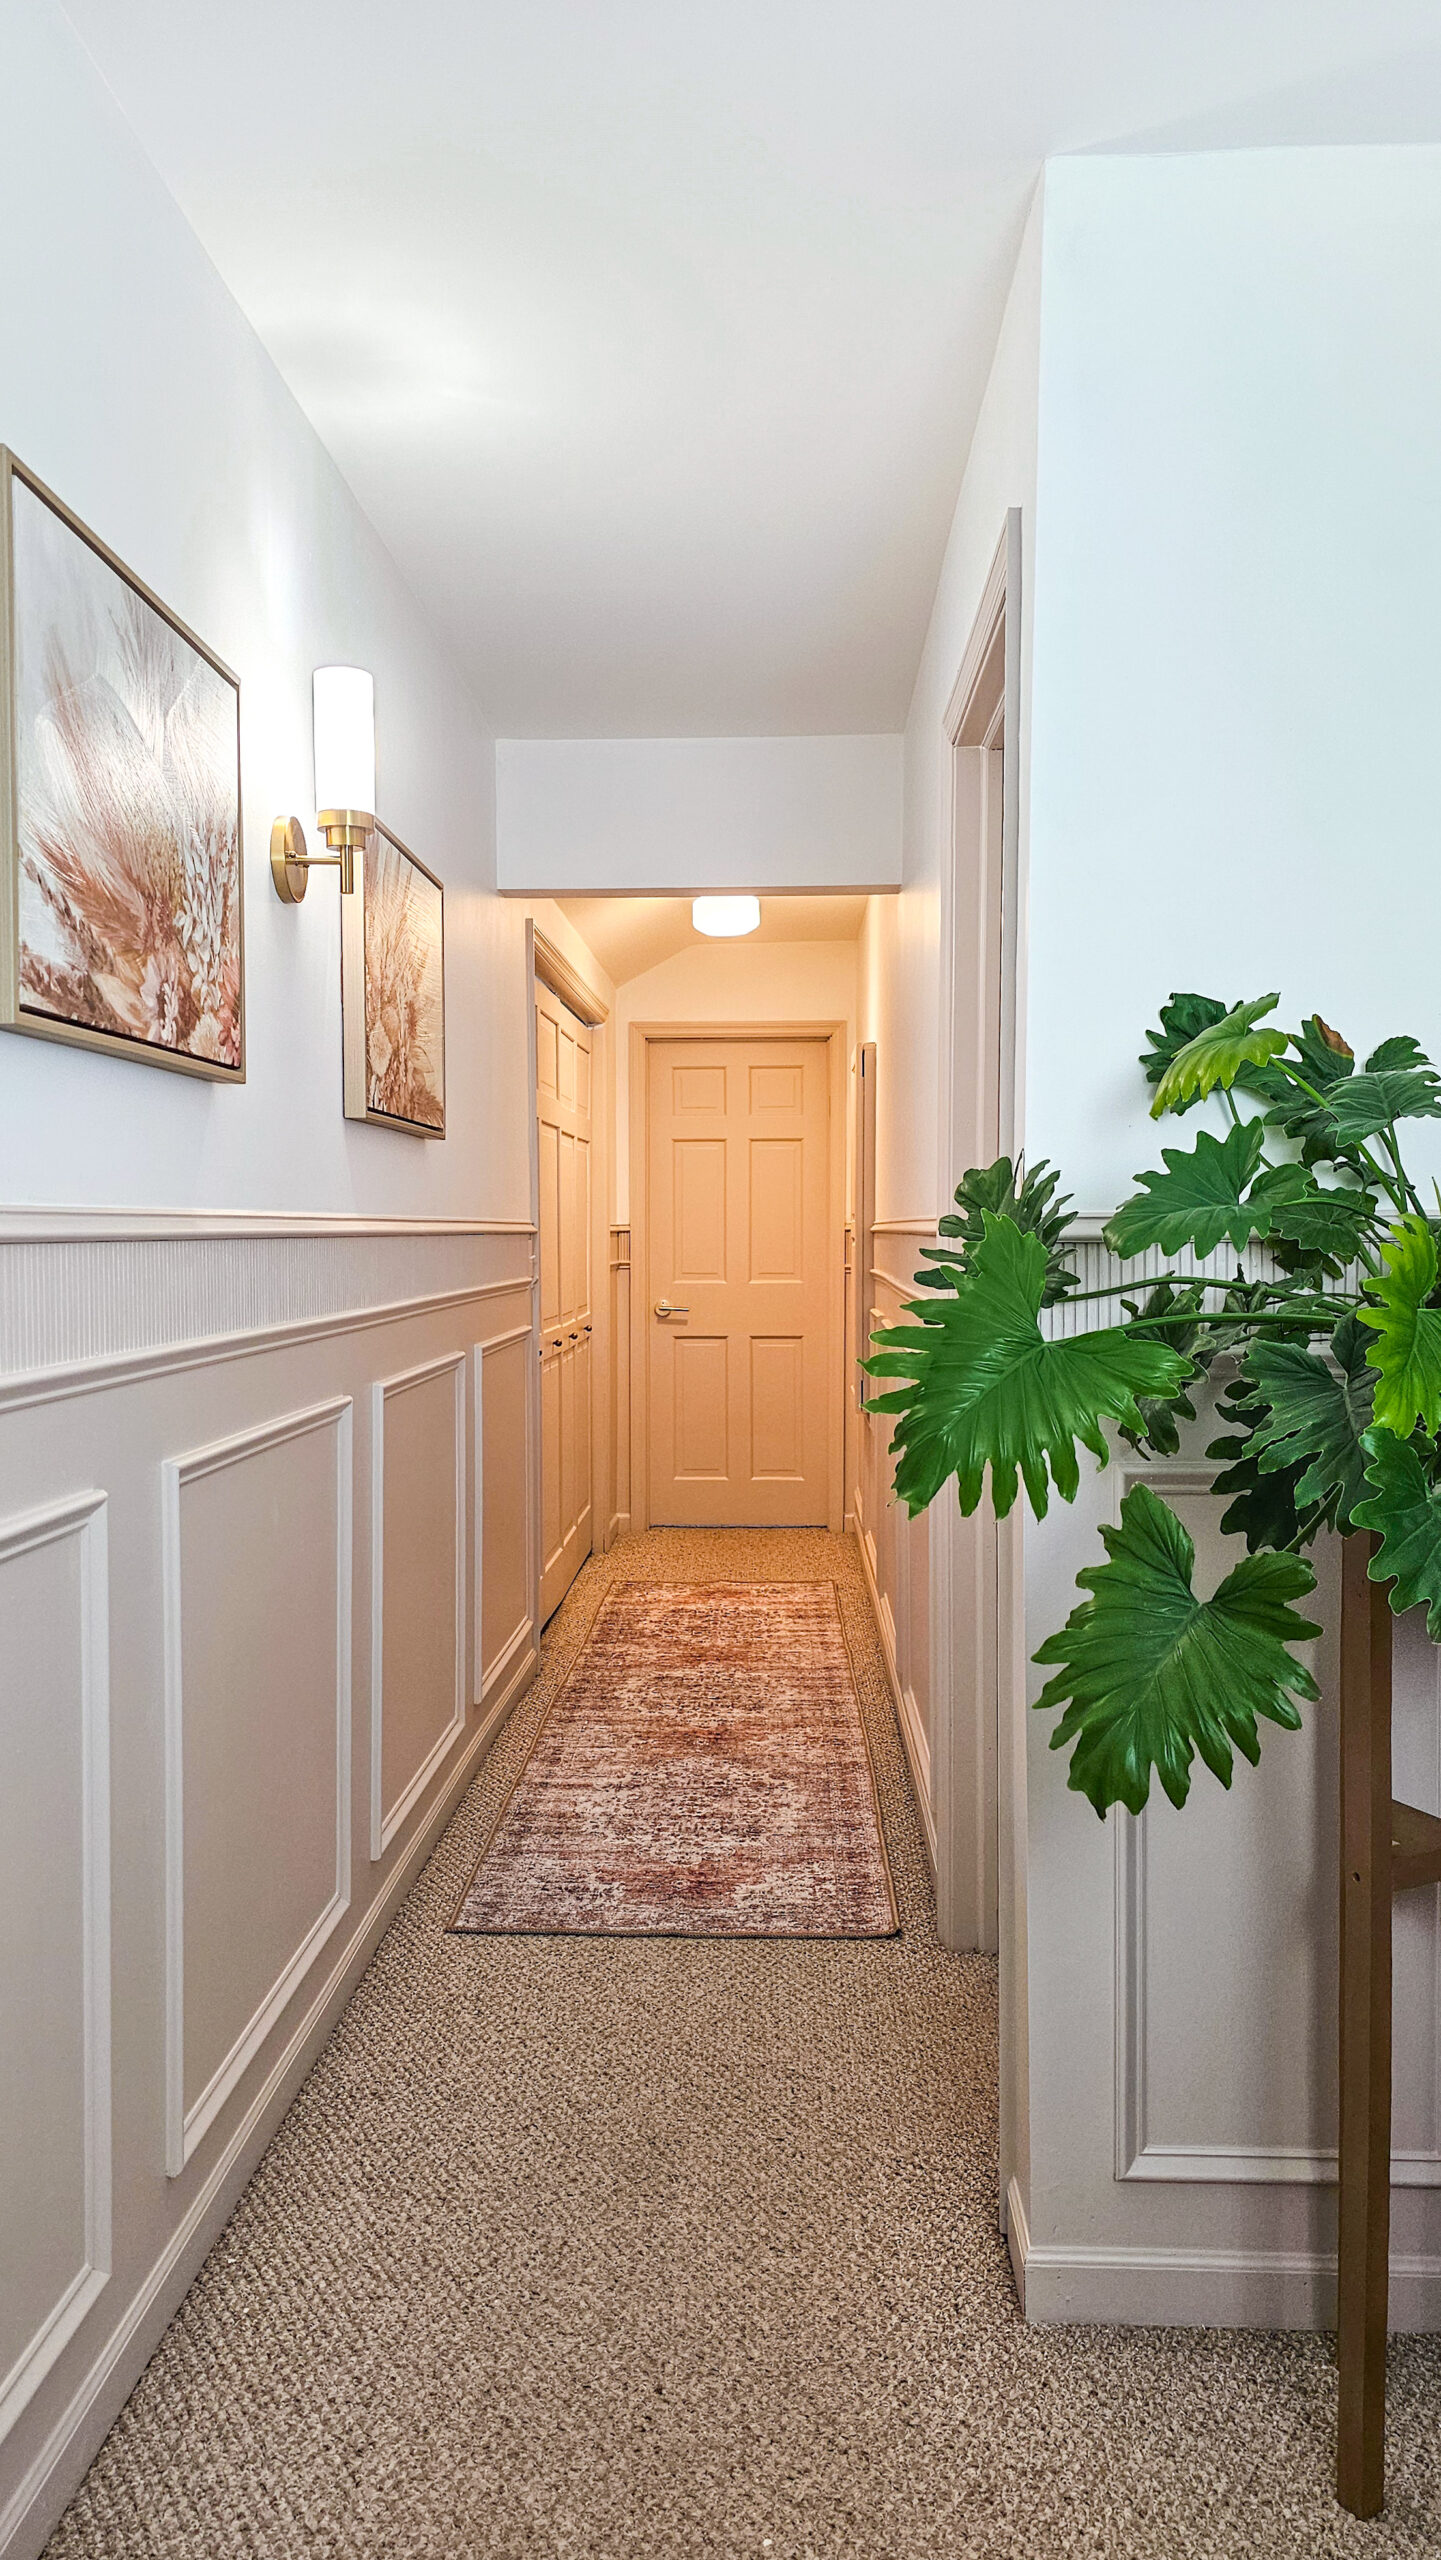
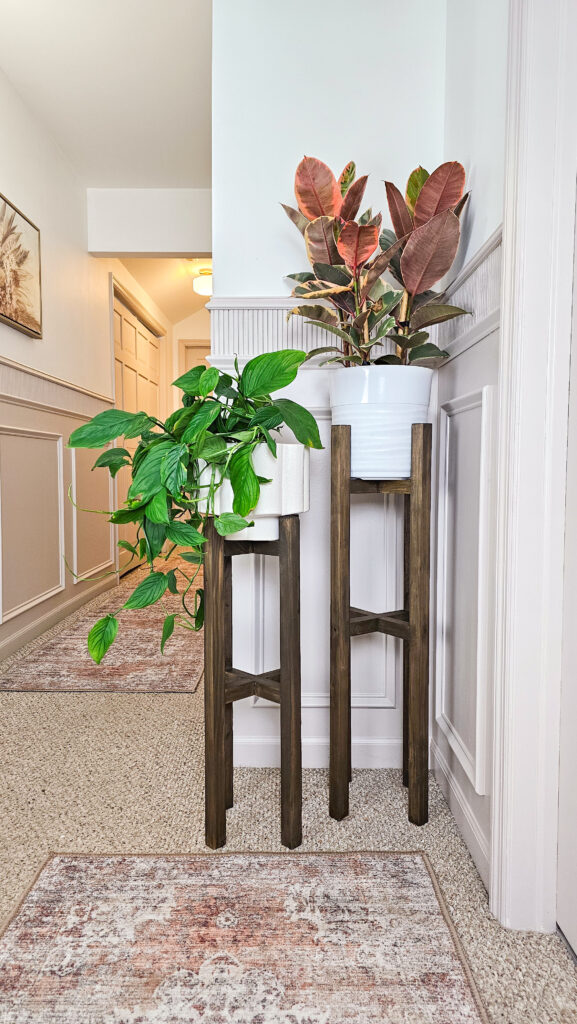
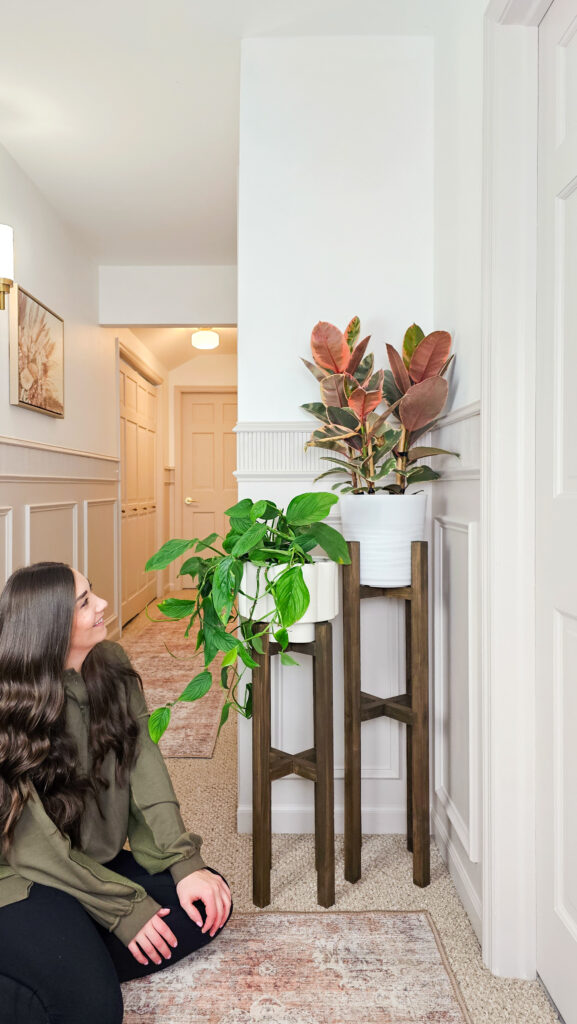
I love having my home filled with plants, but with dogs I always try to keep them out of their reach. For the most part, they don’t mess with my plants, but you always want to be careful. I had recently upgraded out upstairs hallway and knew this corner was missing plants to complete this space, so I got to work building some DIY Plant Stands. This is a simple project using just 2×2 boards and a couple tools. Let me show you!
If you’d like to see how I updated this hallway, check out my blog post here!
Supplies
- 2×2 boards
- Saw
- Power Drill
- Pocket Hole Jig (optional)
- Wood Glue
- Wood Filler
- Minwax Pre-stain
- Minwax Stain – (Color: Dark Walnut)
- Minwax Polycrylic Max
- Plant Pots
- Plants
Step Summary
- Determine height of stand
- Determine width of stand using plant pot
- Cut 2×2 boards
- Assemble cross brackets
- Apply pre-stain to prepare for stain
- Apply stain
- Attach brackets to plant stand legs
- Add filler into any screw holes and stain
- Apply polycrylic sealer
- Add Plants
Detailed Steps
Determine height of DIY plant stand
I wanted my plant stands to be tall enough that my dogs weren’t able to get into them, so I made mine 36″ and 28″ tall. When you are determining the height, keep in mind your pot will sit down in the stand a couple inches, so just because your plant stand is 36″ tall, your plant may only be 32″ off the ground.
Determine width of stand using plant pot
You can use any pot you have on hand and build stands to fit them. This is one reason I love this project so much because you can make it customizable to fit what you have. Most of my pots are 6″ wide. The width needed for my pots were 8″ and 9″.

Cut 2×2 boards
You can use any saw you have to cut your 2×2 boards to the length/width you need. You will end up with 4 legs and 6 pieces for your cross brackets. After everything has been cut, be sure to sand them all down. I did end up trimming my 2×2 boards down to only be 1.5″ wide, so you would need to adjust your measurements if you replicated my stands exactly.
Here is my full cut list:

36″ Plant Stand with 9″ wide pot:
- 36″ legs – x4
- 9″ center – x2
- 3.75″ center – x4
28″ Plant stand with 8″ wide pot:
- 28″ legs – x4
- 8″ center x2
- 3.25″ center – x4
Assemble cross brackets
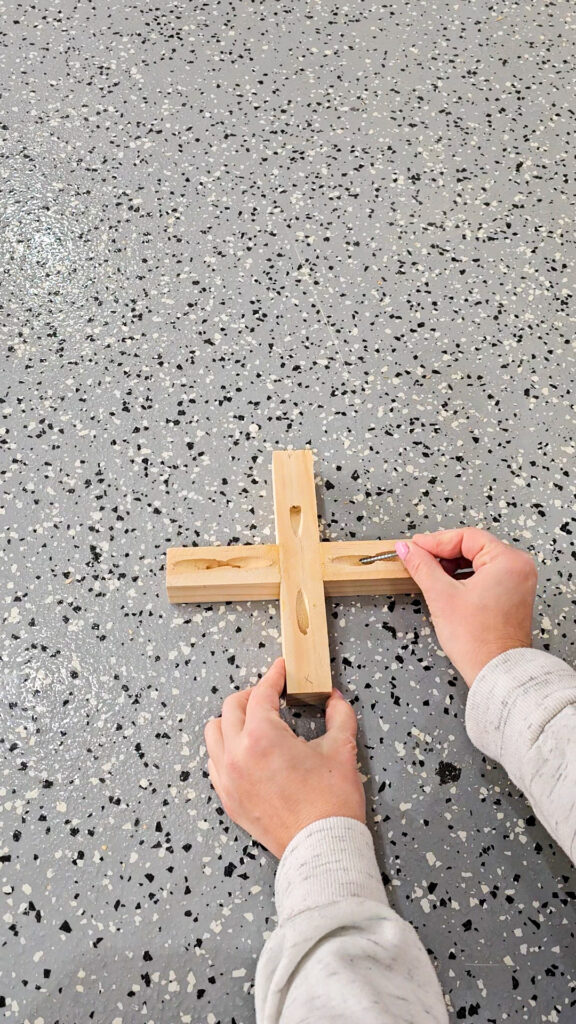
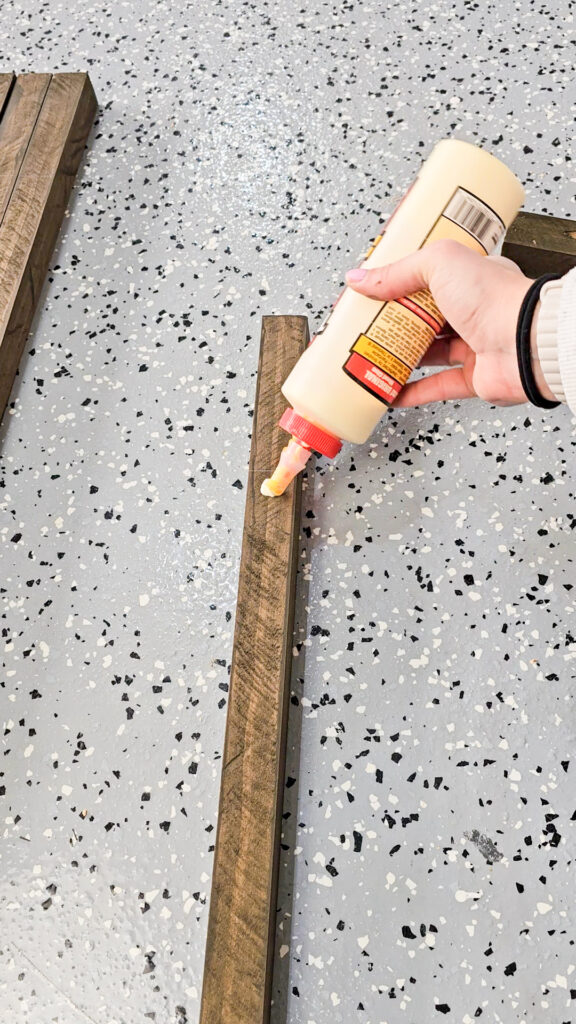
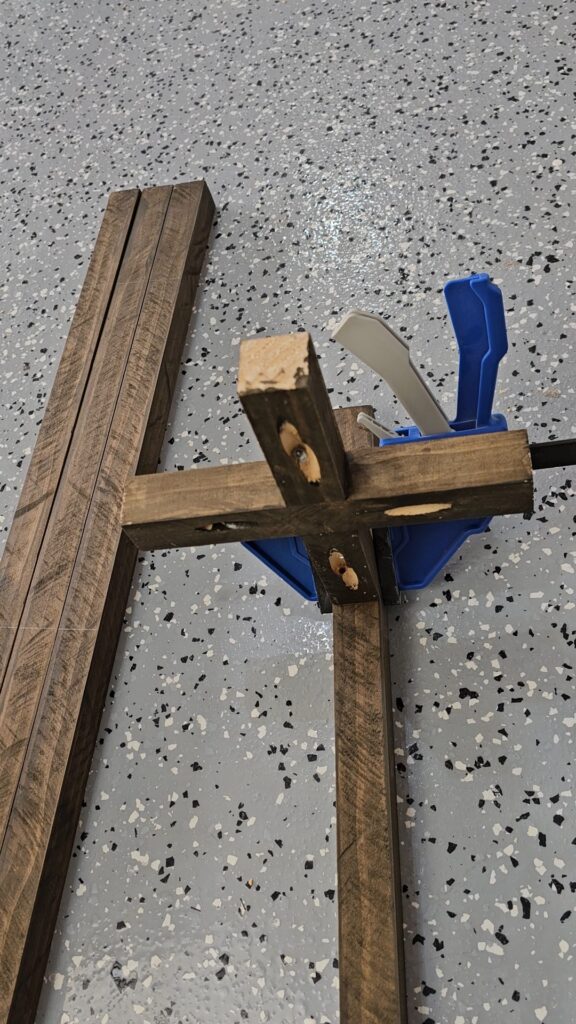
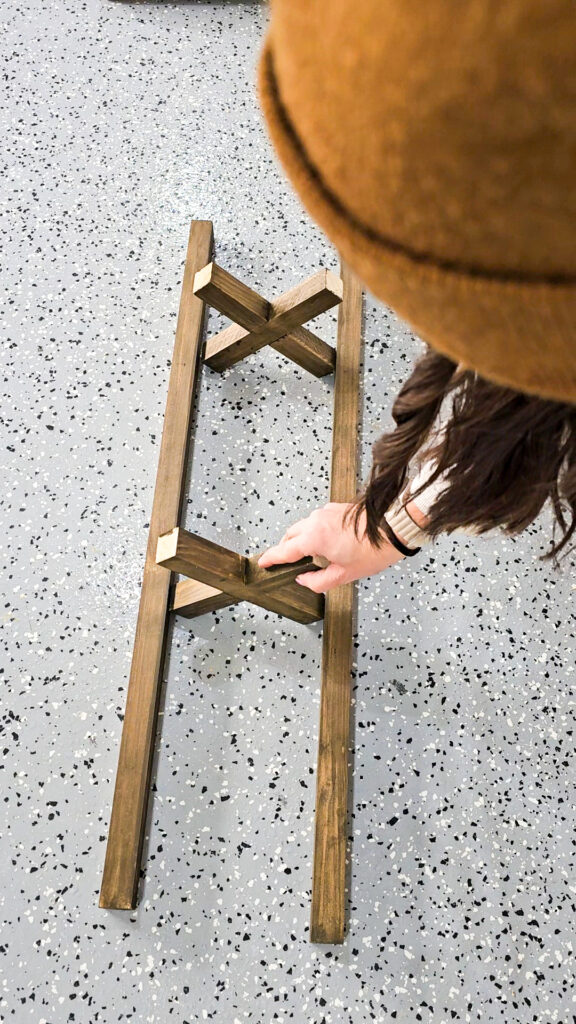
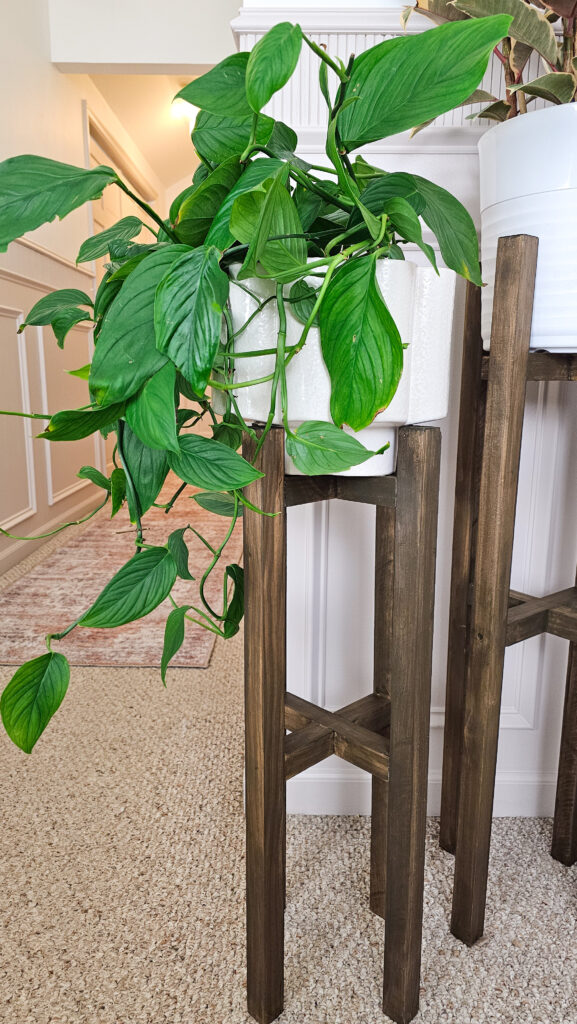
Your cross brackets will be in 3 pieces, 1 long piece and 2 smaller pieces. I used pocket holes to assemble my cross brackets. I added in pocket holes into my 2 smaller pieces and then attached those to my 1 longer piece to make an “X” using wood glue and pocket screws. I made 2 cross brackets for each stand to make them more stable. If you were doing a small stand less than 16″ tall, you would only need 1 cross bracket.

Apply pre-stain to prepare for stain
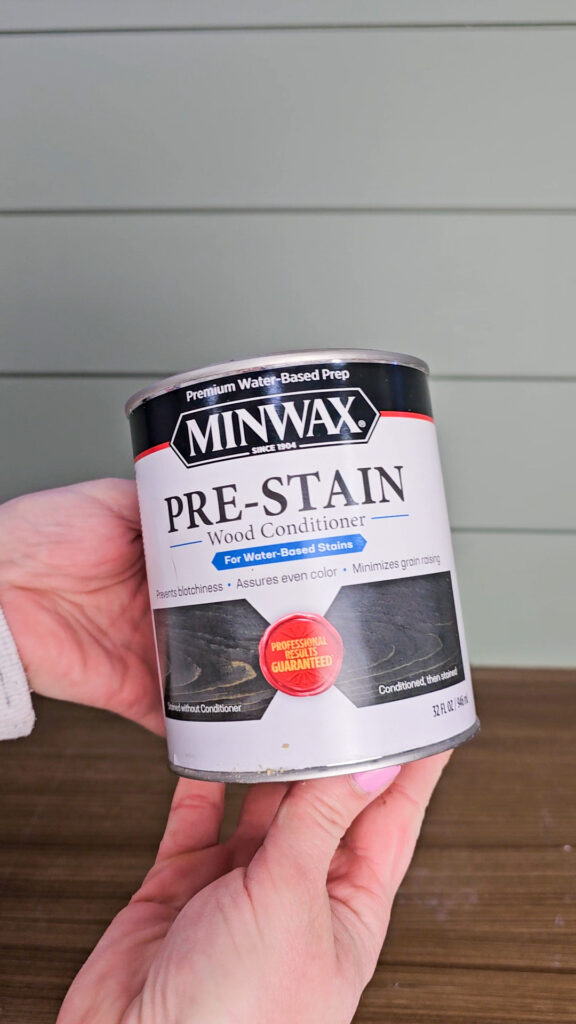
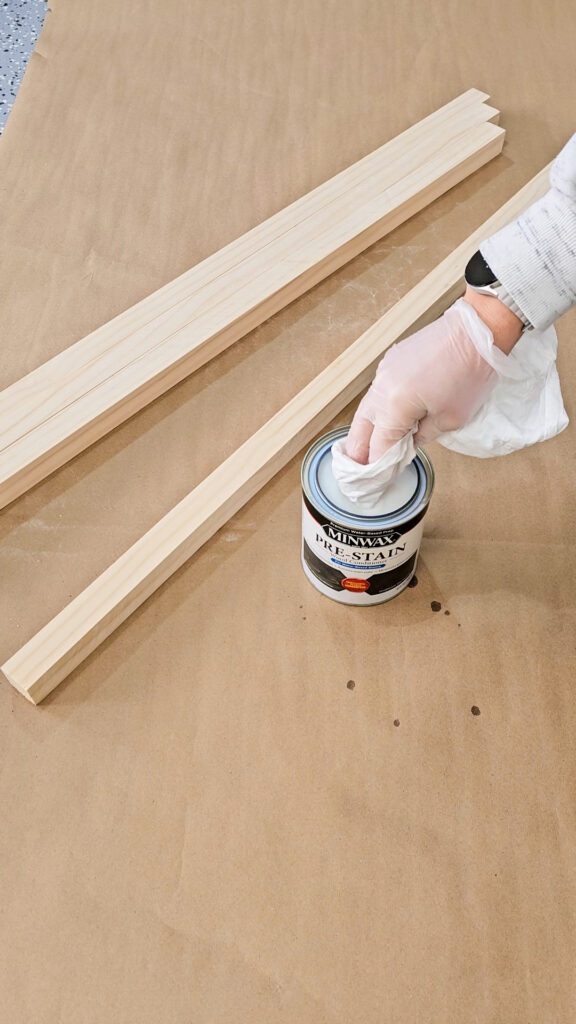
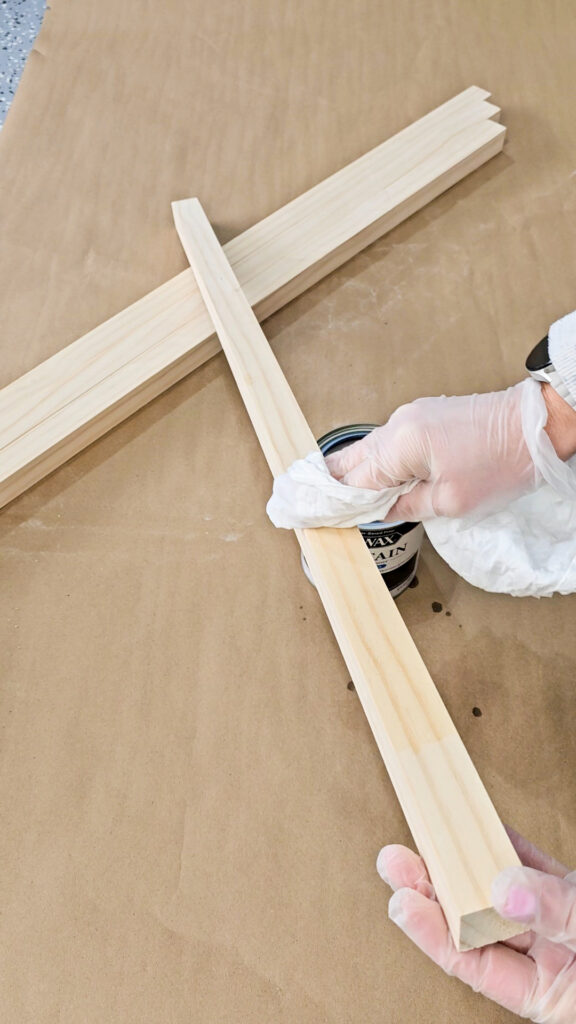
I used Minwax’s pre-stain on my wooden stand to prepare my wood for stain. This helps provide a more even color for your stain, especially on wood like pine, which is what I used.
Apply stain
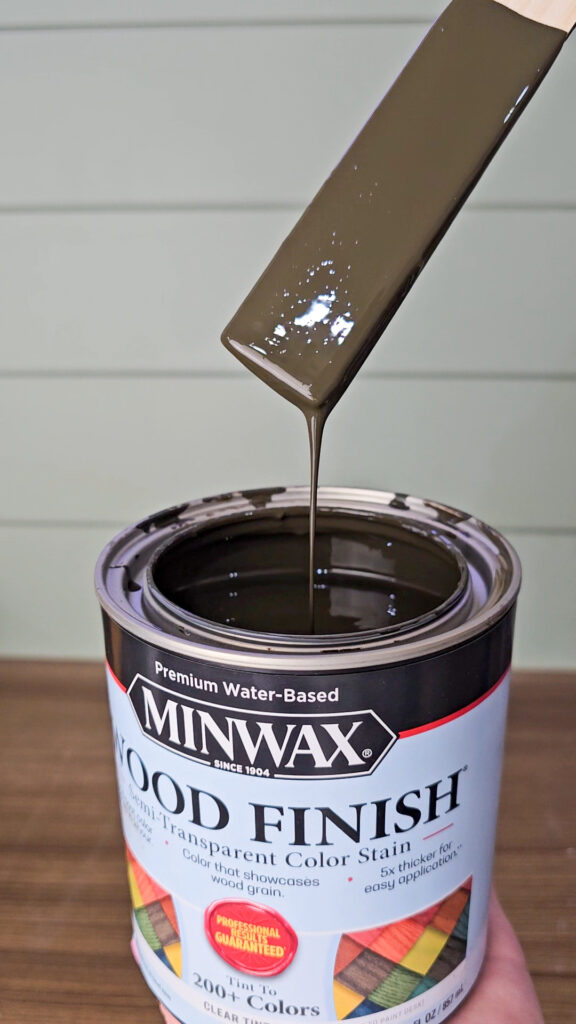
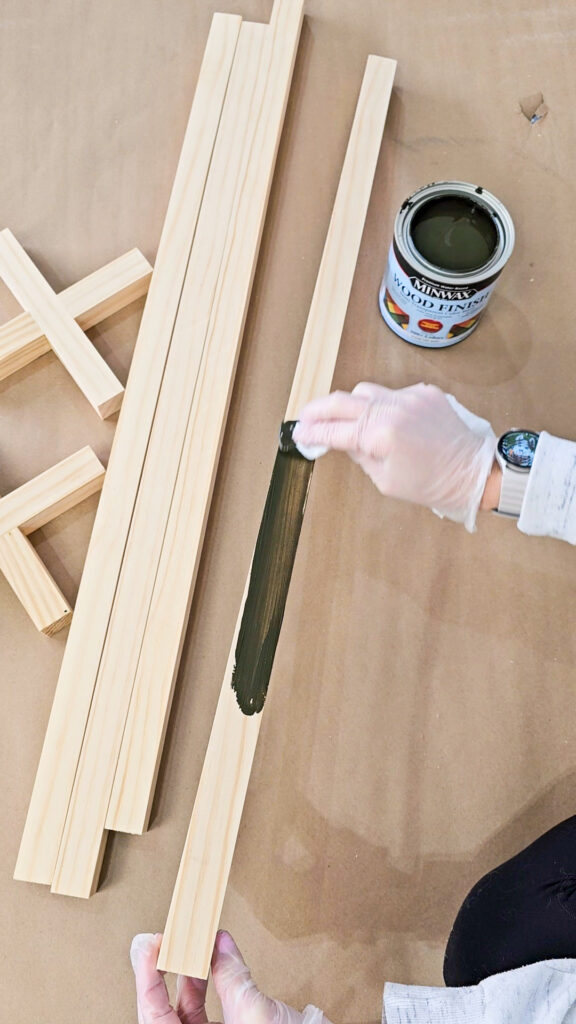
I used water based Minwax stain on my plant stands. I used Dark Walnut to contrast against my light trim. To apply this water-based stain, you wipe on the stain using a brush or rag, then let it sit for up to 2 minutes, and gently wipe away the excess. If you want a darker color, you can let the stain sit longer or even do a 2nd coat.

Attach brackets to plant stand legs
Once my brackets were all dried, I attached them to my plant stand. If your plant stand is wide enough, you can attach them to the legs using pocket holes as well. But with the legs, the drill can’t always get in there to attach them. If this is the case, I would use 2.5″ screws drilled in from the side of your legs and into the bracket. Don’t worry about the screw hole too much, you can easily fill it in with stainable wood filler. I ended up attaching my brackets with screws from the side.
Add filler into any screw holes
Once your stand is all assembled, grab wood filler and fill in any of your screw holes. Make sure to use stainable wood filler if you plant to stain your stand. If you want to paint your stand, you can use any filler.
Apply polycrylic sealer
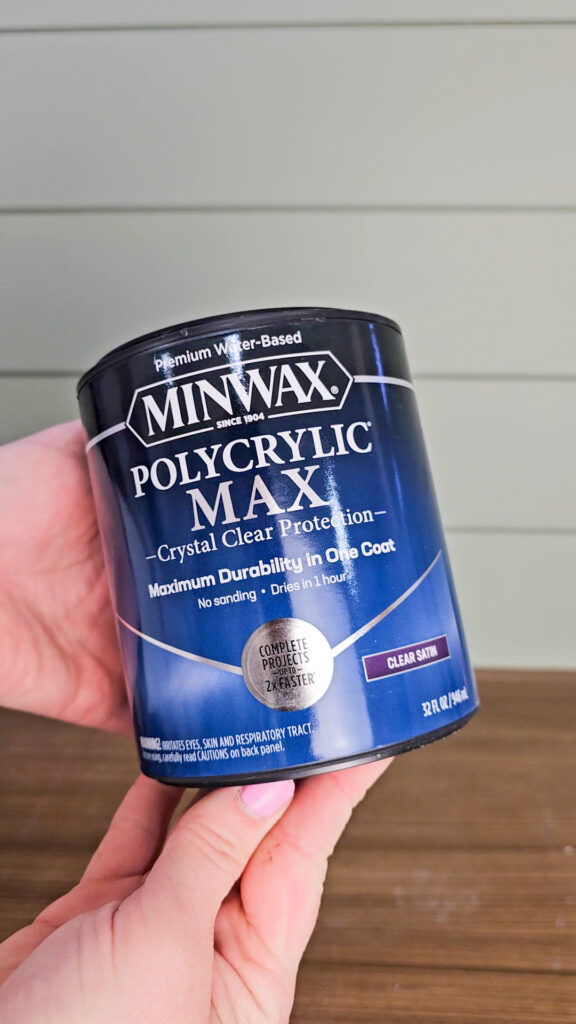
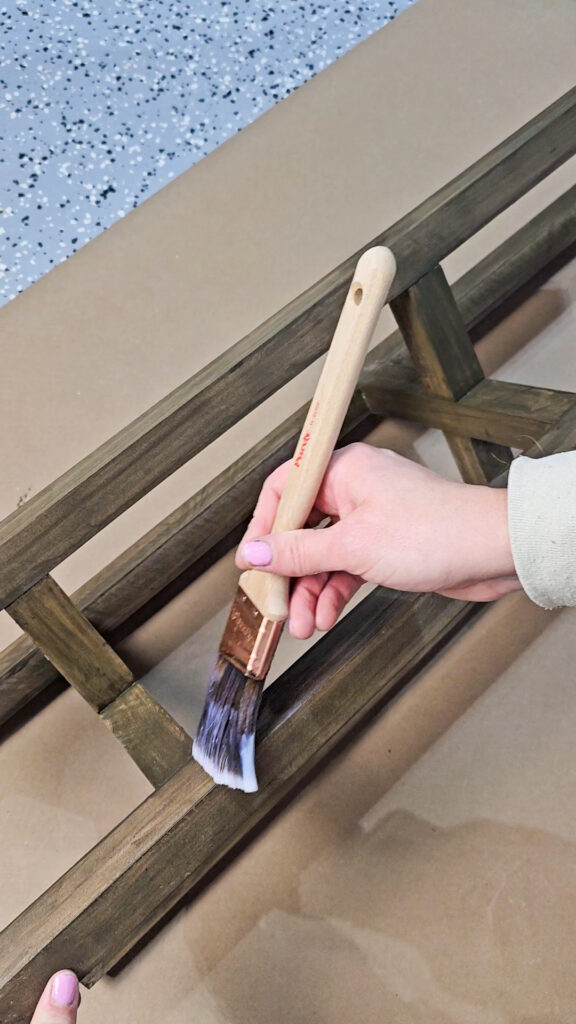
Because these stands will have plants and possibly water getting on them, you want to seal your wood. I used Minwax’s Polycrylic Max sealer. Just apply with a brush or roller and lightly sand with a 220 grit in-between coats.
Add in plants to your DIY Plant Stands
Now it’s time to add in your plants! I love how simple and easy these are to build. I have a couple of them scattered around my home in random corners. Plus, it’s always a fun excuse to go buy more plants!
If you’d like to see how I updated this hallway, check out my blog post here!
Jan 12, 2025
