Faux Brick Accent Wall
If you’re looking to add some charm or industrial flair to your home without the cost and labor of real brickwork, faux brick panels are a fantastic solution. Available at Lowe’s, these panels are a game-changer for DIY enthusiasts, offering the look of authentic brick with far less hassle. But to take your project to the next level, there’s a simple trick: adding sanded grout to the seams. This technique mimics the look of real brick masonry and enhances the overall authenticity of your space. In this blog post, I’ll walk you through the process of installing faux brick panels and show you how to incorporate sanded grout for a truly realistic finish.
*I may earn a small commission on any linked items in this article*
Supply List
Step Summary
- Determine how many brick panels you need
- Cut brick panels to correct size
- Cut edge’s of brick panels using “cookie cutter” method
- Install brick panels onto wall
- Prepare sanded grout
- Add sanded grout into panels
Detailed Steps
Determine how many brick panels you need
Before you begin installing faux brick panels, measure the surface area of the wall where the panels will be placed. Then, check the dimensions of each panel and divide the total square footage by the area of a single panel to determine how many panels are required to cover the entire space. In my case, I had about a 38″ gap above my trim I was filling in with brick panels. Since the panels are 4 feet wide, I knew each panel would cover about 8 feet of my space.
Cut brick panels to correct size
When working with brick panels, it’s easy to get confused, but with a little planning, it’s simple to achieve the desired result. For my project, I wanted each panel of brick to align perfectly with my board and batten trim, ensuring a full brick at the bottom of each panel. To achieve this, I carefully measured the height of each panel, starting with a full brick at the bottom. This method left a small sliver of brick at the top of the panel, but I preferred this look over having a half brick at the bottom, which would have disrupted the trim’s clean appearance. To make the cuts, I used a circular saw, which made cutting through the large brick panels much easier and more precise.
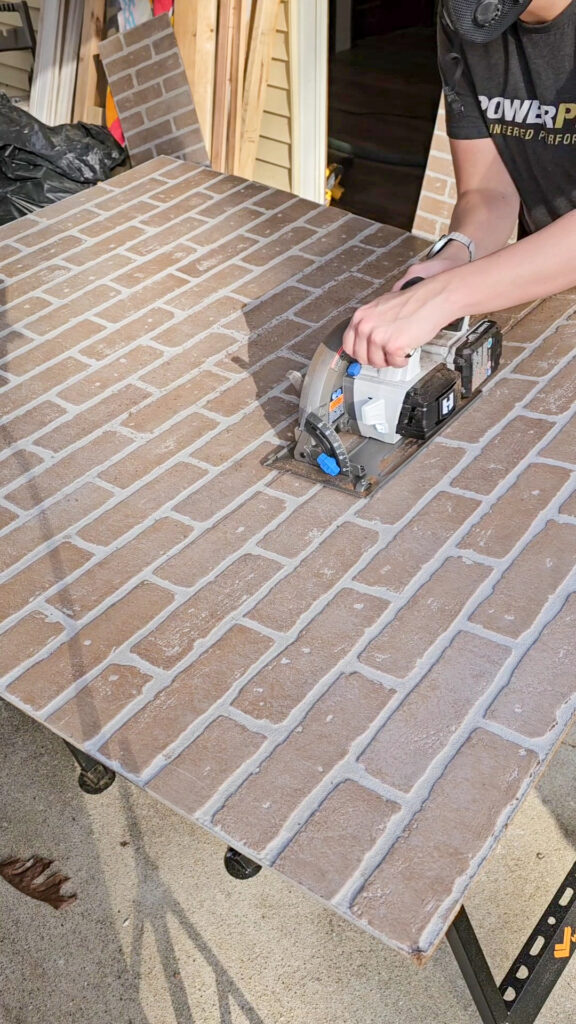
Cut edge of bricks panels using “cookie cutter” method
This is the part of the project that takes the longest, but I promise it’s worth it! Technically these panels are made to butt up directly next to each other without showing the seam. But this is very hard to do and you have to be very precise lining them up on the walls. I feel like the cookie cutter method is more forgiving in this aspect. on the edge of each of your cut panels, you will cut out the half bricks, so you only have the full bricks to line up. I just used a jigsaw for this and it made it easy. Jigsaw’s are one of the easiest saws to use.
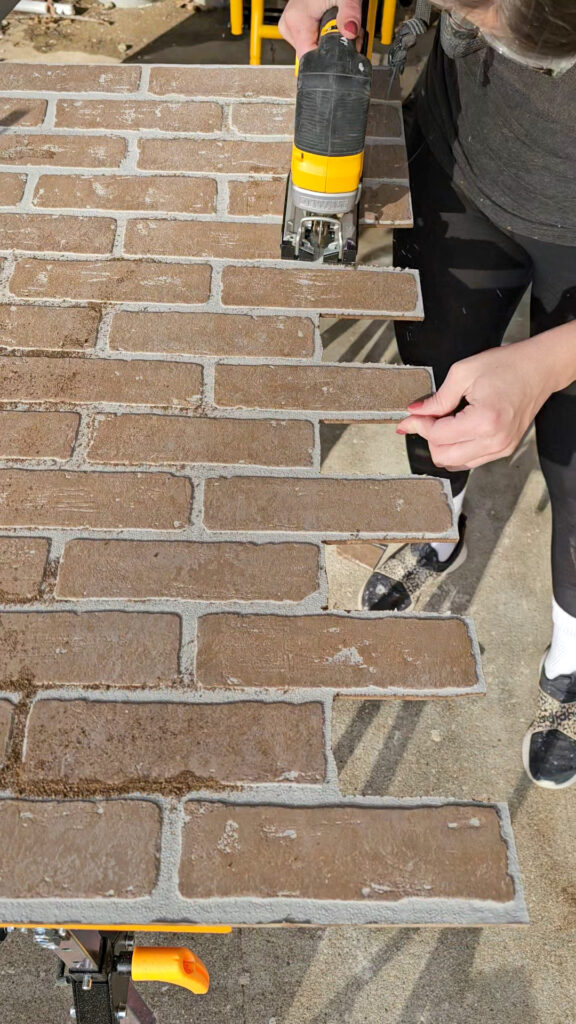
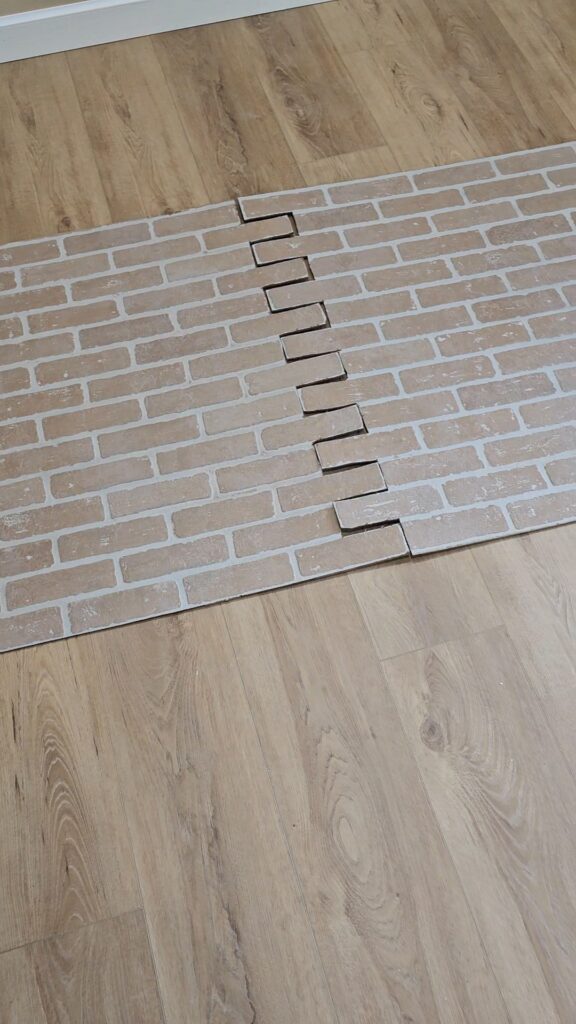
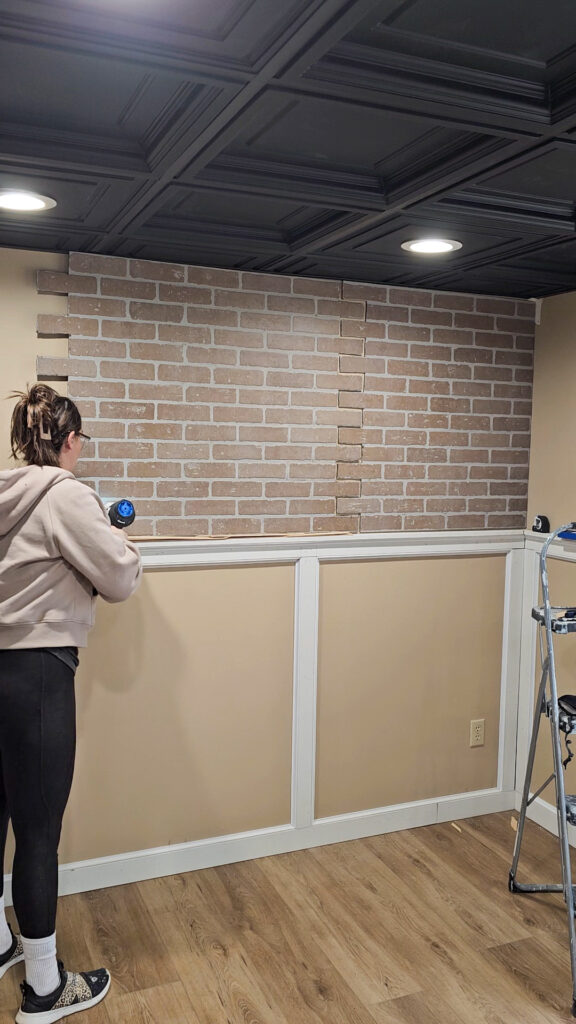
Now this is important to plan your panels next to each other before you just cut them to the correct height. Sometimes your full brick at the bottom of your panel will have a cut out half brick, and sometimes it will be your 2nd row up. So when you go to cut your second panel, you need to make sure you are starting off with the correct row at the bottom. In my picture below you can see what I mean. The panel on the left has a full brick on the bottom row, but the panel on the right has a half brick I had to cut out.
Install brick panels onto the wall
If you’re considering installing brick panels on your walls, you might be tempted to glue them. While this can be an option, it’s important to be aware that removing glued panels could damage your drywall. As someone who frequently changes project ideas, I recommend avoiding gluing anything to drywall. Instead, use a nail gun to attach the brick panels securely to the wall. When nailing, focus on the grout lines, as these will be filled in later, making the nails less visible. For bricks at the edges, ensure the nails are placed in less noticeable areas, like the corners of the bricks. To make the nails extra secure, I use the “V” method: nail first at an angle to the left, and then add a second nail angled to the right, right next to the first. This method ensures that your brick panels are firmly anchored to the wall, giving you a stable and long-lasting installation.
Prepare sanded grout for panels
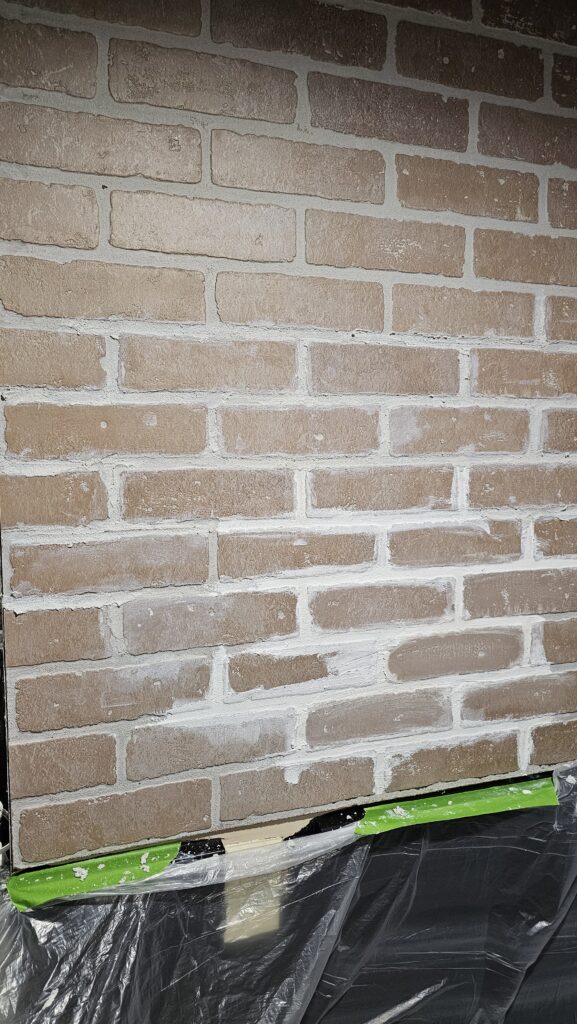
I originally bought a grout color that I thought would be perfect, but once I tried it out in an area no one will see, I quickly realized it was not good at all. It was too white for the bricks and took away attention from the bricks themselves. You can see it on the bottom bricks in the picture below. I went back to the store and got a second color that more closely matched the color of the grout already on the panels, Silverado. I recommend getting a small bucket to test first to make sure you like the color. These panels really have a beigey gray color to them with the grout. You can see the Silverado color in the bricks in the middle of the picture below.
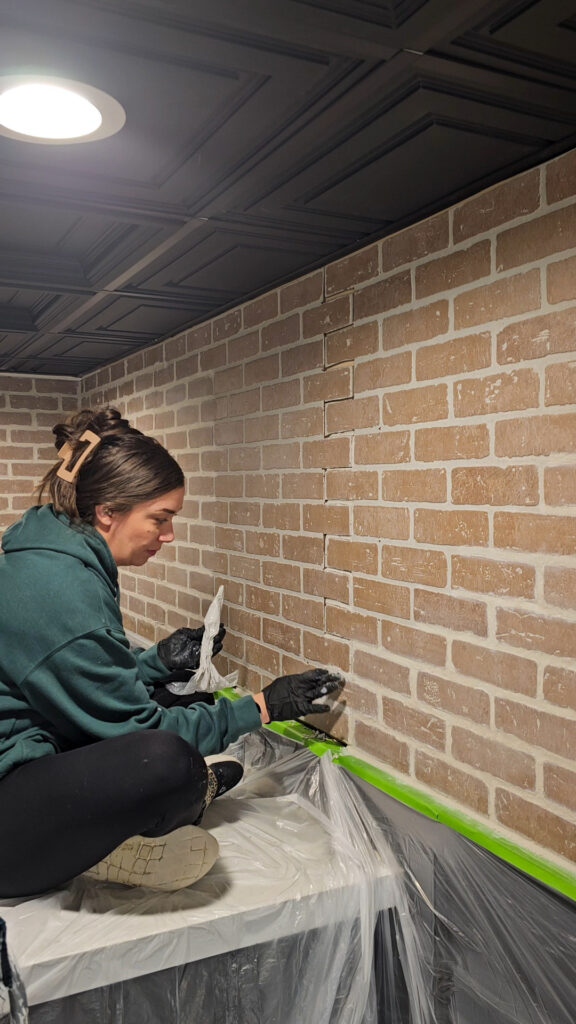
Once I settled on a color, I got to work preparing the grout. I found the easiest way to apply my sanded grout was with piping bags from the baking section of the store. You could also use gallon size baggies, but the piping bags were worth the extra couple of bucks. I loaded up a bunch of piping bags at once so it was a quick transition between them. I found that the bags were impossible to reuse. It became faster to just use the bags one time and move onto the next one.
Added sanded grout into panels
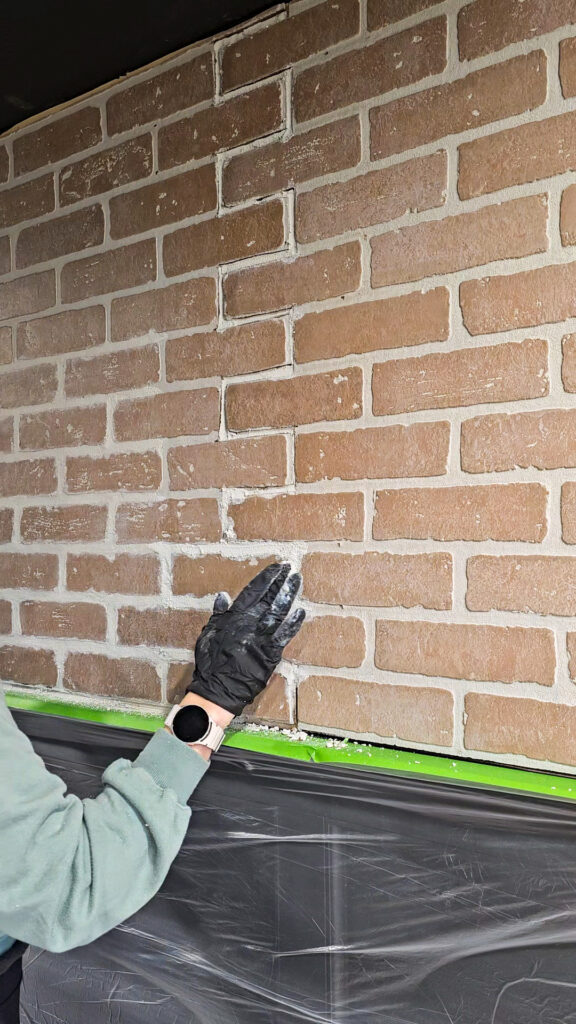
This was the most time consuming part of this project, however it also gave these brick that industrial feeling I was looking for. The panels on their own are pretty, but I wanted these to look as authentic as possible without installing real brick. Unfortunately you can’t just apply the grout like you would on normal tile. It doesn’t have huge gaps to sit in, so it just wipes away if you try that method. I found the best way, was to pipe long lines of the grout in at a time, then gently press it into place to give that overfilled look. This took time and patience until I got the hang of it.
If you want a more messier look, then you can let the grout sit for 5-10 minutes first before smashing it down. It will slightly harden and not give you as smooth as a finish. The grout did leave some white marks on the brick, which I was able to wipe away with a damp rag. Some bricks got a hazy white look to them, which I felt added to the character of them!
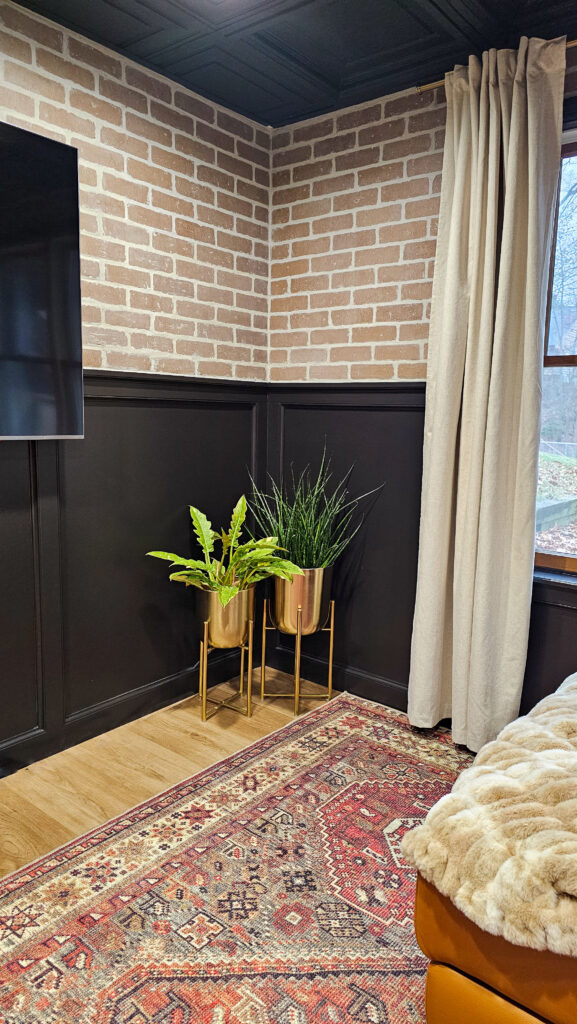
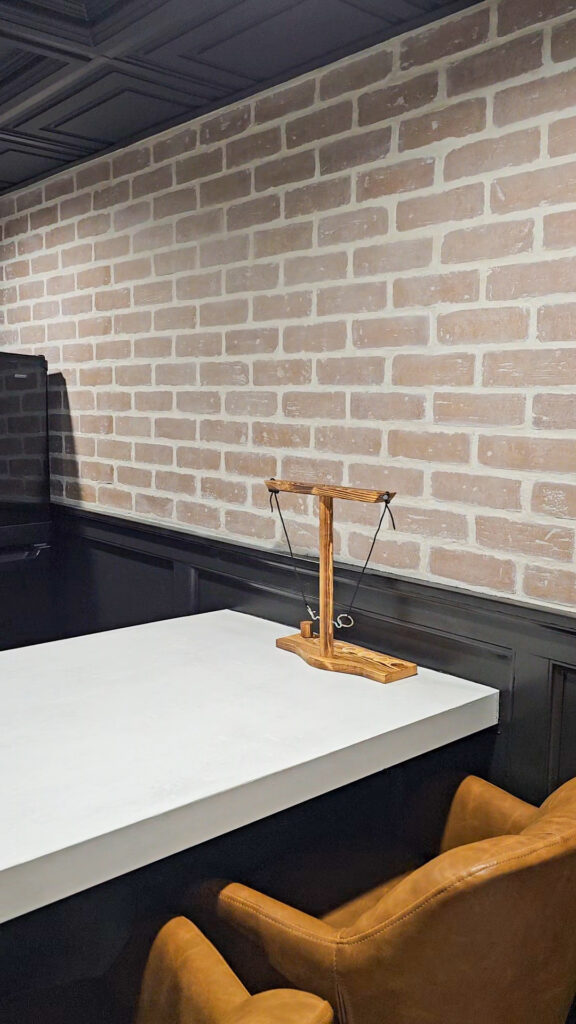
I love how these brick panels turned out. The entire basement looks entirely different now!
Check out this video on my Instagram showing the process on installing these faux brick panels.
Related Articles:
Replacing a Drop Down Ceiling – The first time
Dec 19, 2024

