Checkered Tray DIY
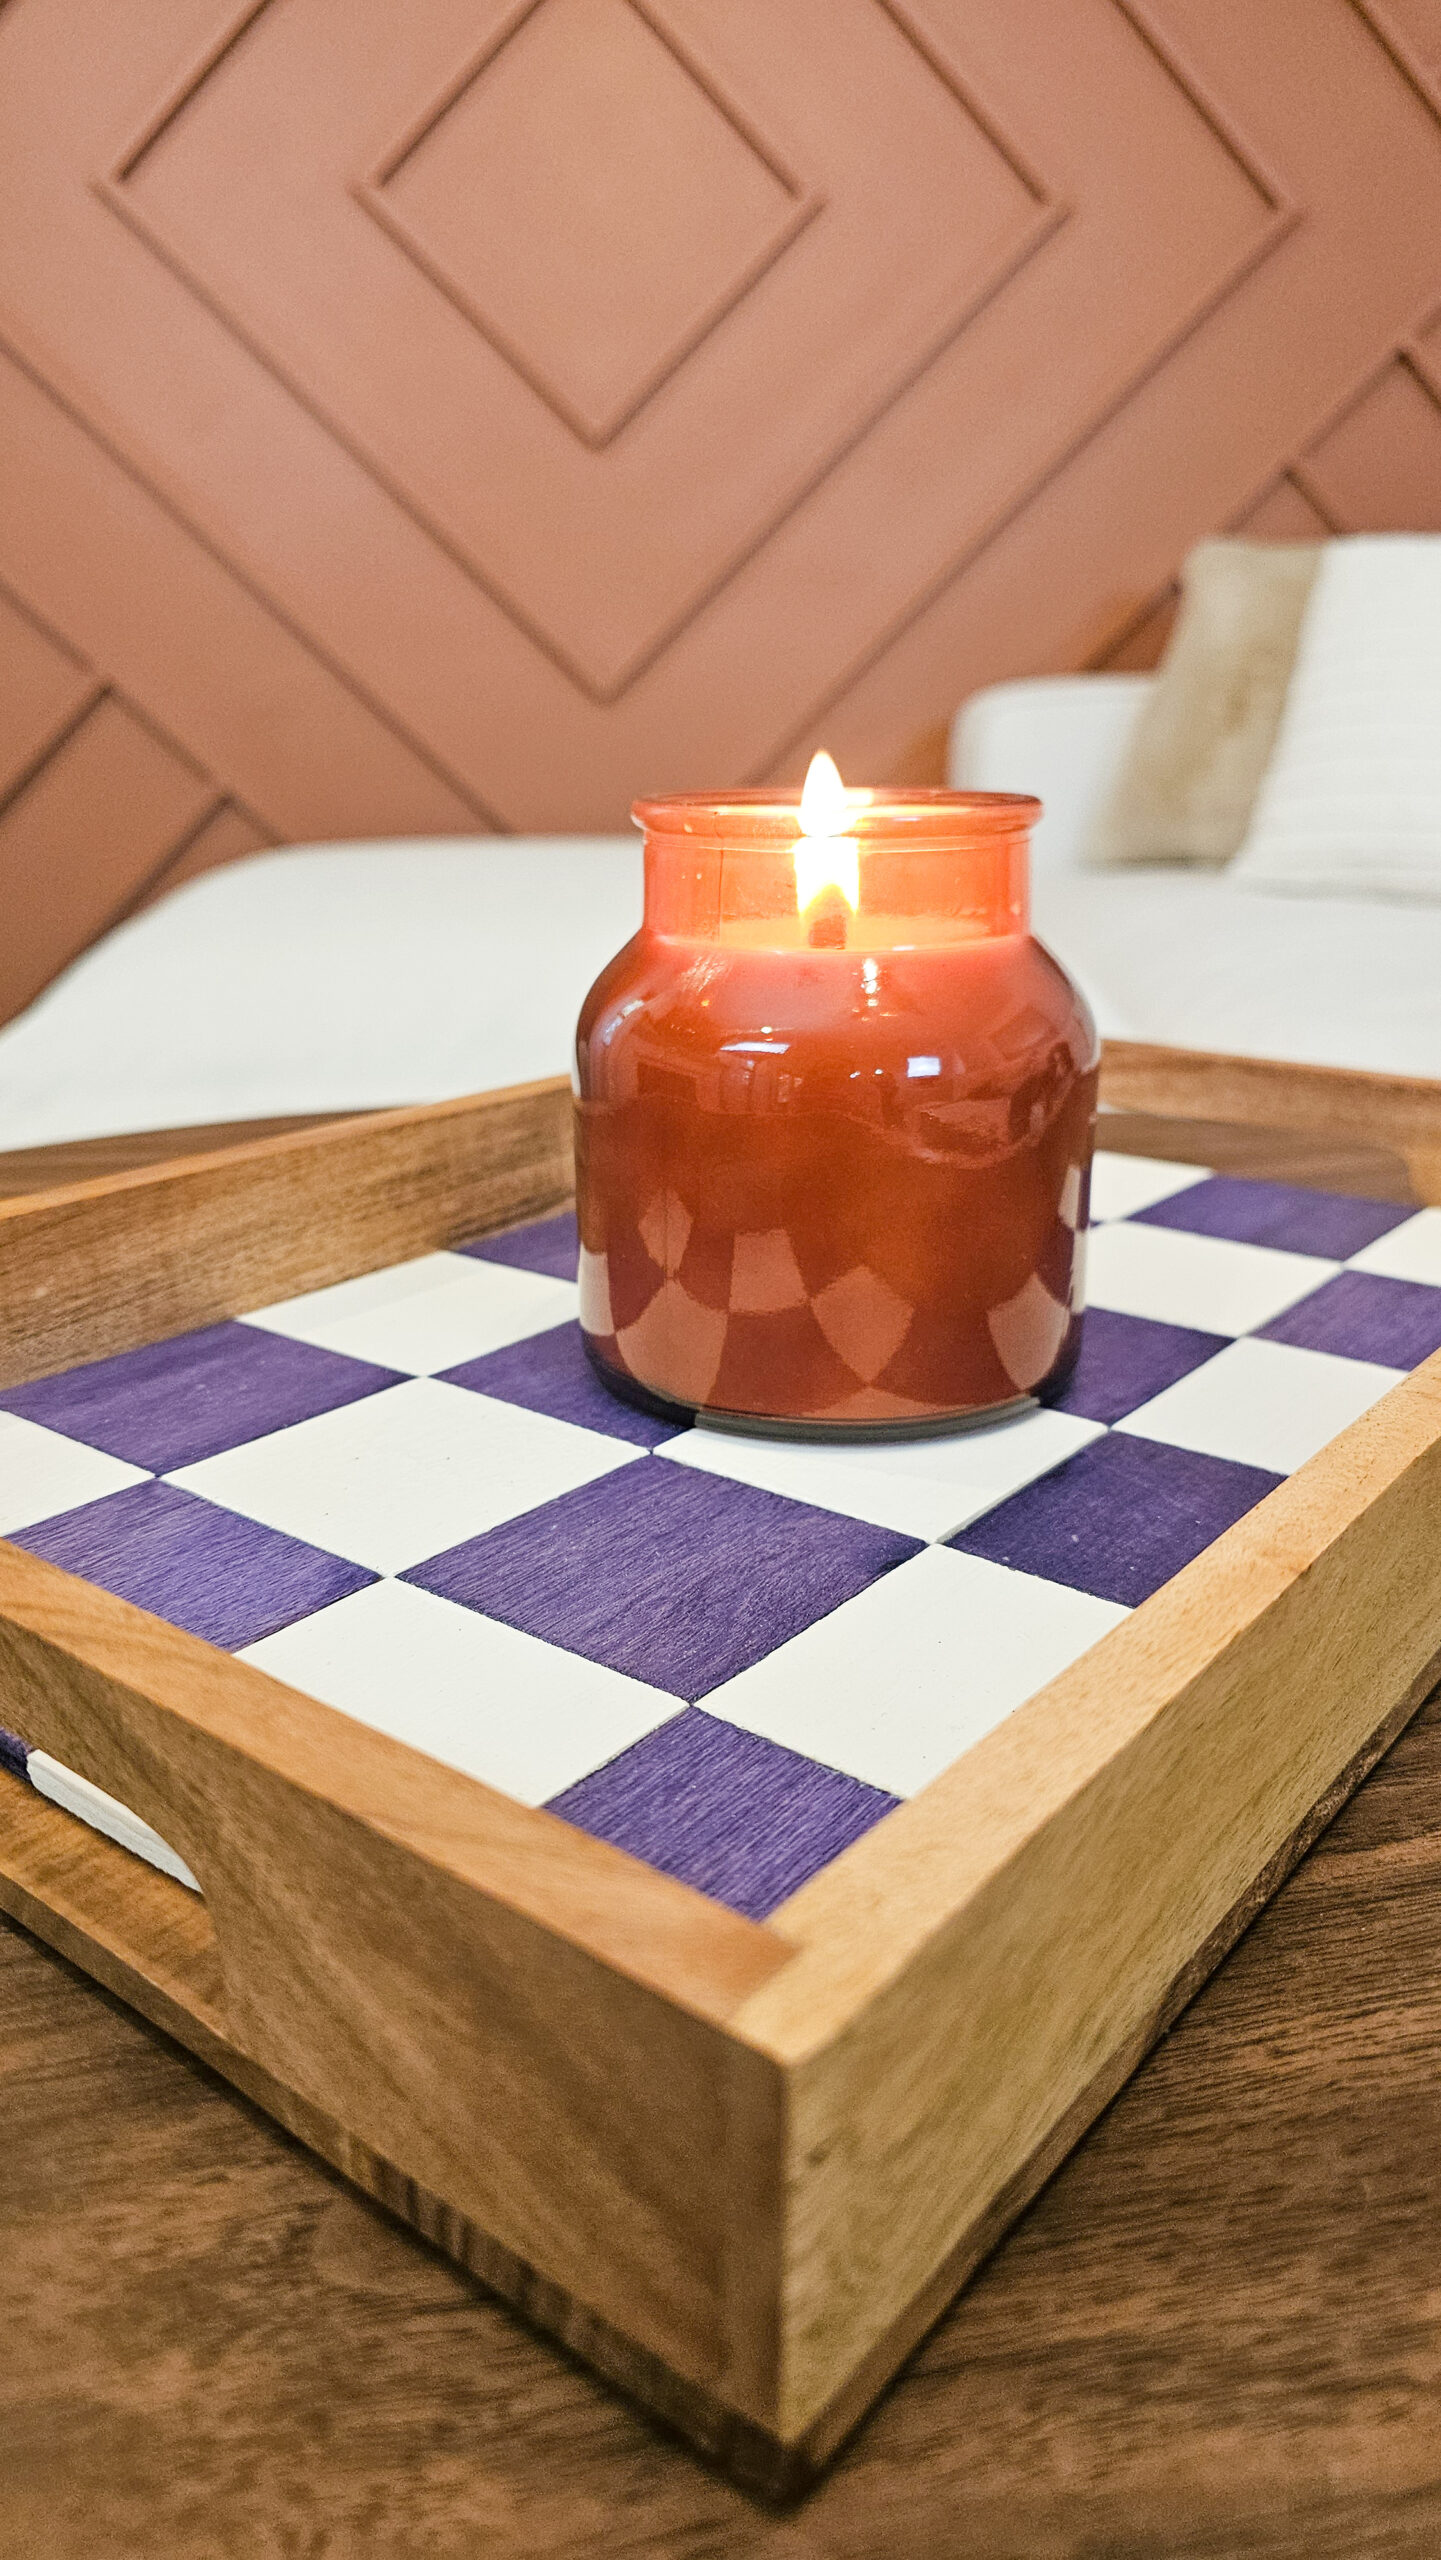
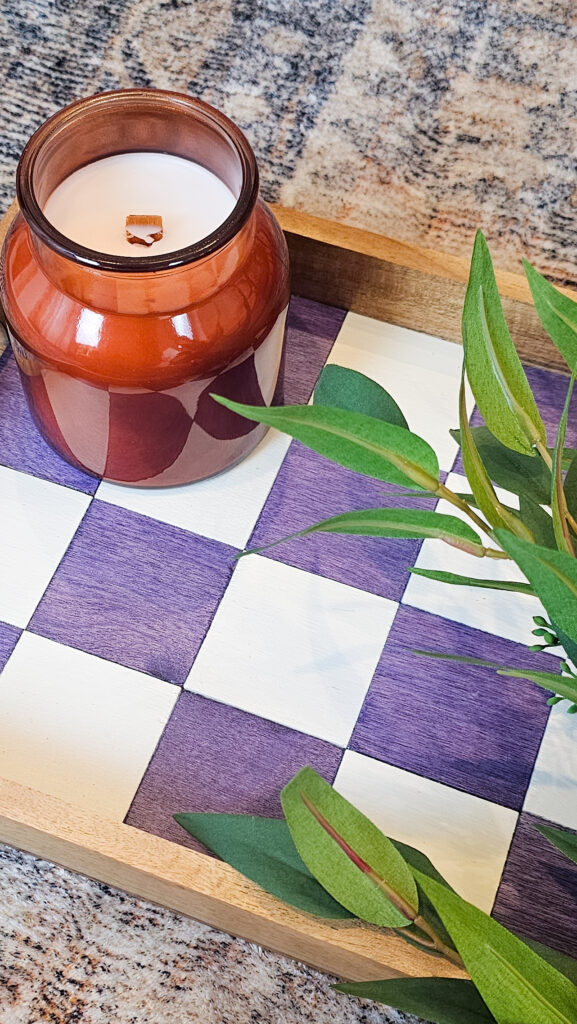
I wanted to update this plain wooden tray into something fun and colorful for our living room. This was super easy to do in just one day! Let me show you how to quickly make your own checkered tray.
*I may earn a small commission on any linked items in this article*
Supplies
- Wood Tray
- Minwax Prestain
- Minwax Stain – “Violet”
- Paint
- Polycrylic Max Sealer
- Paint Brush
- Foam Roller
- Liquid Nails
Step Summary
- Cut squares to needed size
- Pick colors for squares
- Stain wood sqaures
- Apply wood squares to tray
- Seal wood tray
Detailed Steps
Cut squares to needed size
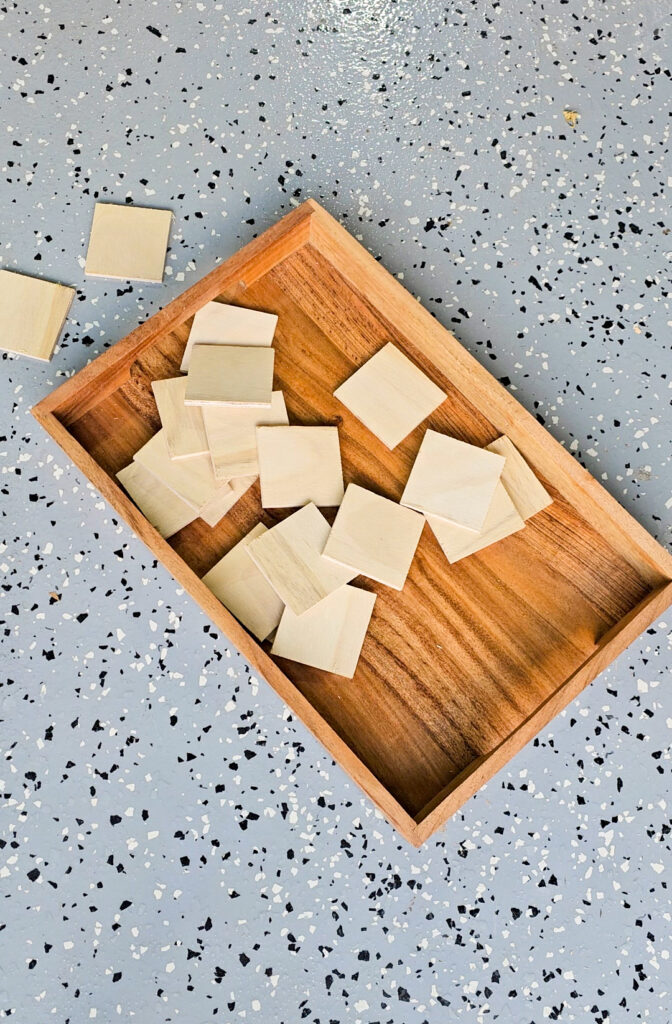
I measured my tray and divided it up by an equal number. Then I cut my squares to the needed size so they fit perfectly in the tray. I used 1/4″ plywood which is a great budget option! Luckily I had scraps laying around so this part cost me nothing.

Pick colors for squares
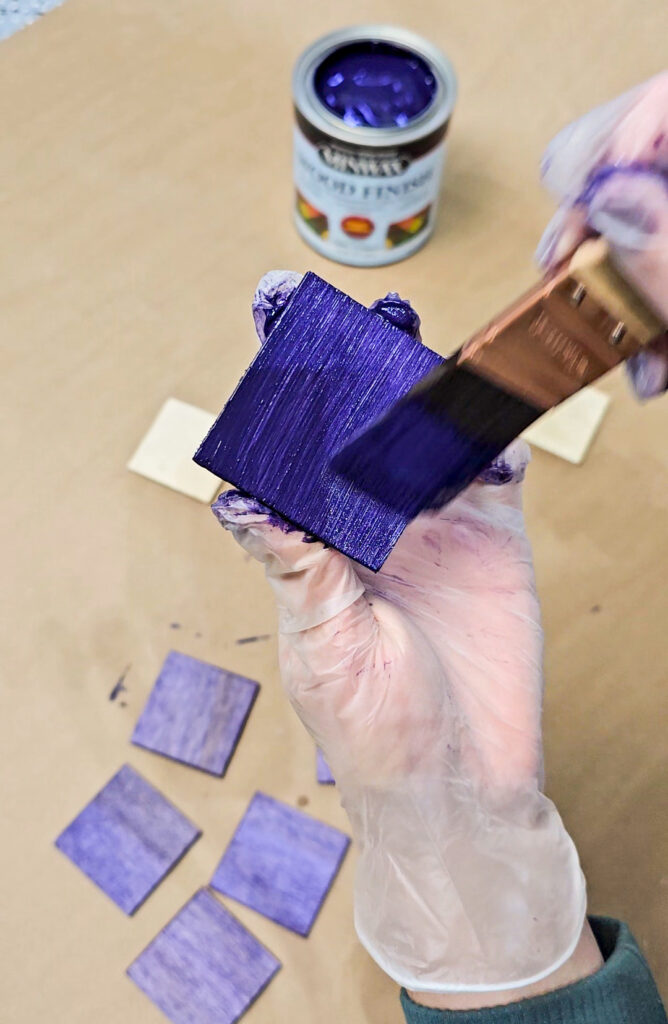
I used Minwax’s 2025 color of the year, Violet, as my main color. I used their water based stain. For my other set of squares, I used leftover white paint for a nice contrast.
Stain Wood Squares
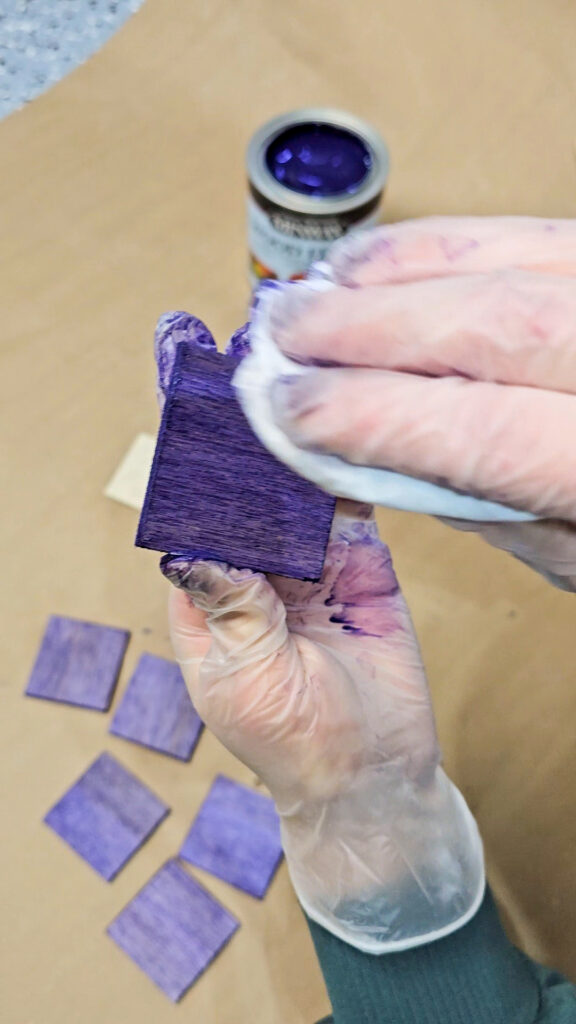
Apply wood stain onto your wood squares using a paint brush. Allow the stain to sit for up to 2 minutes. Use a rag or shop towel to wipe away any excess stain. If the color still isn’t where you desire it to be, you can add another coat of stain and repeat the process.

Apply wood squares to tray
I used glue to apply my squares onto my tray. This was a quick and easy step!
Seal wood tray
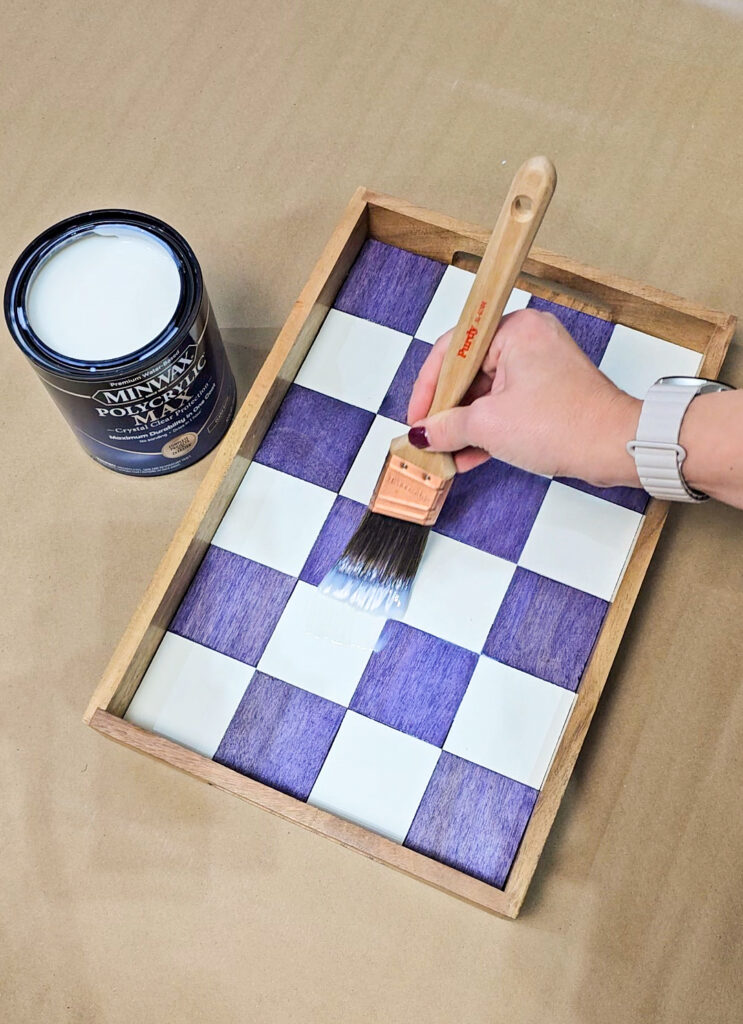
I sealed my wood tray with Polycrylic Max from Minwax. With just one coat it has great protection. I wasn’t sure what I would keep on the tray, so I opted for 2 quick coats.
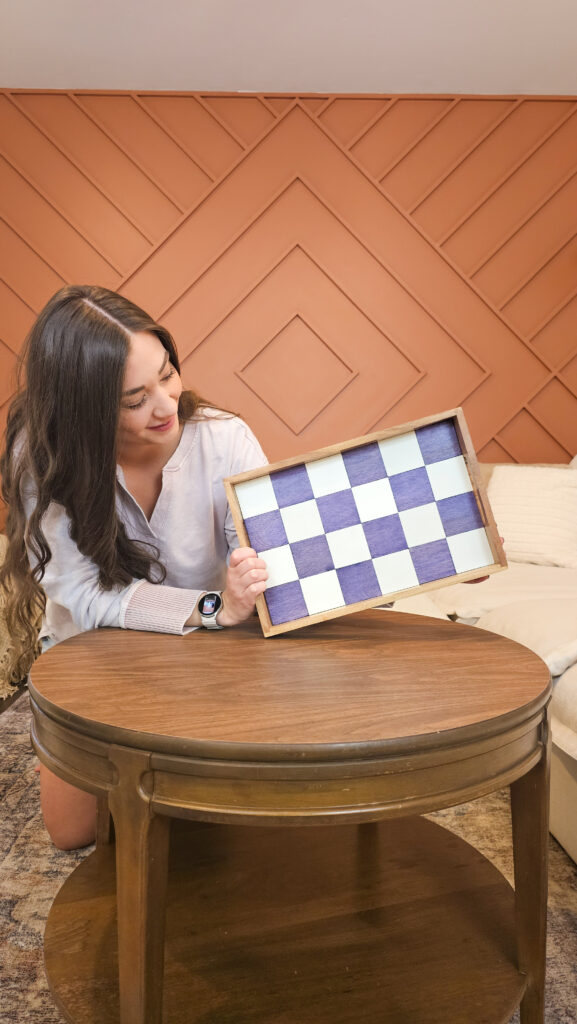
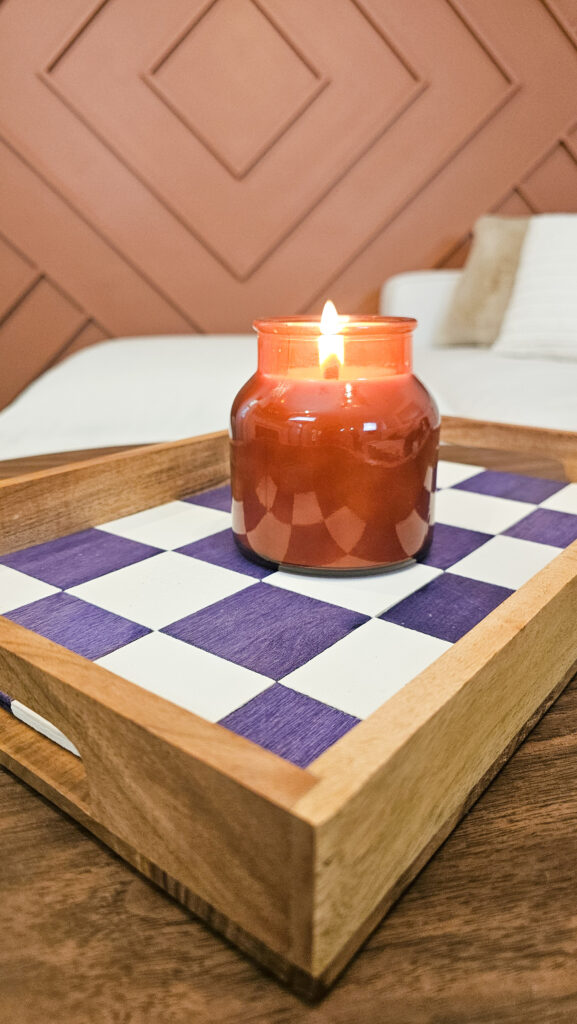
These were such a quick project… that I ended up making 2 tray! I love how the Violet contrasts against my orange accent wall in my living room.
Dec 9, 2024
