Hallway Trim Update
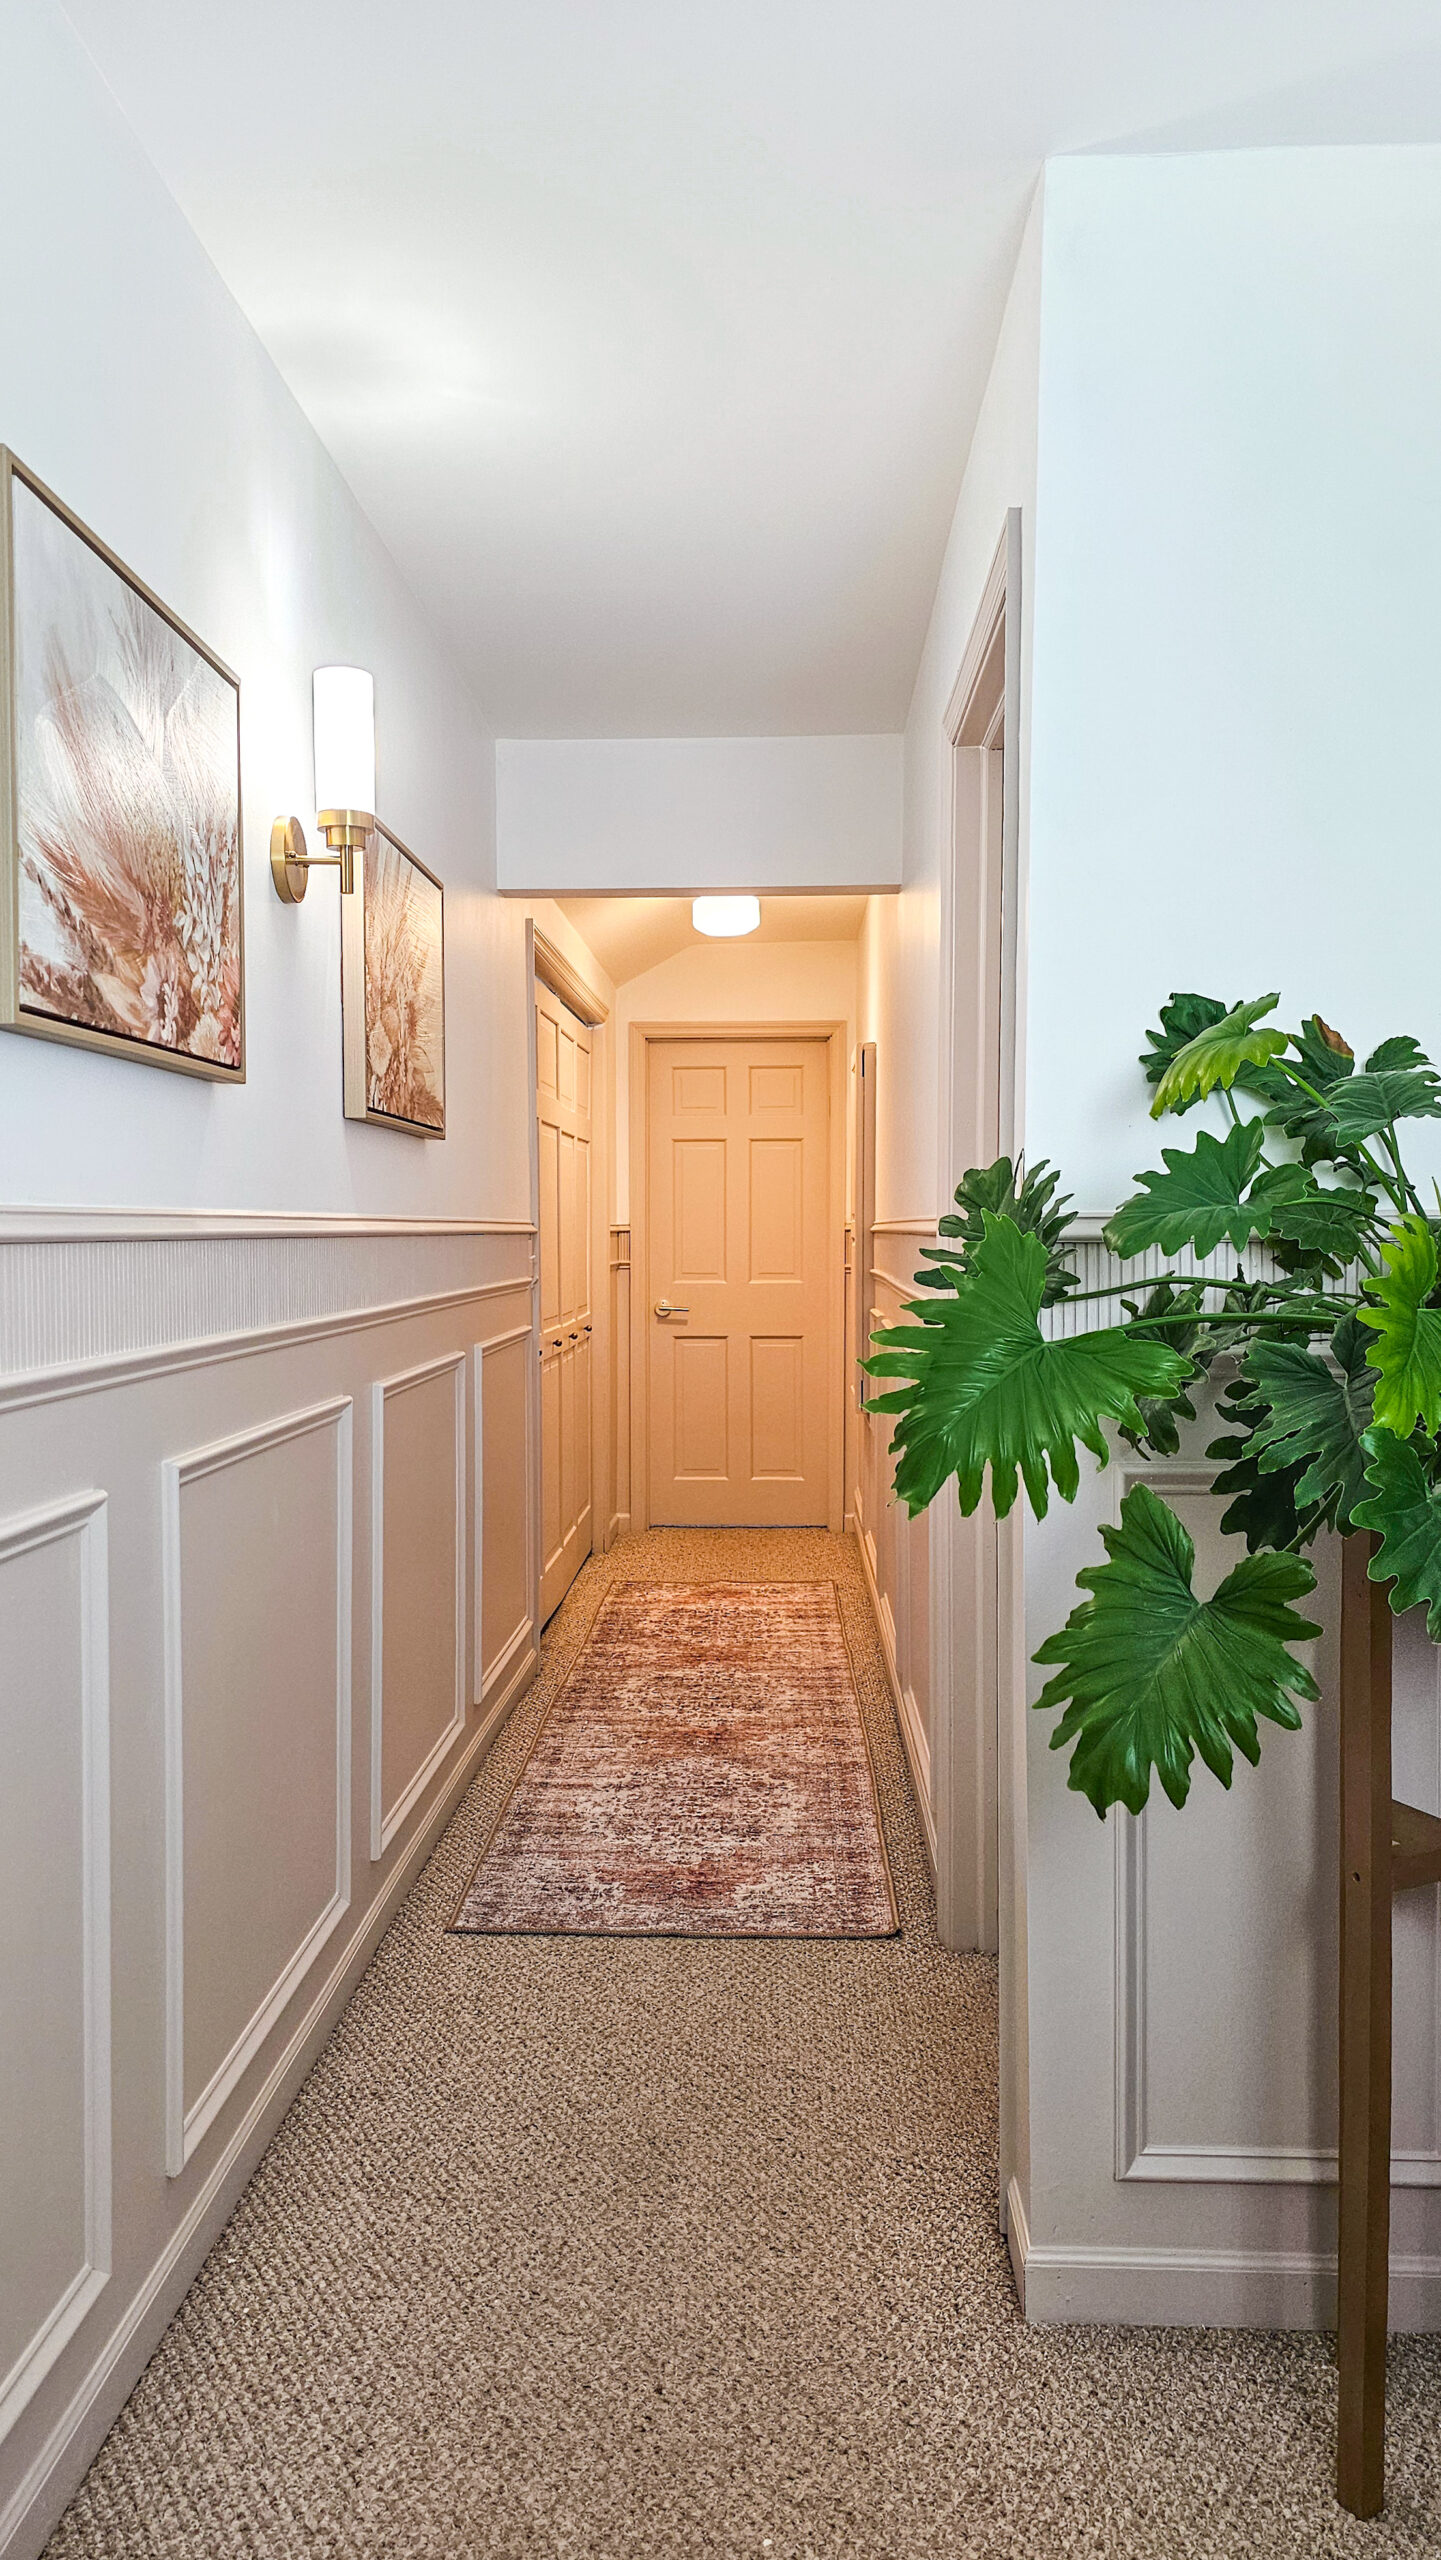
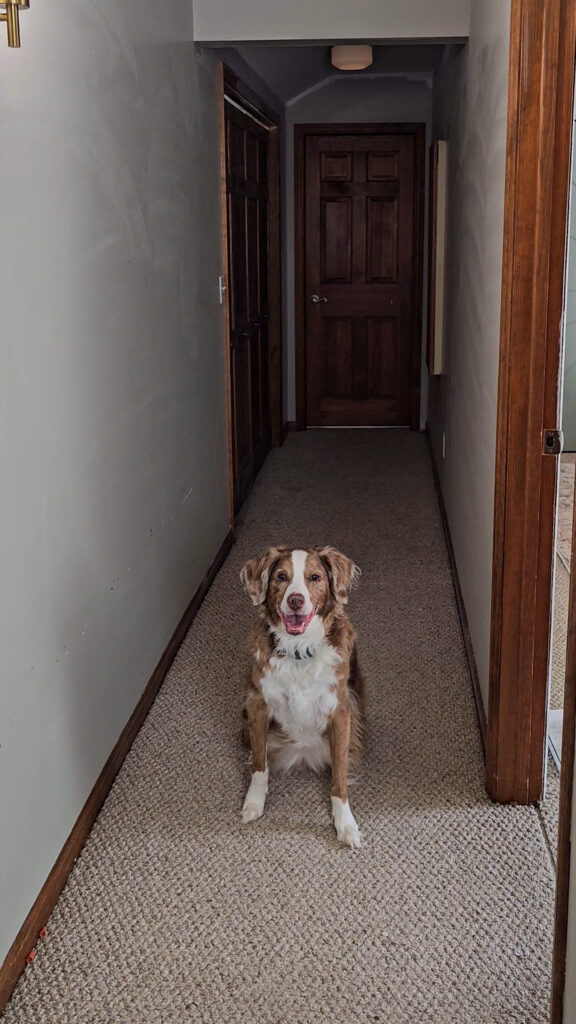
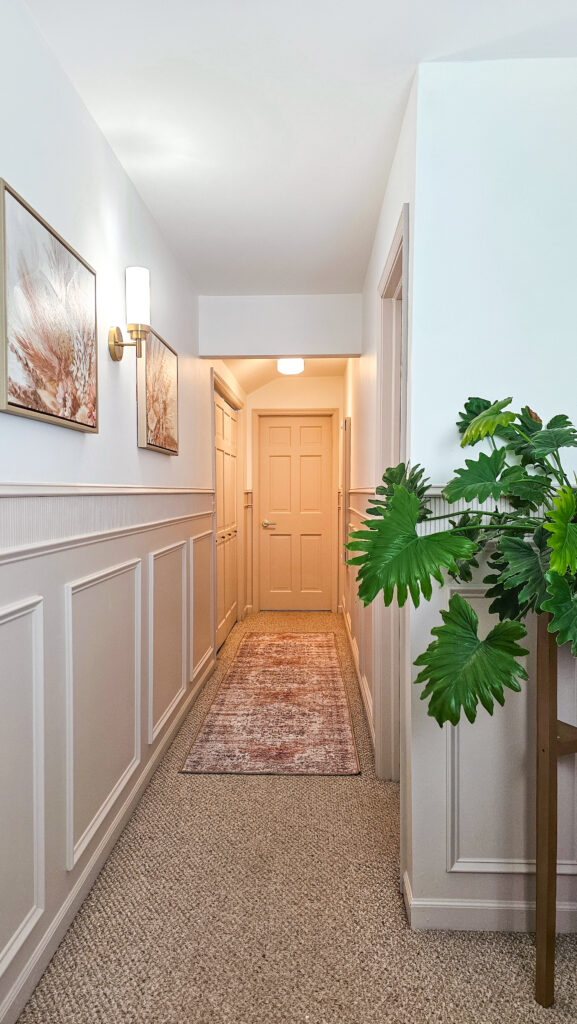
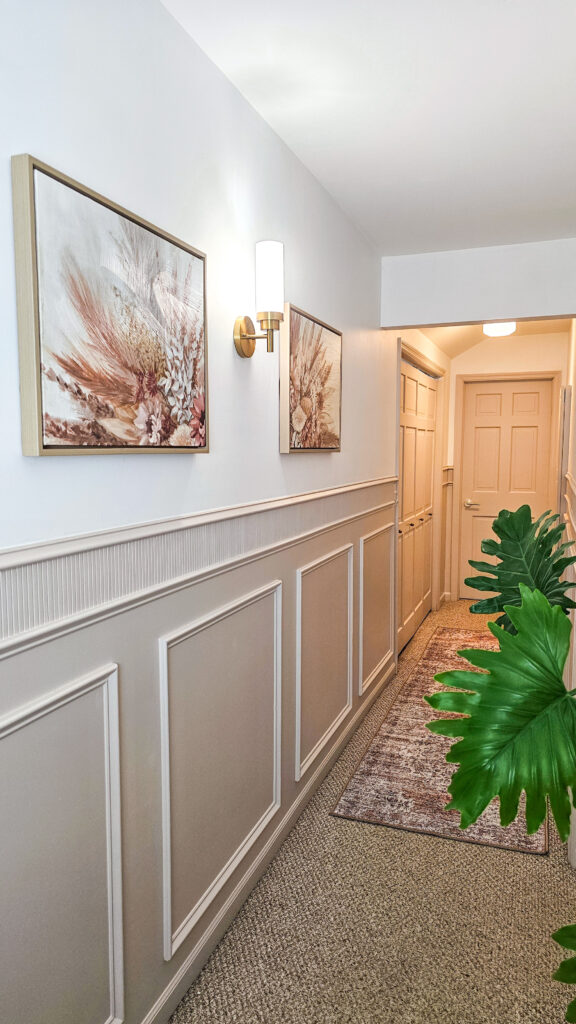
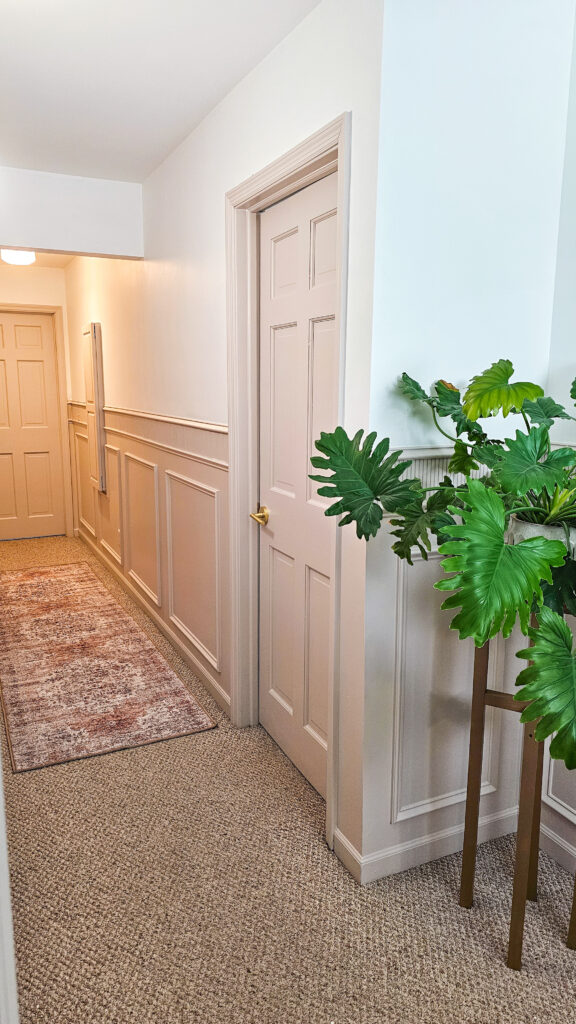
Our upstairs hallway is where all our bedrooms are and I spend a lot time in this hallway and have been wanting to make it over since we moved in! It’s so dark and bland. I was ready to brighten up this space I see every day! I added in some box molding and pole wrap trim. Then I transformed this space with Dutch Boy paint! Let me show you how I did it!
*I may earn a small commission on any linked items in this article*
Supplies
- Paint – Dutch Boy’s Cabinet, Door, & Trim Paint (Color: Stable Gray 411-1DB)
- Paint – Dutch Boy’s Platinum Plus Interior Paint (Color: Ultra White)
- Paint – Dutch Boy’s Ceiling Paint
- Paint Brush
- Foam Roller
- Sanding pad
- Box Trim
- Pole Wrap
- Saw
- Nail gun or Liquid Nails
- Caulk
- Wood Filler
- Rug (optional)
- Door Handles (optional)
- Door Hinges (optional)
- Sconces (optional)
- Ceiling Light (optional)
- Paintable Outlet Covers (optional)
- Artwork (optional)
Step Summary
- Project prep before trim installation
- Measure wall
- Determine size/number of boxes
- Create spacer board
- Install top trim first
- Install box trim
- Install pole wrap detail
- Caulk any seams
- Fill in any nail holes
- Paint walls
- Paint trim
- Optional: Replace hardware and add in decor
Detailed Steps
Project Prep before trim installation
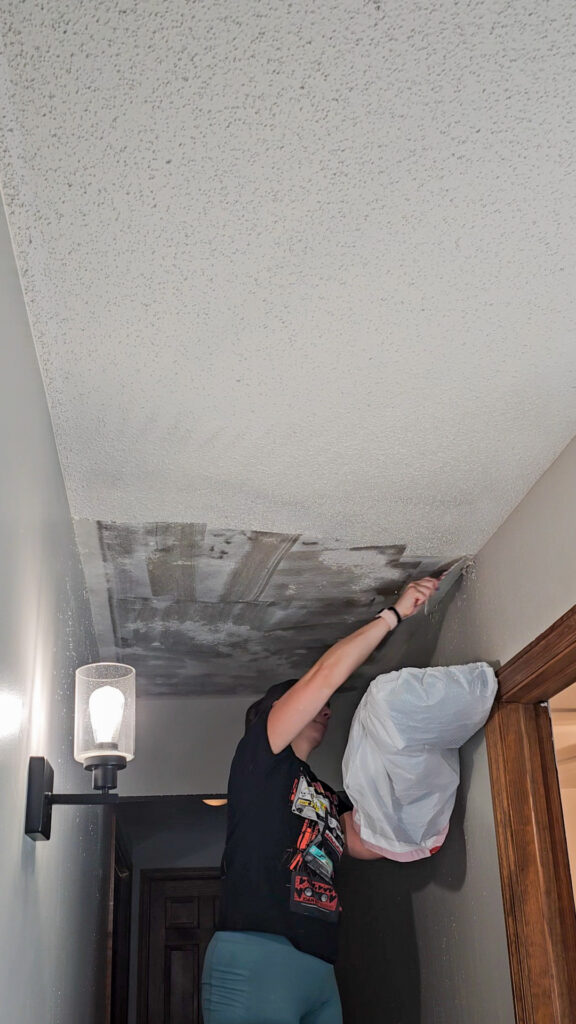
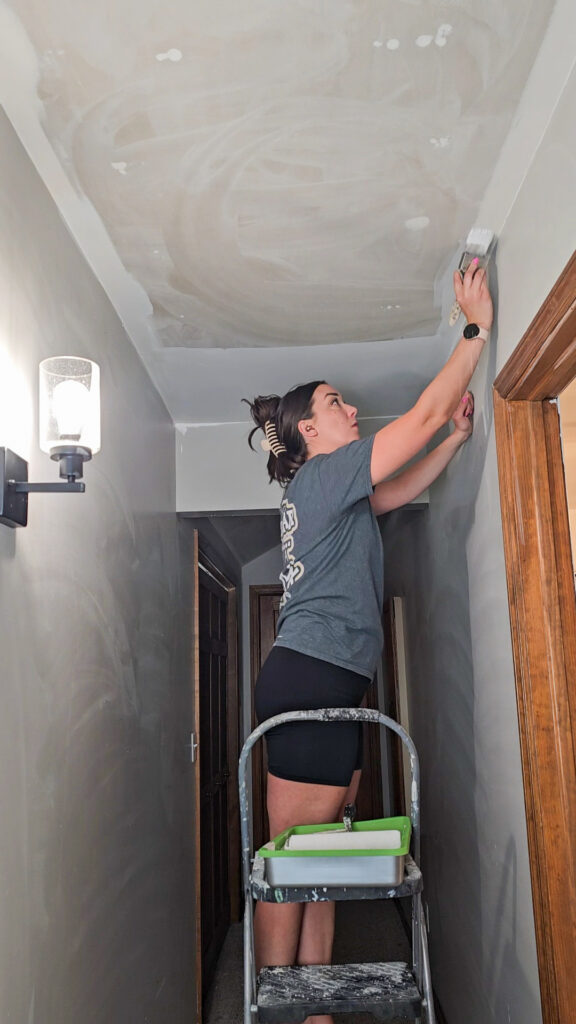
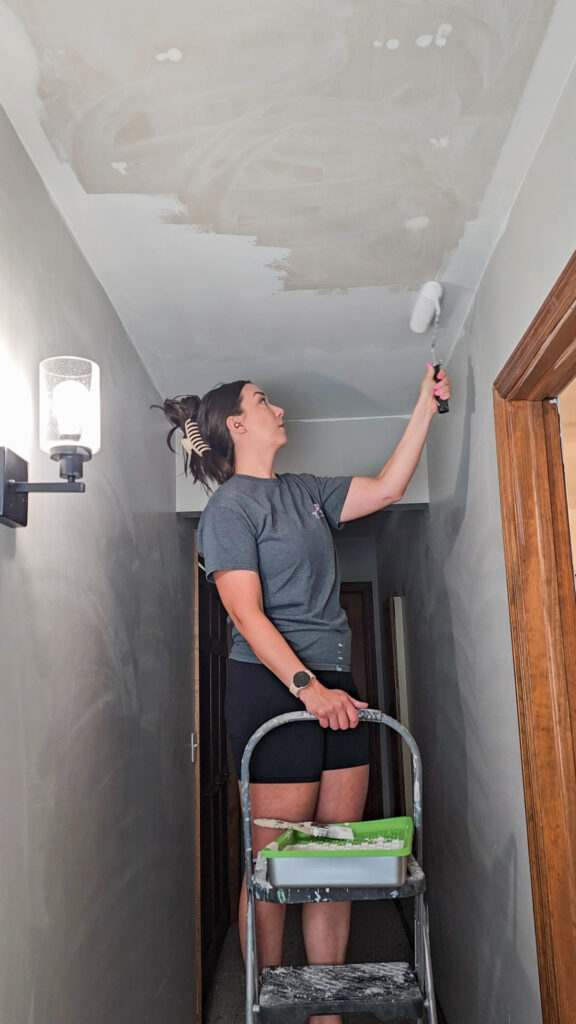
Before I got to installing my box trim, there were a few changes I wanted to make in this space first. I have slowly been removing the popcorn ceiling in our home and this hallway was the next space to go! I use a water bottle to wet the material and use a plastic scraper to remove all popcorn. After all the popcorn has been removed, I go back over everything with a wet rag to remove any other residue. Once it was all removed, I used Dutch Boy’s Ceiling paint in my space, and it is already so much brighter!
Measure Wall
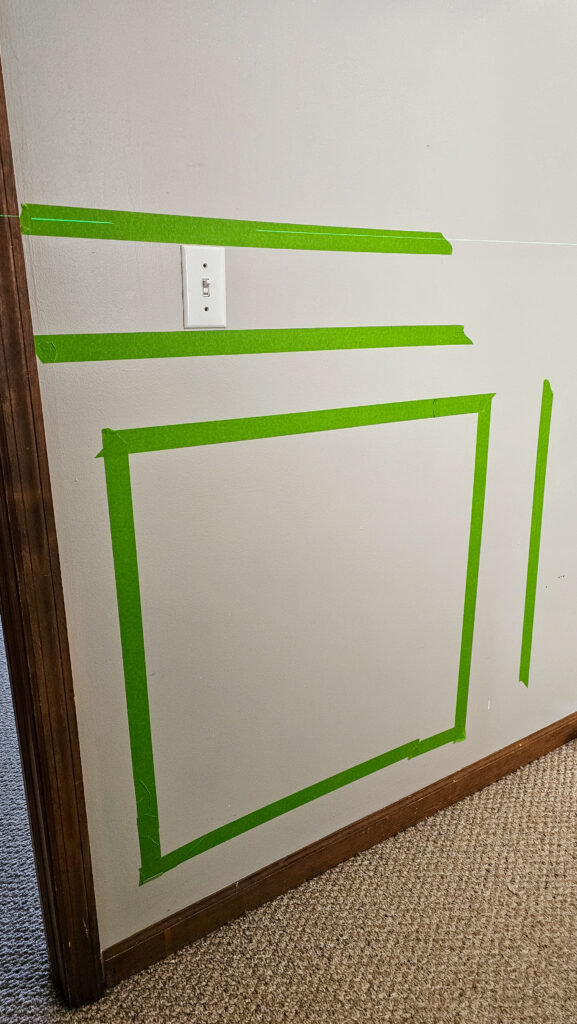
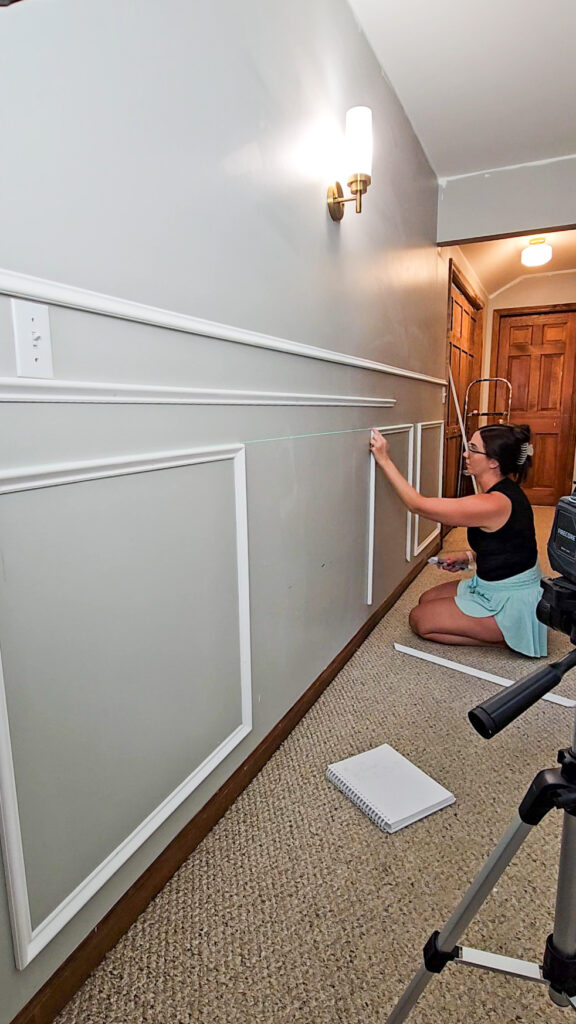
The first step to plan out your project is to figure out the size of your walls and a rough estimate of how much trim you will need. The more boxes you want, the more work (and money) it can be. It’s also important to note down any outlets or switches that you may run into that could impact where you place your boxes. It’s best to avoid them if you can, but if not, I like to frame mine to build it into the design.
Determine size & number of boxes
I decided to do 4-5 boxes on my walls that are on average 150” long. I also like to create even spacing between each box, the baseboard, and my top trim so everything looks nice and even.
Create spacer board
To make measuring easier, I like to cut a piece of scrap wood exactly the distance of my gap so I can easily add my next trim without getting out the tape measure.
Install top trim first.
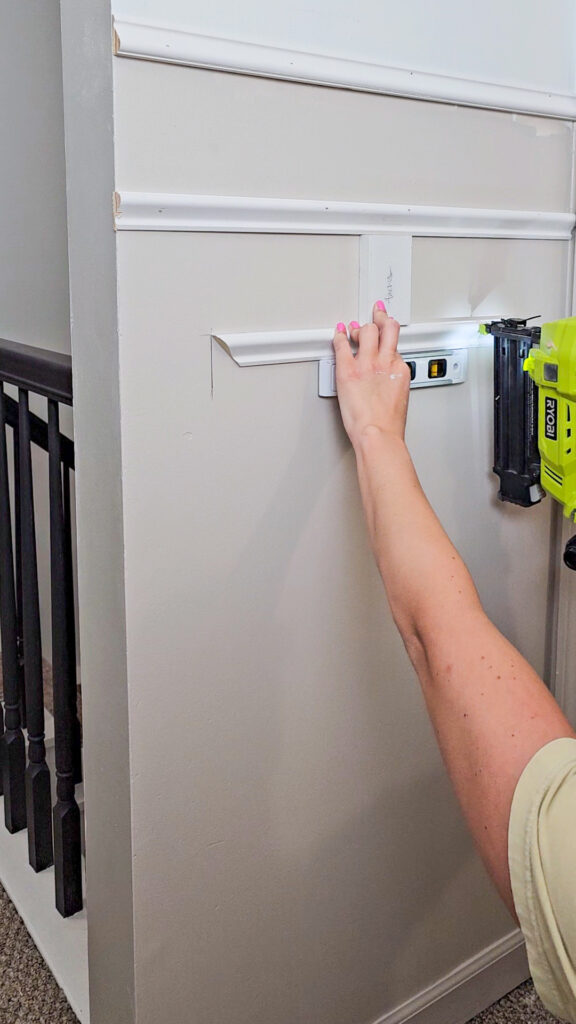
To install the trim you have 2 options, a nail gun or liquid nails. The first is liquid nails, which I don’t recommend. Liquid nails is great if you don’t have a nail gun, but it will damage your drywall if you ever go to remove the boards. As someone who frequently changes their mind, this is why I prefer using a nail gun. The boards will be plenty secure and leave minimal damage behind.
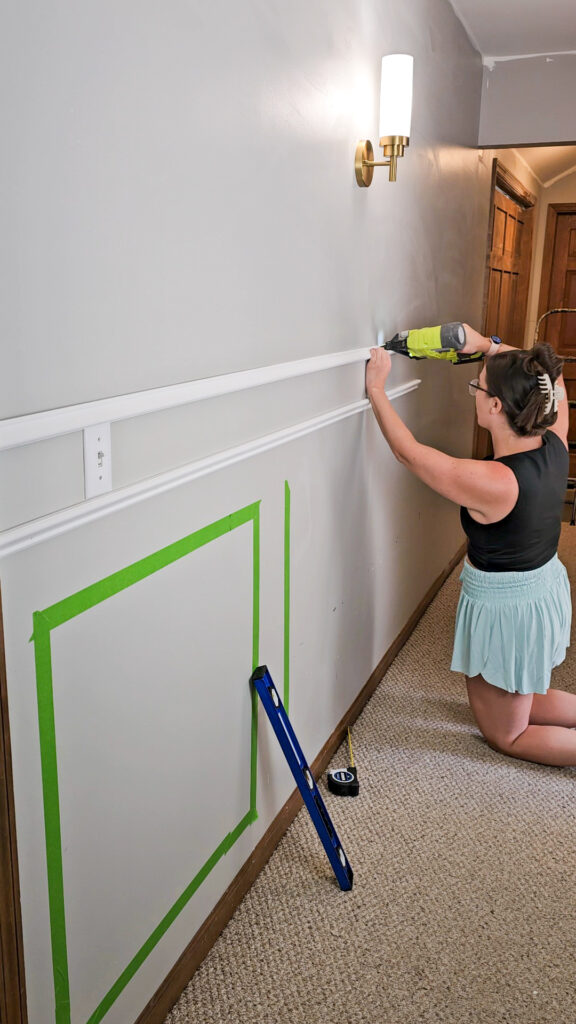
I decided to install my top trim first so I could line it up with all my light switches and not have to run into any of them. However, the joke was on me because none of them were the same height down my hallway. Because some of my switches were broken up on different walls, I did slightly adjust my top trim by about ½” on one wall to line up with the switch and you can’t tell. You wouldn’t want to do this with larger variances, but this was minimal and wasn’t noticeable overall
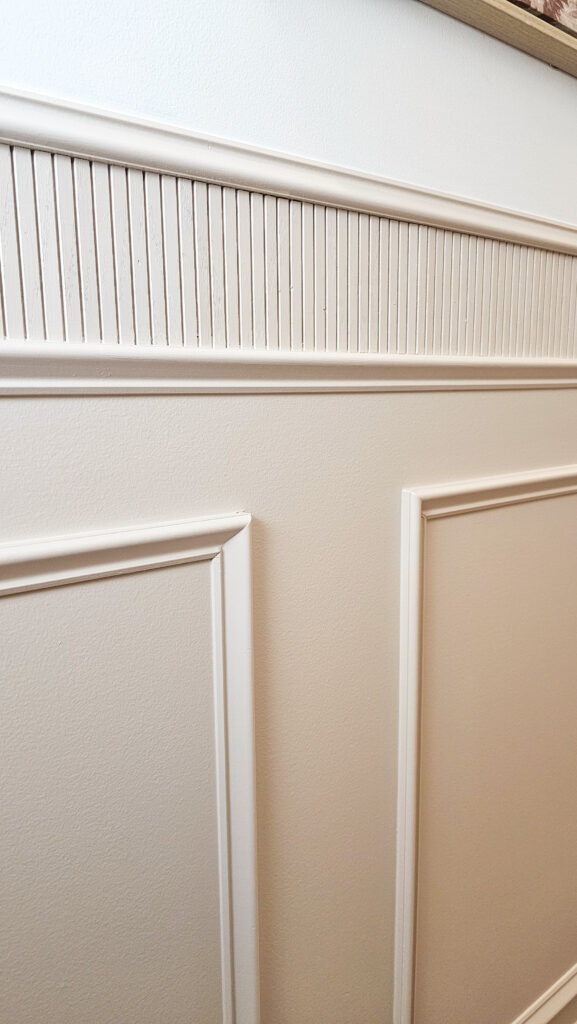
Once my top 2 boards were installed, I moved onto my boxes below. I did create a spacer board in between these 2 top boards where my pole wrap trim will go. Now I can take this spacer board and quickly cut my pole wrap on with my saw using this as a quick measurement.

Install box trim
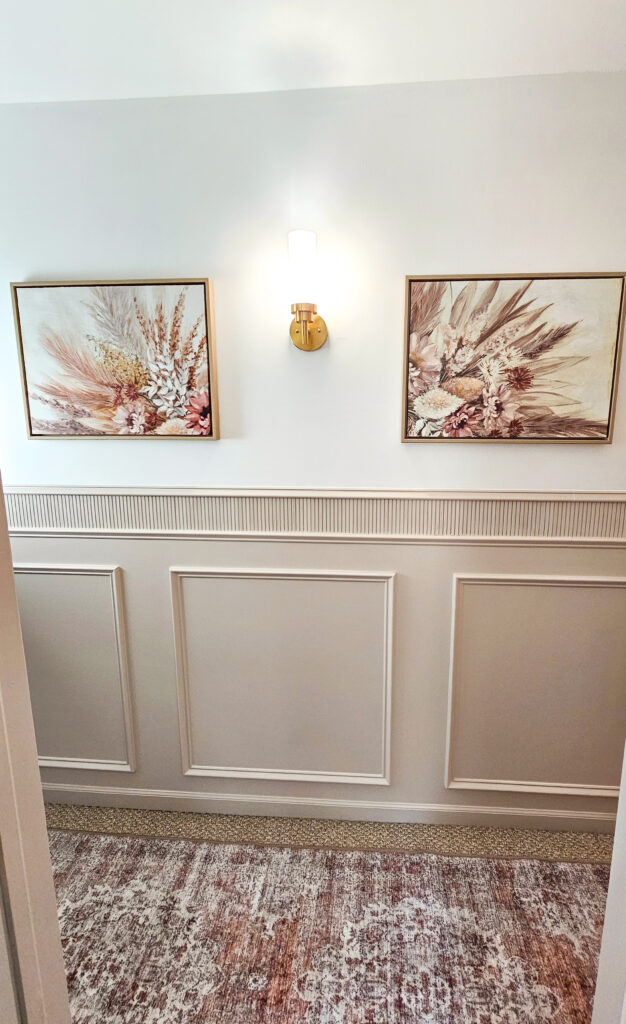
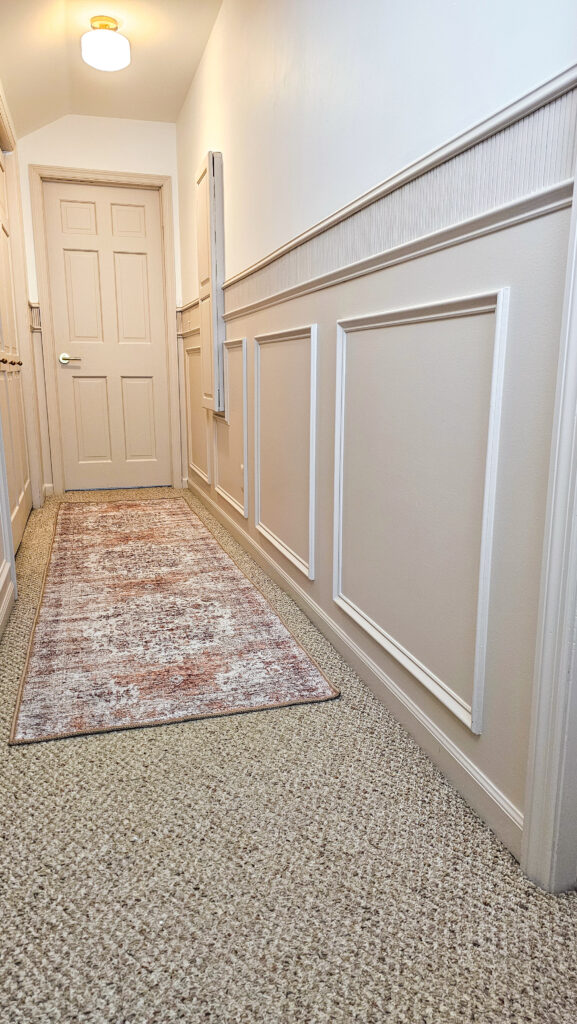
All of my boxes sit 4¾” from the trim above it and on the sides of the wall. I kept this consistent along the hallway to create better cohesion. The other thing I do is keep all my boxes the same height, 32” on every single wall. But because I wanted to create even boxes and spaces, my boxes aren’t all the same width on different walls.
For example, on my first wall all my boxes are 31” wide, but on my second wall they are 32” wide. Overall, you can’t tell there is a difference but the spacing looks similar on both walls from the subtle change.
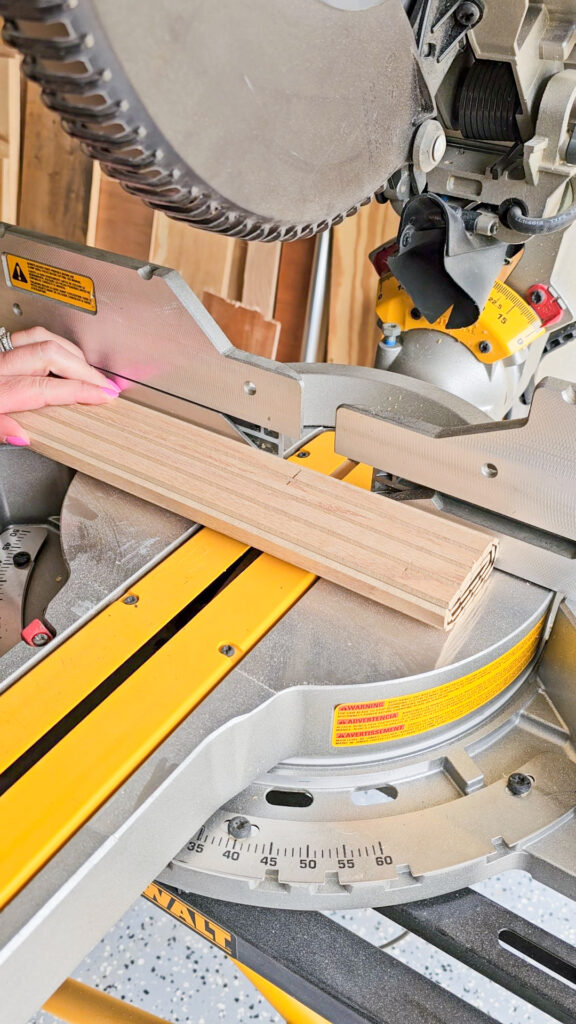
When using my saw to cut all my box molding trim, I first cut all my boards 32” long that I would need to ensure they are all the same. Each corner will be cut at a 45-degree angle so the trim fits perfectly square together.
Install pole wrap
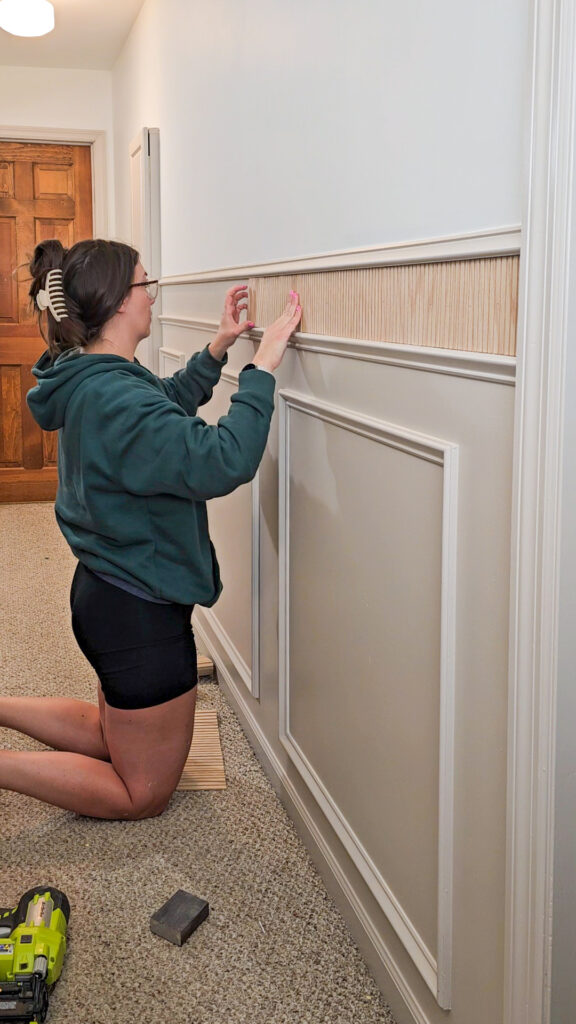
Pole wrap comes in long pieces, this one I used was 8 feet long and 16″ wide. I used my spacer board to quickly measure the pole wrap and cut it to the length I needed it. When cutting the pole wrap, just roll it up so you get a nice smooth cut all along. This makes it easier than laying it out flat and trying to keep it straight.
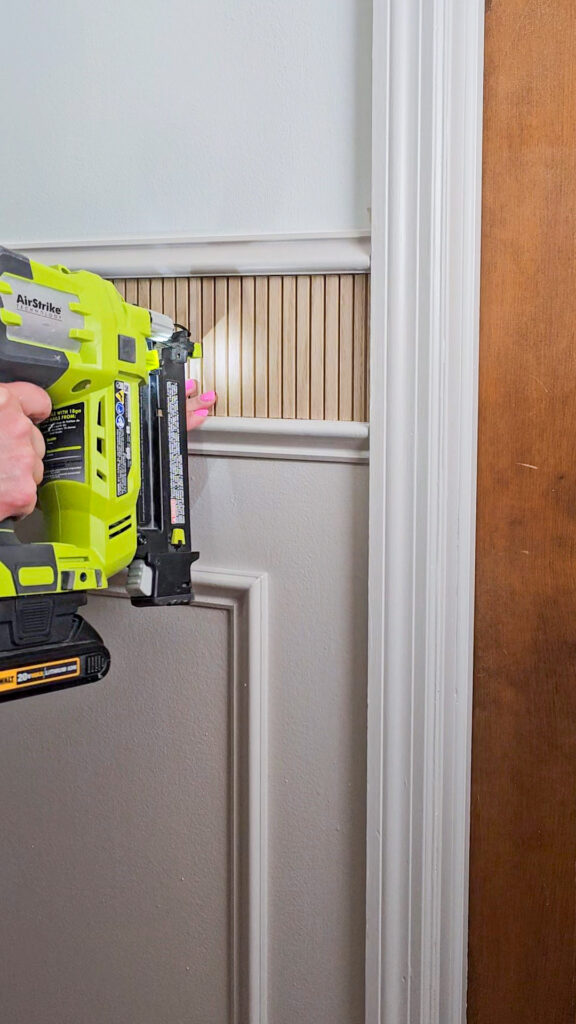
The pole wrap is just as easy to install using a nail gun or liquid nails. I used my nail gun along every few boards and edges, so it was nice and tight.
Caulk along seams
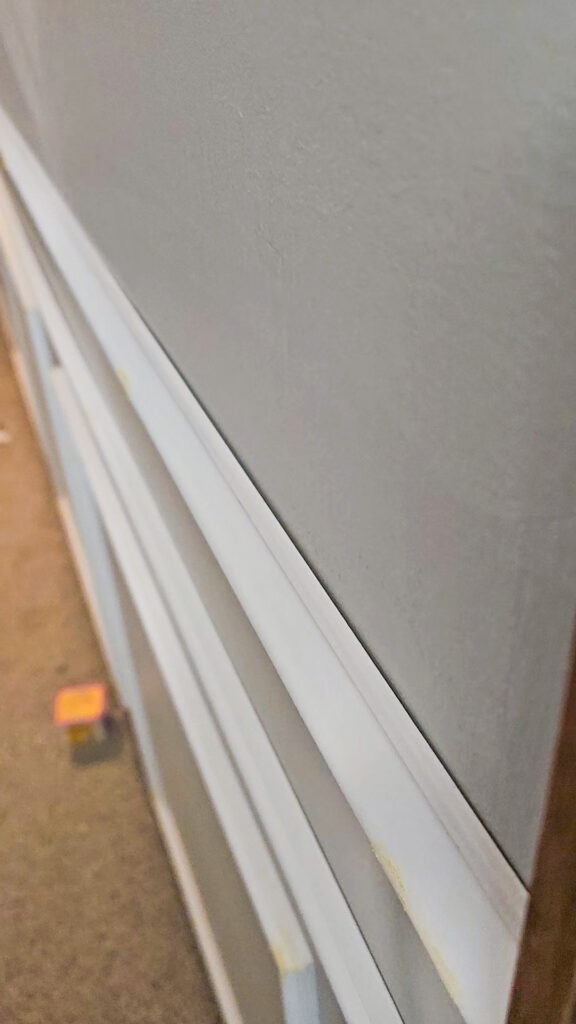
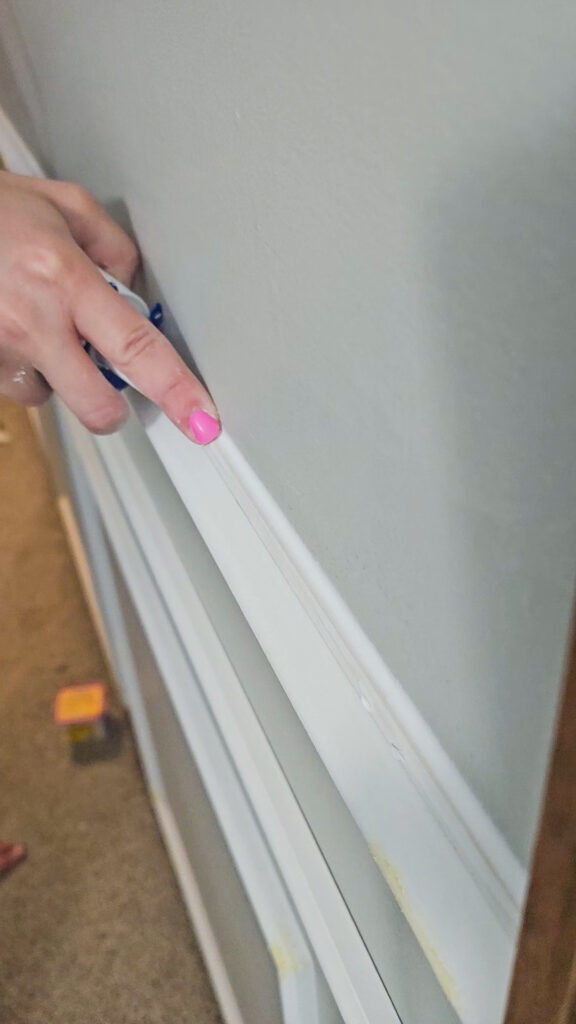
To make your projects look more professional, I always recommend taking the time to do the finishing touches. Where my boards met the wall, I caulked along all my edges to give a seamless look. You can use baby wipes to clean up any excess caulk.
Fill in nail holes
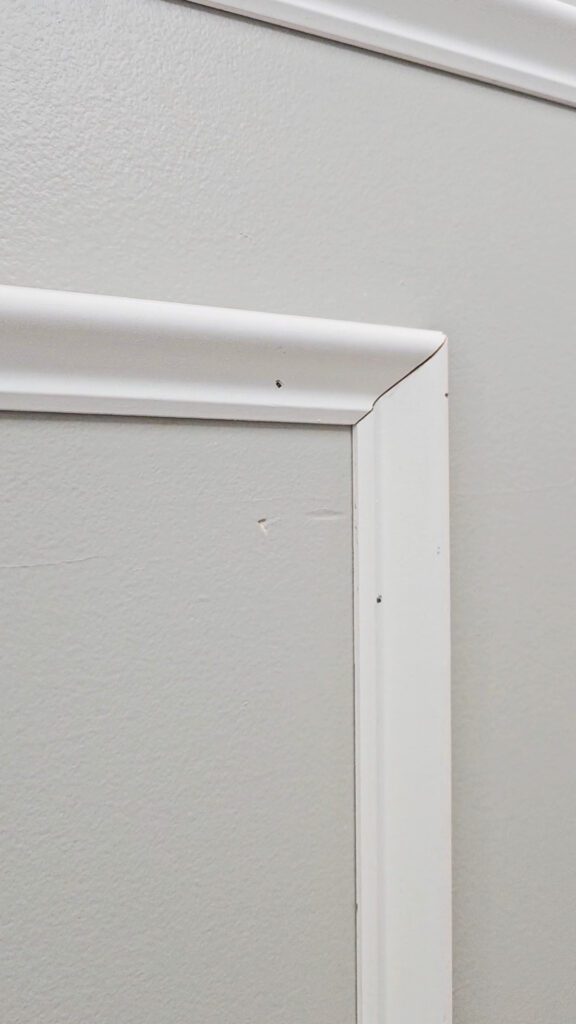
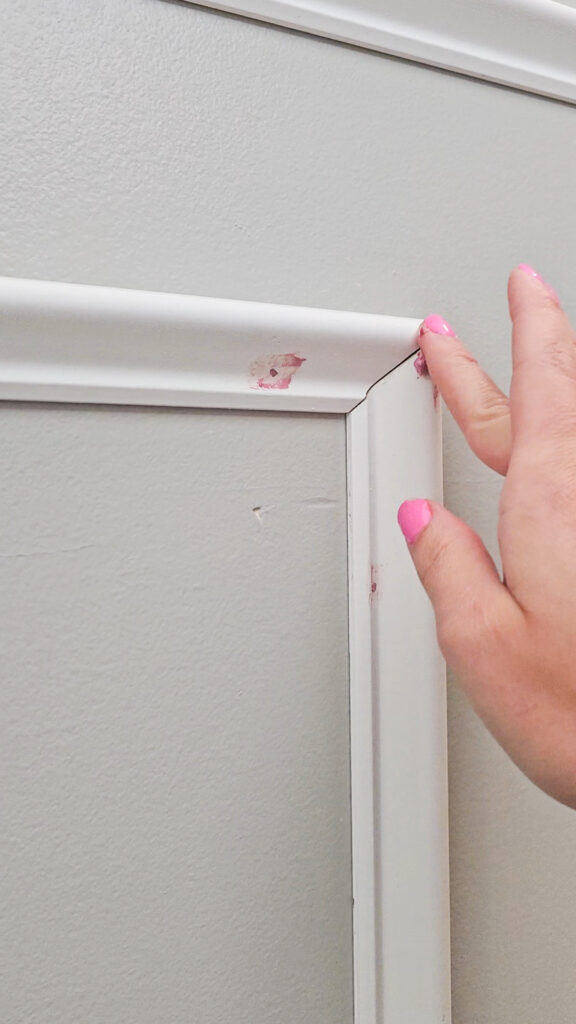
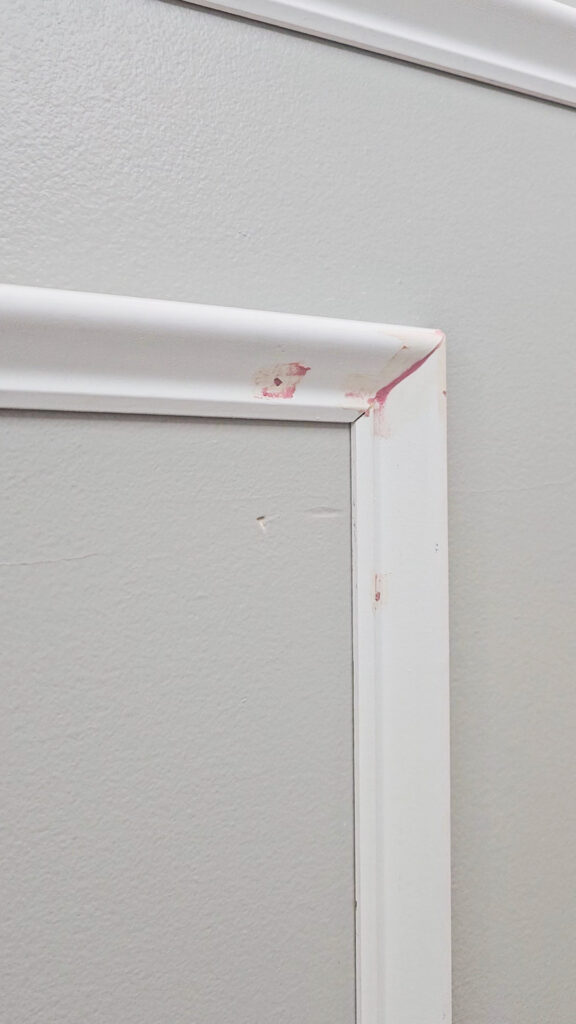
Again, you want your projects to look professionally done so grab a tub of wood filler and get to work! I promise you, it feels time consuming, but it is so worth it. Just slightly overfill your holes, let it dry and then lightly sand. I also add wood filler on the corners of all my trim as well.
Paint walls
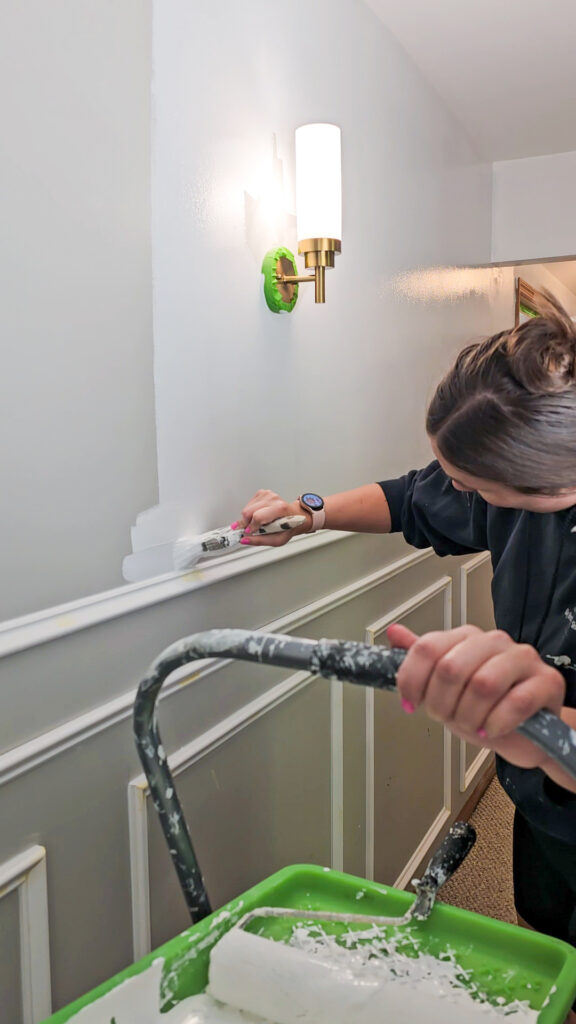
I painted by walls using Dutch Boy’s Platinum Plus Paint + Primer in Ultra White (DB-002W). I have painted almost all the walls in our home using Dutch Boy paint and I love the amazing coverage it has! It always amazes me how quickly painting a wall can freshen up a space and make it feel brand new.
Paint trim
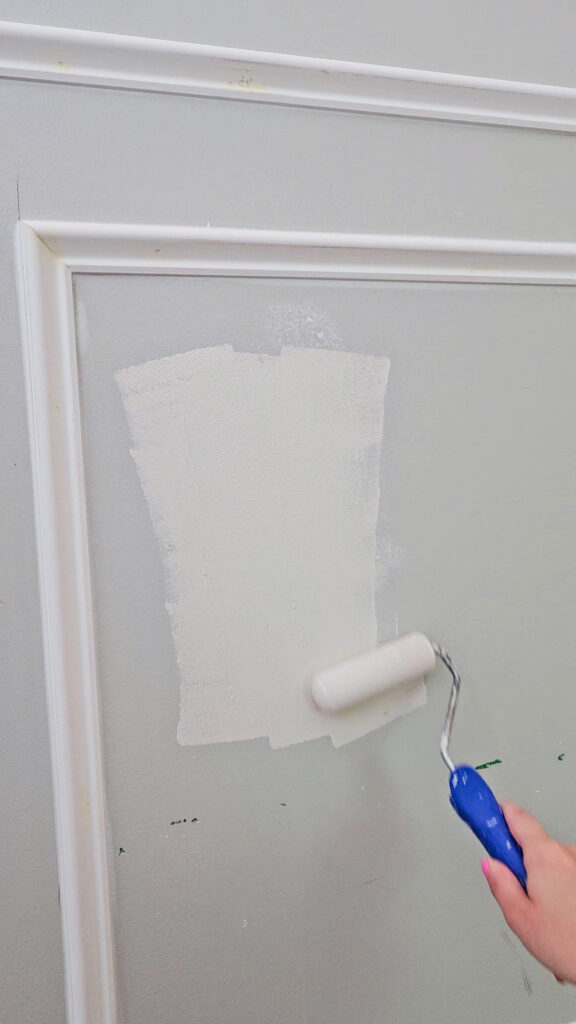
I used Dutch Boy’s Cabinet, Door & Trim paint in a satin finish along my walls and trim. The color I picked is Stable Gray (411-1DB). I opted for this alkyd-enamel water-based paint because it dries to a super hard durable finish which is perfect for trim and doors.
I used a foam roller and brush to get along the edges and give a smooth beautiful finish!
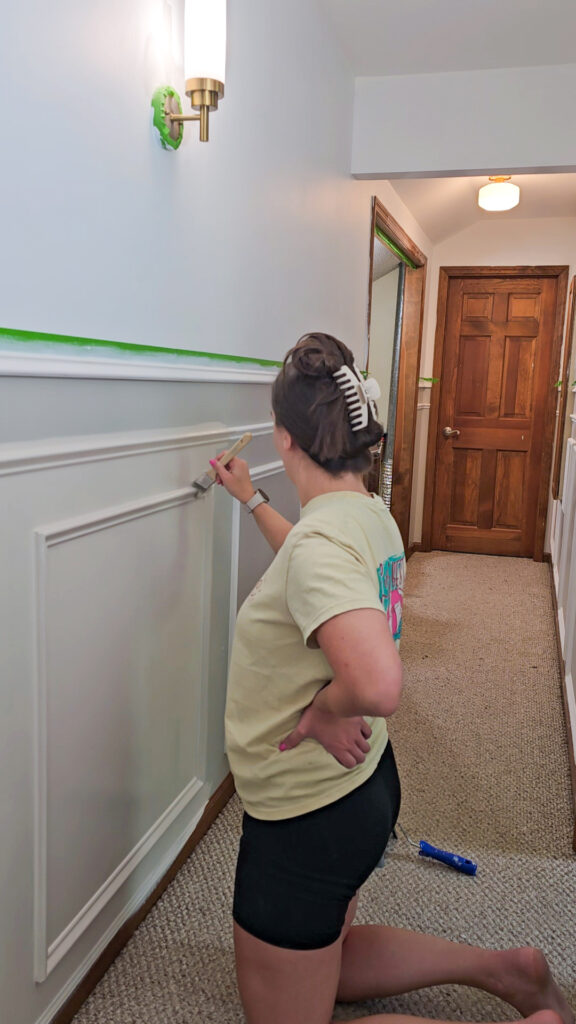
I also changed out the handles on my doors, swapped out my light fixtures, and added in some decor to change up this hallway.
I have wanted to repaint this hallway for years because I saw the potential. Our carpet is old and needs replaced but I didn’t want to let that hold me back from changing what I can now. Sometimes just some simple trim and paint can completely transform a space!
See the Full Video on this Renovation by clicking here!
Aug 29, 2024
