Concrete Countertops Part 1
When I was planning out this basement bar renovation, I was struggling with what I wanted to do for the countertops. I thought a walnut slab would be beautiful, but quickly talked myself out of that. My husband originally wanted concrete countertops and if I am being honest, I felt intimidated by the process and didn’t want to do them. Once I created my mood board around these countertops, I had to have them. So, I worked up the courage to do this process and am going to show you exactly how I did it! I know this supply list looks long and intimidating, but don’t let that deter you! I promise this is easier than it looks, and I truly think anyone can do these concrete countertops!
*I may earn a small commission on any linked items in this article*
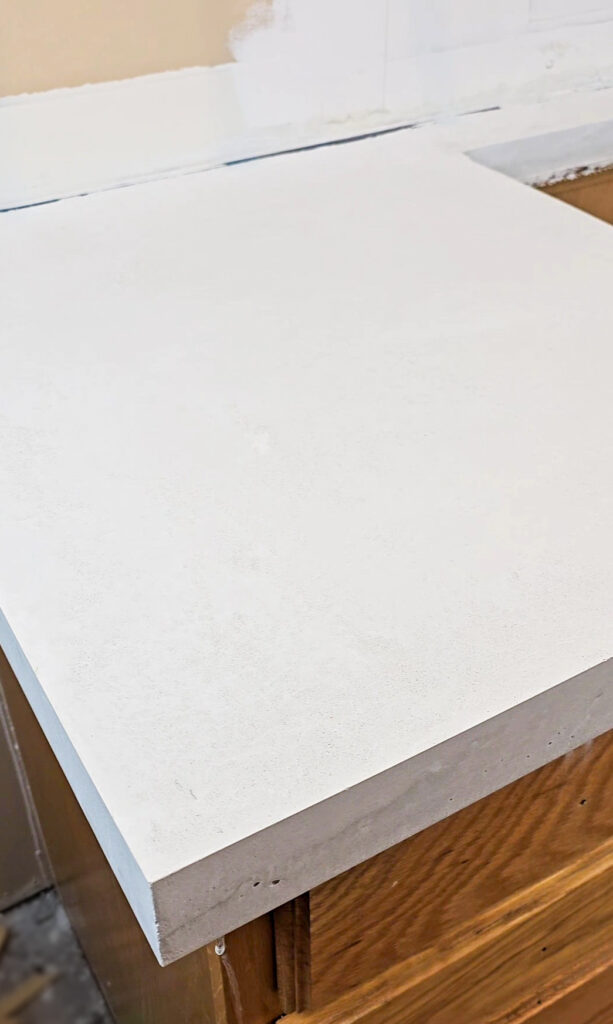
Supplies
- Cement Backerboard
- Silicone Adhesive
- Countertop Framing
- Screws
- Concrete Mesh & Mesh Clips
- Countertop Concrete
- Mixing Paddle Attachment & Power Drill
- or buy this Cement Mixer
- Mask & Gloves
- 5 Gallon Buckets
- Measuring Cup
- Plastic Tarps
- Leveler for cement – I used scrap wood board
- Trowel
- Lexan Float Trowel (plastic trowel)
- Finishing Trowel (metal trowel)
Steps Summary
- Plan out countertop size and design
- Install cement backerboard
- Cut countertop framing to size
- Install countertop framing
- Frame out sink
- Add in cement mesh
- Mix up your concrete
- Wet backerboard before pouring concrete
- Pour concrete and level as you go
- Float your countertops
- Final step – Finishing Trowel
Detailed Steps:
Plan out countertop size and design
For my countertops, I went with ZCounterform products. They have a couple options like their own concrete mix or a concrete additive you can add into bags of concrete from the hardware store. Since I wanted white concrete countertops, I went with ZCounterform’s Concrete Mix.
Another element you need to design on is which framing you want to use. Again, I went with Zcounterform’s square edge framing because it’s the easiest and beginner friendly. If you don’t want to use their framing, you could also use your own lumber. However their edge framing is so easy to use, I would highly recommend saving yourself the headache and just grabbing it.
On their website here, you can calculate out how many bags of cement you will need for your size area. I ended up mixing 7 bags for my bar countertop but had a bunch leftover in the last bucket.
Install cement backerboard
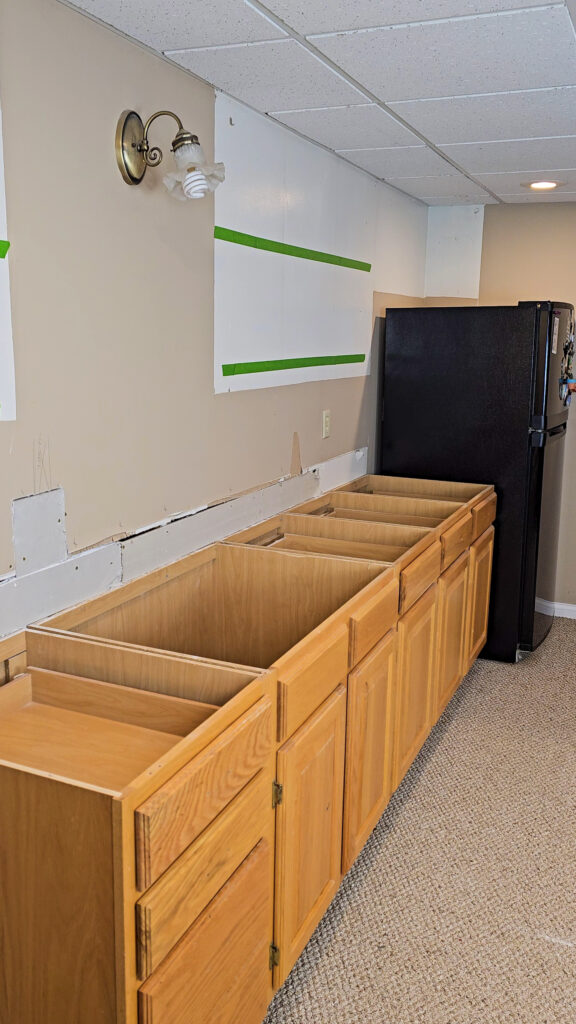
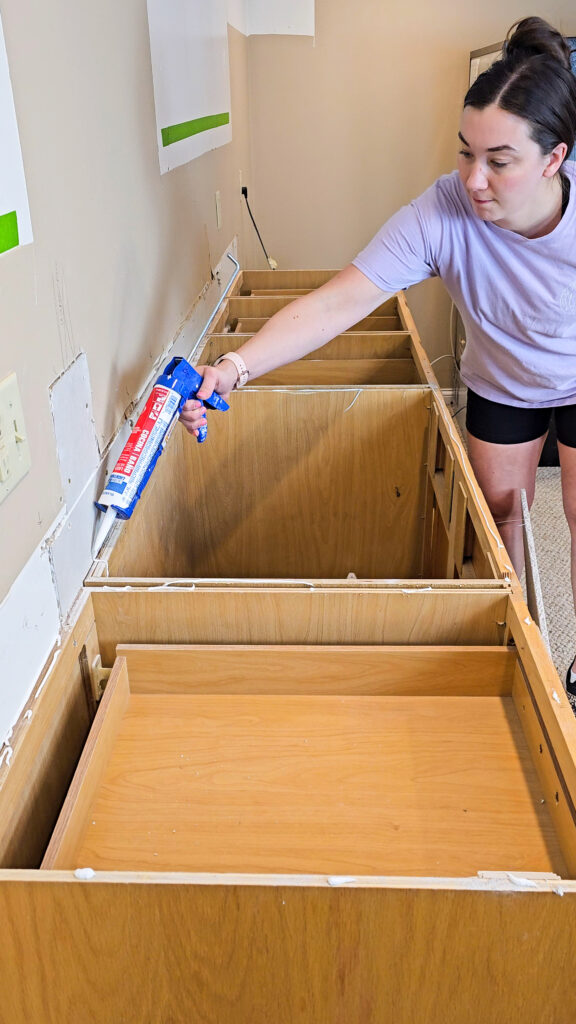
After you have removed your old countertops, it’s time to add in the cement backerboard on tops of your cabinets. You have 2 options on how to attach it, silicone or screws. Screws will be 100% permanent and you will be unable to ever remove this countertop from your cabinets. Silicone will allow you to remove the cement from your cabinets down the road if you ever need to. Just use the silicone, it’s easier anyway! On the seams of the backerboard, use duct tape to seal the gap.
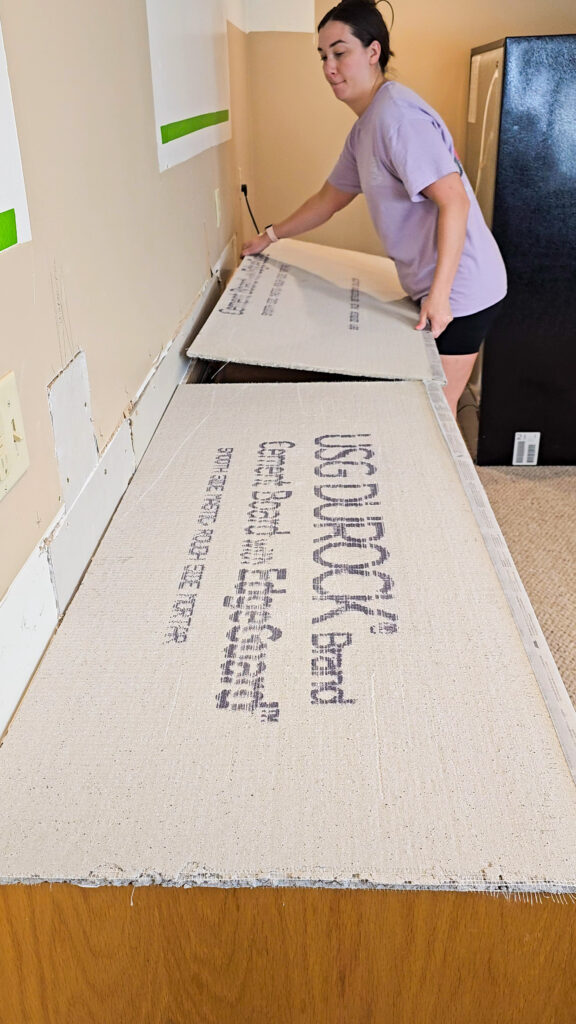
Cement backerboard is super easy to cut, just like a piece of drywall. Score the board using a straight edge with a box cutter and then snap it in half to break off the excess.
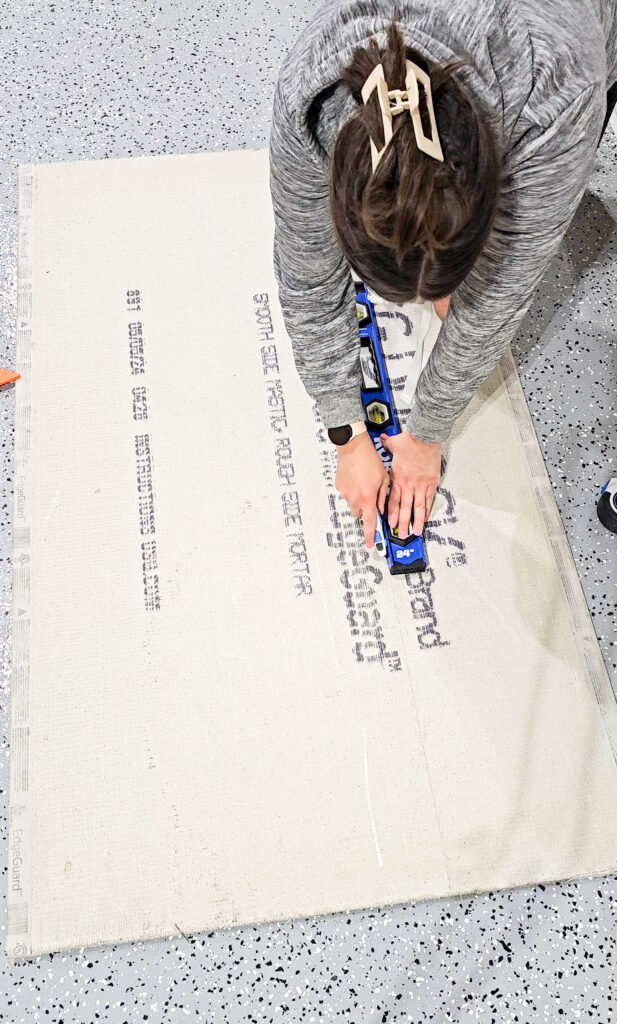
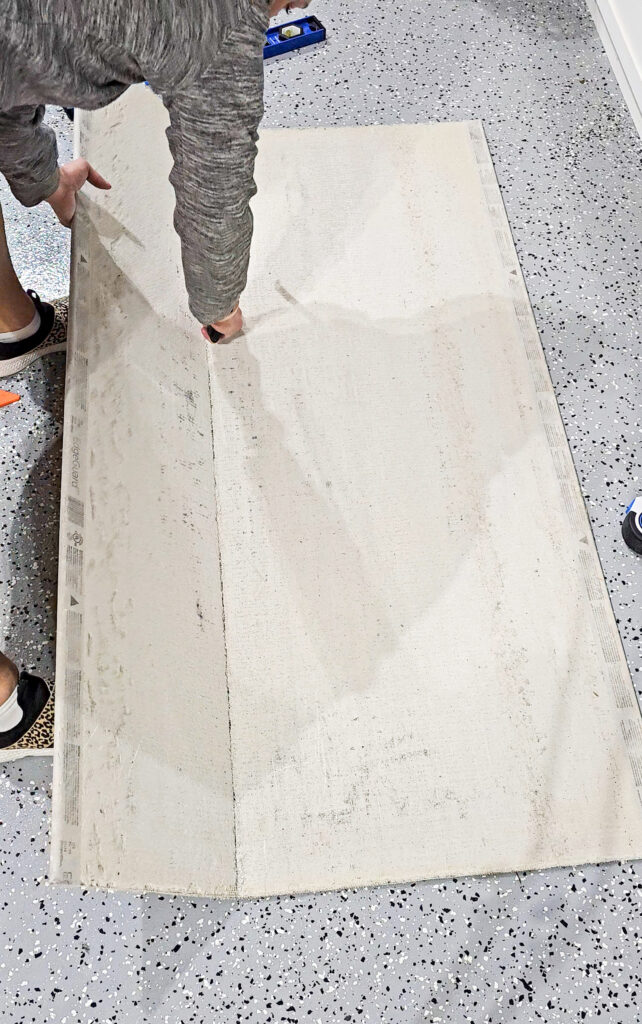
Cut countertop framing to size
The framing is a heavy-duty plastic but is easily able to be cut with a miter saw. It does get plastic bits everywhere, so expect cleanup if you don’t have a shop vac attached to your saw (ask me how I know….). For your corners, you can miter your edges at a 45-degree angle for a nice perfect corner. The framing pieces come 8 feet long and my countertops are closer to 11 feet long. I had to use 2 framing pieces for the front and just used painters’ tape to hold it together on the outside to give me a nice tight fit. We will be sanding once the framing comes off, so I wasn’t too worried about it.
Install countertop framing
The edge just screws into the cement backerboard sitting on top of your cabinets. There are no holes in it, just use a drill bit to make holes along the plastic and then screw into place. I did screws every 6 inches.
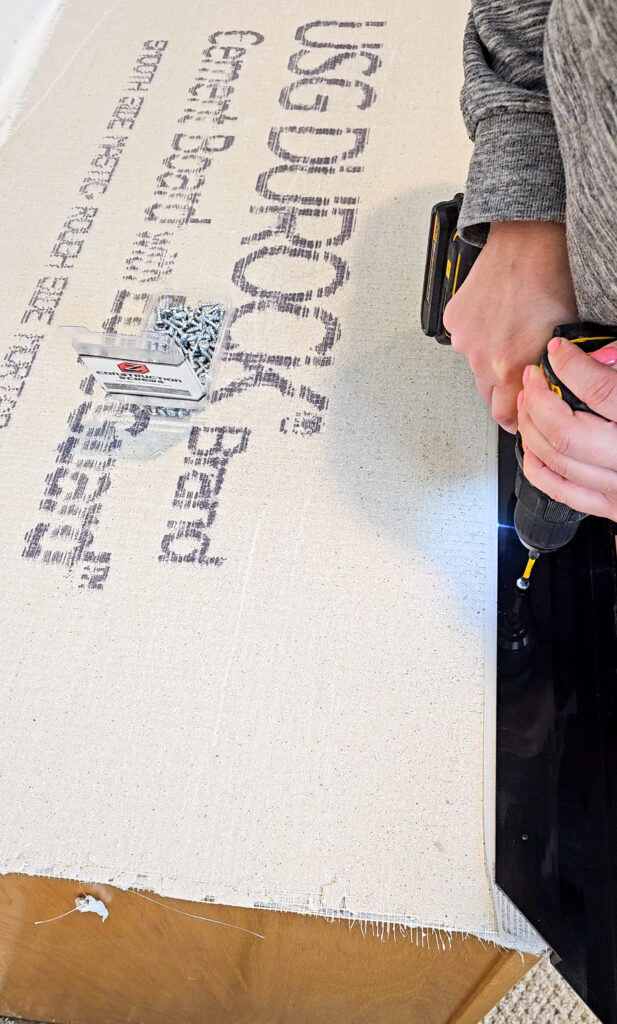
On the corner of your framing, I would tape them together to give them a nice tight fit. I just used painters tape to hold them together.
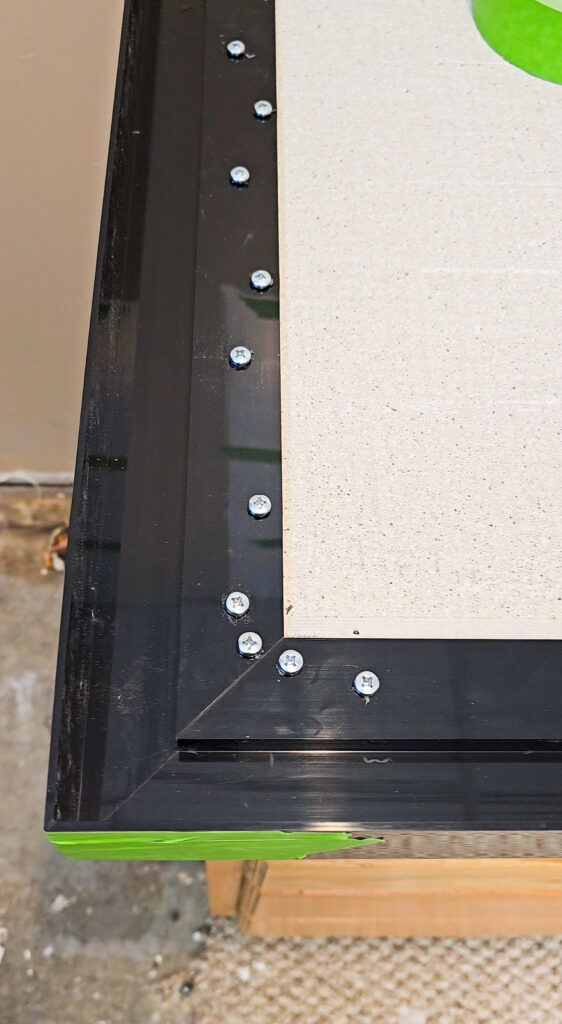
Frame out sink
For this step, it depends on which type of sink you have. If you have a drop-in like mine, you will follow my steps. If your sink isn’t a drop-in, I recommend checking out this article by Zcounterform on the proper steps to take.
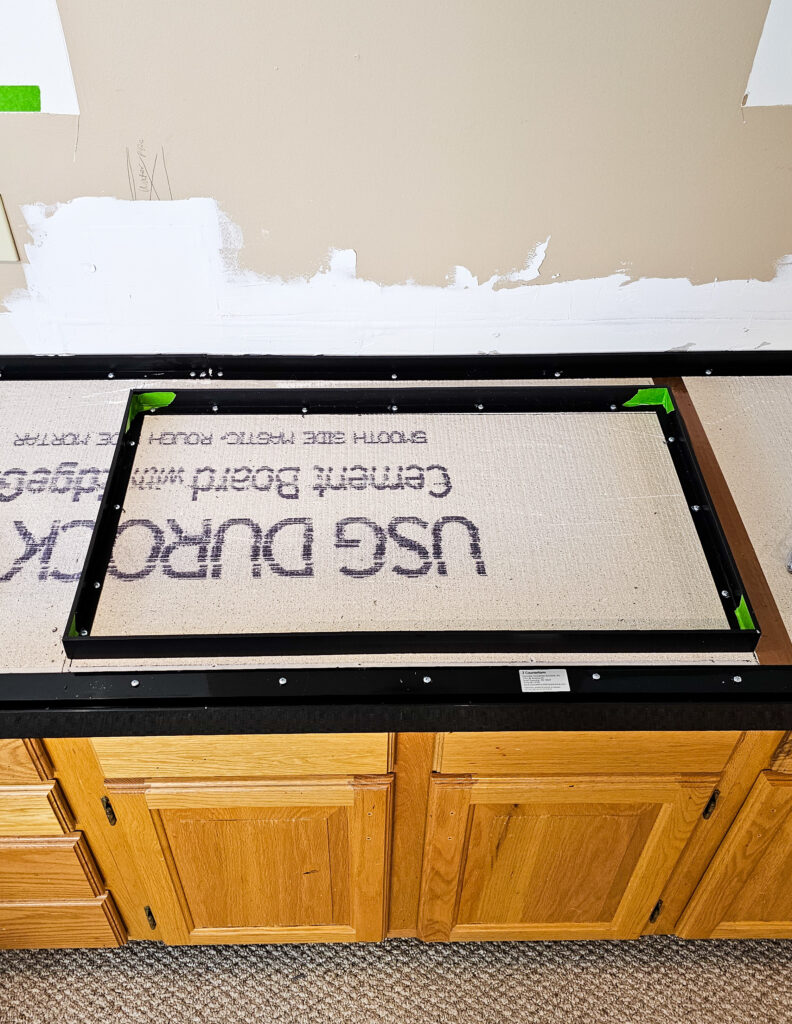
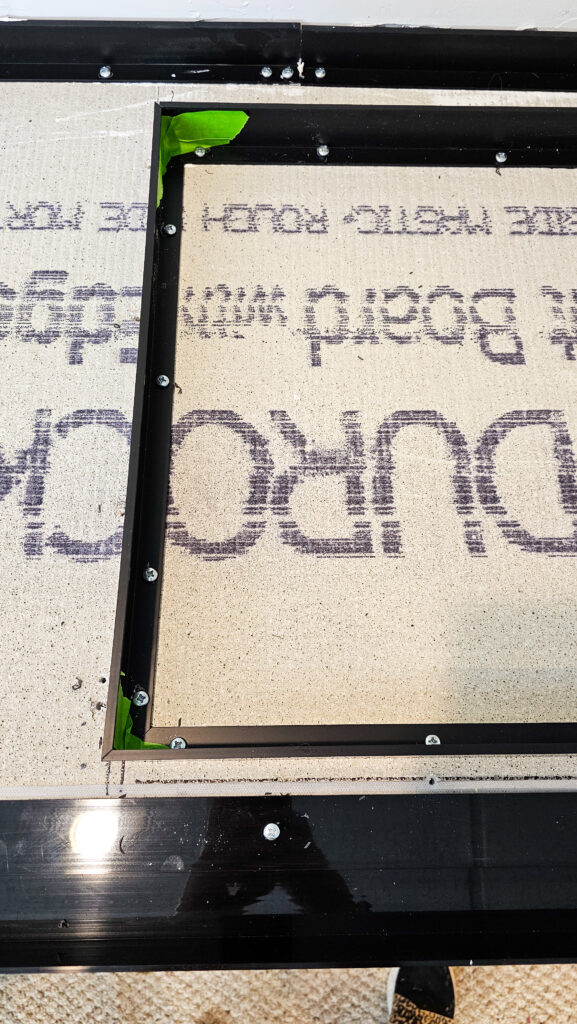
For a drop-in sink, you will use the back edge framing to make a square where your sink will go. Be sure your screws are in the inside (second picture) so you can remove these frames once your cement is dried. This step did take me a while just making sure everything lined up like it should. I used my laser level to get everything nice and straight.
Add in cement mesh
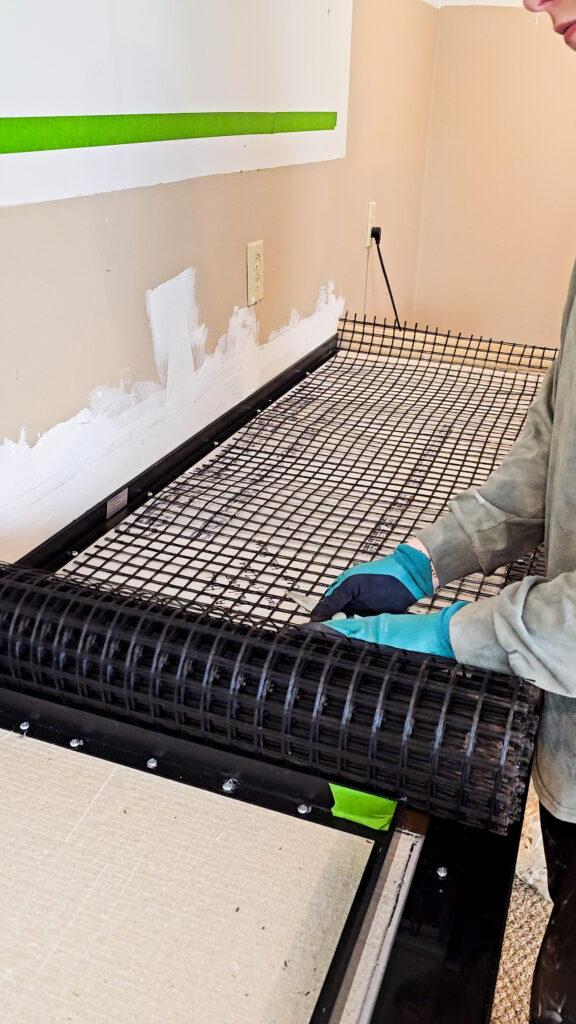
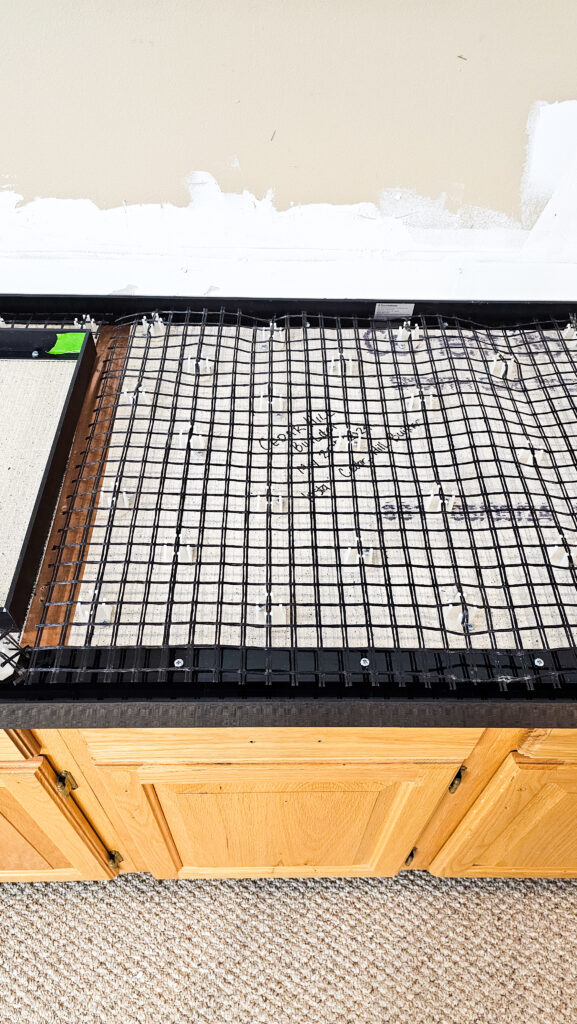
Roll out the fiber mesh and cut to the size of your framing. Make sure you are wearing gloves while you handle this material. Use the Z-clips to attach your mesh to the cement backer board. This will hold it in place once your cement gets poured. I placed mine every 6 inches in a diamond pattern.
Mix up your concrete
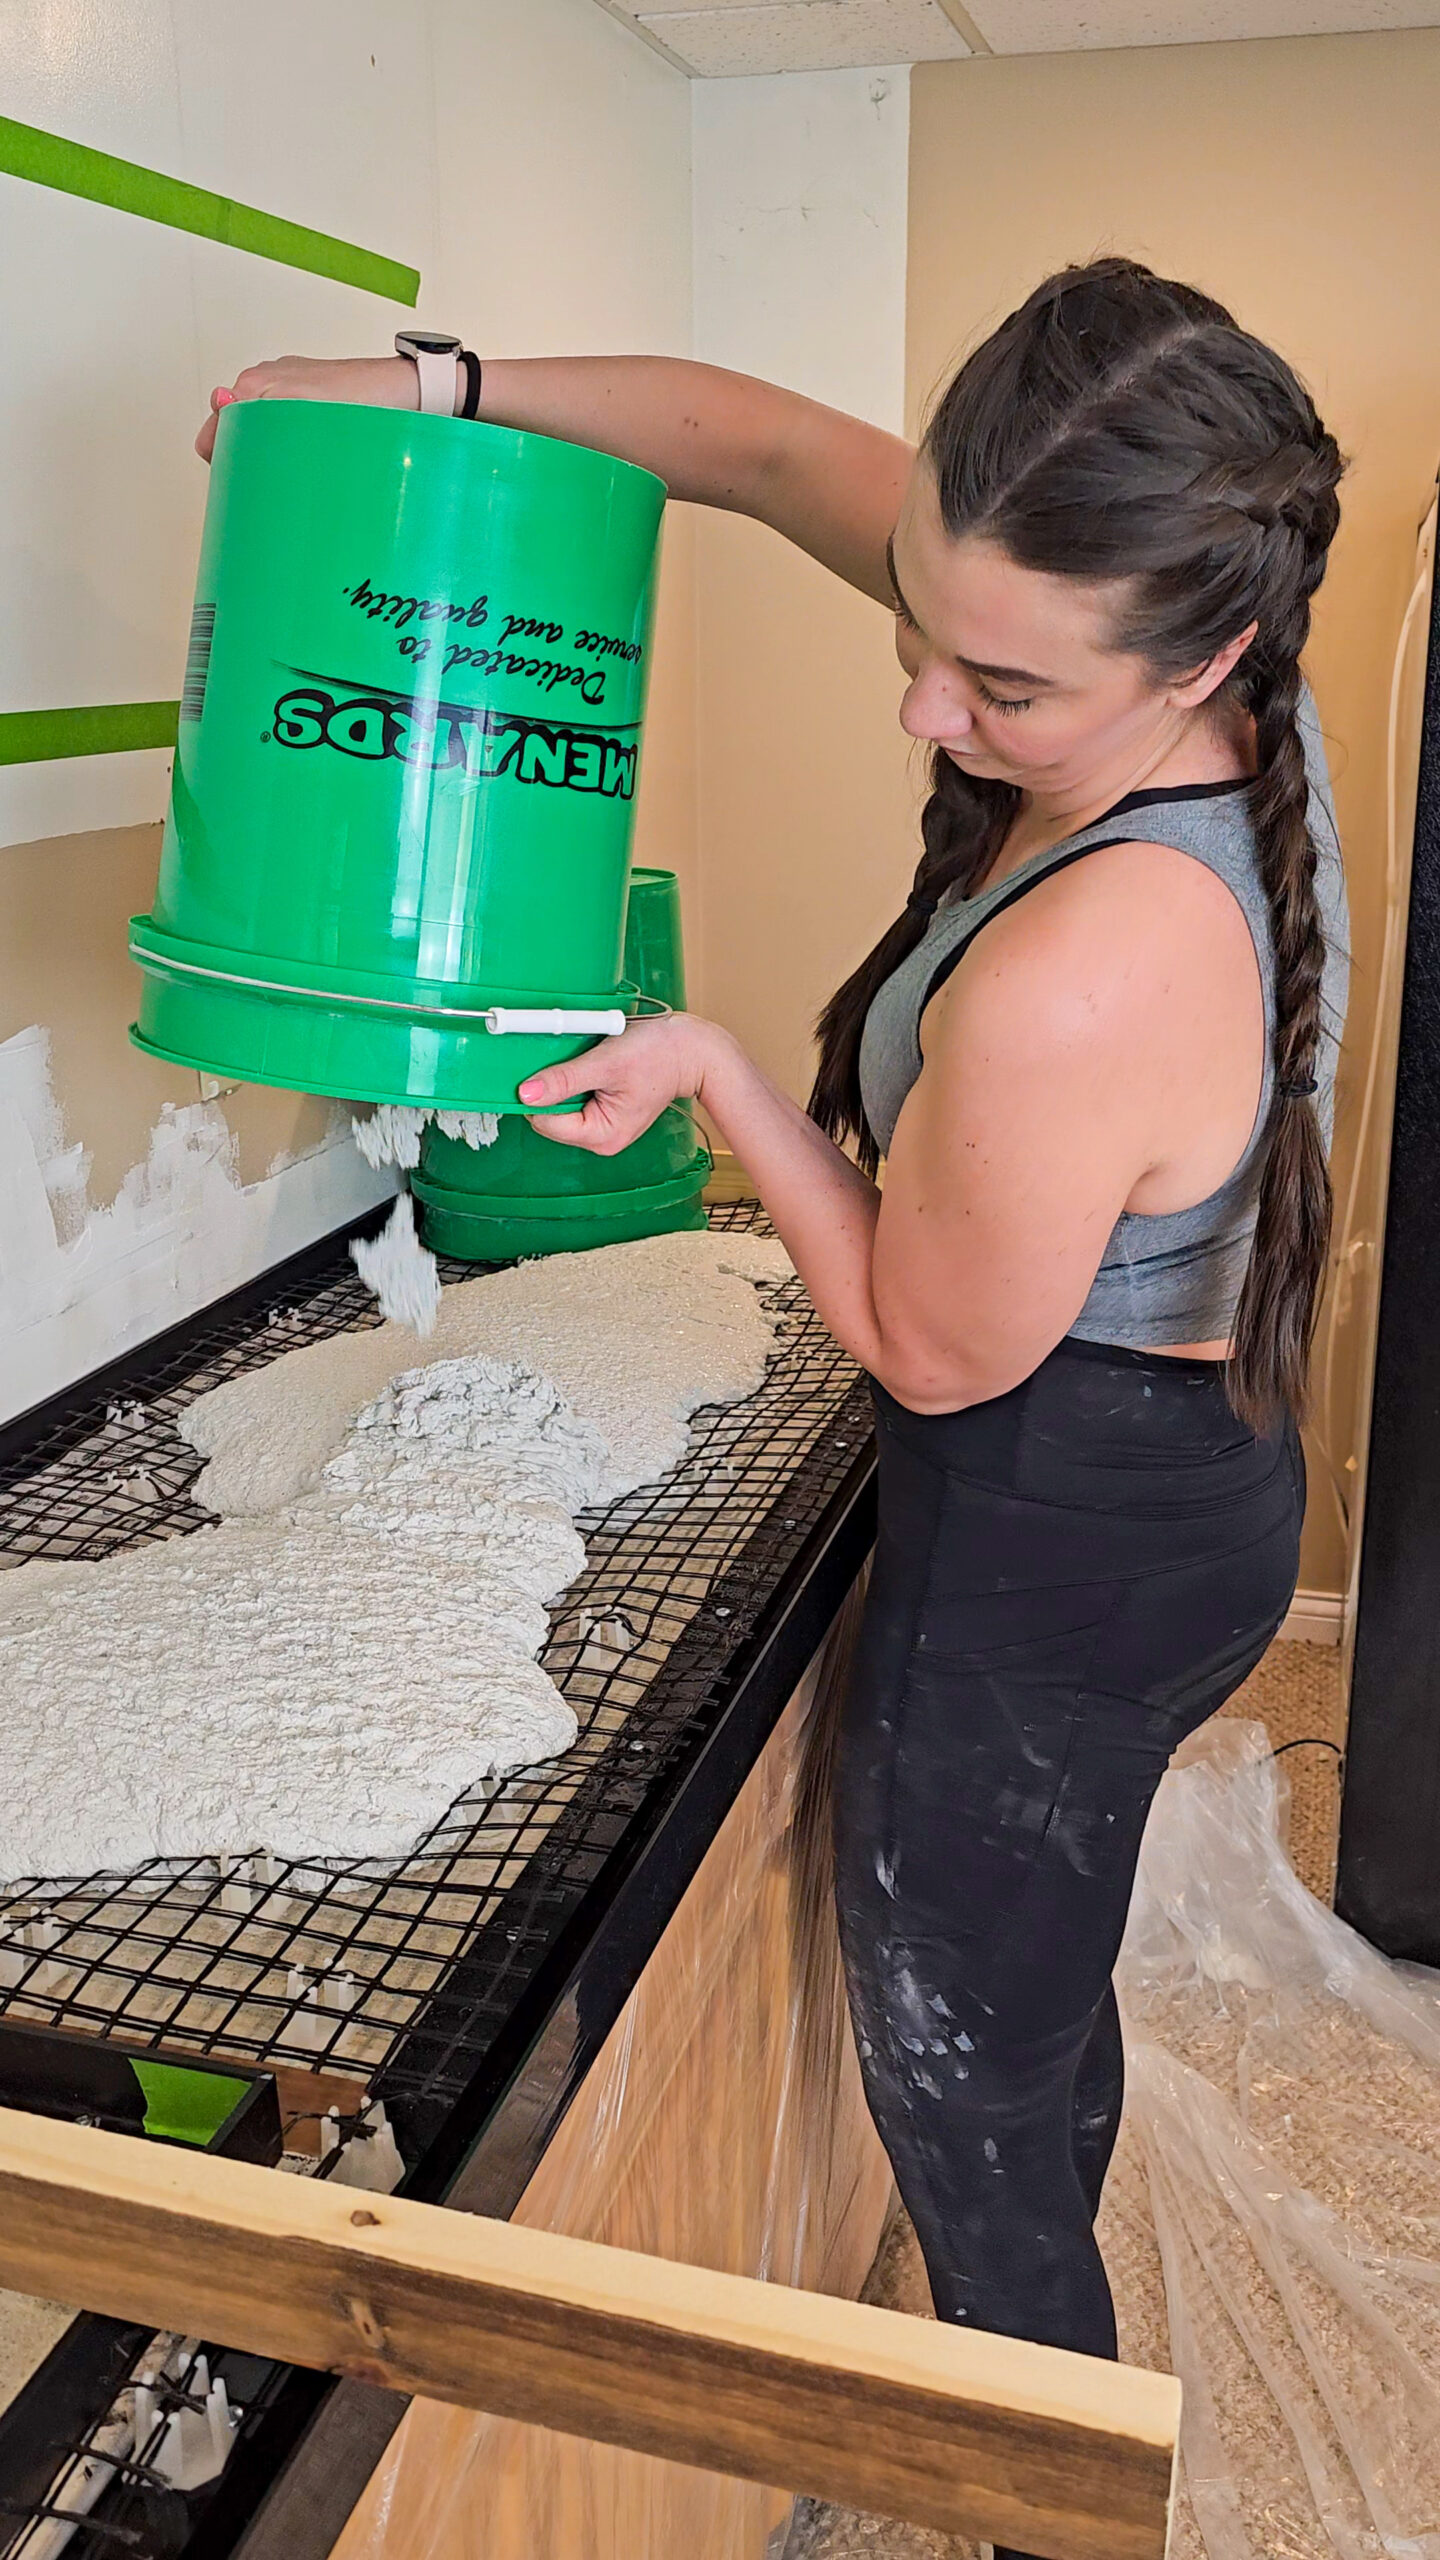
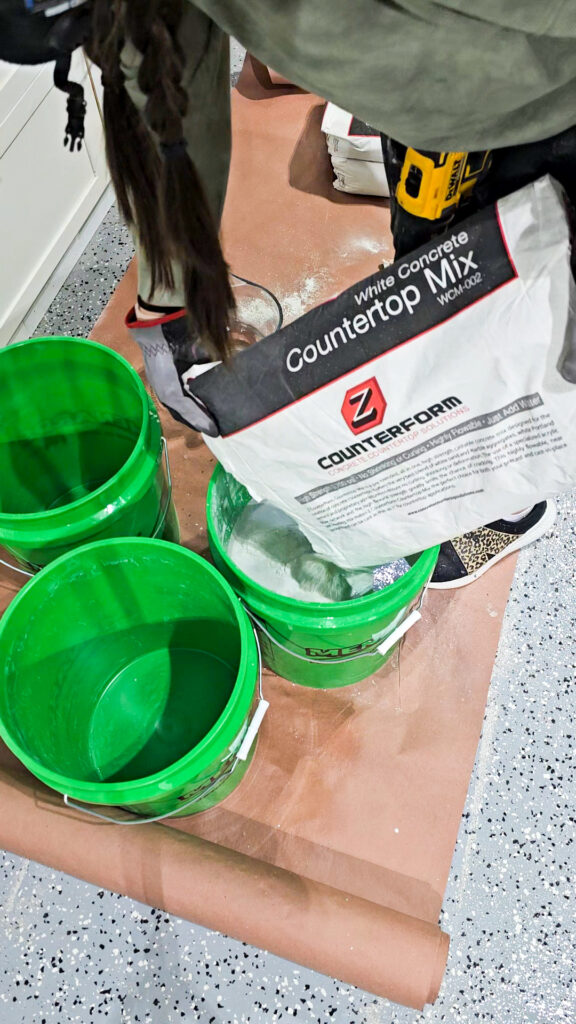
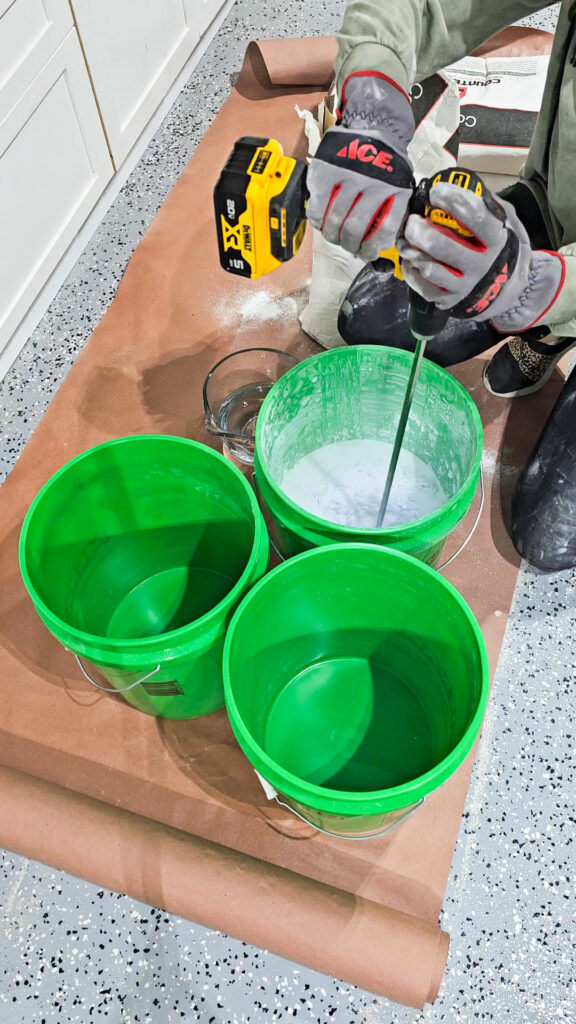
Here is where I would recommend making sure you have a friend to help you out. I didn’t and I instantly regretted it. Each bag of concrete gets mixed with 3 quarts of water. You will slowly mix both of them together. I used a mixer attached to my power drill to stir all my cement. The first bucket took me 10 minutes, but the rest did get faster. Another helpful tip is to have multiple buckets. I started with 3 buckets.
Wet backerboard before pouring concrete
To help give you more working time, spray your backerboard with a water bottle so it doesn’t immediately absorb all the moisture out of your cement once it is poured. This will help give you a little bit more time to get everything nice and level.
Pour concrete and level as you go
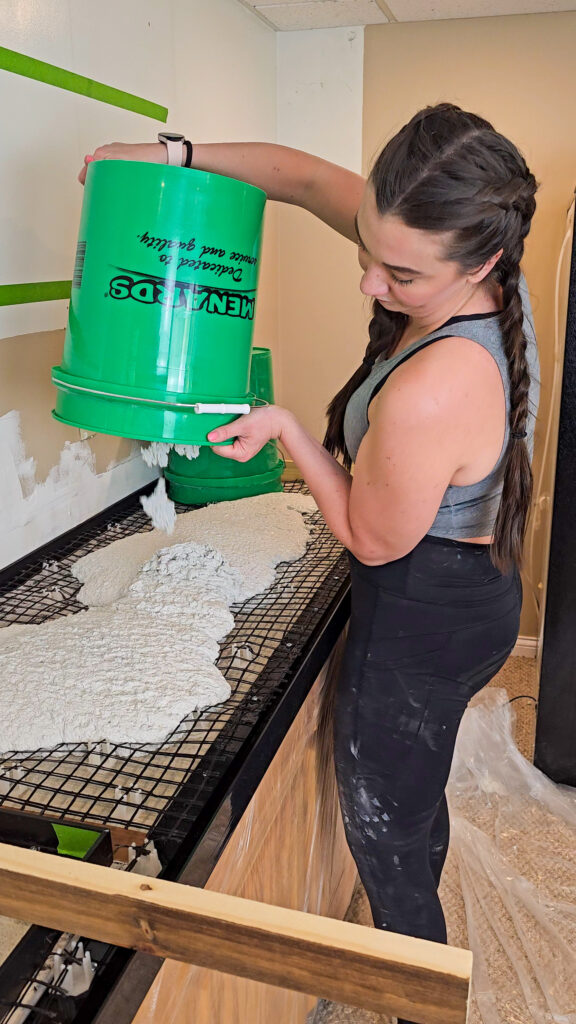
I would recommend you have one person mixing/pouring the concrete, while another one levels it all out. I just used a scrap square edged wood board to move the concrete as I poured it. This helps fill in all the gaps. Start from one side and work your way across. I would go straight across and then at a 45-degree angle both directions to get everything nice and level. I used a mini trowel behind my board to backfill any low spots and smooth it out as I went.
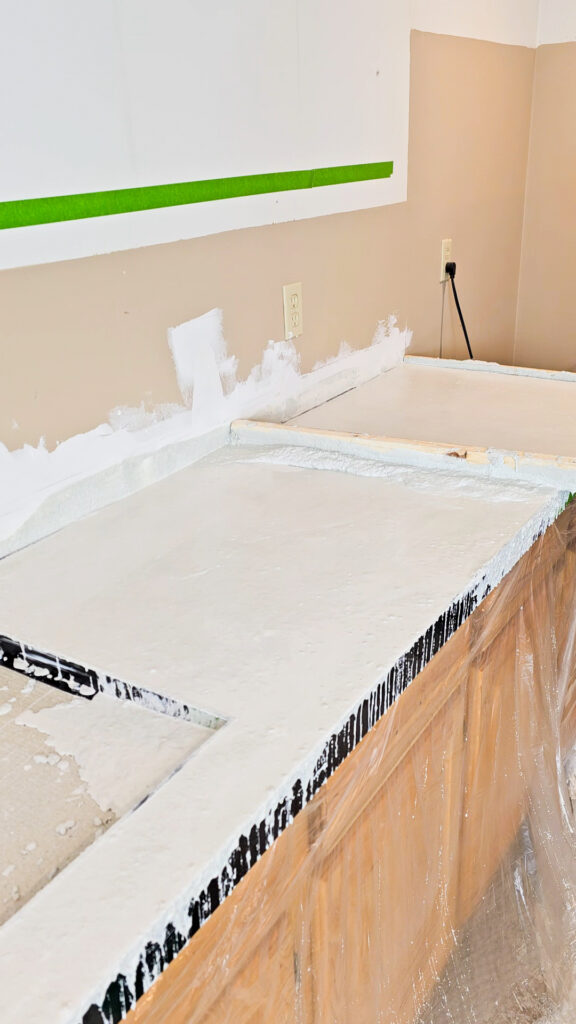
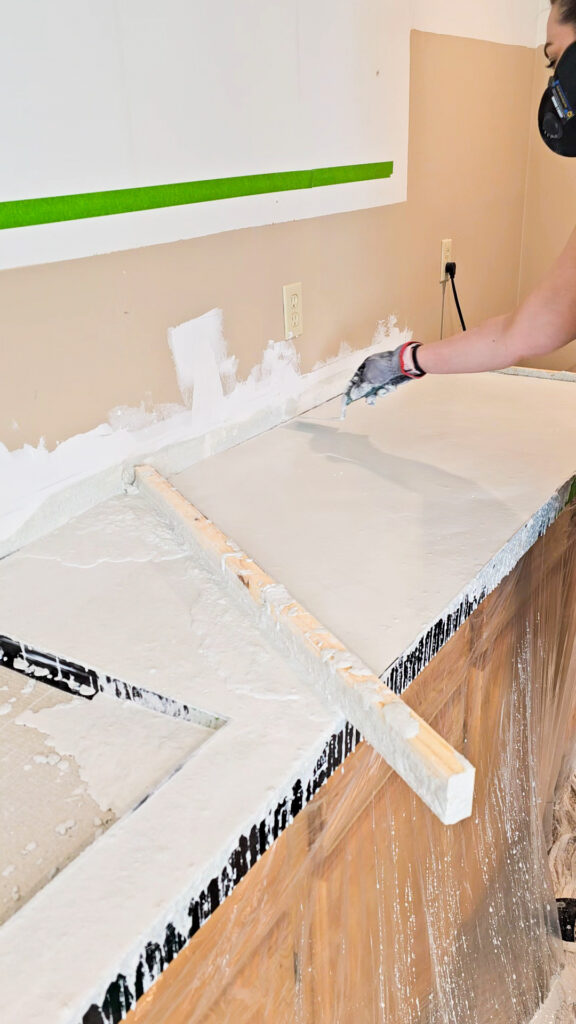
As you are going along and leveling out your concrete, make sure to take your trowel and tap all along your edge forms to help fill them in. You can even grab a sander or multitool to vibrate them. You will see air bubbles rise to the surface when you do this. Once you stop seeing air bubbles you will know you got everything filled in!
Float your countertops
Once your countertops have dried for about 4 hours, you will go back with the plastic float and smooth everything out a bit more. This is where you can apply a little bit more pressure, but not a lot. You are just “floating” the trowel along the top.
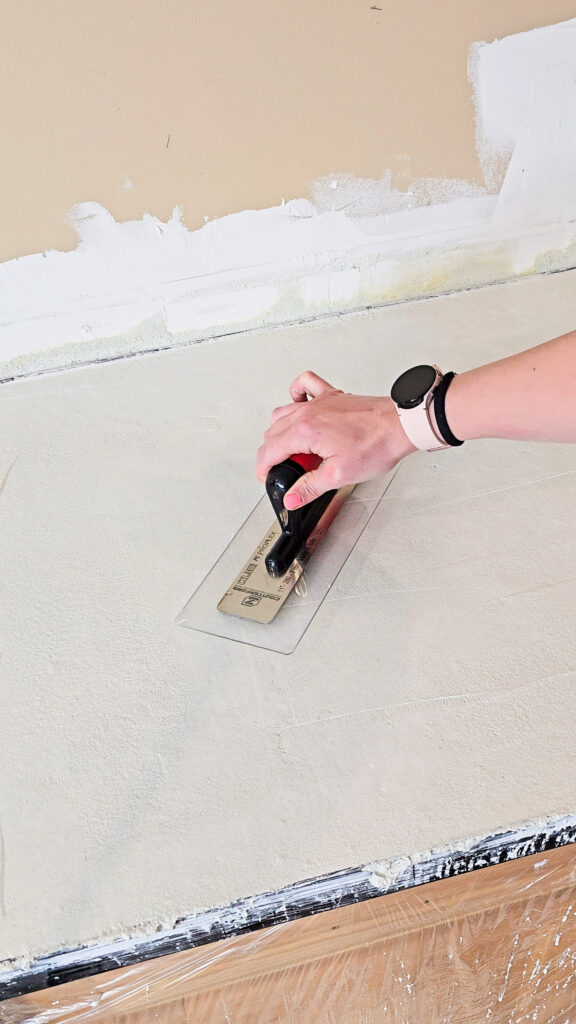
Final step – Finishing Trowel
Here is your final finishing step! If you have any marks or extra smoothing, now is when you do it. Use the metal finishing trowel to smooth out any texture or marks you don’t want. You can apply more pressure at this step as your concrete will be pretty firm at this point.
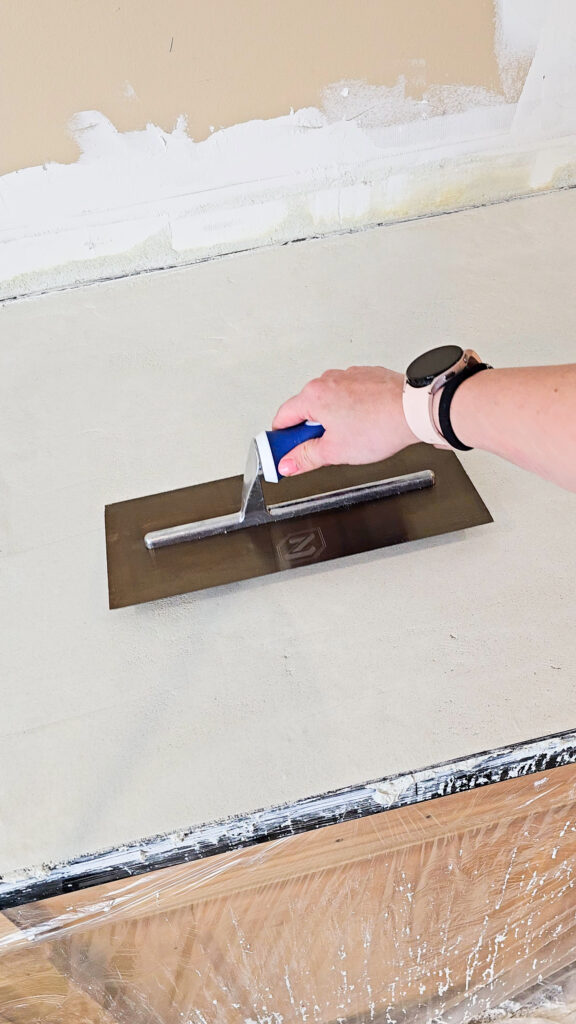
Now your concrete countertops are on their way to being done! We are going to let these dry for 24 hours and then see how they look and remove our framing! See a video showing these steps on Instagram here!
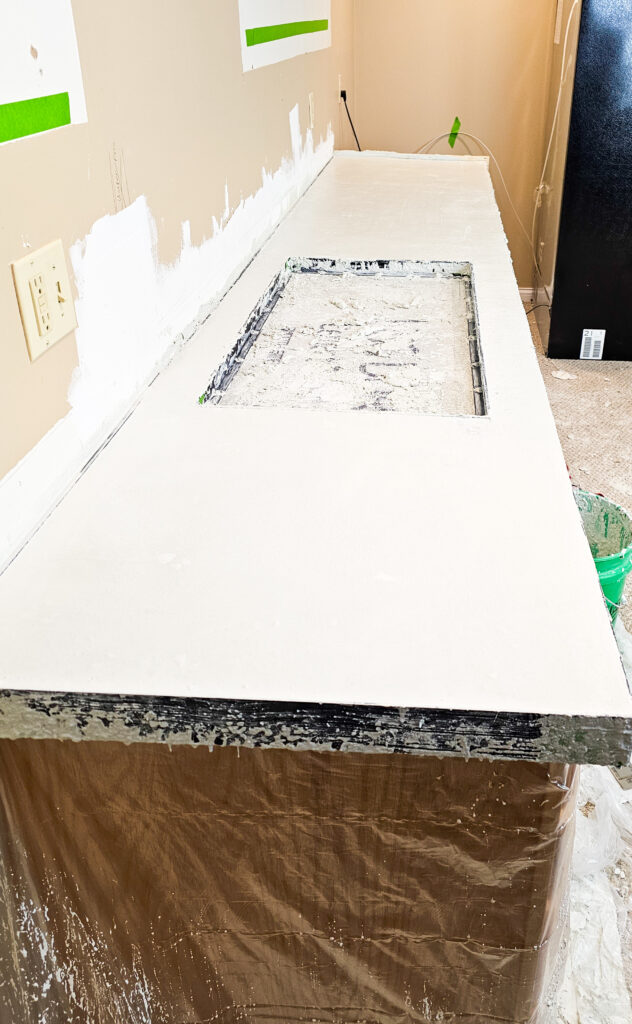
See part 2 of these concrete countertops here!
Jul 5, 2024
