")
How to Paint a Shower or Tub
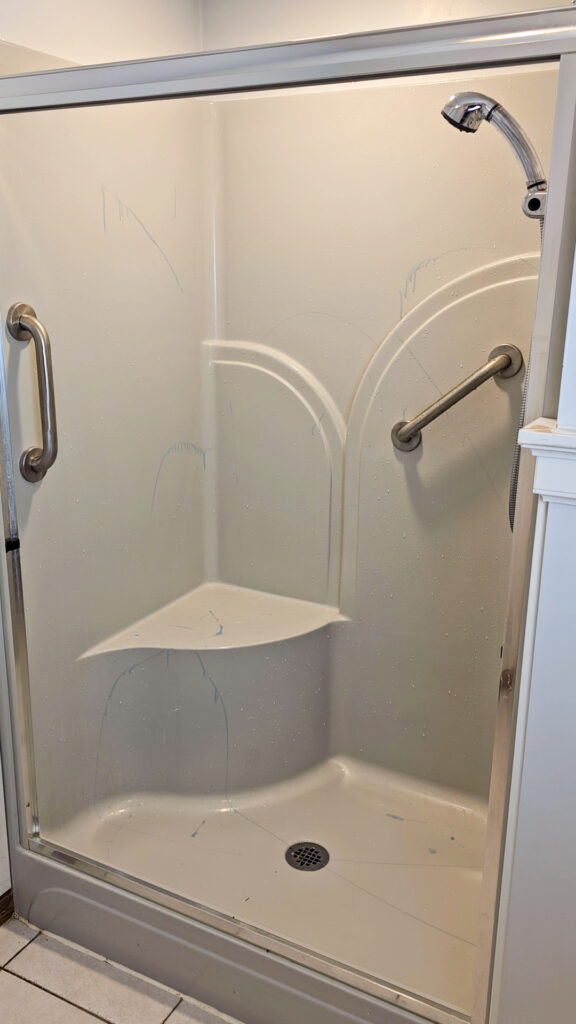
Do you have a tub in your house that just isn’t a pretty color? Maybe it’s a beige that you can never get to look clean. Or it’s spaceship gray like mine is. I wanted a bright and fresh feeling shower without ripping it all out. I thought this was a great opportunity to try out DWIL’s Tub & Tile Paint to change this shower for less than $100! Let me show you how I painted this shower and how you can too! (Full cost breakdown at bottom)
If you’d like to see how I also painted the shower doors, head to my blog post here “How to Paint Shower Doors”
*I may earn a small commission on any linked items in this article*
Supply List
Step Summary
- Clean your shower
- Lightly sand your shower walls
- Tape off your hardware and walls
- Mix Paint + Hardener
- Apply Paint
- Reapply as many coats as necessary!
Detailed Step
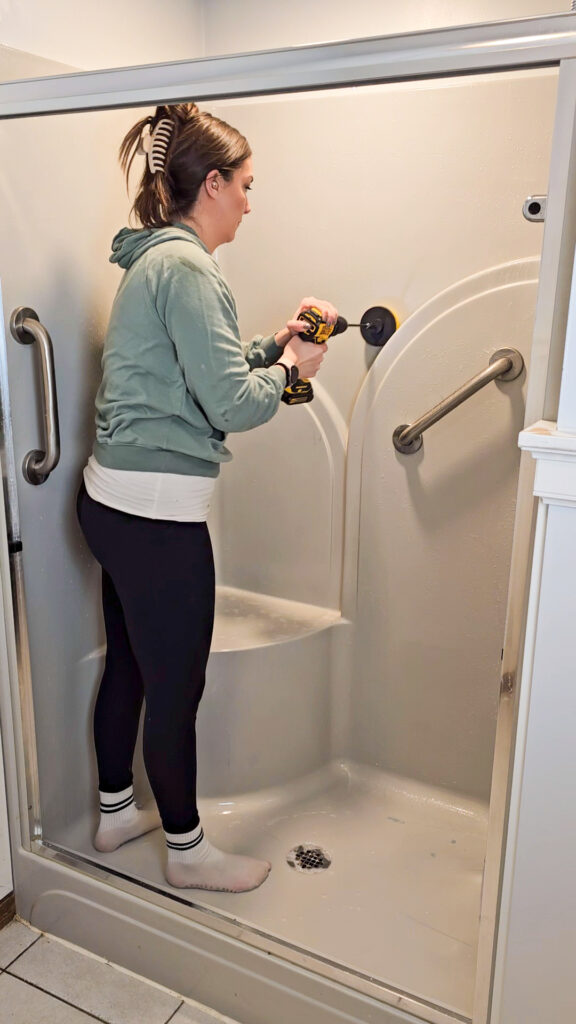
Clean Your Shower
The most important part of any paint job is taking the proper steps to prep your space. Paint will not stick to dirt and grim in your shower. You need to thoroughly clean your entire shower first. I used this handy brush that attaches to my power drill to give me extra cleaning power. After I cleaned the shower with soap, I grabbed a bottle of CLR to remove any leftover hardwater residue.
Sand shower walls to prep them for paint
Once your walls have dried from being cleaned, it’s time to sand them. You can use the included sanding pad in the kit to hand sand everything. Or you can grab an orbital sander to cut down on time. I used the included sandpaper to scuff up my walls. This will help give the paint something to hold onto. I do recommend wearing a mask for this part (unlike I did below). Once you are done sanding, make sure to properly wipe everything down and remove any dust.

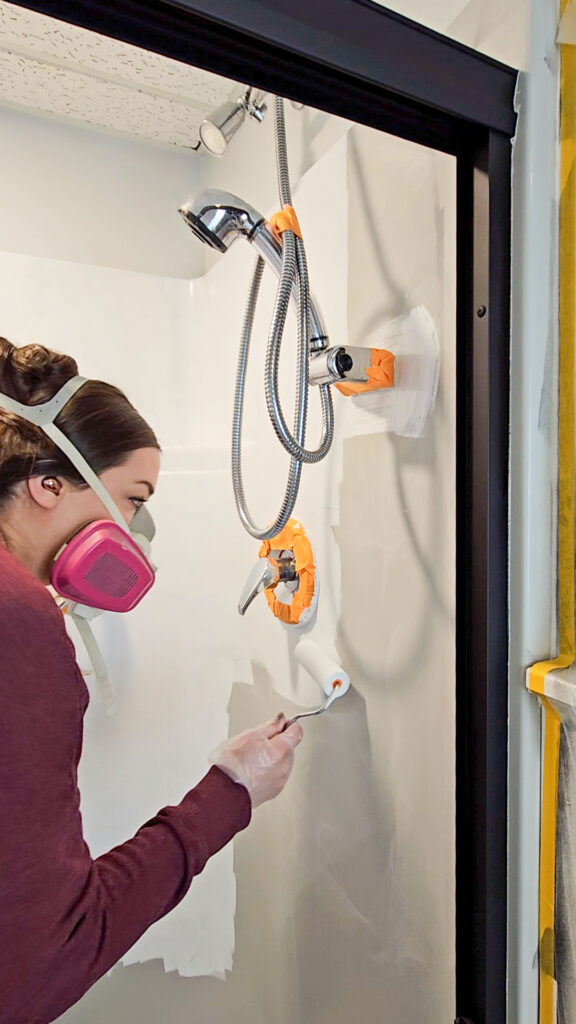
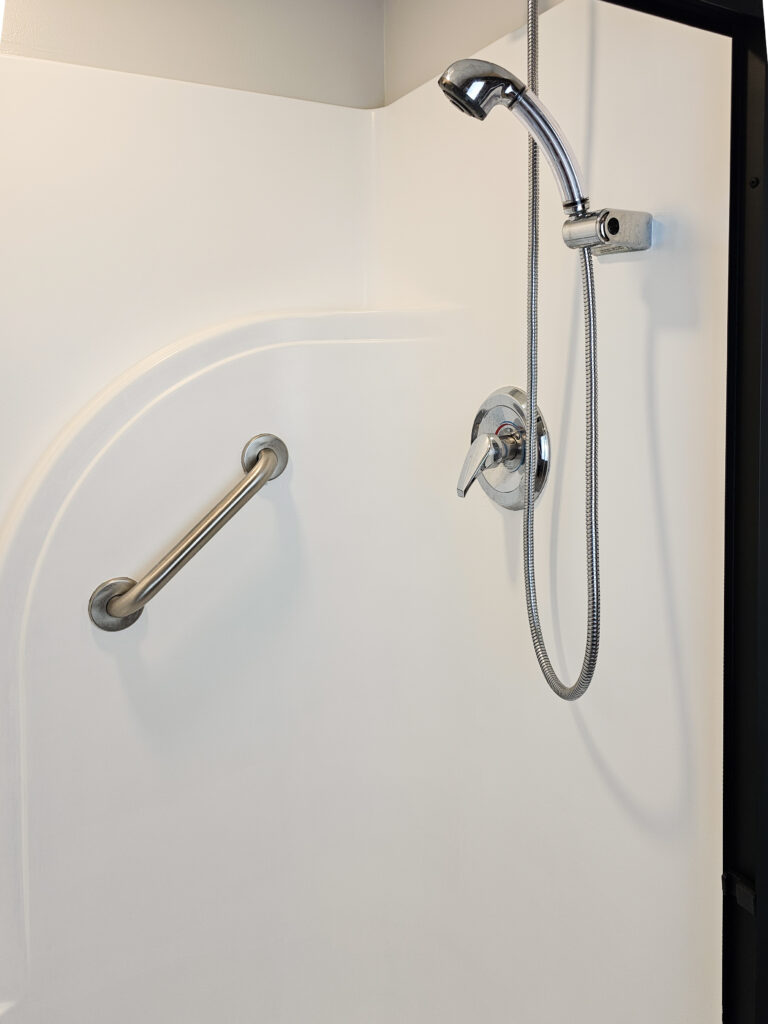
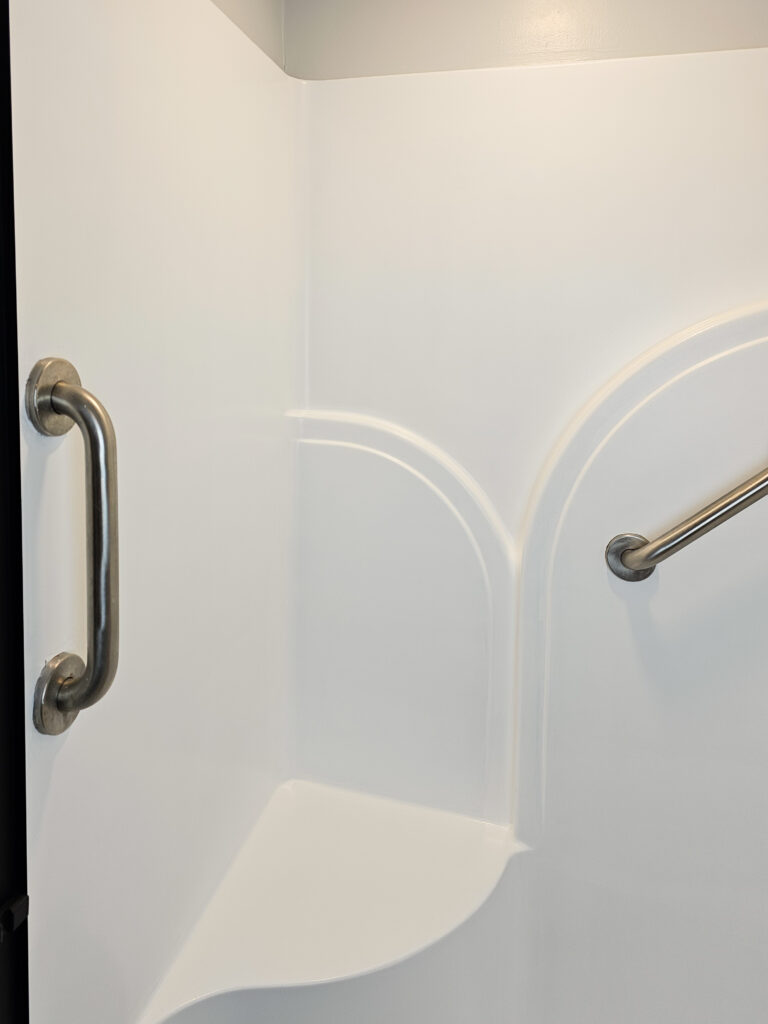
Tape off your hardware
Tape off anything you don’t want to get paint on. For me, I decided to leave all the silver hardware, so I taped around all my hardware and the sides of my walls. The kit includes tape with plastic attached to use along your walls, which is very handy!
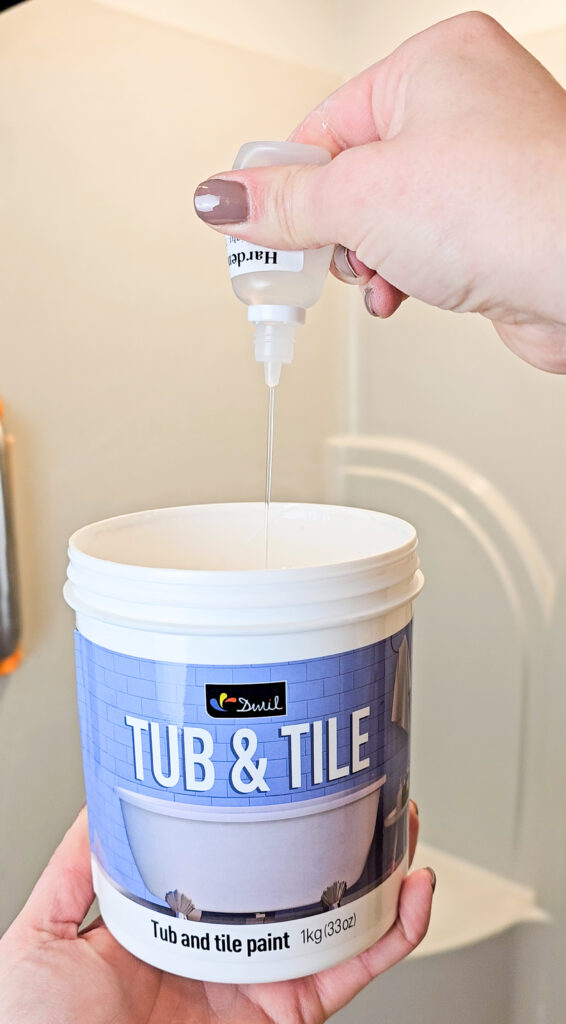
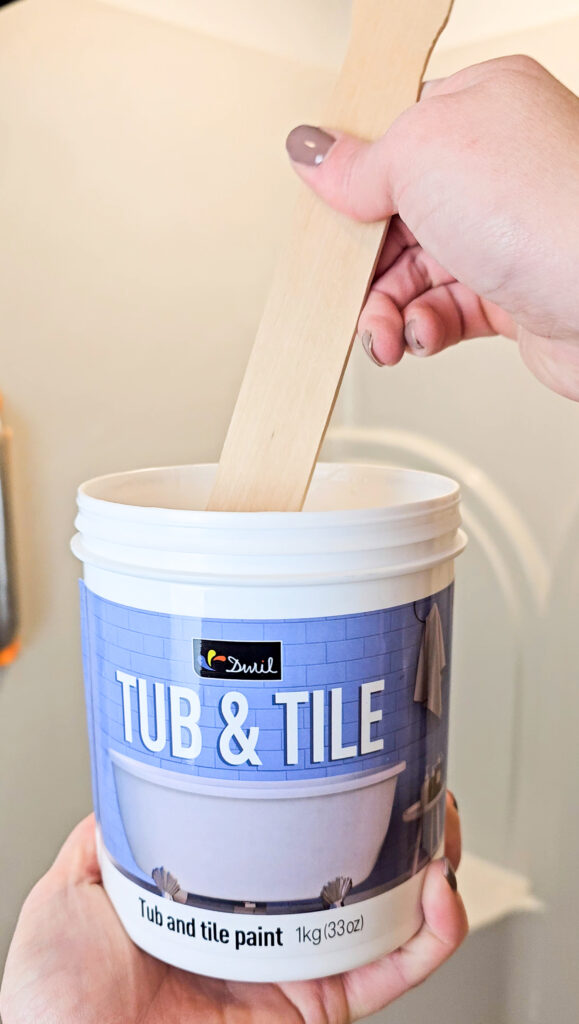
Mix together paint and hardener
Grab the bottle of hardener and use the entire bottle and add it to your tub of paint. This paint must be used within 12 hours after the hardener is added, so be prepared to recoat your paint within that timeframe. Once you add the hardener to your, mix it all together.
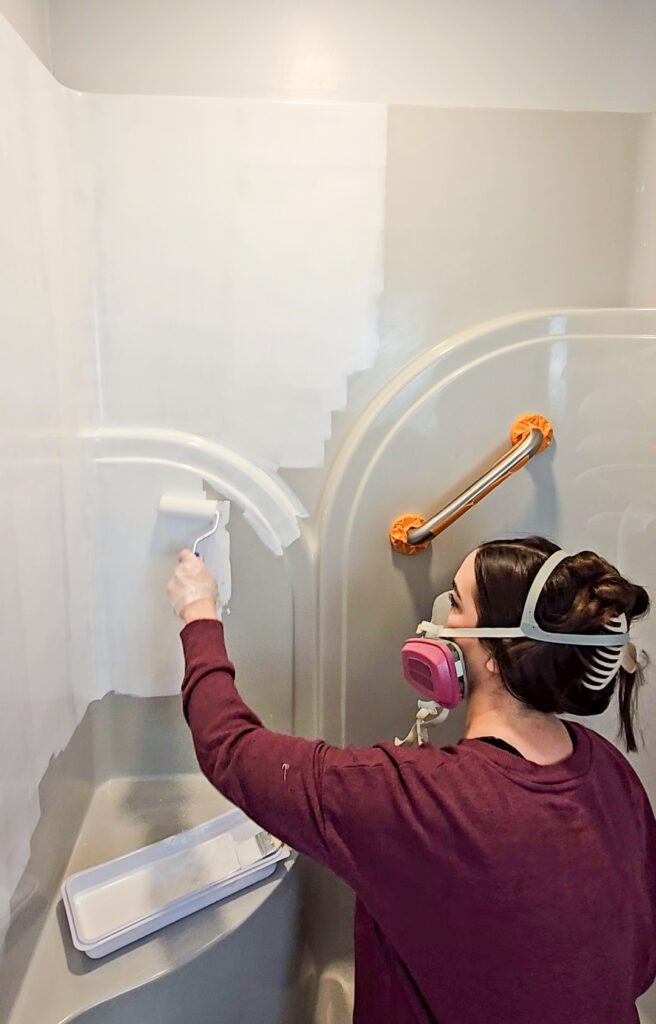
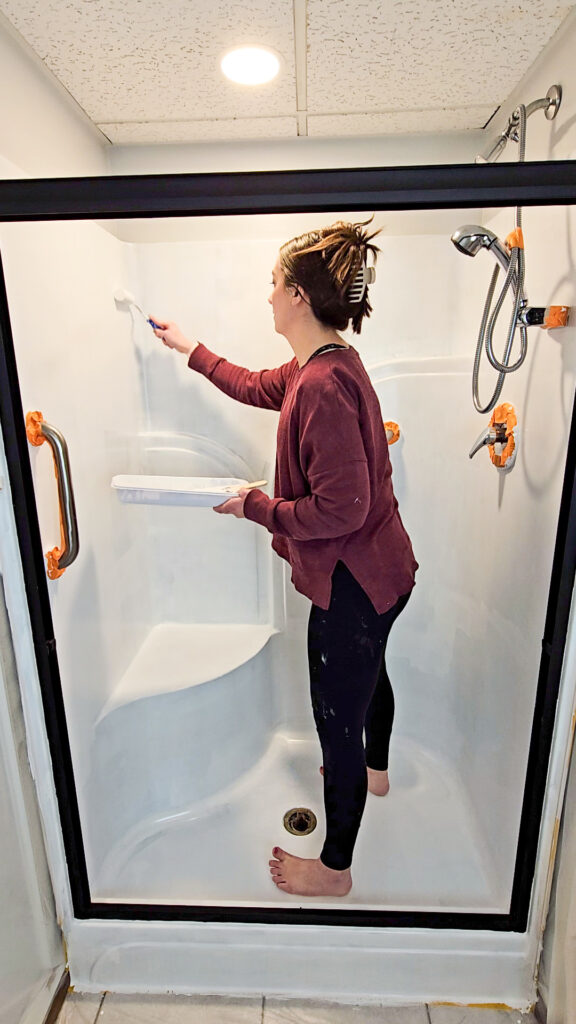
Apply 1st coat of paint
The kit comes with a roller brush and trim brush to go around all your edges. This is a low odor paint, but I still opted to wear a mask since I was working in such a small area. After 2 hours of dry time, you can apply your 2nd coat of paint. Again, you must use the mixed together paint within 12 hours after initially mixed.
Apply 2nd coat of paint – reapply as many coats as needed.
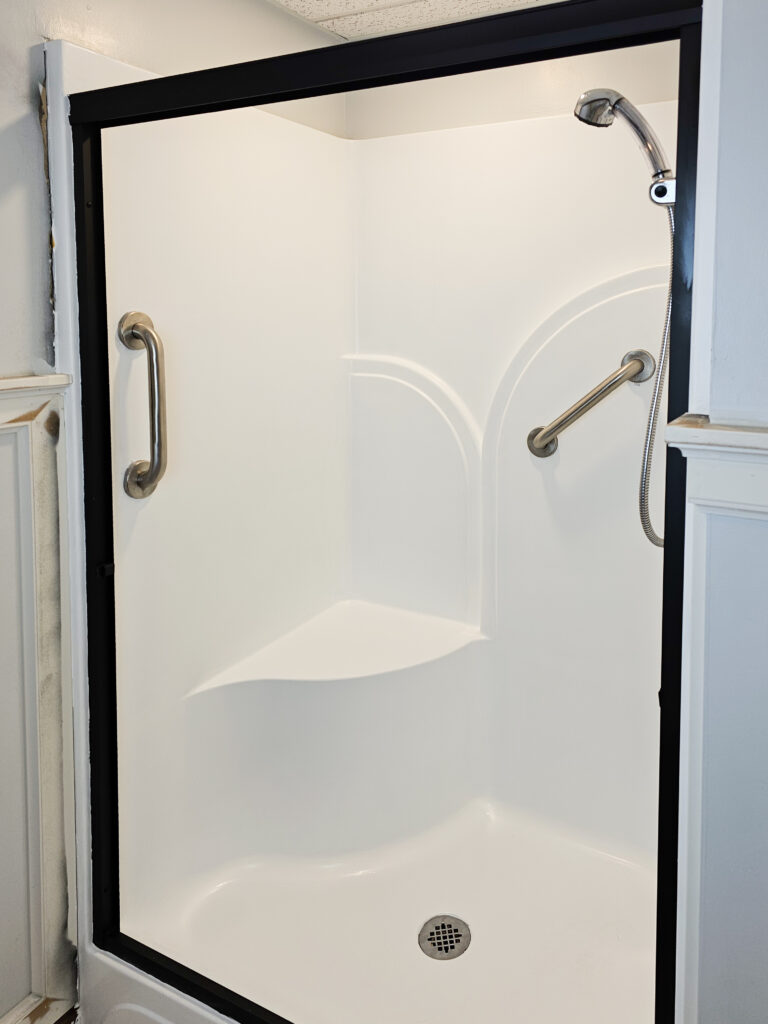
I ended up needing 4 coats of paint to make sure the gray was fully covered. You only need to wait 2 hours between each coat. I did wait a little longer because I knew I had to step on the bottom to apply paint to the walls.
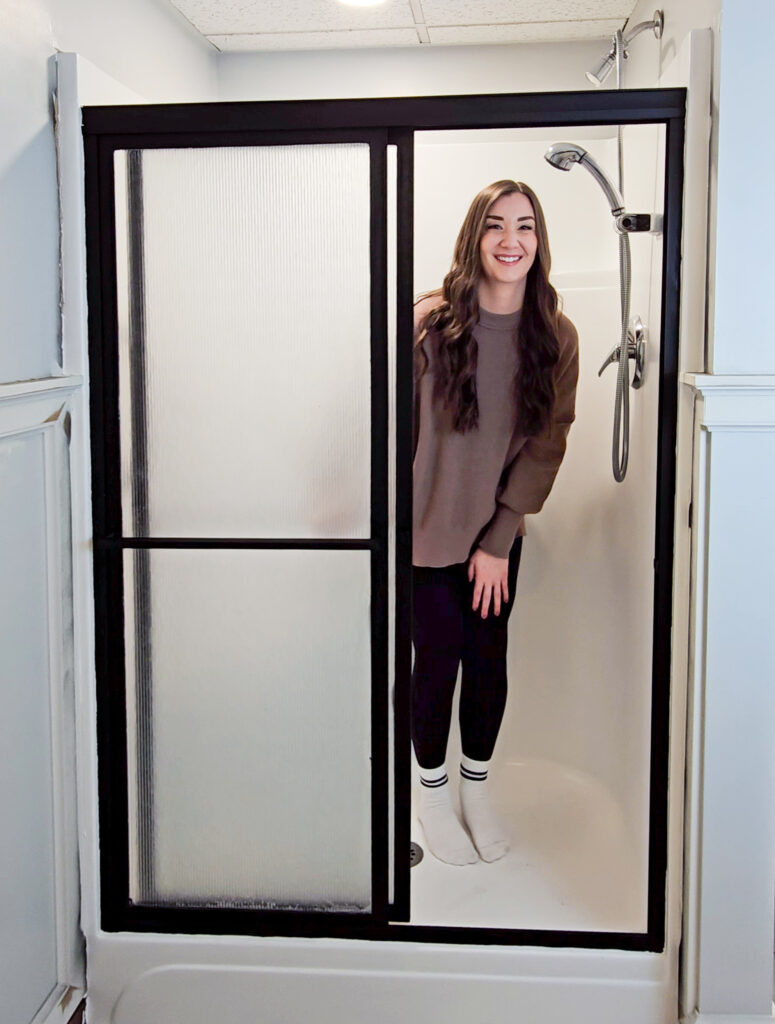
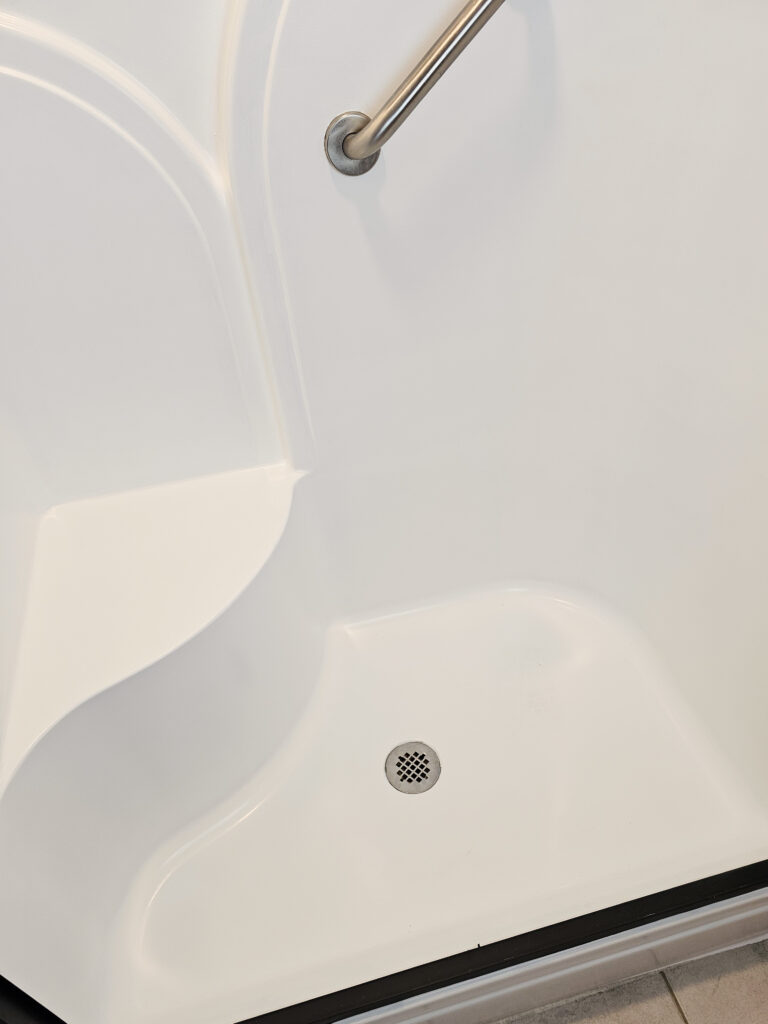
And here is a look at the final result! I love how this turned out. I am excited to see how durable this paint is!
If you’d like to see how I also painted the shower doors, head to my blog post here “How to Paint Shower Doors”
Total Cost
- DWIL Tub & Tile Kit – $40 – I needed 2 kits – $80
- Painter’s Tape – $8
- Total Cost: $88

Feb 25, 2024