How to Paint Shower Doors
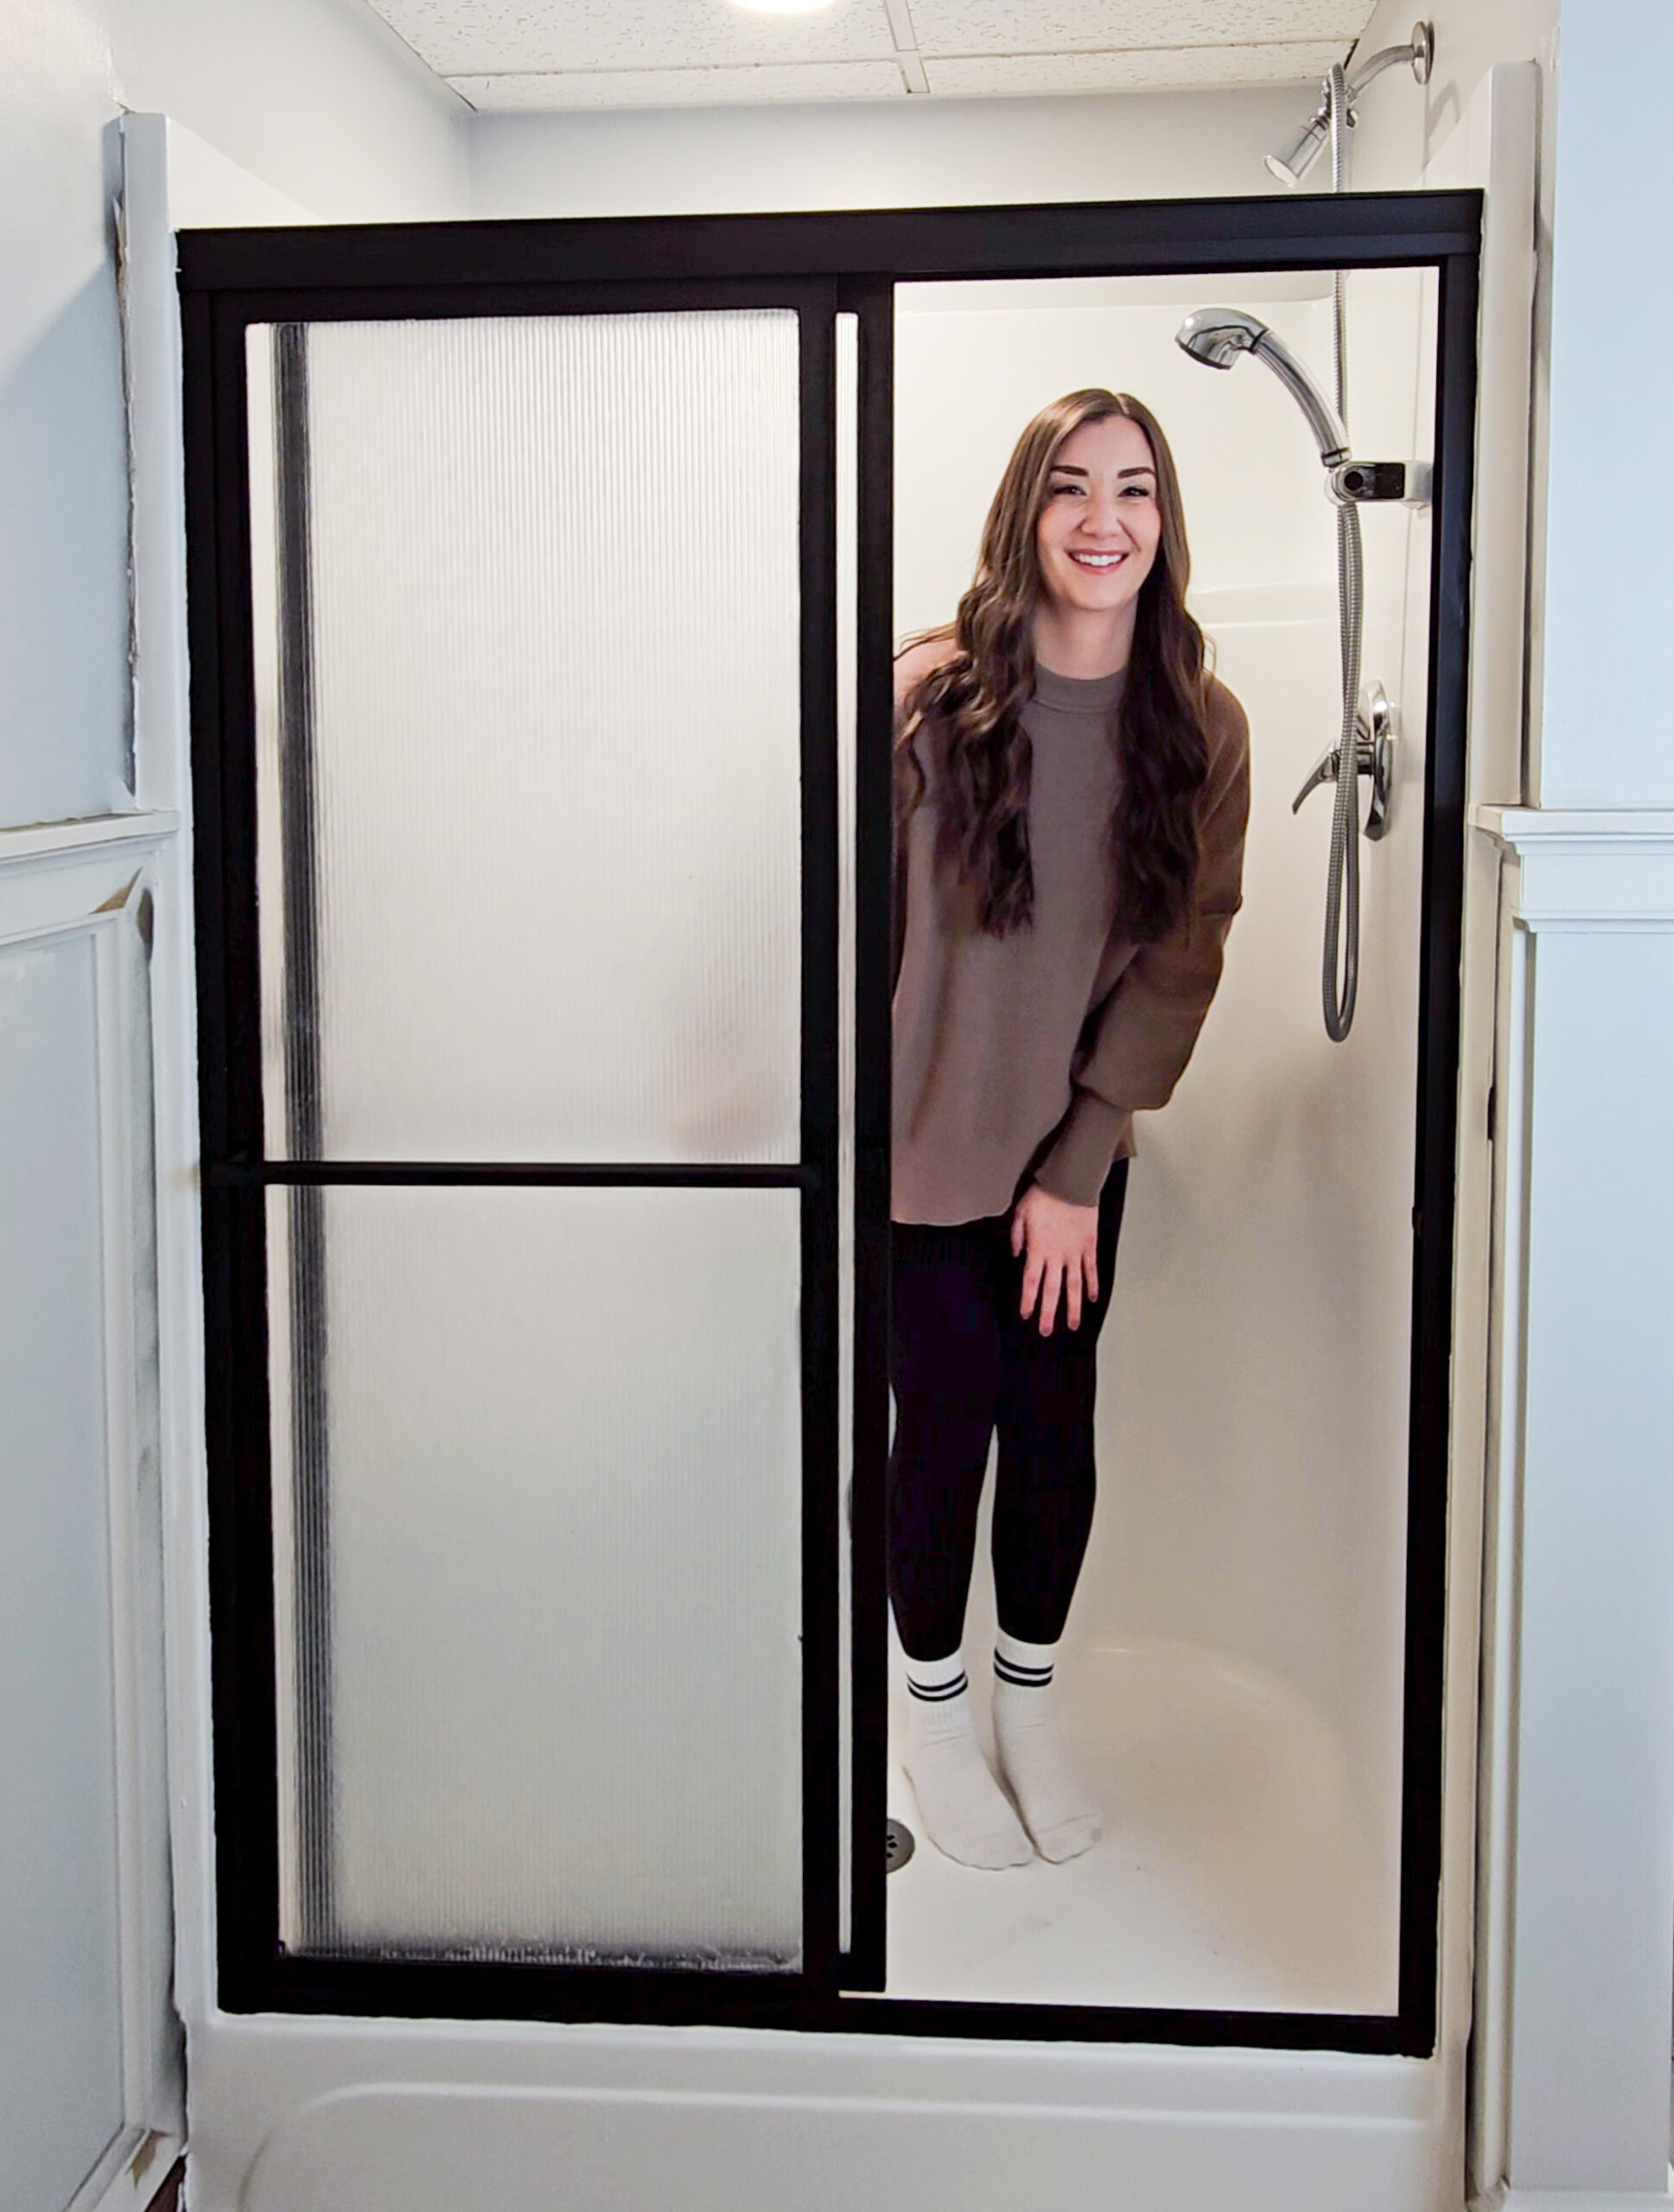
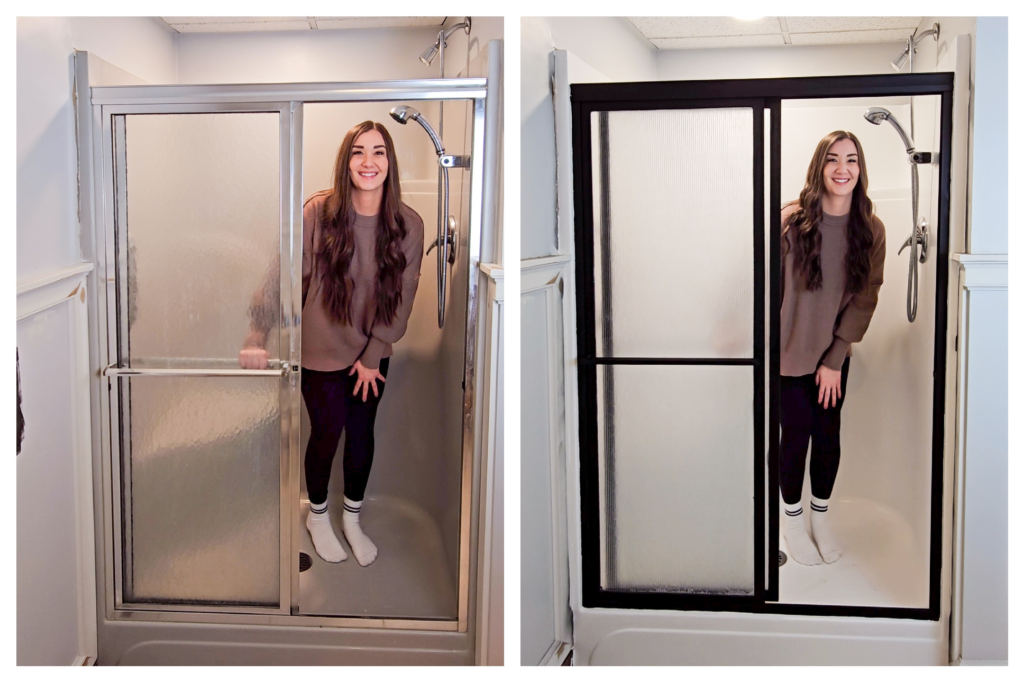
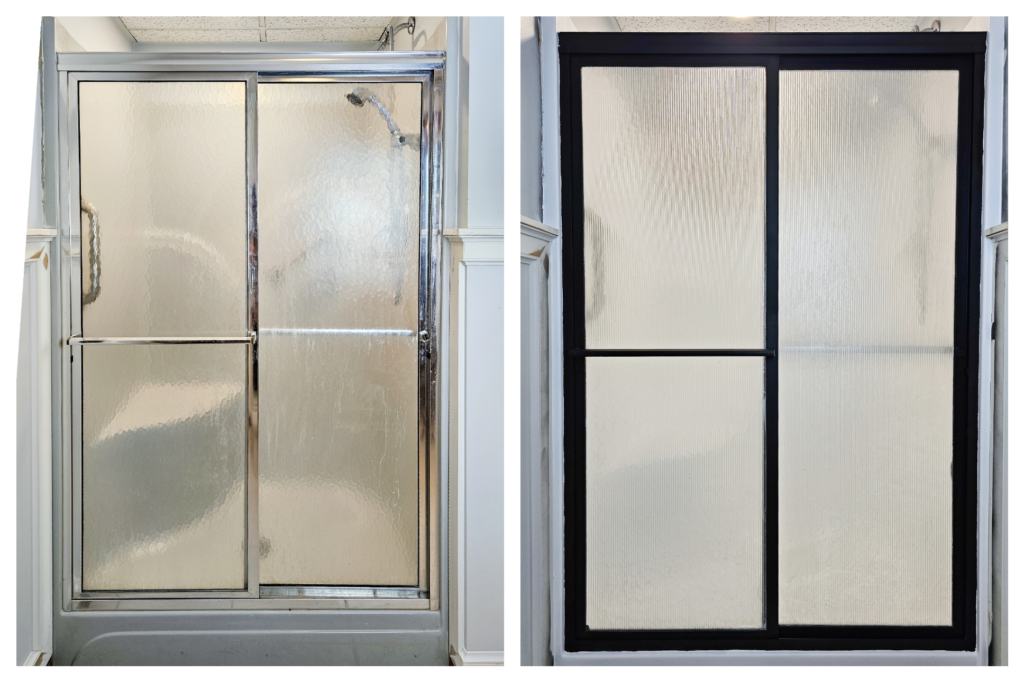
Not all of us have the budget or tools to just replace our shower doors. So, I’m going to show you how I did this budget friendly makeover on my 1990’s shower doors with no tools and just a few cans of spray paint! Below is a picture of the before with silver doors and a gray shower, and the after is of my updated black doors with a white shower! (Oh and a haircut in-between!). There is a total cost breakdown at the end.
*I may earn a small commission on any linked items in this article*
Supply List
- Painter’s Tape
- Plastic Sheet or Craft Paper
- Cleaner
- Deglosser or Liquid Sand Paper
- Sanding Block
- Respirator Mask
- Shellac Primer Spray Paint
- Enamel Black Spray Paint
- Faux Reeded Glass Cling (optional)
- Box Cutter and Scissor for Cling
Step Summary
- Remove your shower doors
- Clean your shower doors and shower
- Prep for paint – degloss and sand
- Tape off your edges
- Spray Primer
- Spray Enamel Paint
- Remove tape and paper
- Repeat steps on your shower frame
- Install Faux Reeded Glass cling
- Hang your doors back up
Detailed Steps
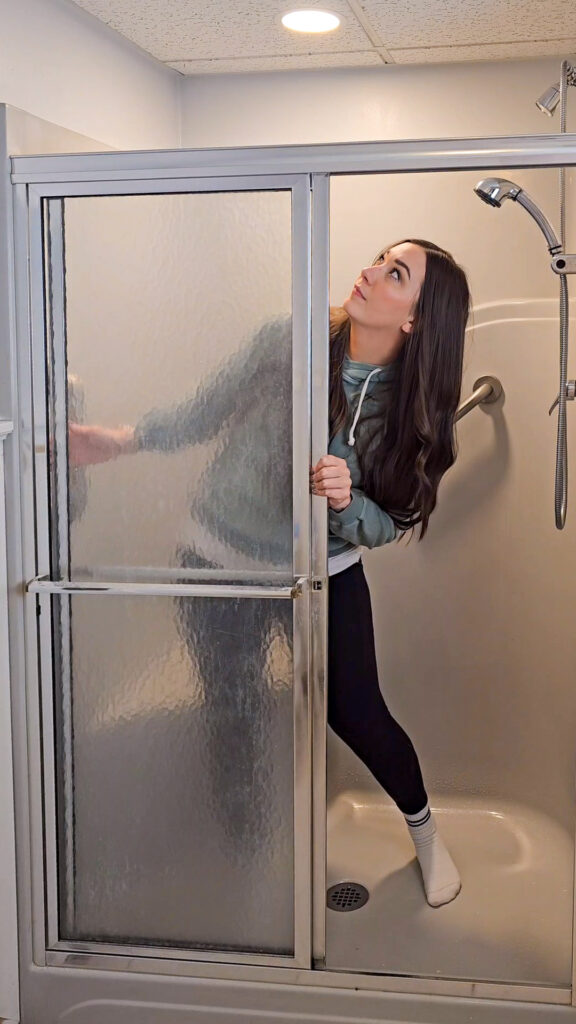
Remove your shower doors from the frame
Your doors have little wheels they are sliding along the top. One of your doors will probably be screwed into a guide along the bottom. Remove this guide with a screwdriver or power drill. Once that is out, you can gently guide your doors off the track.
Clean your shower doors – REALLY WELL!
Paint will not stick to dirt, grime, or hard water build up. Proper preparation before painting is the key to making anything stick… and stick well! This was one of the most time-consuming parts of this project but take your time and this paint is going to last! We have really hard water, so I had to use a combination of CLR Cleaner and a Magic Eraser to get these perfectly clean!
Prep your shower doors for paint!
Just like cleaning, the proper prep will make this project last! Once the doors were cleaned I used Deglosser on mine, also called Liquid Sandpaper. This helps remove some of the shiny finish on the metal frame. Then I took a sanding block, 220 grit, and lightly sanded the frame as well. Once you are done, make sure to use a cloth to get all the dust off your doors.
Tape off your frames
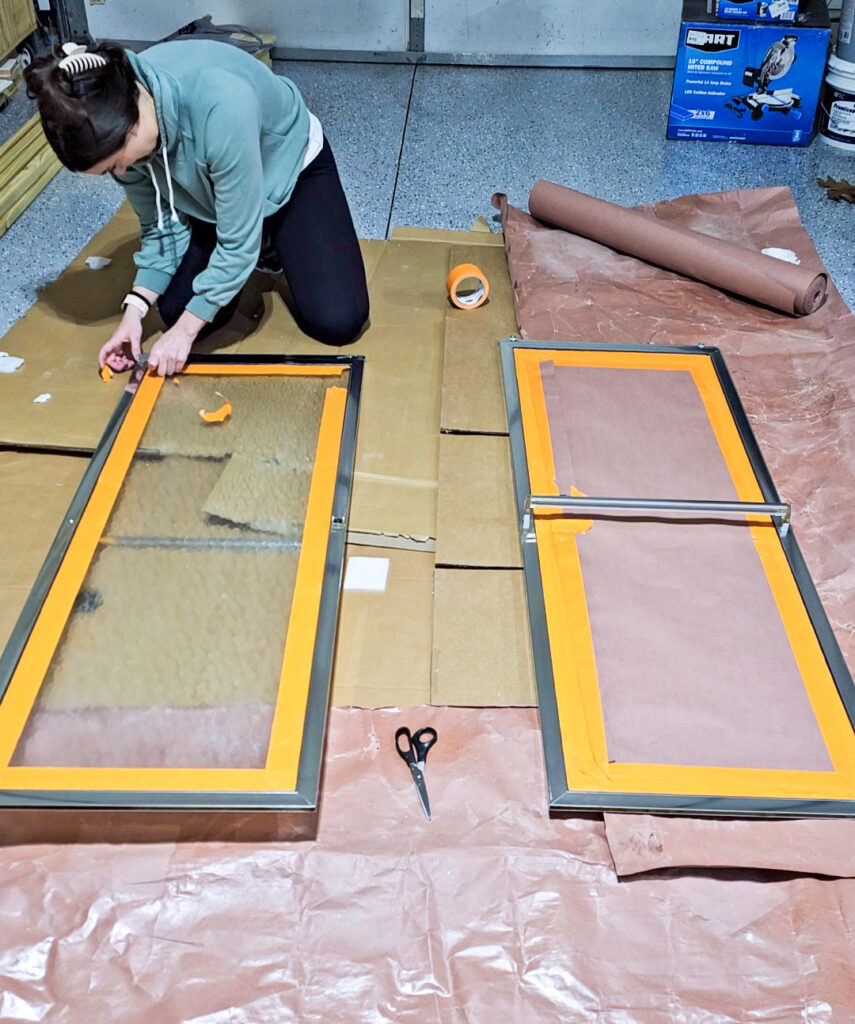
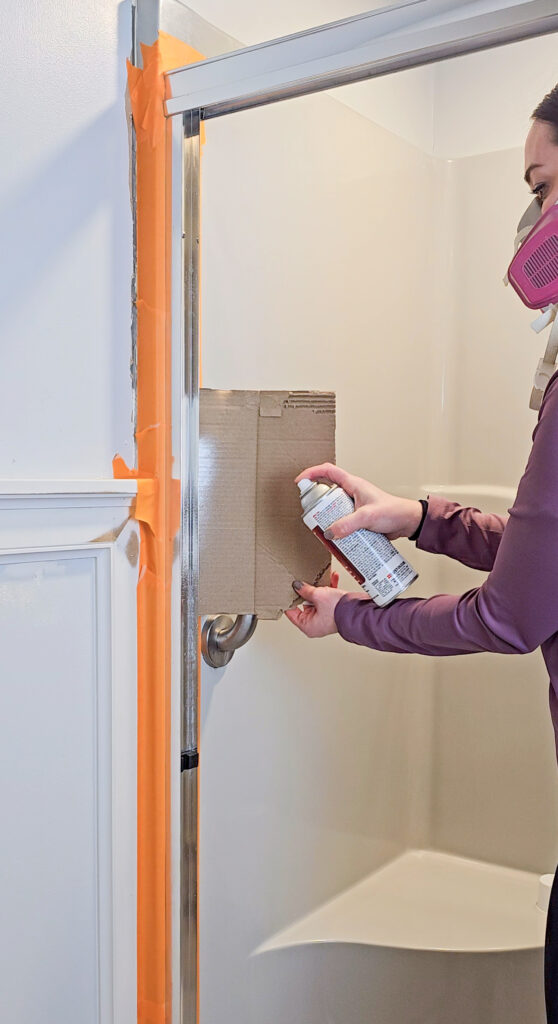
Use painters tape to tape along all the edges of your metal frame and cover up your glass. I used brown craft paper to cover the middle of the doors and save yourself a ton of tape! You could also use plastic sheeting or any paper bags you have laying around for this.
Spray Primer on your door frames
When you are painting, it’s always better to add in primer. The primer isn’t cheap, but you are spending a lot of time on these doors! Don’t you want it to last?! I used 1.5 cans on my doors and frames and it was worth the extra adhesion. This primer is made to use on metal and will help the black paint last as well. Lightly spray coats of primer. You can lightly sand with a 220 grit in-between coats, I didn’t. In total I did 2 coats of primer on both the doors and the shower frame. WEAR YOUR RESPIRATOR MASK anytime you are using spray paint, especially indoors.
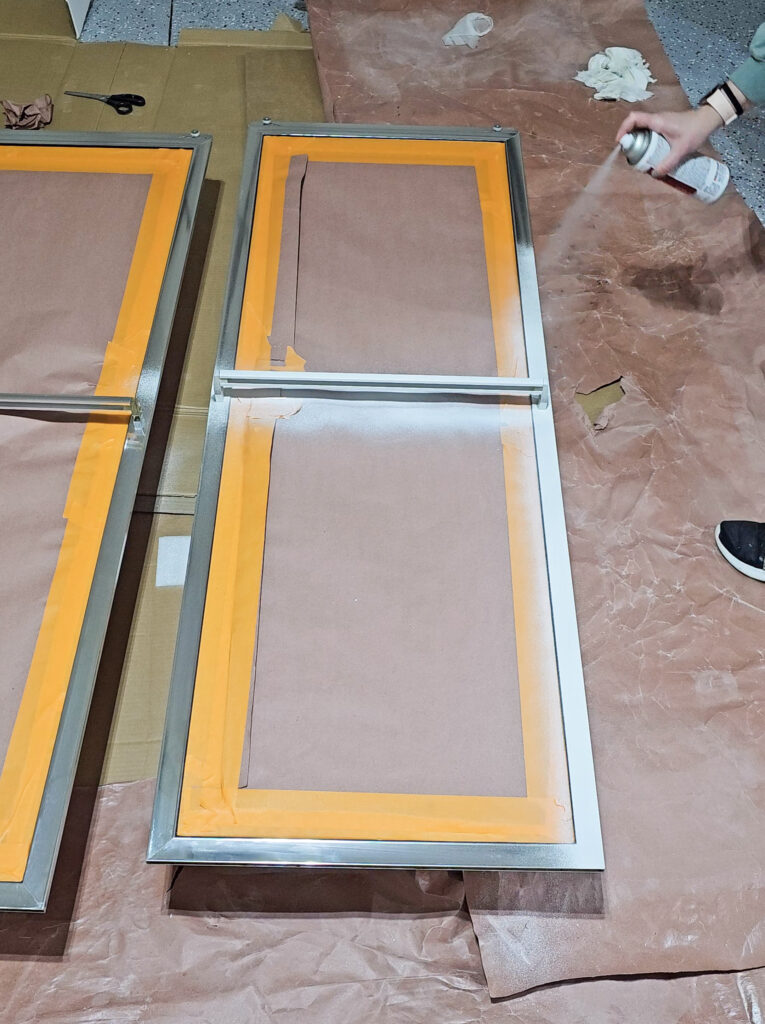
Spray paint on in color of choice – I used flat black
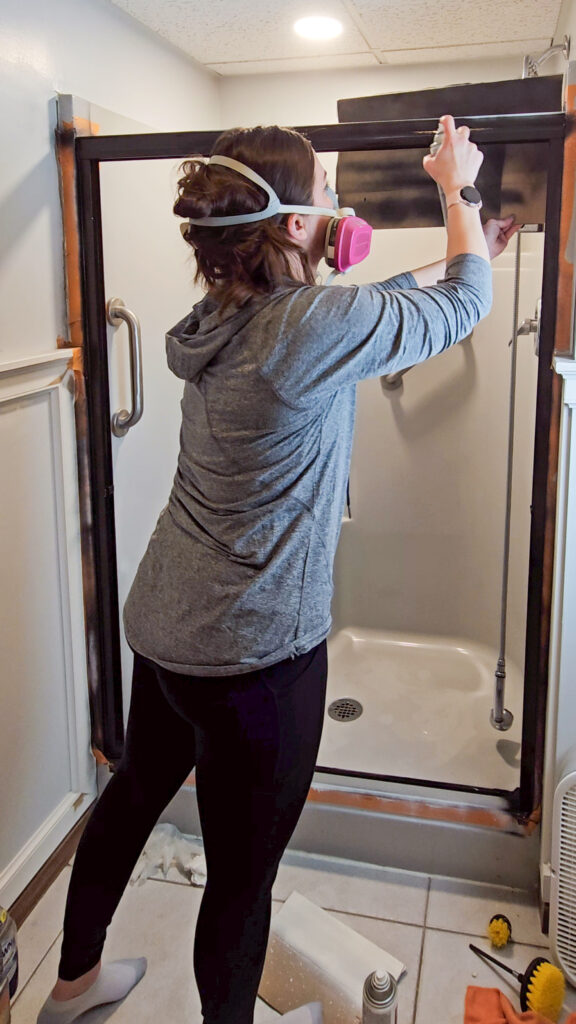
I opted for a matte black, which to me is a great way to modernize these doors. I used a High Performance Enamel Spray Paint which is made for heavy duty use and is supposed to protect against rust. I did a total of 2 coats of black paint on my doors. This INSTANTLEY changed these doors! I was so happy.
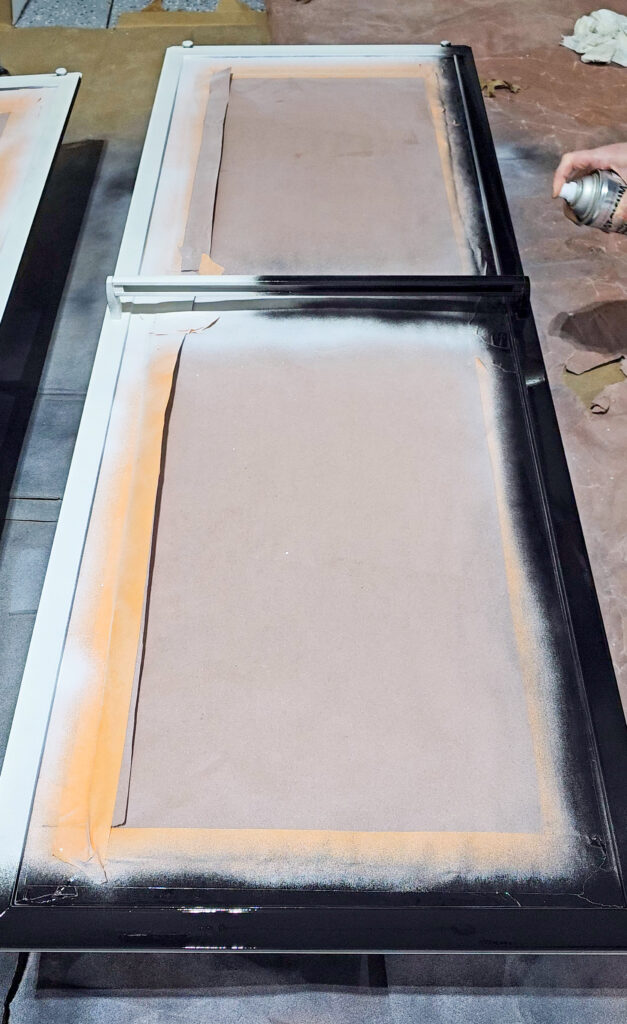
Remove your painters tape and paper
Remove all your tape and paper. Any paint that may have over sprayed on your glass, you could use a razor blade to scrap it off. Once the enamel paint dried a bit, I did try lightly scratching off the paint and guess what… NO SCRATCH MARKS! I’m truly impressed! We will see how they hold up to normal wear and tear, but I am feeling pretty confident!
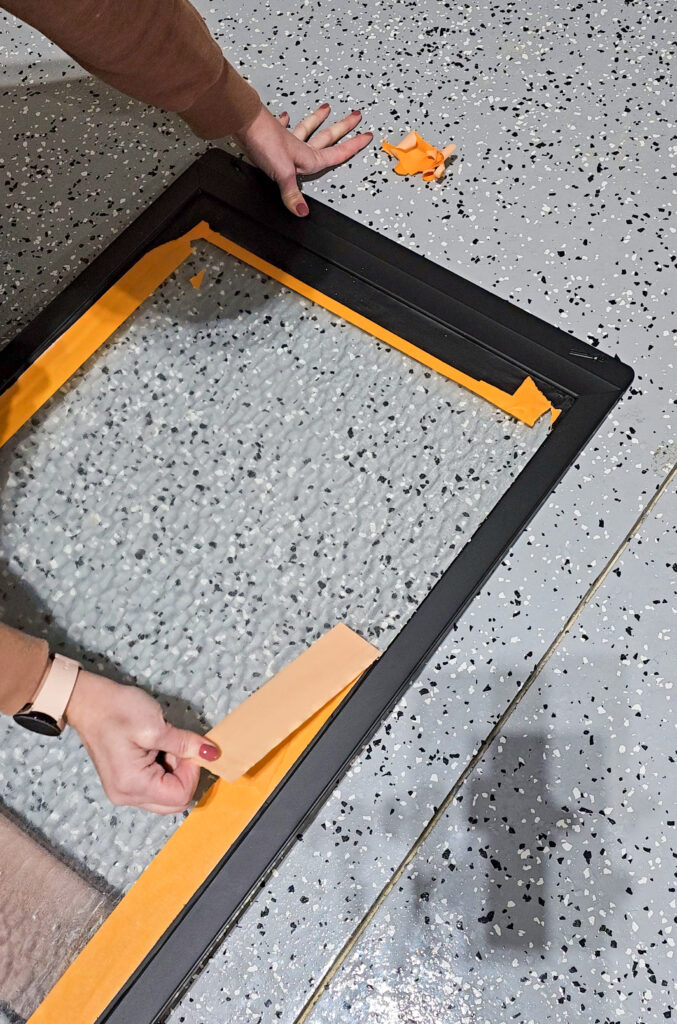
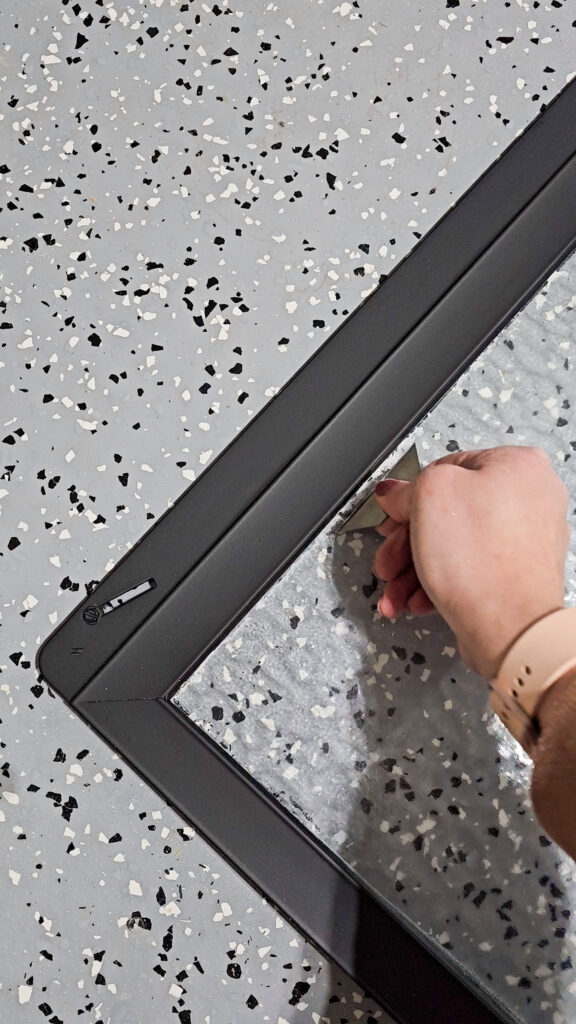
Repeat these steps on your shower frame
I don’t recommend removing your frame to paint it. Most likely this is glued, caulked, and screwed into place on your shower walls. Plus you could bend it up when you remove it so your doors may not slide once you re-hang them. I added in tape along my edges, but I’ll be honest. I knew I was going to be painting this shower so I didn’t prep enough. I’d highly recommend taping off the entire shower walls because the overspray will get everywhere.

Install Faux Reeded Glass cling to modernize these doors more (optional)
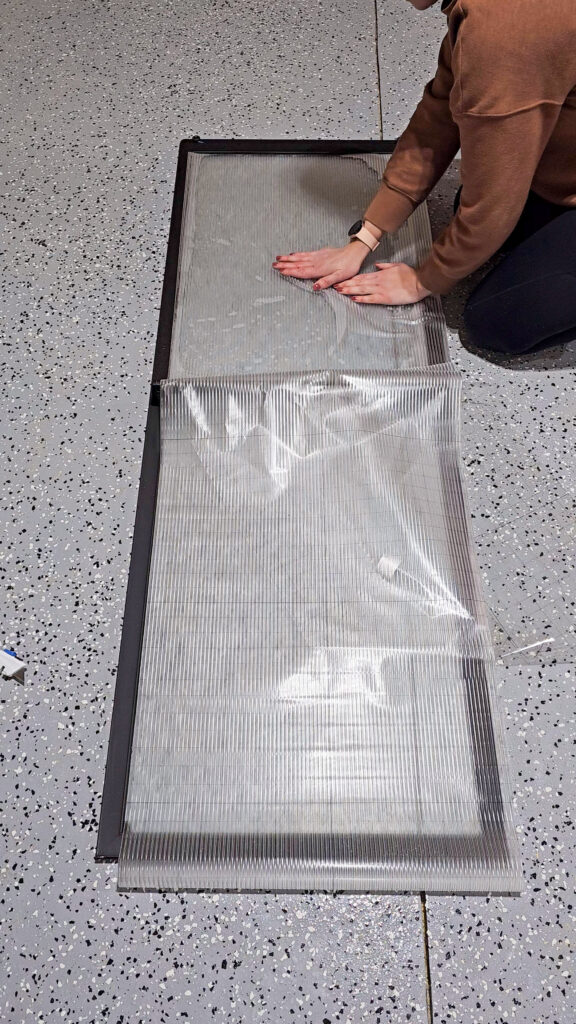
I wanted to make these doors look just a little more modern, so I added in this Faux Reeded Glass cling. I was skeptical it would stick since it says to use only on flat surfaces. The glass on my doors do have a slightly wavey texture. I’m not sure the cling will last long term, but for now I LOVE how it looks! You can use a box cutter to trim all the edges for a perfect fit. This really is super easy to apply!
Hang back up your shower doors
Finally, it’s time to put this back together! Now my shower isn’t done, I will be also painting this gray shower into a clean looking white. So, stay tuned for that! But for now, just painting these doors has made such a huge difference!
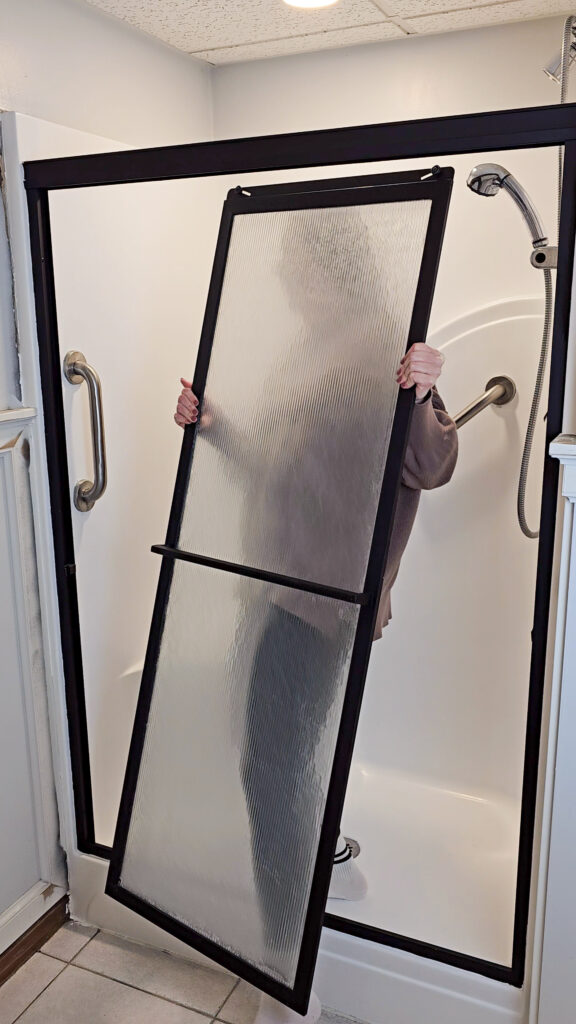
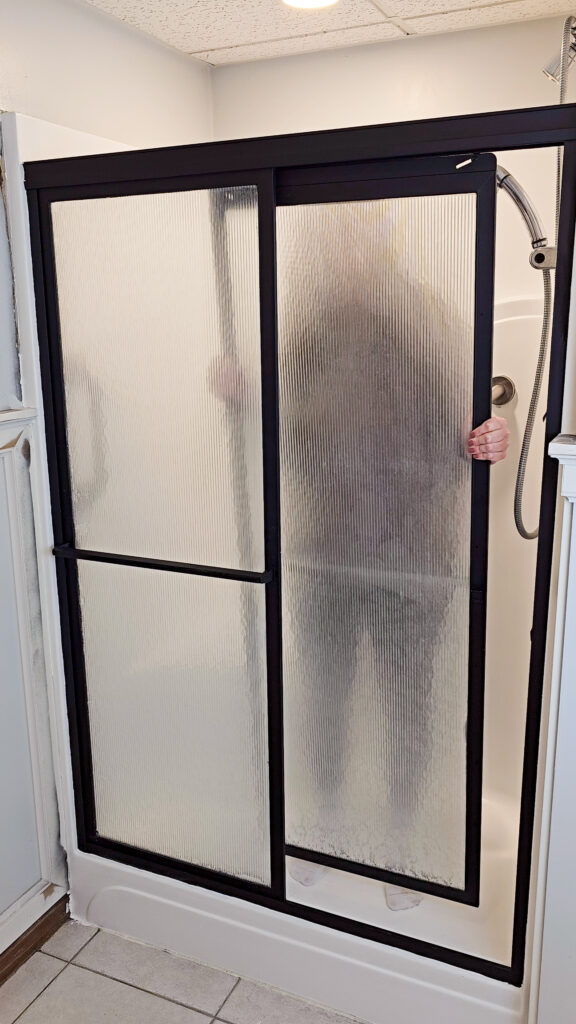
And here is a look at the FINAL reveal!!!!
Total Cost:
- Primer – 1.5 cans = $40 – I did find mine for $15 a can at Menards
- Black Spray Paint 1.5 cans =$20
- Cling Film – 2 rolls = $50 – the size I ordered was $25 a sheet
- Total Cost = $110 – but I do still have paint leftover for another project! You could also just paint the doors which will still completely transform them!
If you’d like to see a video of this process you can check out my reel by clicking here “How to Paint Your Shower Doors”
Feb 19, 2024
