


")
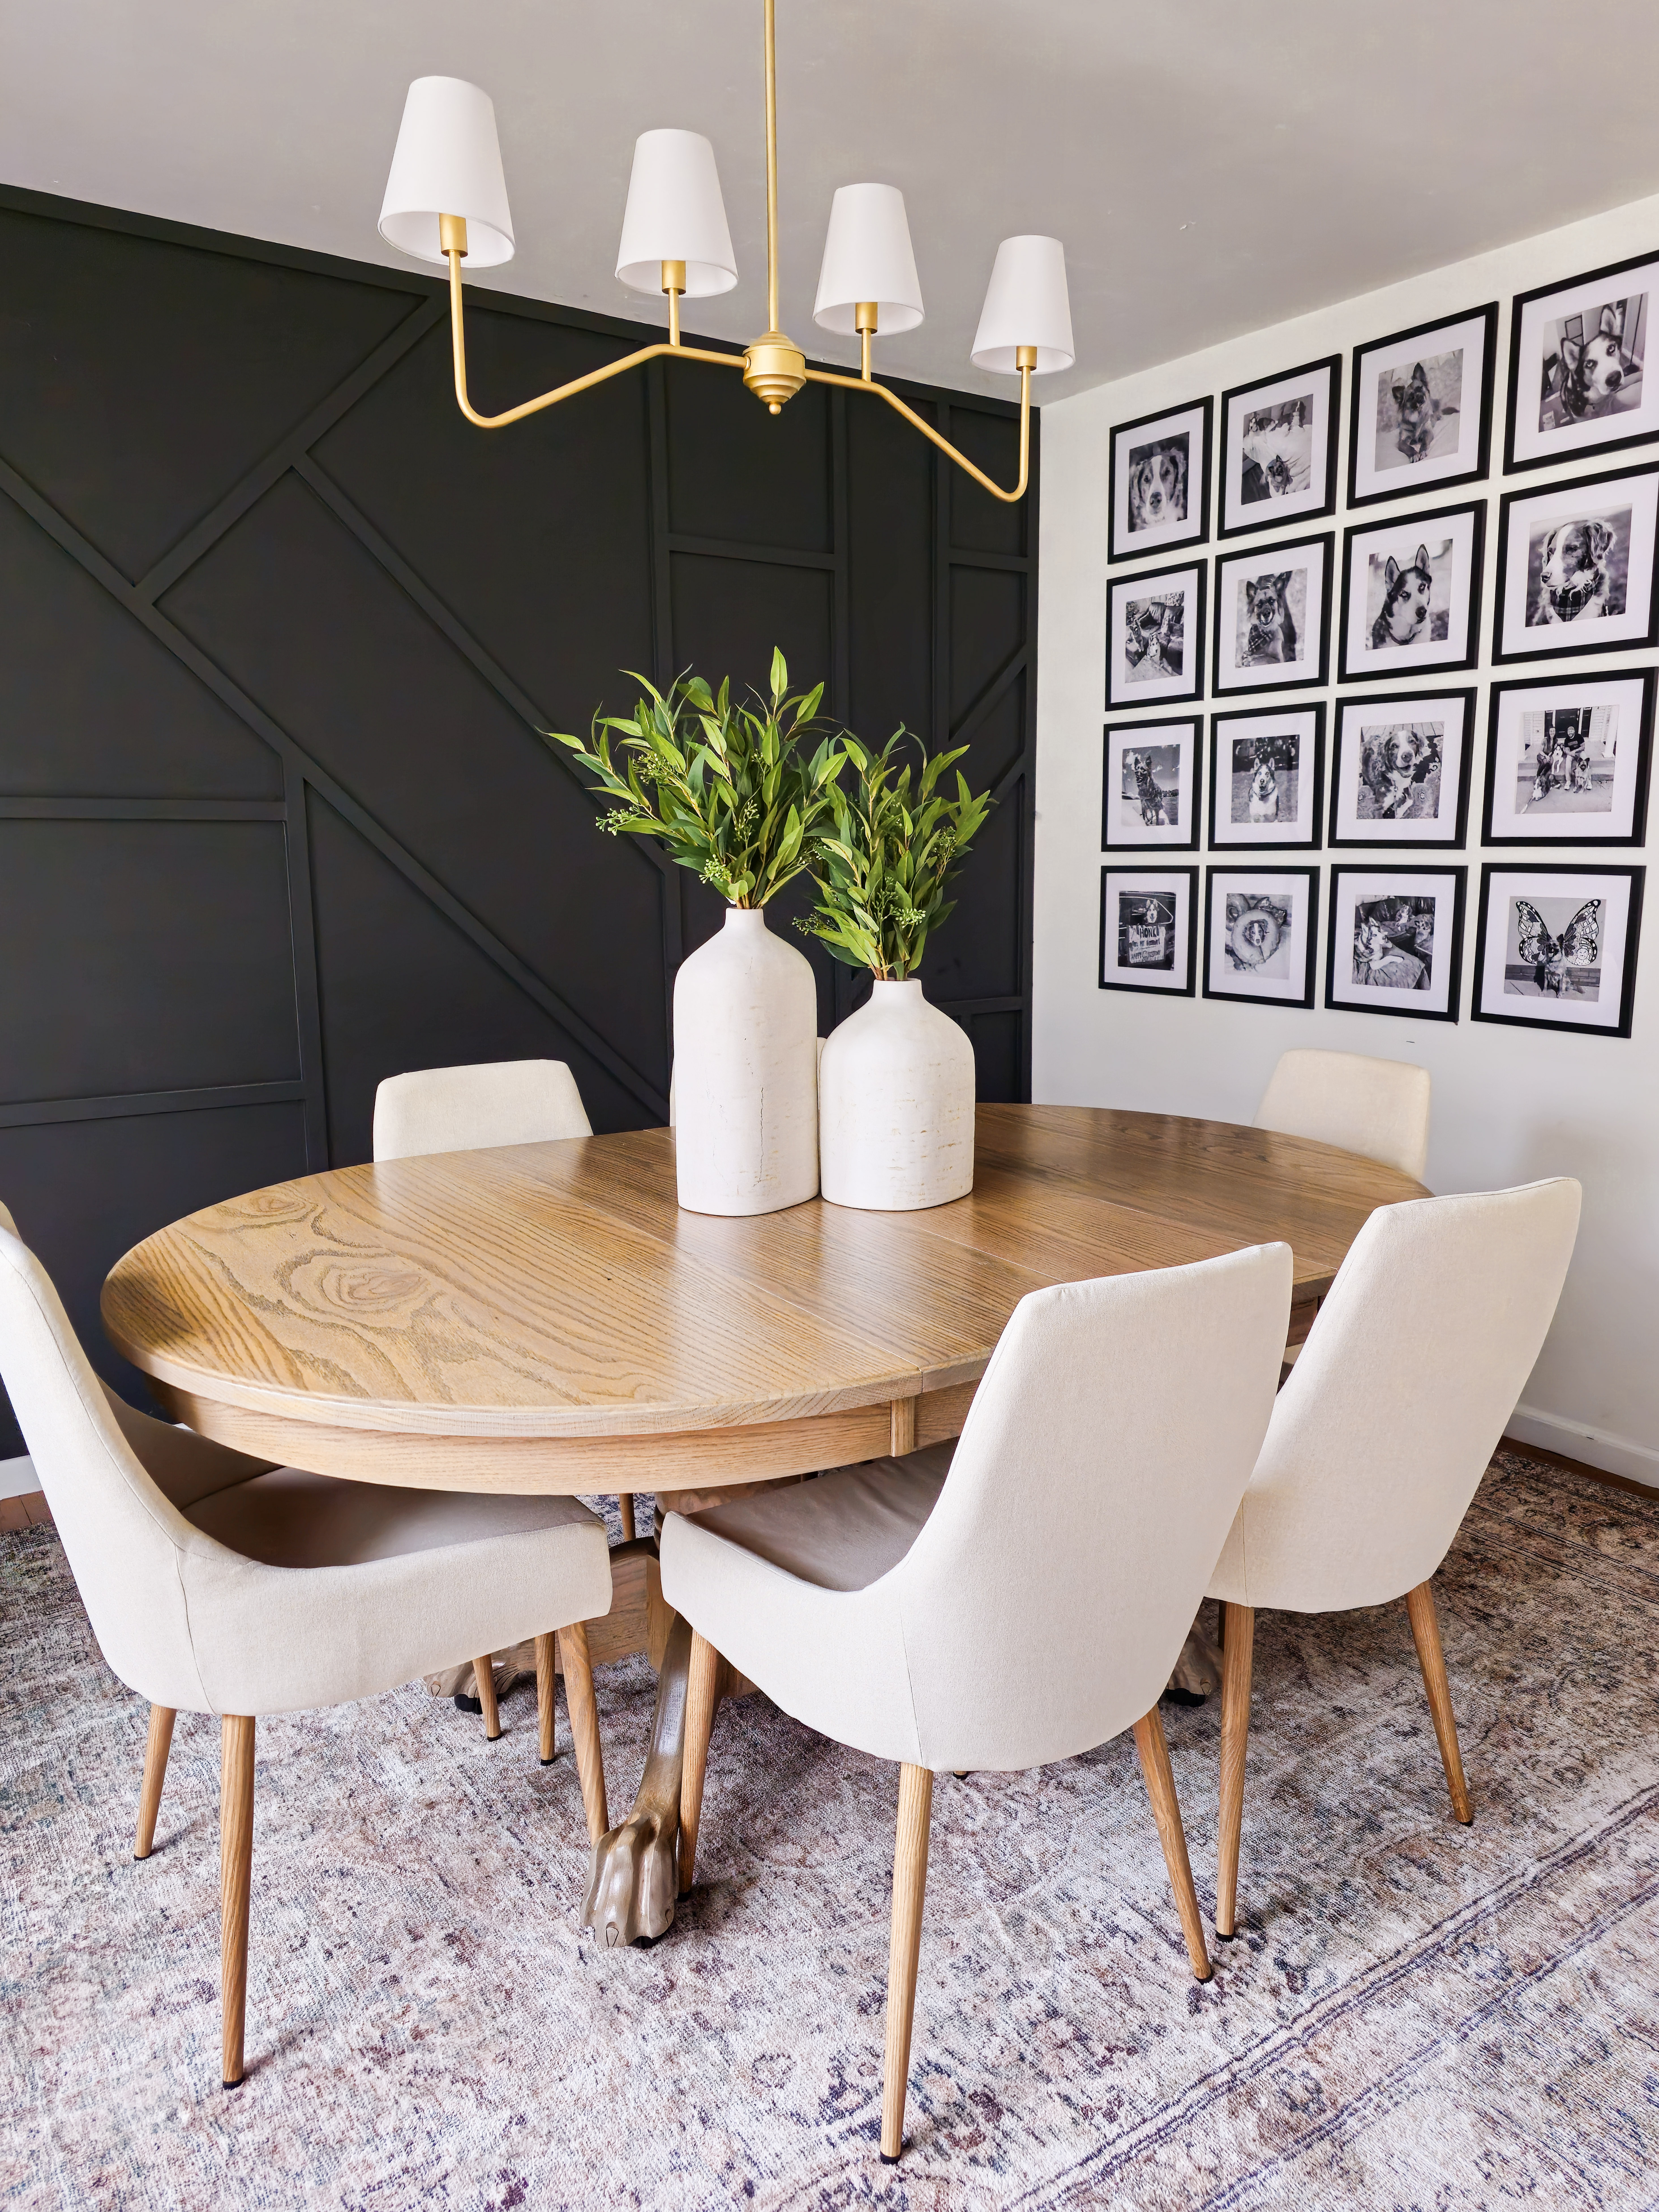
How To Cut Cove Molding – The Easy Way!
When starting a board & batten wall (see tutorial on board & batten here!), you may be tempted to add in cove molding to elevate the design. But cutting cove molding can be intimidating! Let me break it down for you in an easy-to-understand way without any complicated lingo!
*I may earn a small commission on any linked items in this article*
Supplies
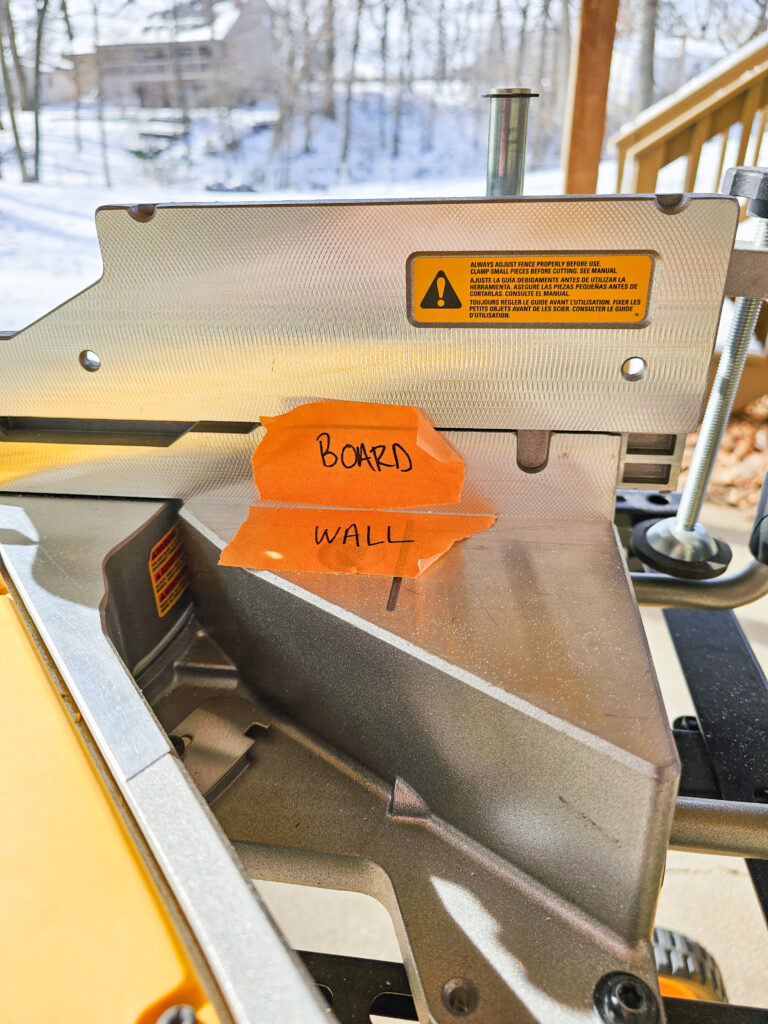
First Let’s Label Your Miter Saw
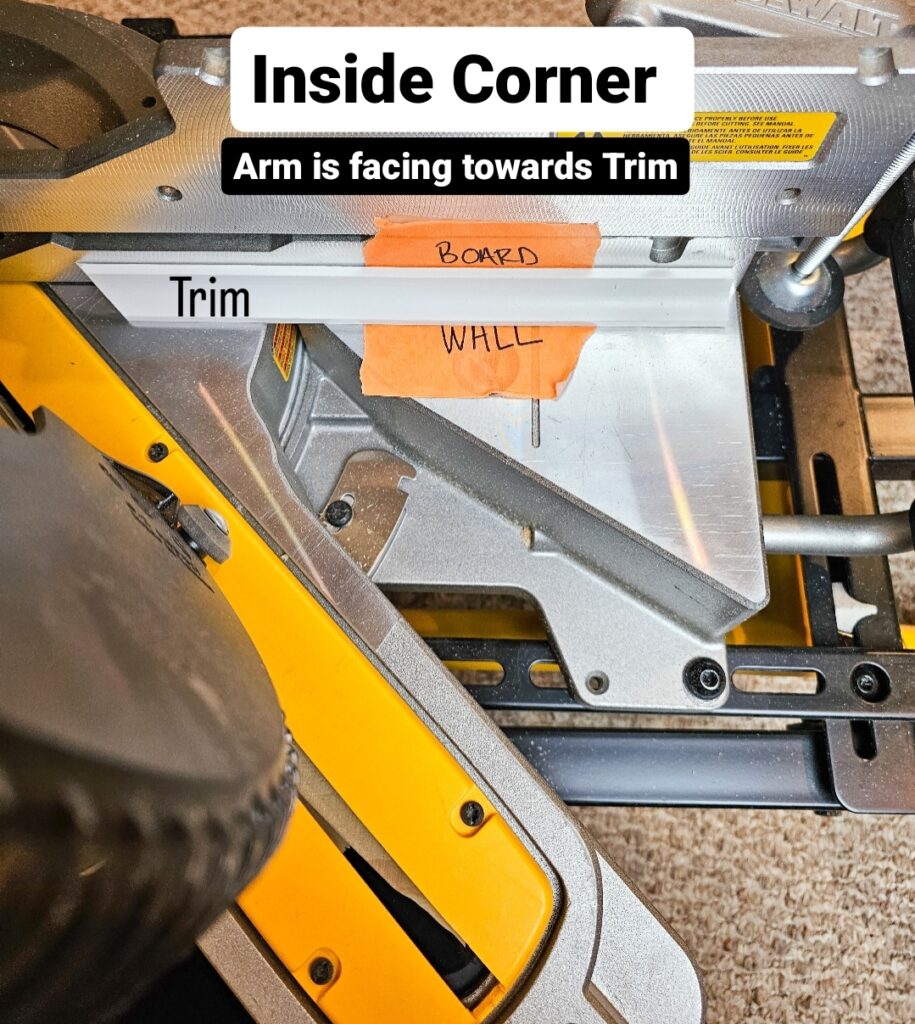
Before you start cutting your trim, label your miter saw like below. Trust me… Just do it. I wasted a lot of material before I did this and I want to help you save money! Grab a roll of painter’s tape that can easily be removed once you’re done.
- BOARD is the backside of your molding that butts up to your board & batten.
- WALL is the backside of the trim that lays flat against the wall next to your trim.
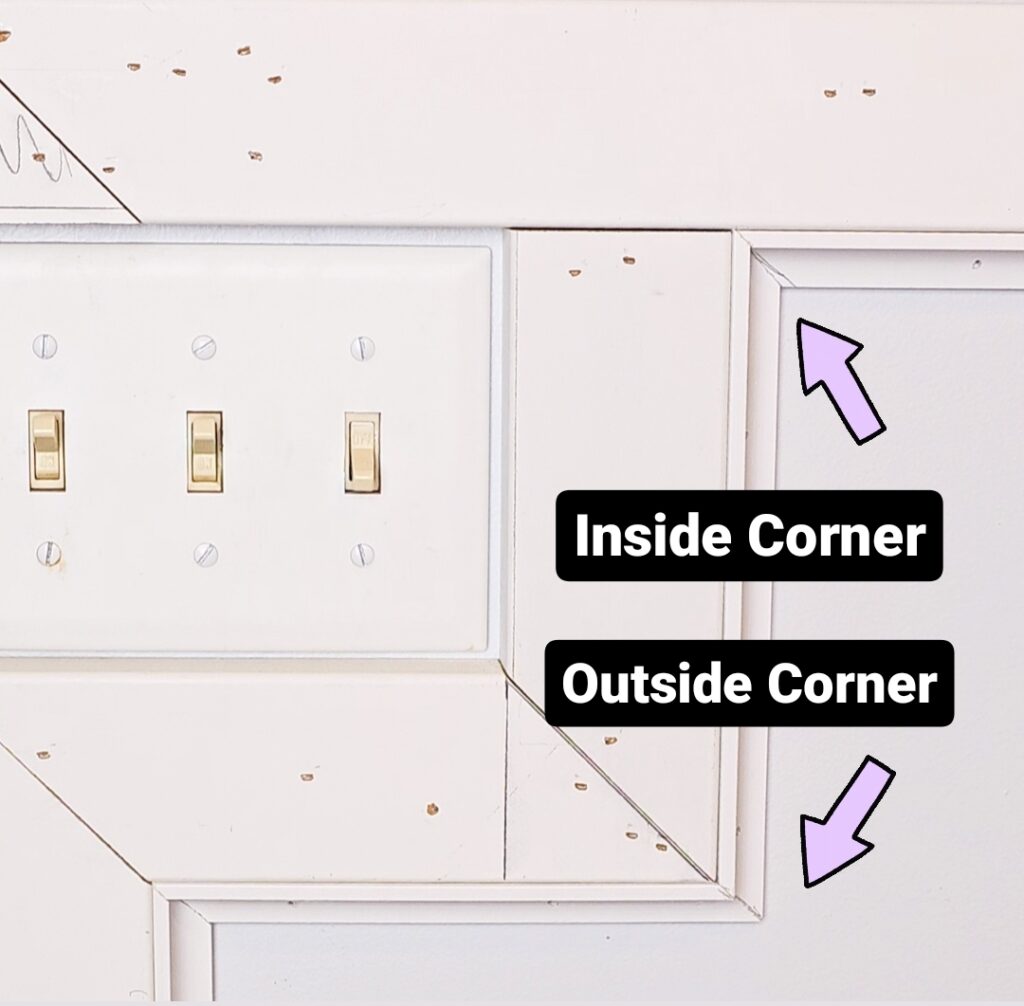
What Type of Corner Are You Cutting for Your Cove Molding?
Once you have your board & batten installed, you can begin to cut your Cove Molding. There are only 2 types of cuts you have to remember for cove molding.
- INSIDE corners
- OUTSIDE corners.
Most molding will be inside corners if you are working on a single wall. However, if you are wrapping your design around the room or going around outlets/light switches, you may run into some OUTSIDE corners like I did below.
Cutting Inside Corners
For INSIDE corners, your miter saw arm will be angled toward the trim you are cutting. No matter what side of the trim you are cutting, if your miter saw arm is facing the same direction your trim is laying on, it will be the correct cut. Just make sure you line up the BOARD & WALL sides of your molding on your saw as well.
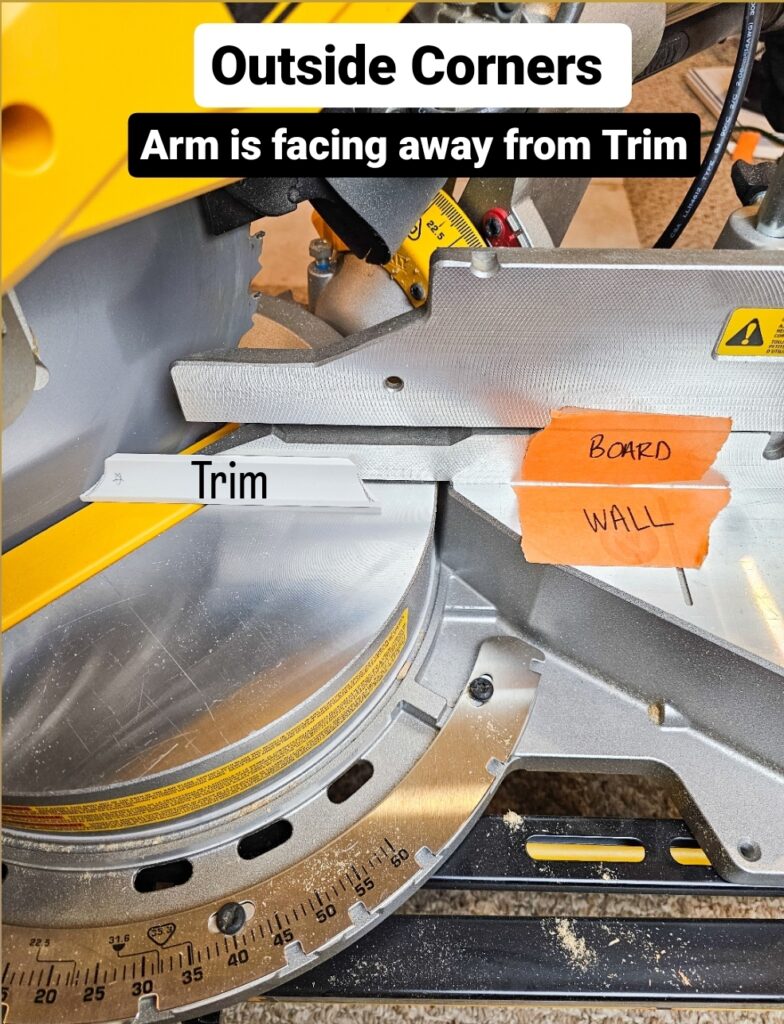
Cutting Outside Corners
For OUTSIDE corners, your miter saw arm will be angled the opposite direction of your trim. Again, you can cut on both sides of the blade, just remember that your saw will be pointing away from your trim like below. Again be sure to line up your Board & Wall side of your trim and you will be good to go!
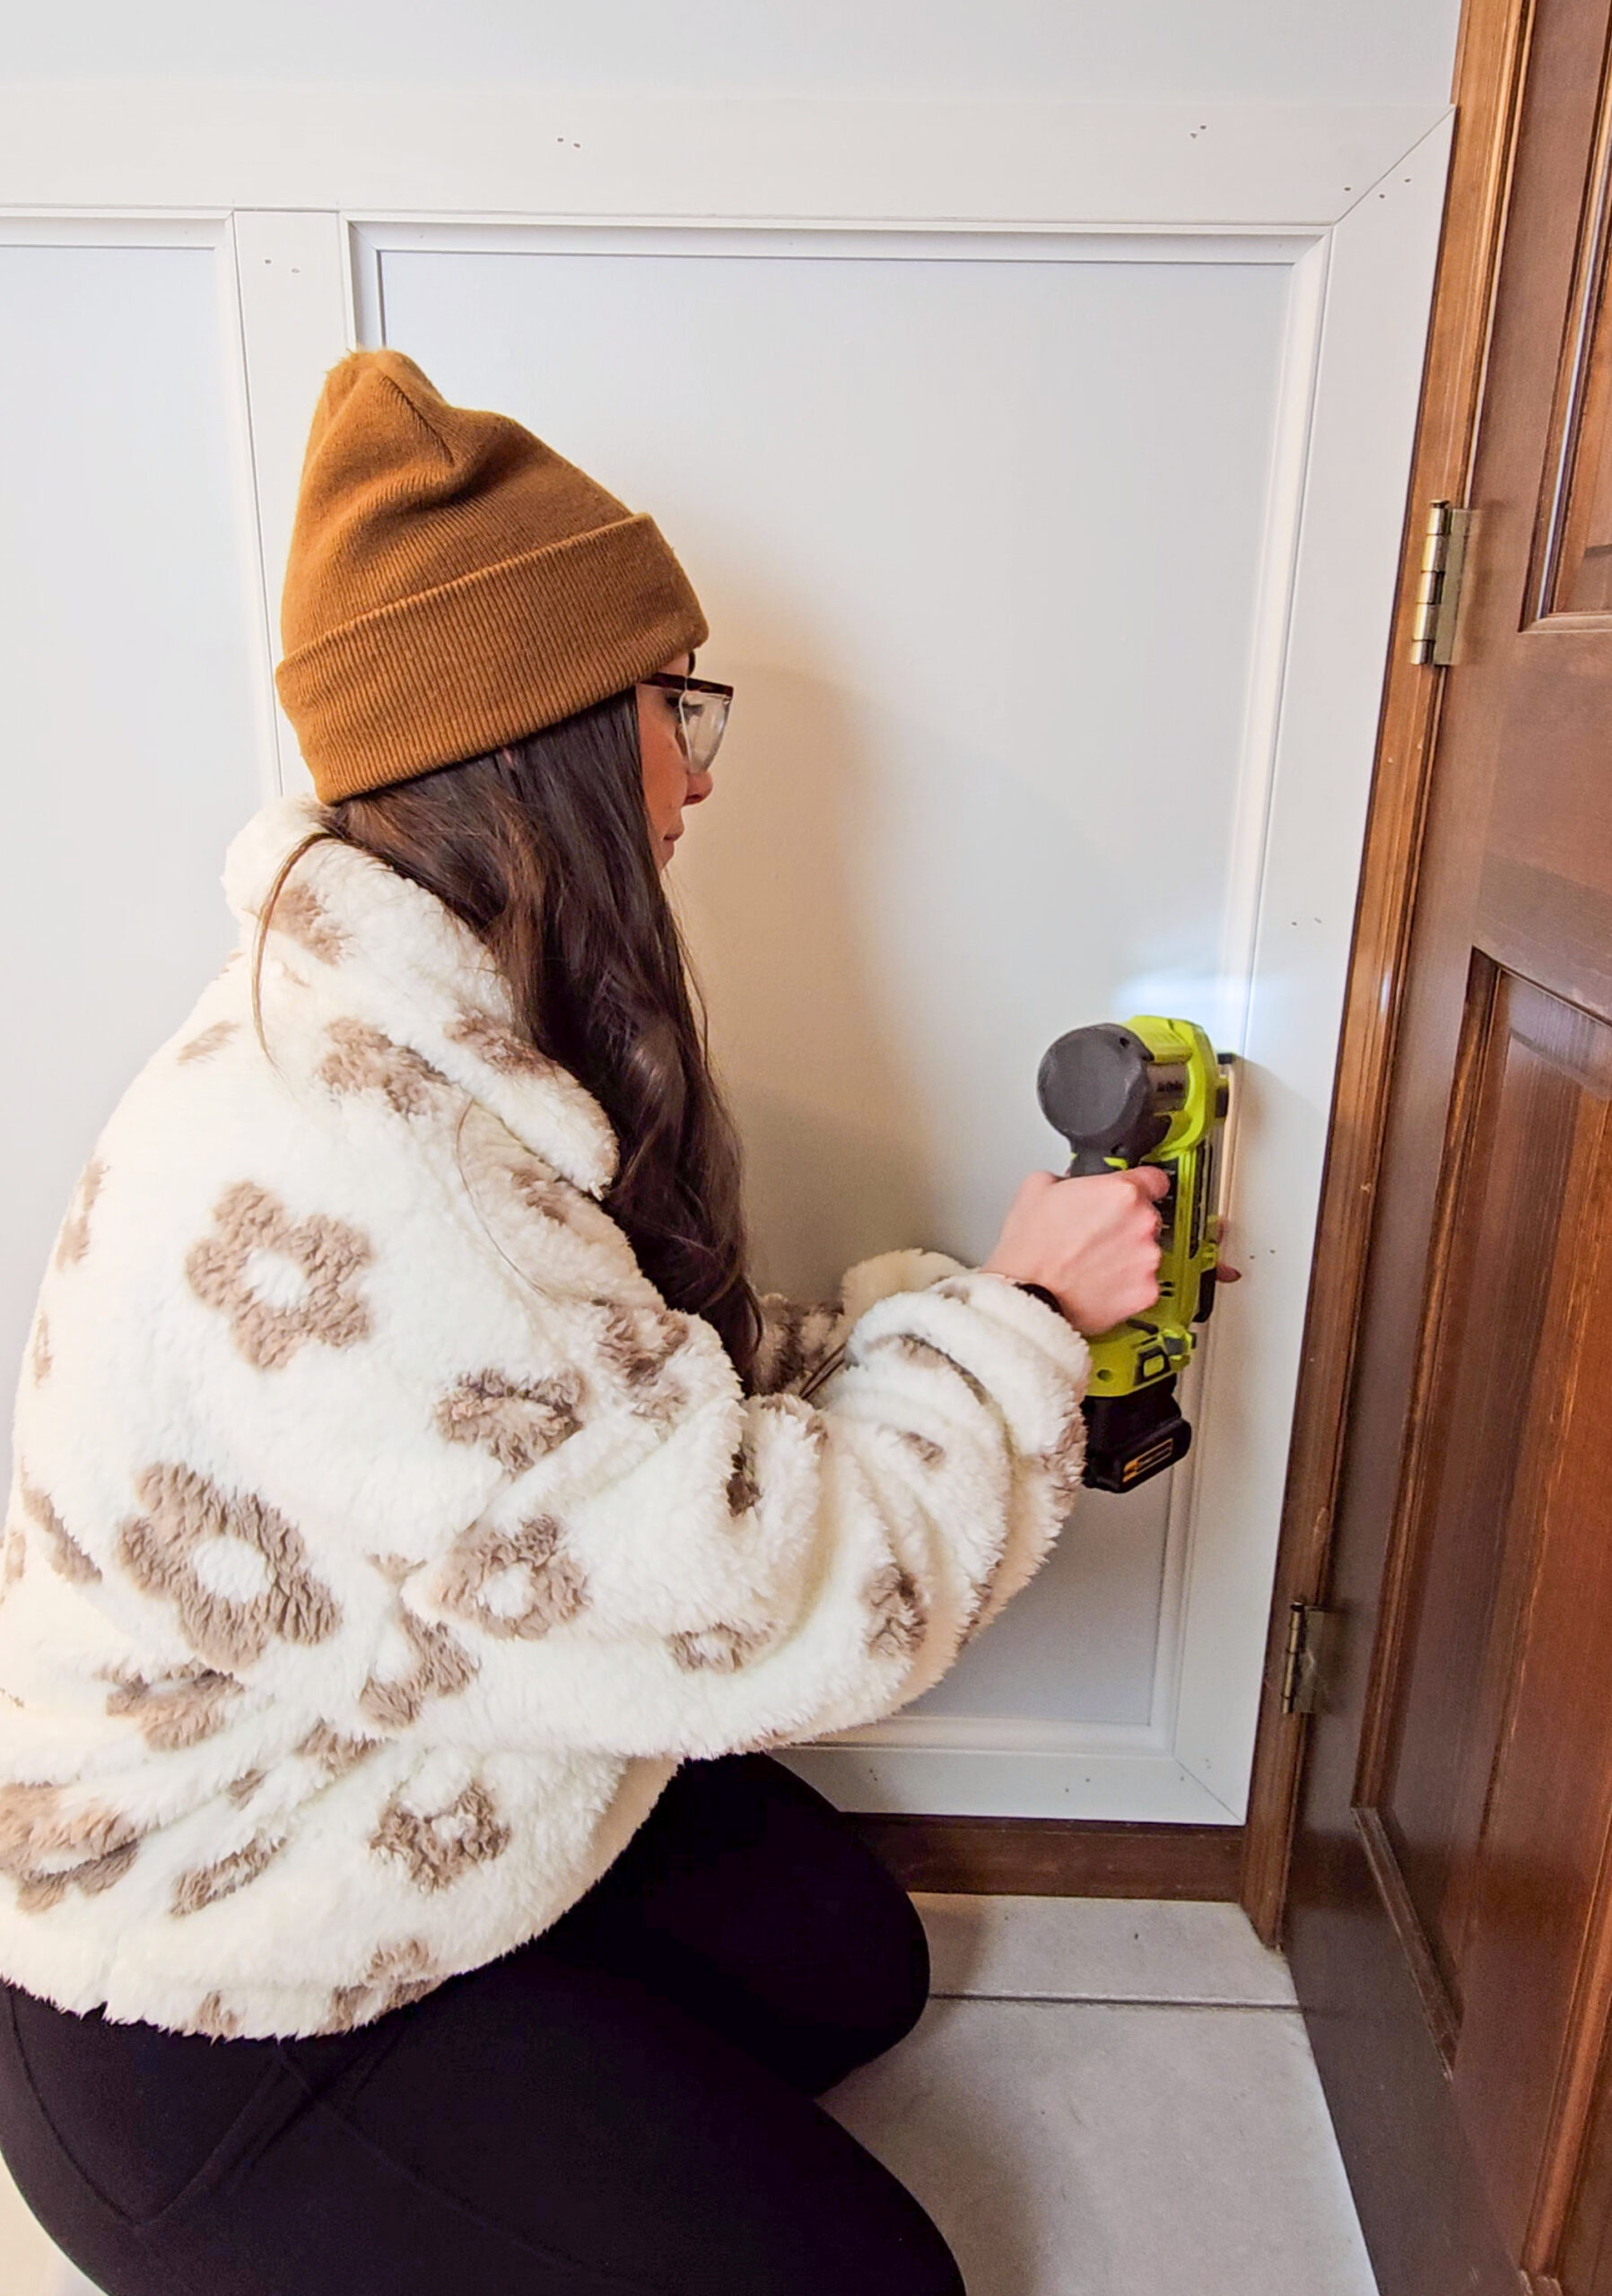
Install Your Cove Molding
Now that you have your cuts down, it is time to install that beautiful cove molding! You can use a brad nailer or even a pin nailer to install the trim. Now you have an elevated board & batten wall!

Head over to my Instagram to see this full project and how it turns out!
Jan 30, 2024