


")
How to Board & Batten Wall
This is a great beginner friendly DIY anyone can do with just a couple tools! Let me show you how easy it is to add your own Board & Batten to your home.
*I may earn a small commission on any linked items in this article*
Supplies
- 1×3 Boards – you can use thicker or skinnier boards if you would like, but 1×3’s look great!
- 1×2 Boards – optional if you aren’t adding a top ledge
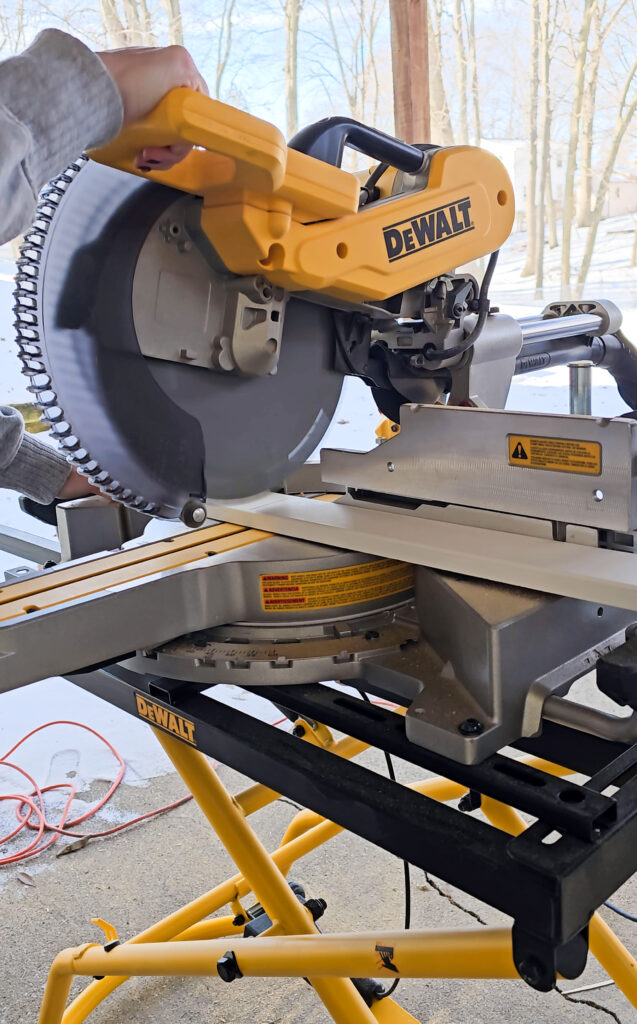
- Saw – I use my miter saw, but you could also use a circular saw
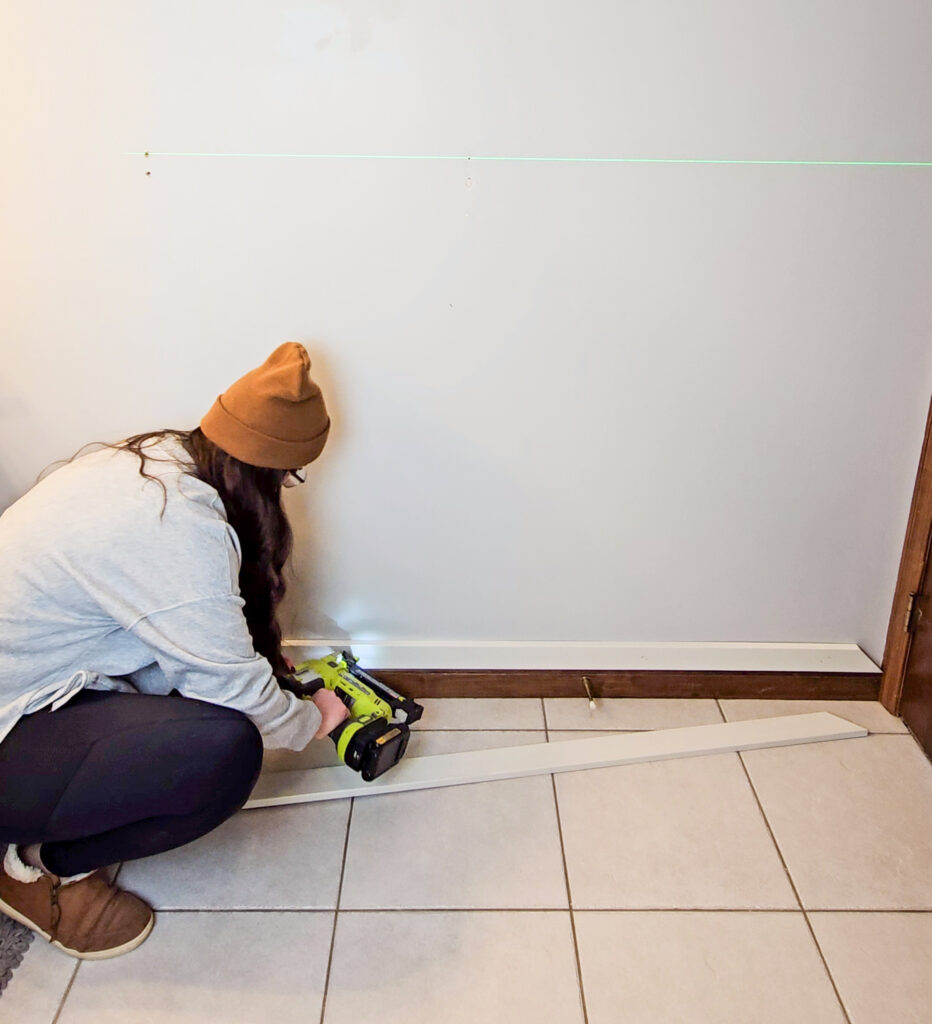
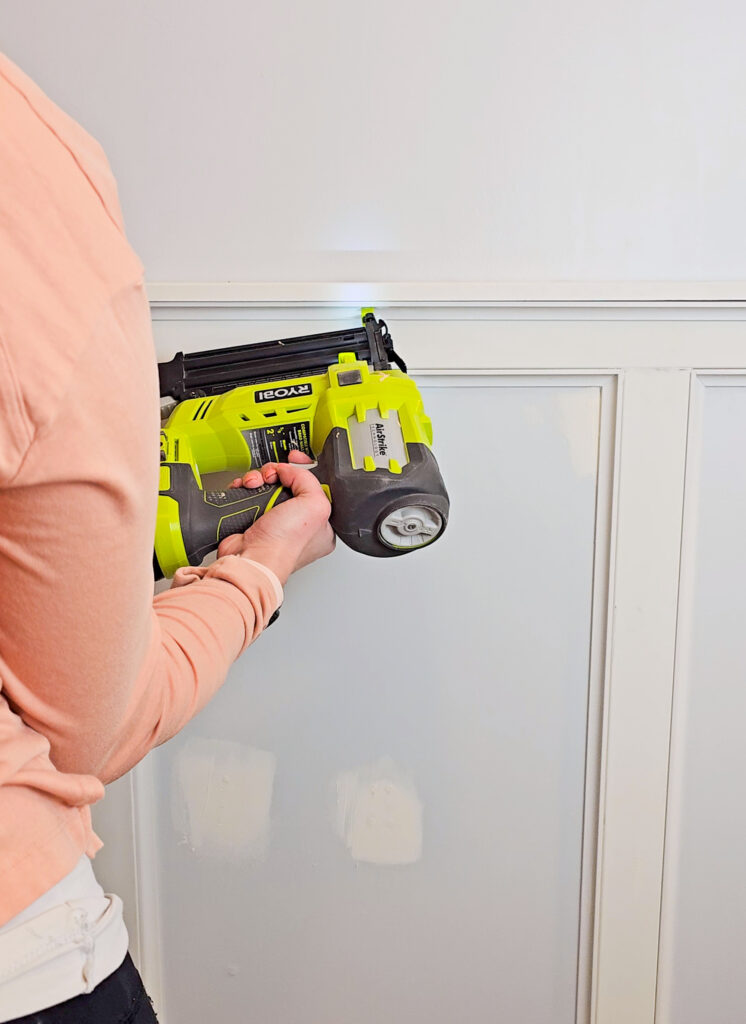
- Brad Nailer
- Caulk
- Caulk Gun – (doesn’t need to be this fancy)
- Wood Filler
- Safety Glasses
- Mask
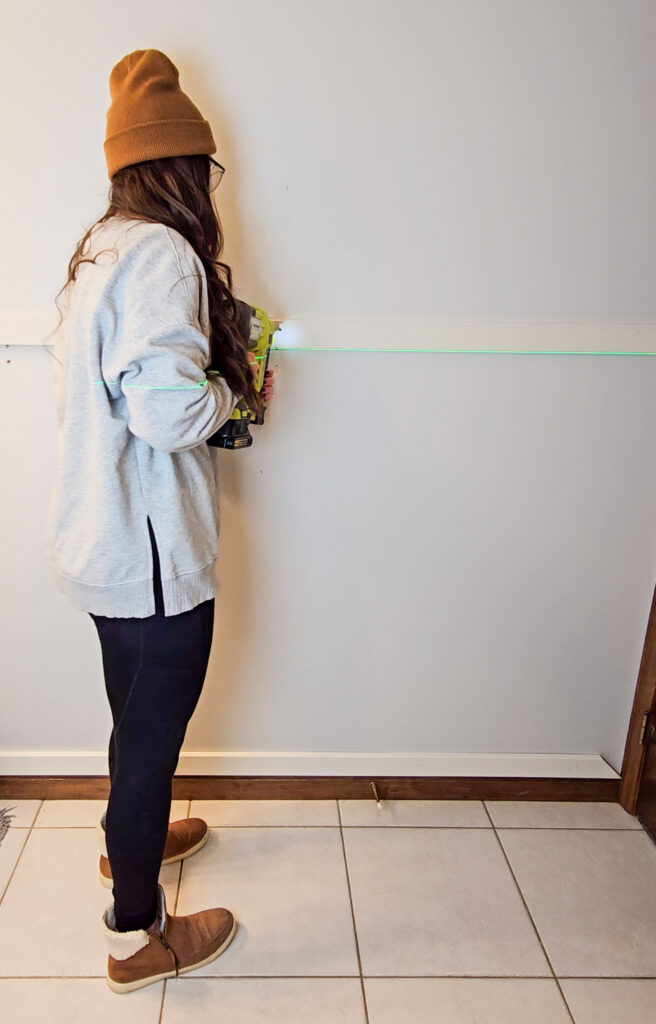
- Level – You can use a normal level or a laser level like this
Step Summary
- Purchase your Boards
- Determine how high up the wall your boards will go
- Add in your top and bottom boards
- Add in side boards to finish the outside frame
- Add in middle boards to create even spacing
- Add in top ledge (optional)
- Caulk along your seams
- Fill in your nail holes
- Add in Cove Molding (optional)
Detailed Steps
Purchase your Boards
I have used both pine boards & MDF boards on my walls before. MDF will be a more affordable option, just keep in mind it can’t be used in areas with moisture. So if you are adding this to a bathroom, I’d recommend pine. Since I am adding this to a basement bathroom where the shower doesn’t get used, I felt safe using MDF, but I wouldn’t typically recommend it.
Determine how high up the wall your boards will go
For me, I usually try to go above all outlets and light switches, so you don’t have to worry about butting up against them. If you can’t avoid it, another recommendation is to never go more than 2/3’s up your wall. But this is really up to you! You can use painter’s tape to help visual your boards.
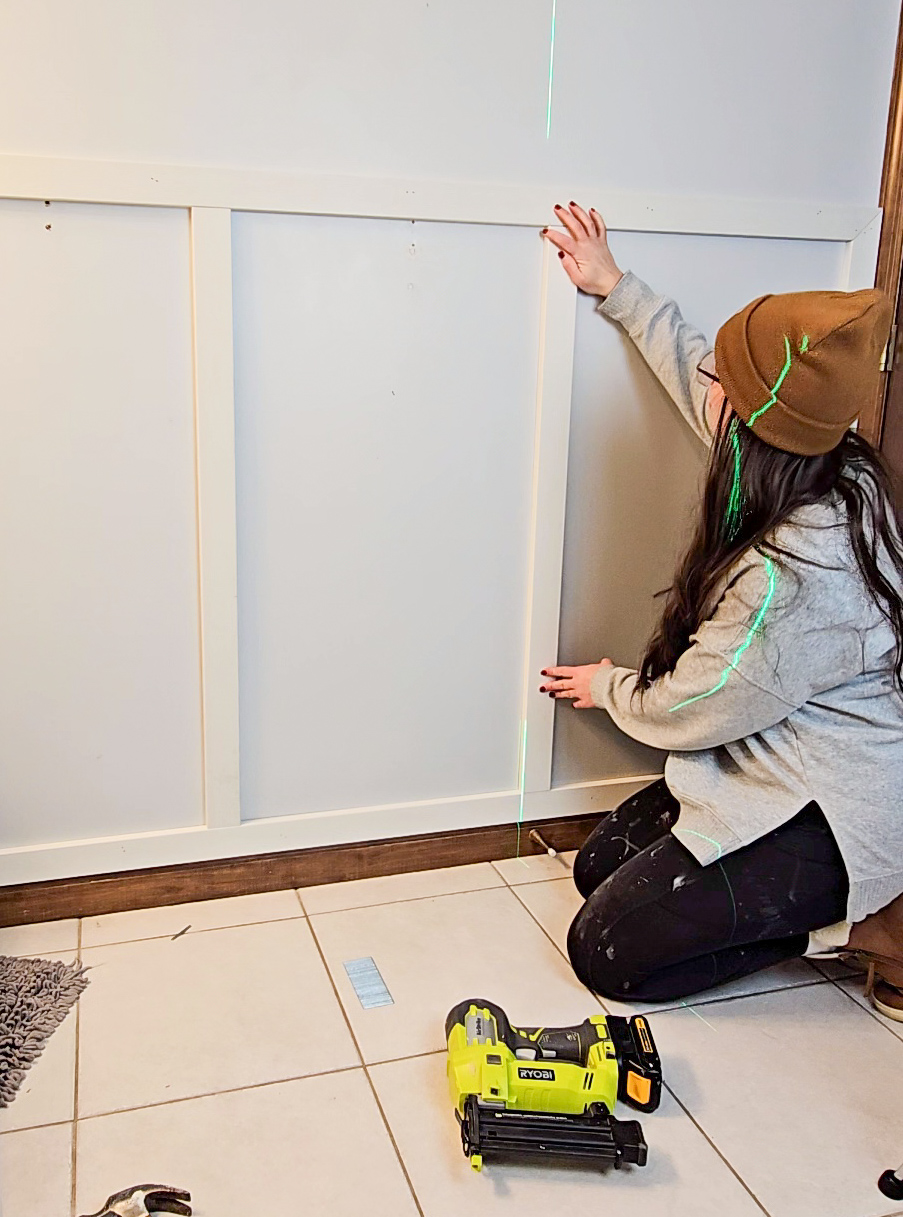
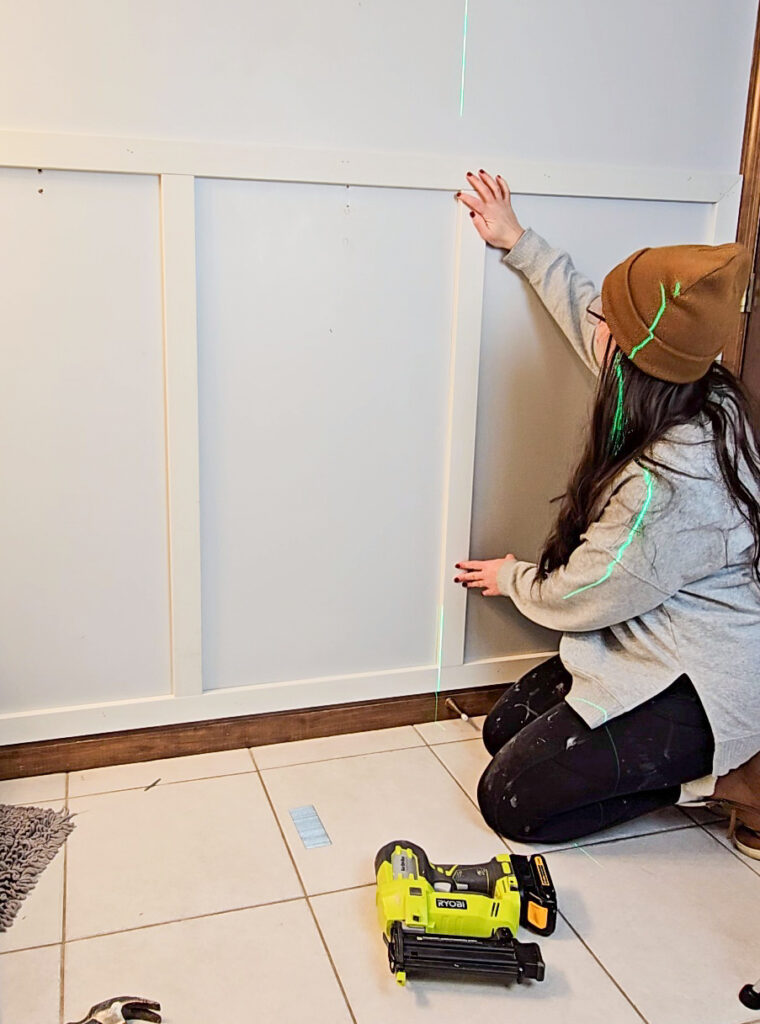
Add in your top & bottom boards
I always start with my bottom board first. Some people don’t add in a bottom board and will just bump up against their baseboards. I personally think it gives your design a more finished and professional look by adding a bottom board. Then you will add in your top board.
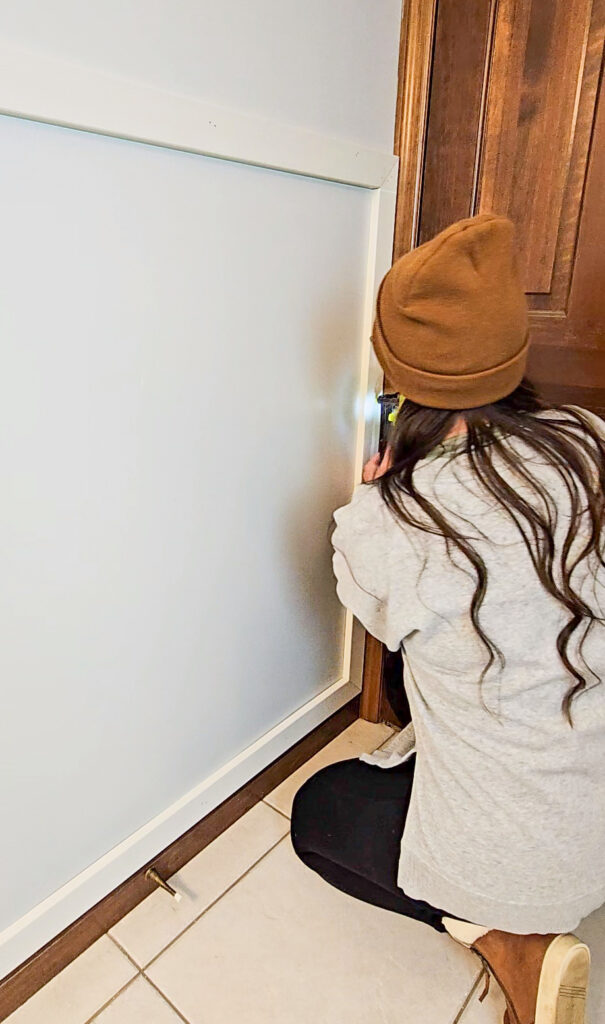
Add in side boards to finish your frame
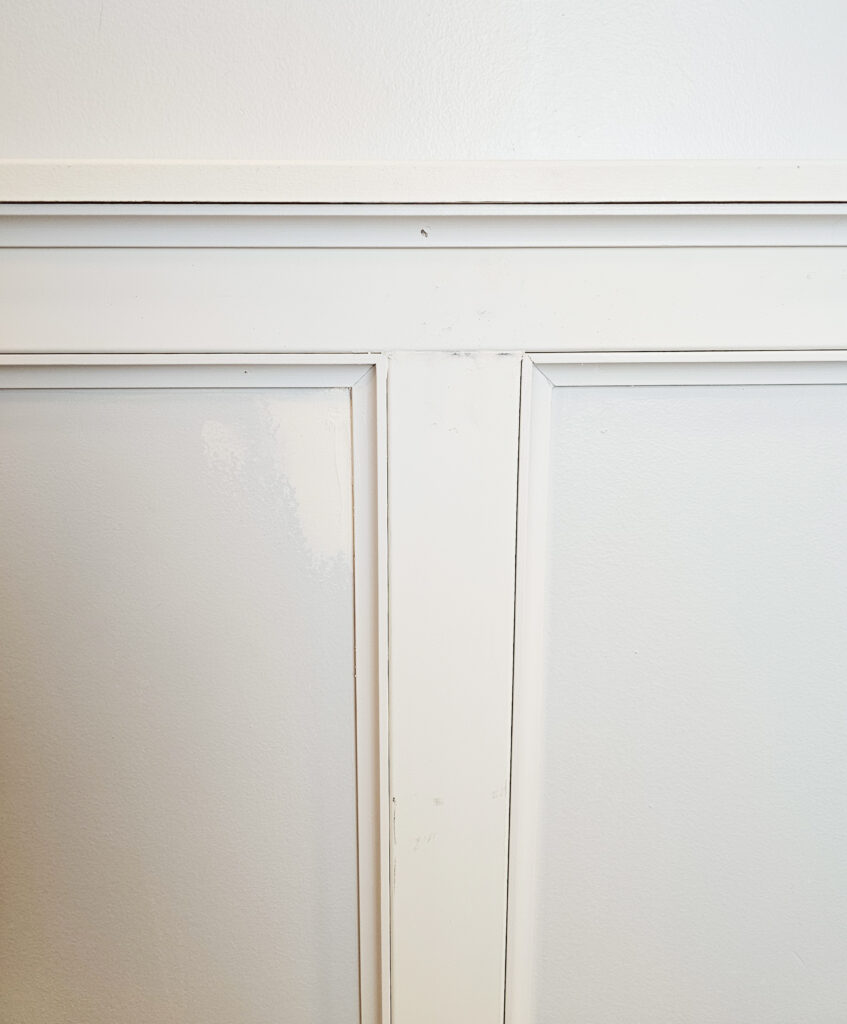
Finally add in your 2 side boards so you have 1 big box. It is optional, but you can miter your corners to your top and bottom boards like pictured below. This can help create a seamless look. You don’t have to miter your corners, but I would highly recommend it. Just set your miter saw to 45 degrees and you are good to go!
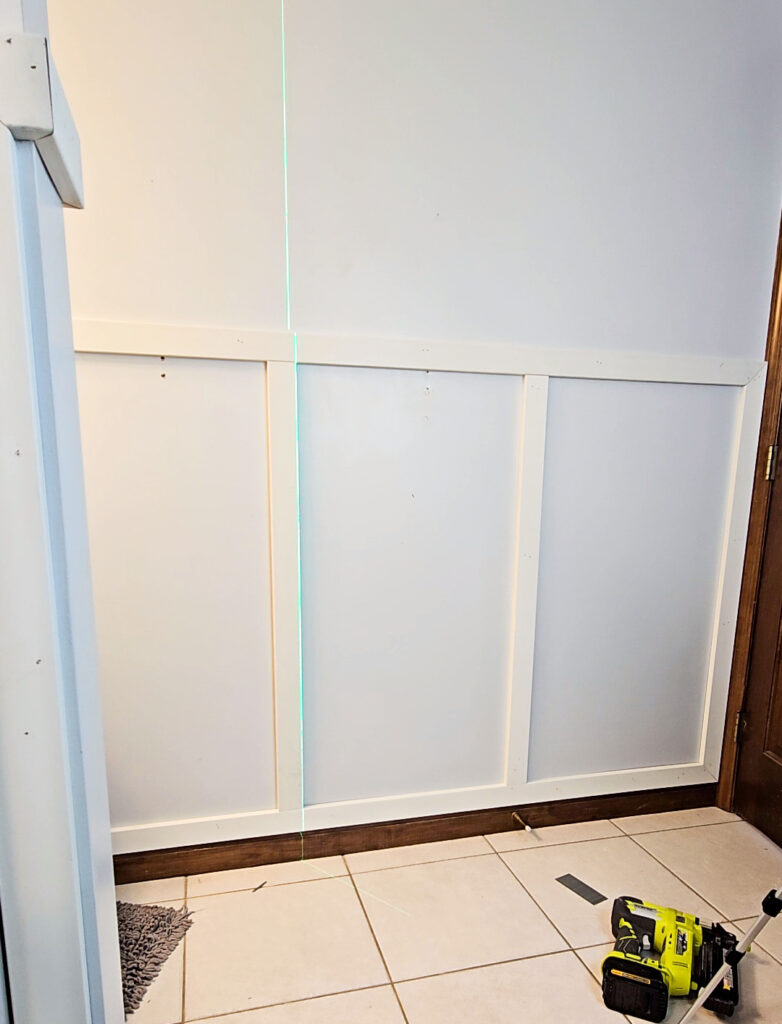
Add your middle boards to create even spacing
Determining even spacing isn’t as hard as you think! Decide how many boxes you want on your wall. Once you have that, we will take a measurement of the whole wall to get your total length
Example:
- Wall is 100” long
- Boards are 2.5” wide each
- You want 5 boxes total
- Take Your Wall Length – (Board Width x Number of Boards) / 5 Boxes
Calcuation:
100” – (6 boards x 2.5” ) / 5 = 17” wide for each box
*Note the total is 6 boards because you need to account for your side boards as well, not just your middle boards to create your boxes*
Add in a top ledge (optional)
You can add in a top ledge to your board & batten by using a 1×2 board laid flat on top of your board. You can make this ledge as deep as you want. Some will add pictures or décor to their ledges. For this bathroom I opted for a smaller ledge. I also added a piece of cove molding to the bottom of the ledge for additional dimension.
Fill in your nail holes
This is tedious and time consuming, but so worth it! Nothing will make your project look DIY (and not professional) more than skipping the finishing details. Take your wood filler and fill in all your nail holes.
Caulk along the seams
Again, those finishing details will make all the difference in the final design. Caulk along all your edges where your boards meet the wall.
Add in Cove molding
By adding in Cove Molding, you can elevate your basic board & batten to a new level! Anyone can add this in, but my post here will help you determine how to cut your cove molding properly.
See my blog post here on “How to Cut Cove Molding”
Jan 30, 2024