")
How to Make Plant Slat Shelves

I had this blank corner in my bathroom and a pile of scrap 1×2’s laying around, so I used what I had on hand to make this simple, yet functional, corner shelf.
*I may earn a small commission on any linked items in this article*
Supplies
Tools
Step Summary
- Determine length of slats for your plant shelves
- Cut your slats to correct length and add stain
- Use nail gun to attach slats to wall
- Use 1×2 turned sideways as a spacer and hang all your boards
- Fill in all those nail holes
- Add in shelves
Detailed Steps
Determine the length of your slats
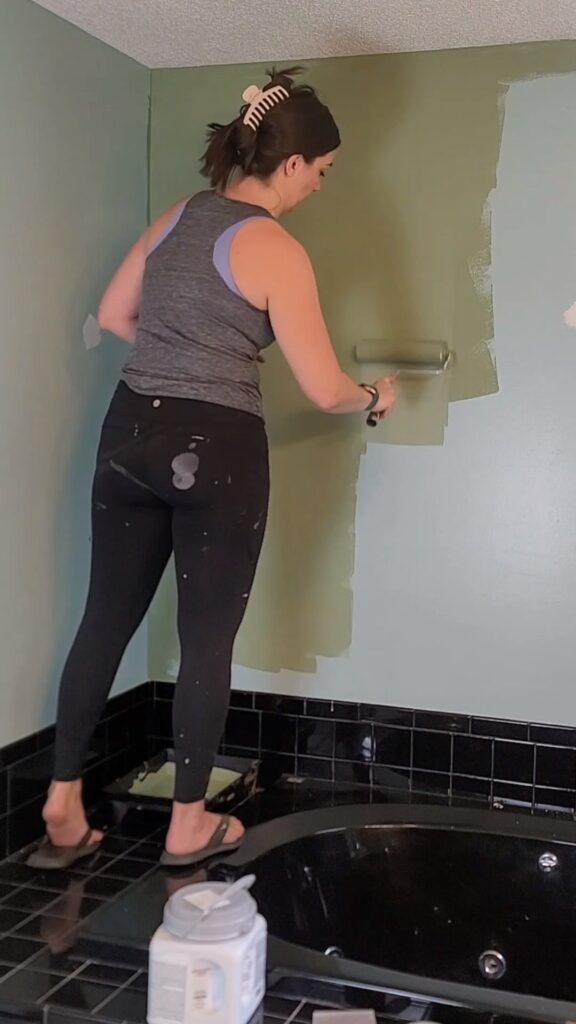
After adding in a fresh coat of paint in this space, I determined how high up the wall I was going. This gave me an idea of how many boards I would need.
Cut your slats to correct length you need and add in your stain
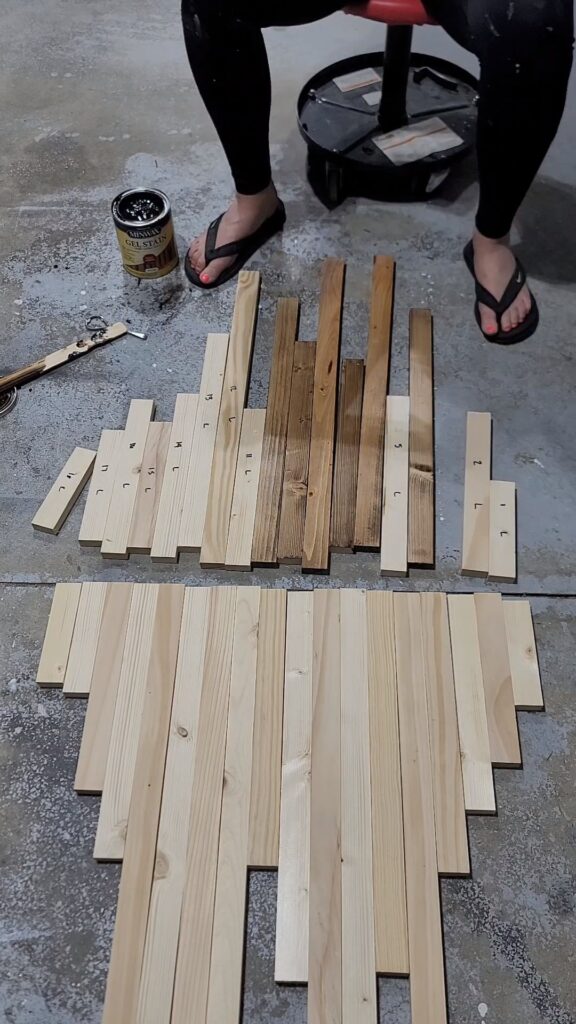
You can use a miter saw, circular saw, or whatever saw you may have to cut all your boards to the length you will need. I laid out my design as I was cutting to make sure I loved it. This allowed me to move boards around and know the design before I hung them up. Don’t overthink this too much! There is no set design!
Use your nail gun to attach slats to your wall
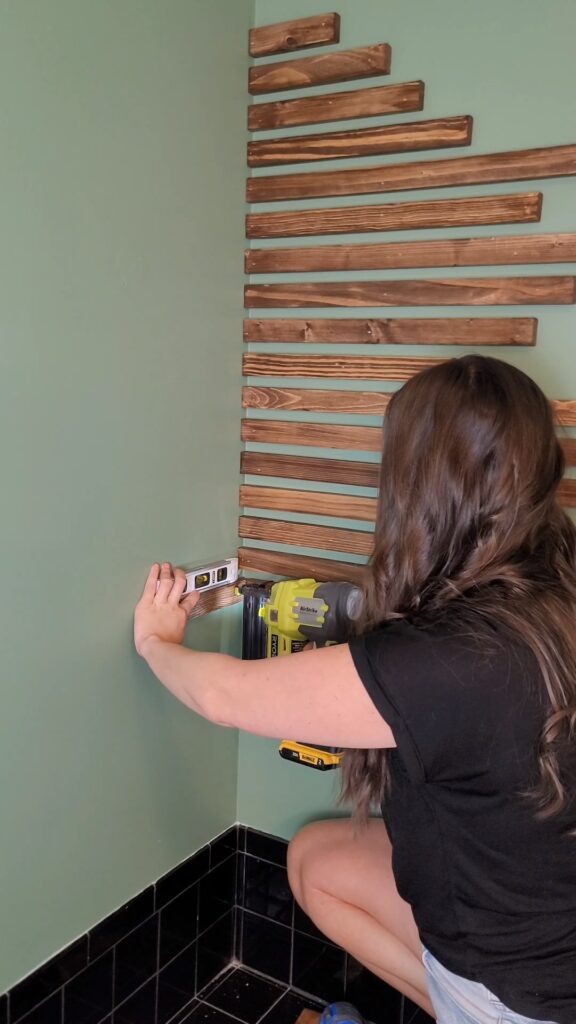
Make sure your first board is level, this will help ensure all of the rest of them are as well. Point your brad nailer in at opposing angles to add extra security for your boards. Sort of like making an “X” into your wall using your nailer. If you plan on adding a lot of weight, make sure you are nailing into studs.
Use a 1×2 turned sideways as a spacer for even spacing
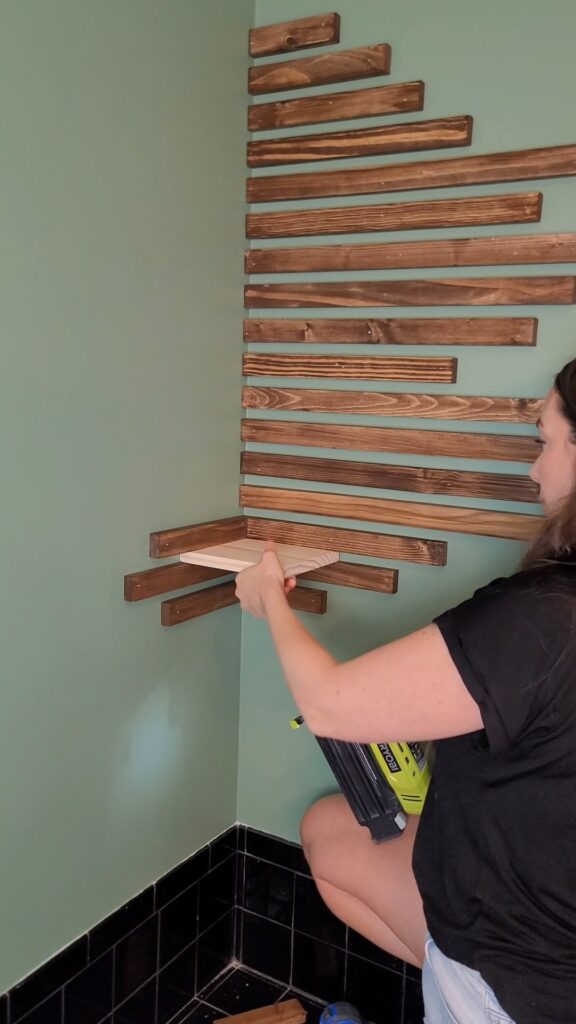
I turned a 1×2 sideways which will create a perfect ¾” gap without having to measure every time. If your first board is level, then using this method will help keep all your boards level as you work up or down the wall. I also used one of my shelves as a spacer throughout
Fill in all those nail holes
Trust me, you want to do this! It may be time consuming but throw on some music or a podcast and get to work filling all those nail holes. This gives your project a professional look.
Add in shelves
For the shelves, I used scrap ¾” thick wood and cut it down to various sizes and slide them between the slats. Now add in your plants or décor and your shelves are ready to go!
See Video Tutorial on Instagram here!
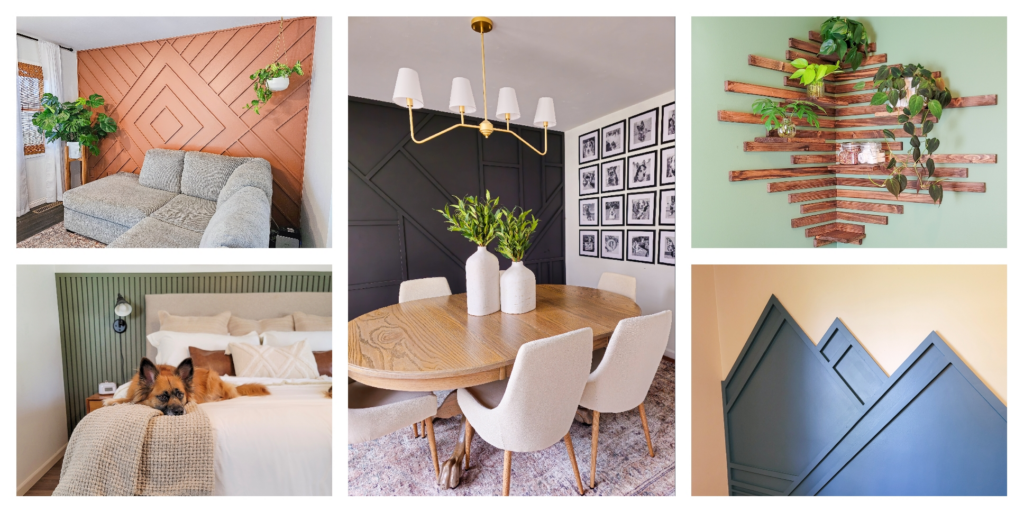
If you are looking for more beginner friendly projects using 1×2 boards or a fun accent wall in your home, check out my post here with 5 fun ideas!
Jan 7, 2024